
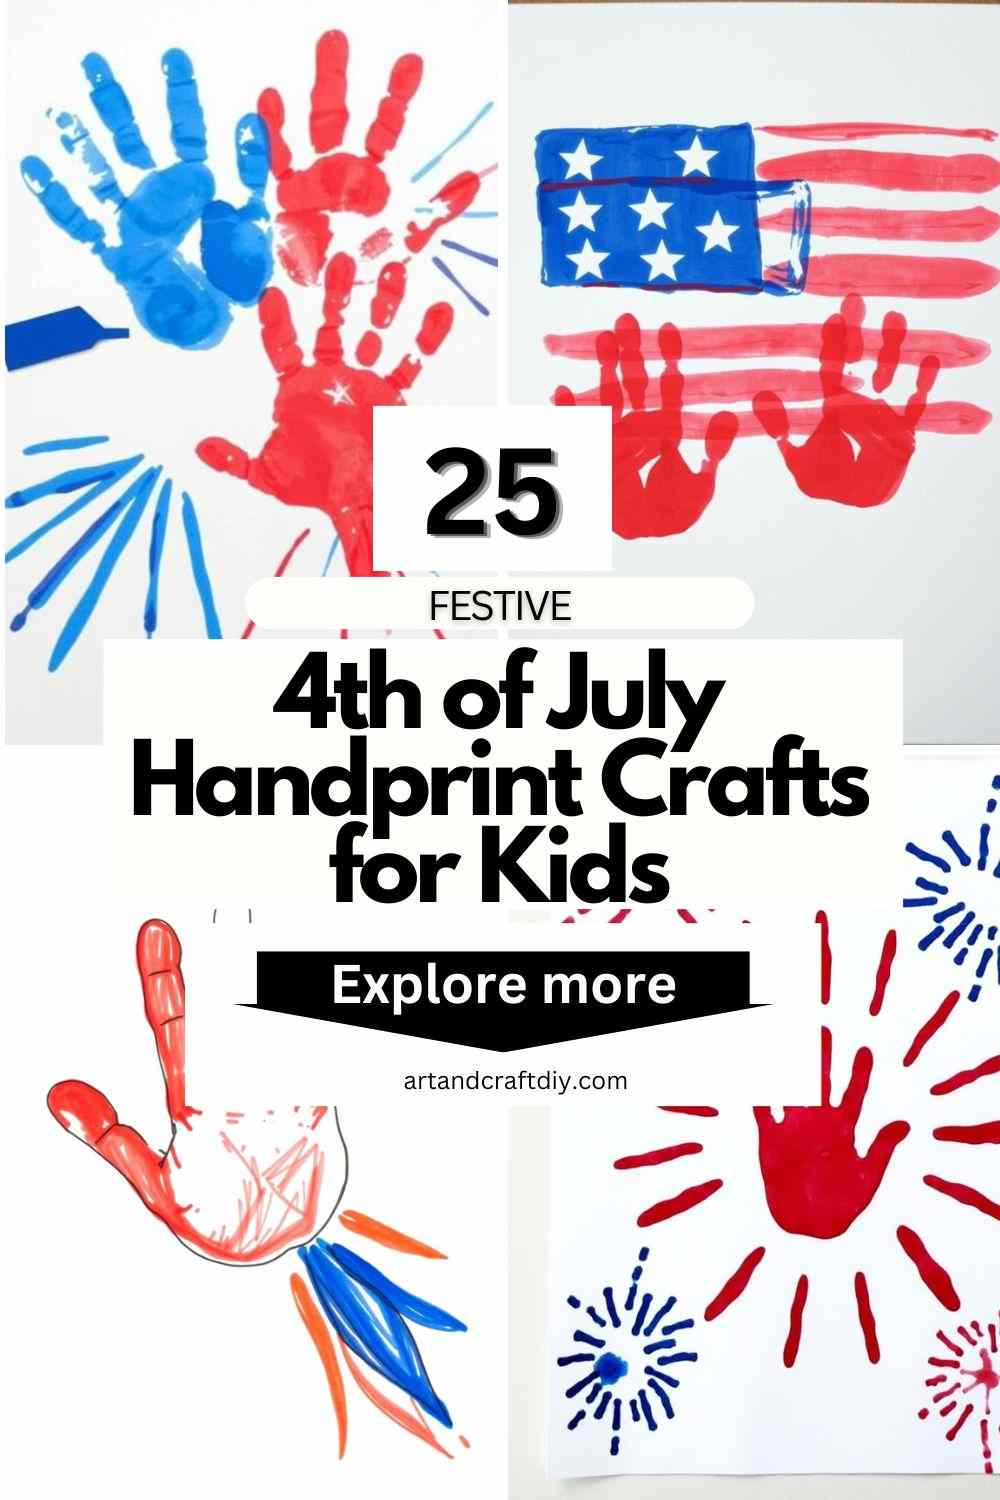
The 4th of July is a special day when Americans celebrate their independence, filled with fireworks, parades, and family gatherings. One fun and meaningful way to mark this festive occasion is through 4th of July Handprint Crafts for Kids. These creative projects not only engage children but also offer a unique way to commemorate the holiday. By using their hands, kids create personalized keepsakes that will be cherished for years to come.
4th of July Handprint Crafts for Kids
4th of July Handprint Crafts for Kids are a fun and creative way to celebrate Independence Day. These crafts let children make personalized keepsakes while enjoying a hands-on activity that commemorates the holiday.
American Flag Handprint Craft
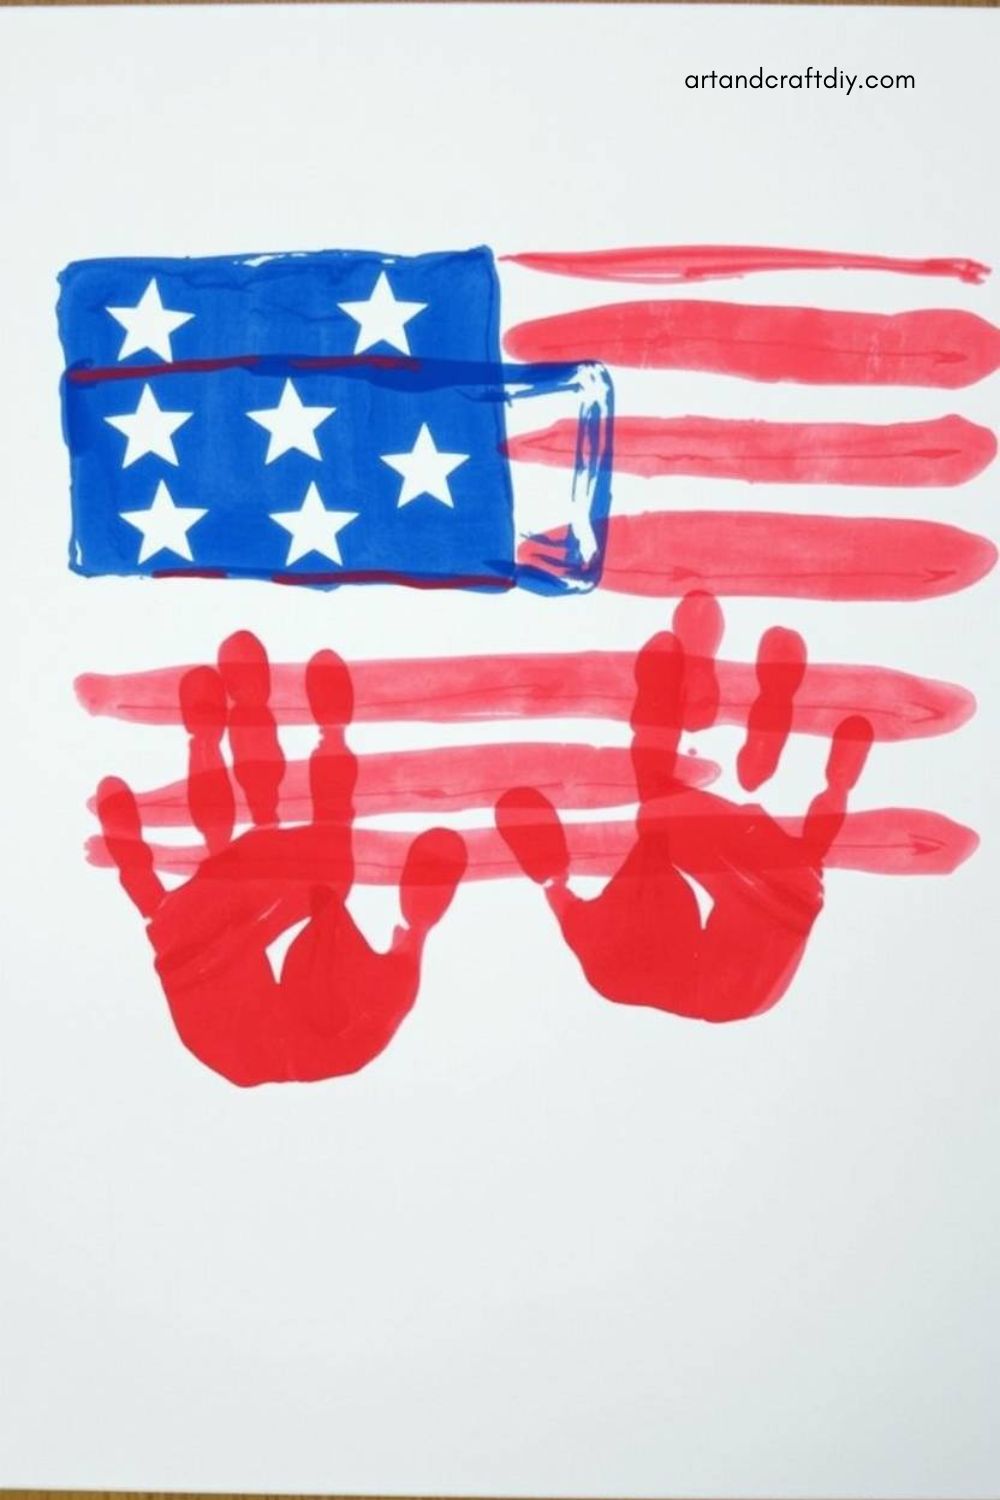
Materials: Red, white, and blue paint, construction paper or canvas, paintbrush, and a small star sticker or white paint for stars.
Steps:
-
Begin by painting the child’s hands in alternating red and white stripes, pressing their hands onto the paper to create the flag’s stripes.
-
After the stripes dry, paint a blue rectangle in the top left corner of the flag.
-
Dip the child’s fingers in white paint or use small star stickers to create a starry effect in the blue section.
-
Let the craft dry, and display it as a perfect patriotic keepsake!
Handprint Fireworks
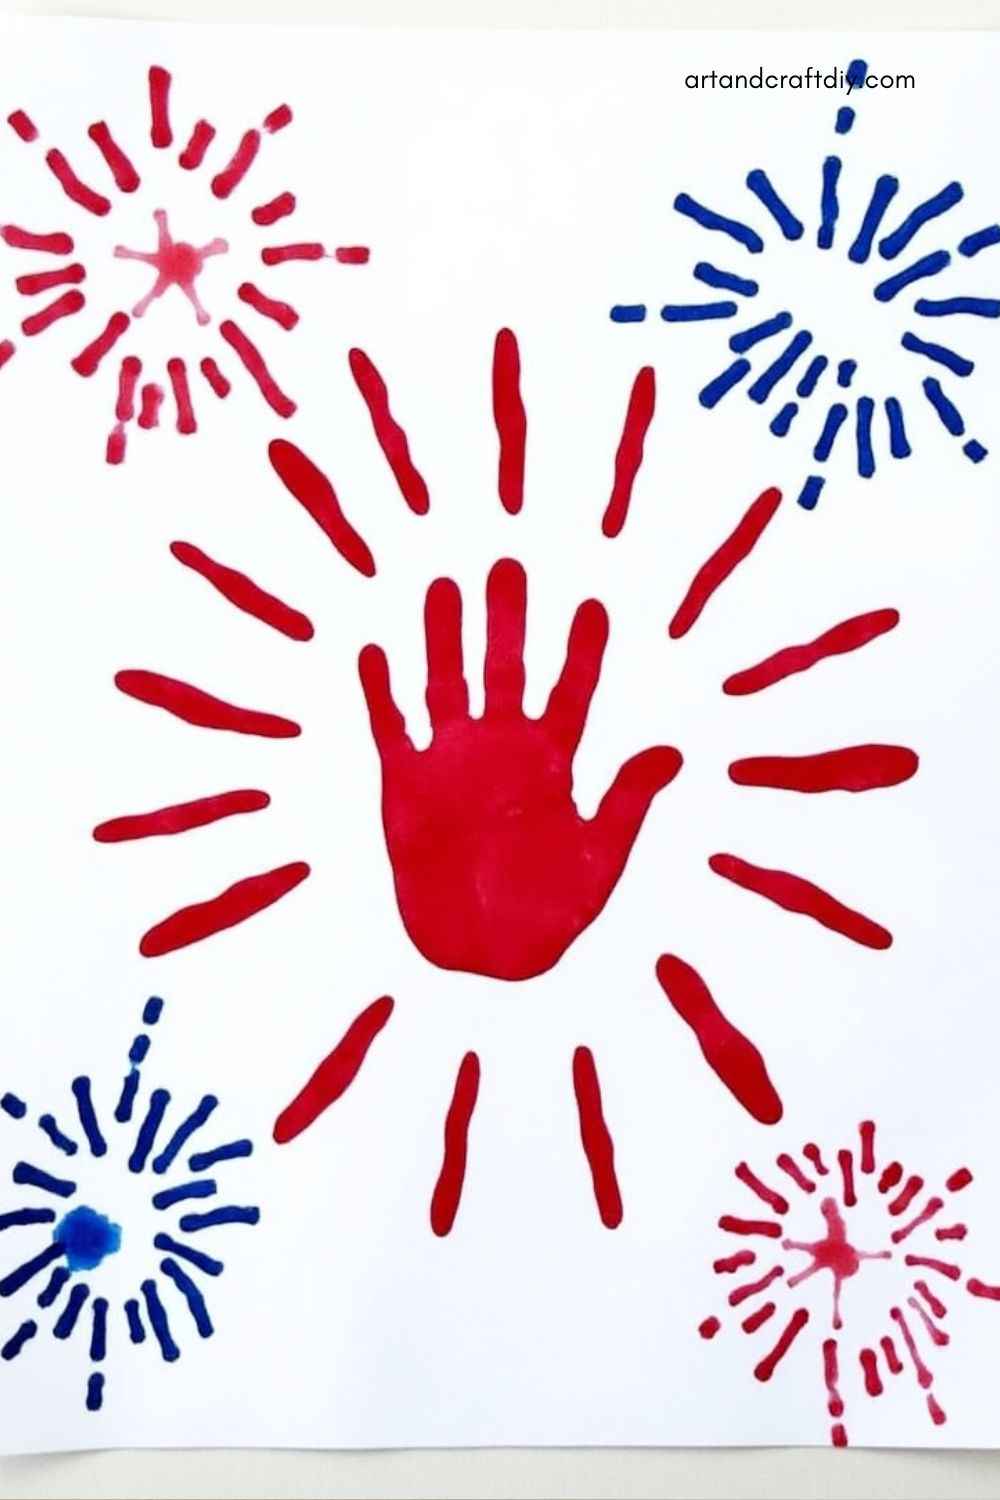
Materials: Red, white, and blue paint, construction paper, glitter (optional), and paintbrushes.
Steps:
-
Paint the child’s fingers with different colors (red, white, and blue).
-
Press their painted hand in the center of the paper to form a firework burst.
-
Use their other hand or fingers to add smaller bursts of fireworks around the main one.
-
Add glitter to enhance the sparkle effect.
-
Allow the craft to dry and hang it up for a fun, sparkly decoration!
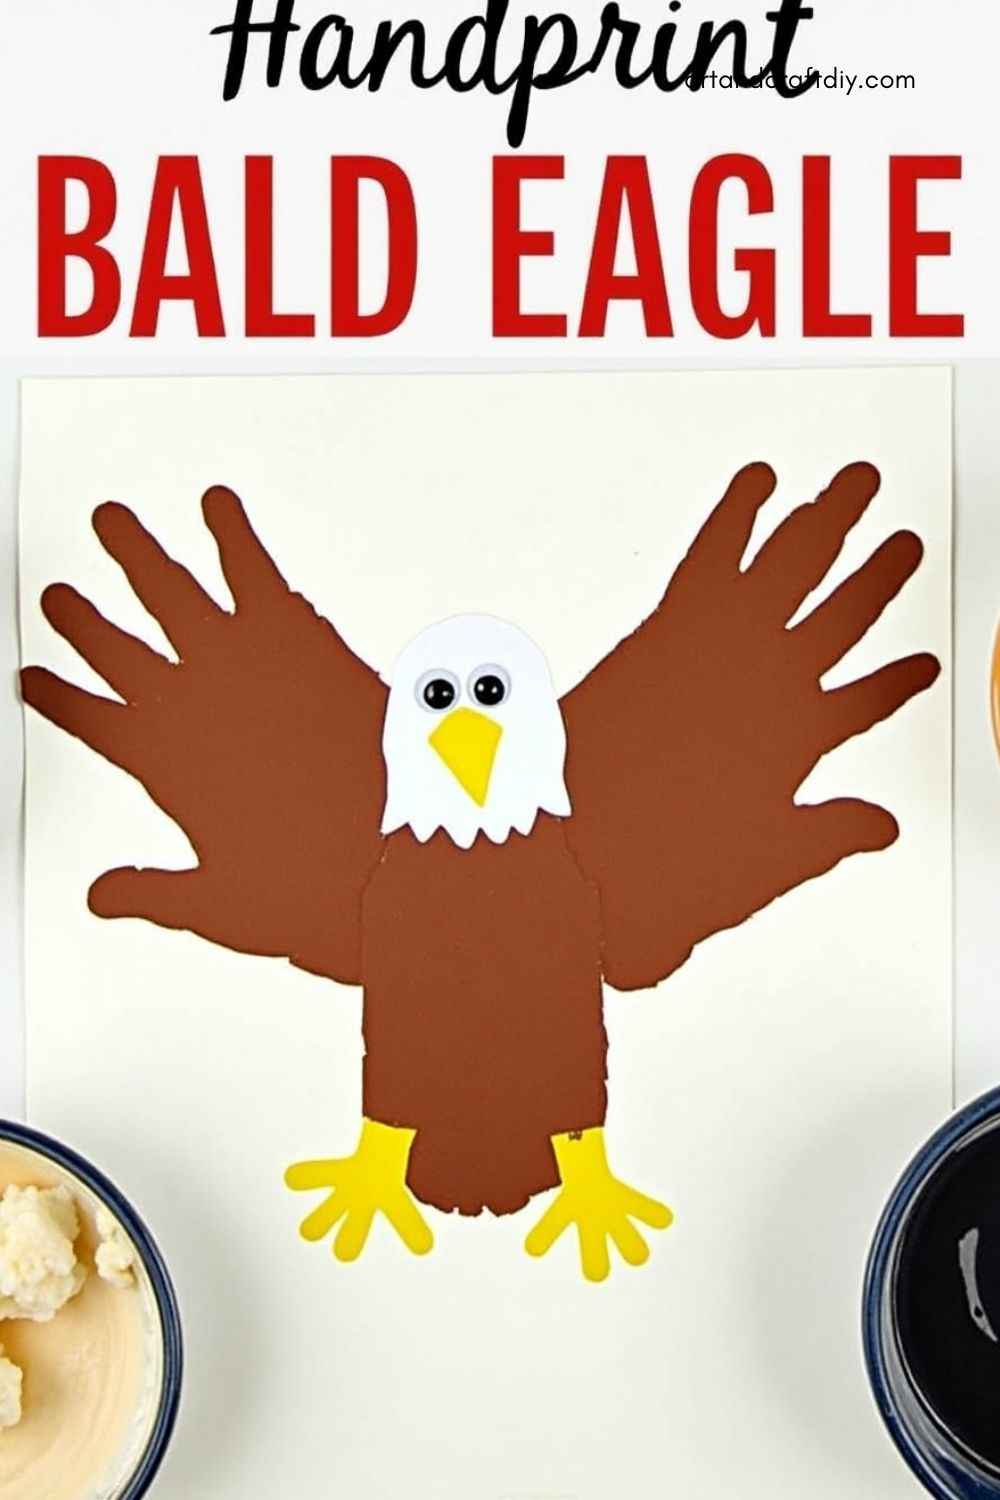
Handprint Bald Eagle
Materials: Brown, yellow, white, and black paint, construction paper, markers.
Steps:
-
Paint the child’s hands in brown to create the eagle’s wings and press them on the paper.
-
Use white paint to form the head and body of the eagle at the top of the handprint wings.
-
Add a yellow beak and black eyes with markers or paint.
-
Draw or paint any extra details like claws and feathers to finish off the eagle.
-
Once dry, display this majestic handprint eagle as a symbol of freedom.
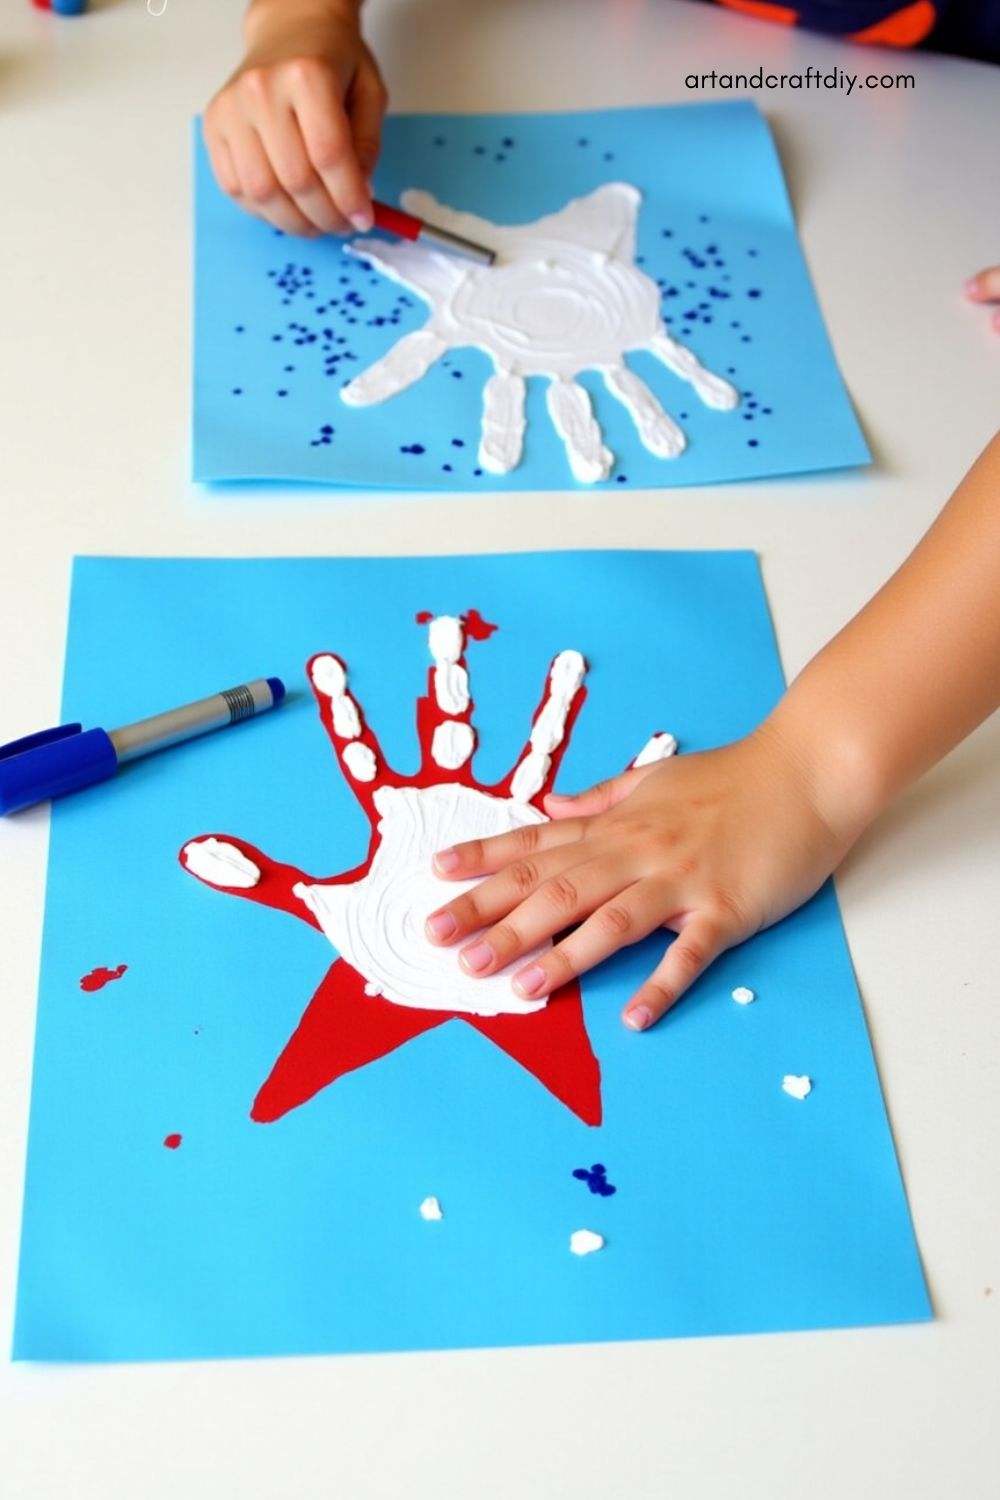
Handprint Stars
Materials: Red, white, and blue paint, construction paper, glitter (optional).
Steps:
-
Paint the child’s hand in white and press it onto blue construction paper.
-
Carefully remove the hand to reveal a handprint shaped like a star.
-
Add red and blue accents with markers, glitter, or colored paper for extra flair.
-
Let it dry, and you have a bright, starry craft to celebrate the holiday!
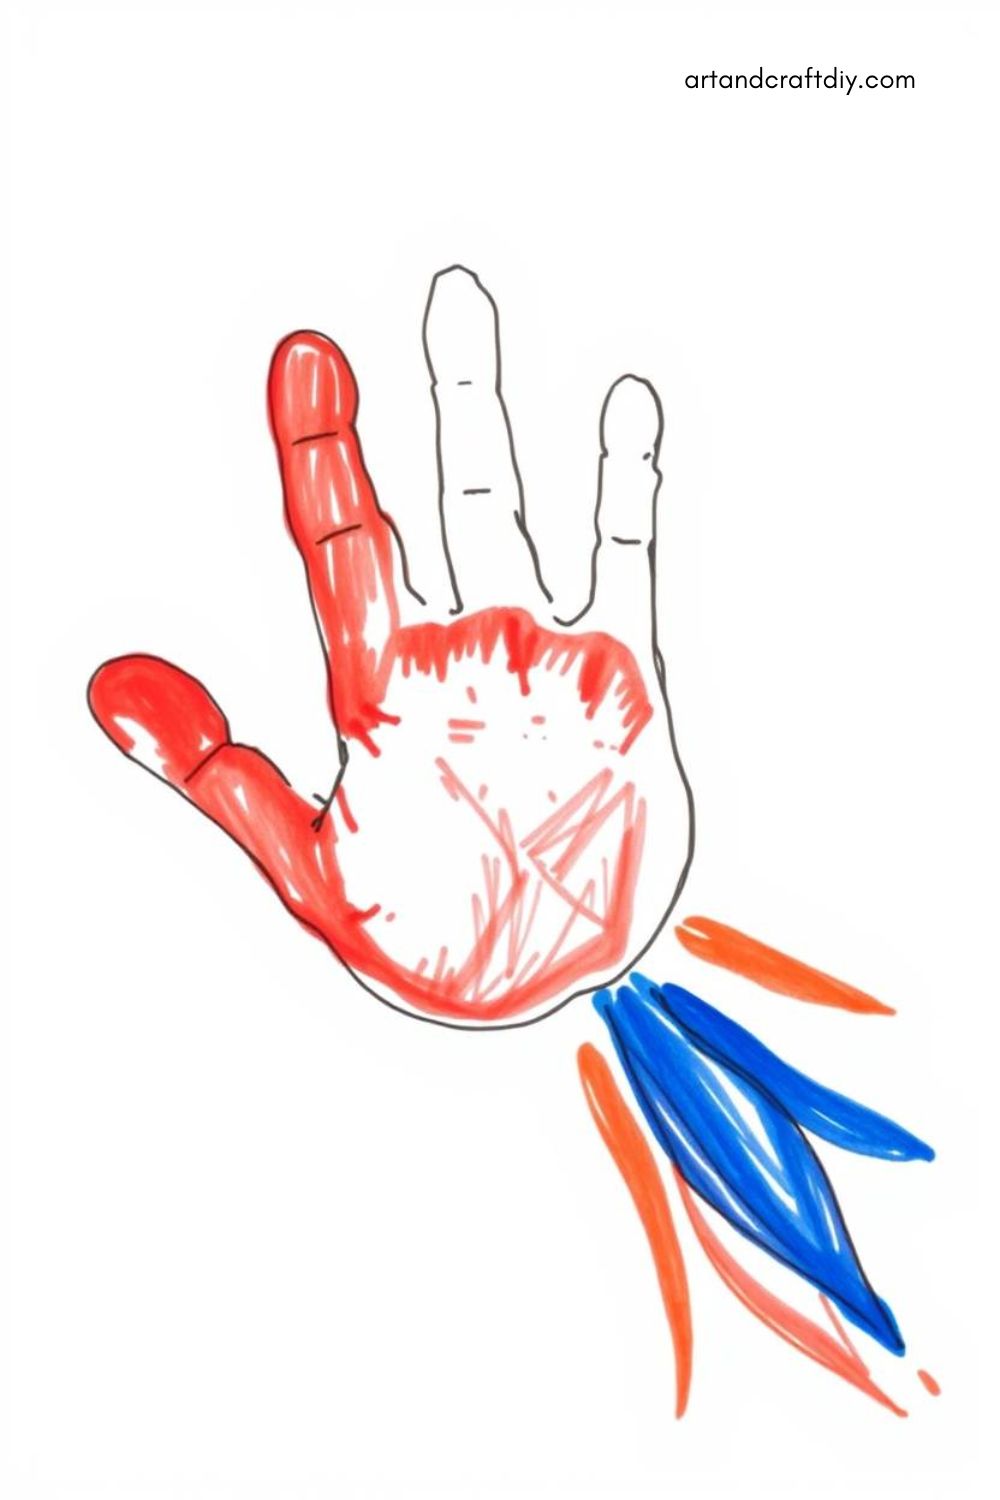
Handprint Rocket Ship
Materials: Red, blue, and white paint, construction paper, scissors, glue.
Steps:
-
Paint the child’s hand red and press it onto paper to form the body of the rocket.
-
Add a white triangle at the top for the rocket’s nose and glue blue flames at the bottom of the rocket.
-
Use markers to decorate with stars and other details.
-
Allow it to dry, and you’ve got a fun and festive rocket to launch into Independence Day!
Handprint American Flag T-shirt

Materials: Red, white, and blue fabric paint, a plain white T-shirt.
Steps:
-
Paint the child’s hand with blue paint and press it onto the upper left corner of the shirt to represent the stars section of the flag.
-
Use red and white fabric paint to create alternating stripes across the bottom of the T-shirt.
-
Let the shirt dry, and your child will have a wearable patriotic craft!
Handprint Bald Eagle Mask

Materials: Brown, yellow, and white paper, scissors, glue, elastic string, markers.
Steps:
-
Cut a simple eagle mask shape from brown construction paper.
-
Use handprints in white to create feathers for the eagle’s head and glue them onto the mask.
-
Add a yellow beak and black eyes, and attach an elastic string to hold the mask in place.
-
Now the child can wear their handprint eagle mask to celebrate the 4th!
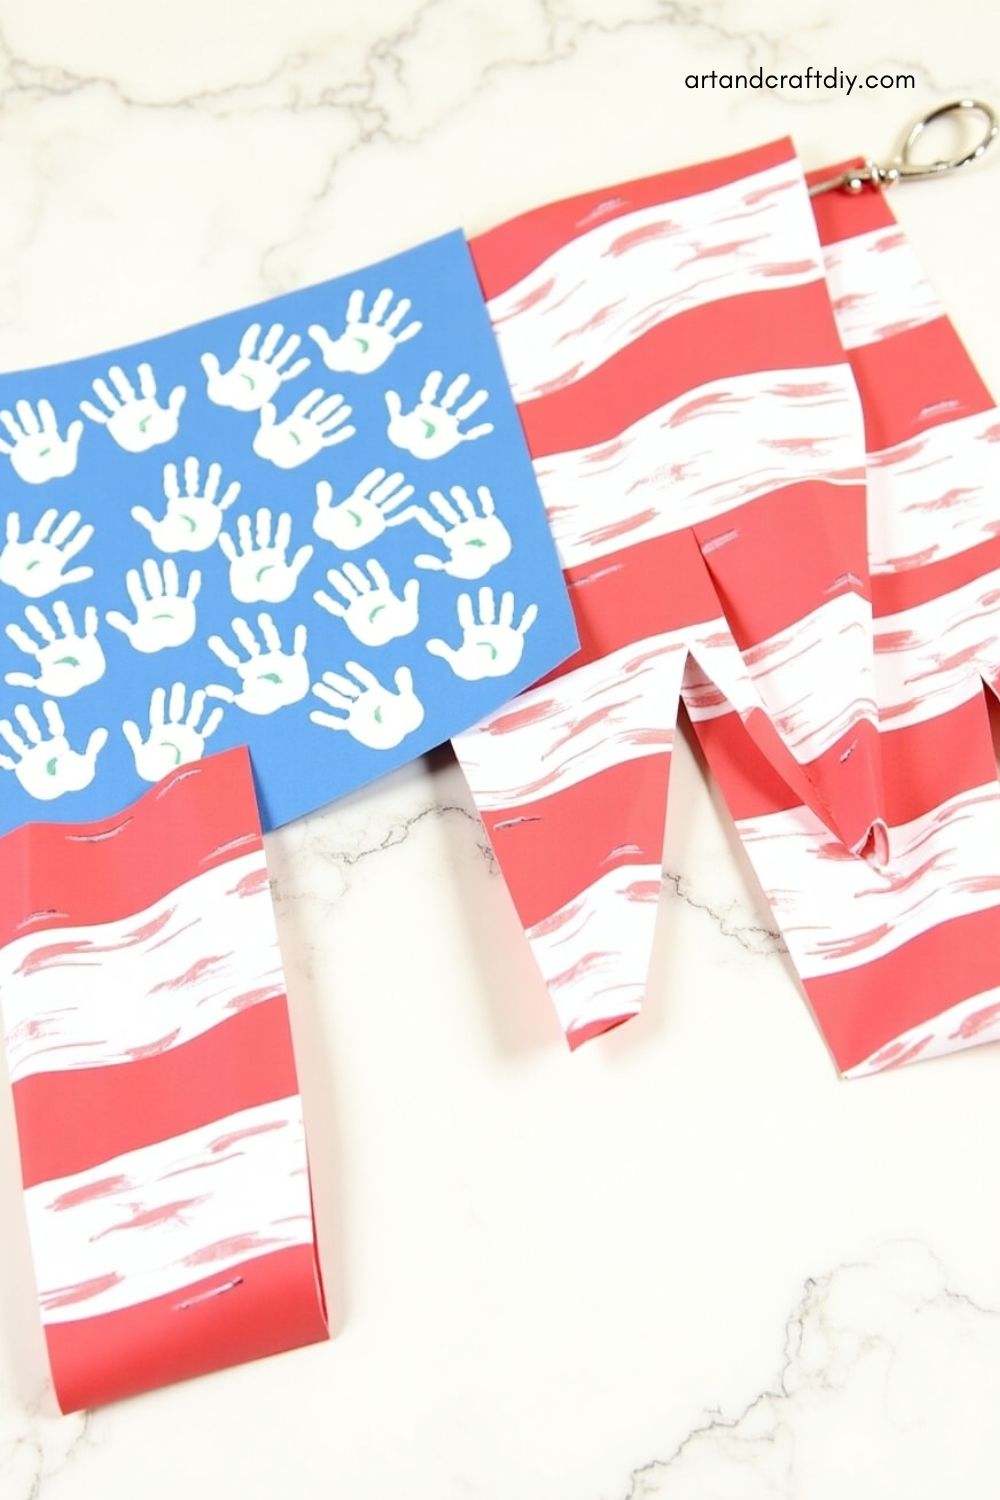
Handprint Flag Banner
Materials: Red, white, and blue paint, construction paper, scissors, string or ribbon.
Steps:
-
Have the child make handprints in alternating red and white on several pieces of paper.
-
Cut the handprint shapes out and glue them to a long piece of string or ribbon.
-
Hang the handprint flag banner around the house for a festive and colorful display!
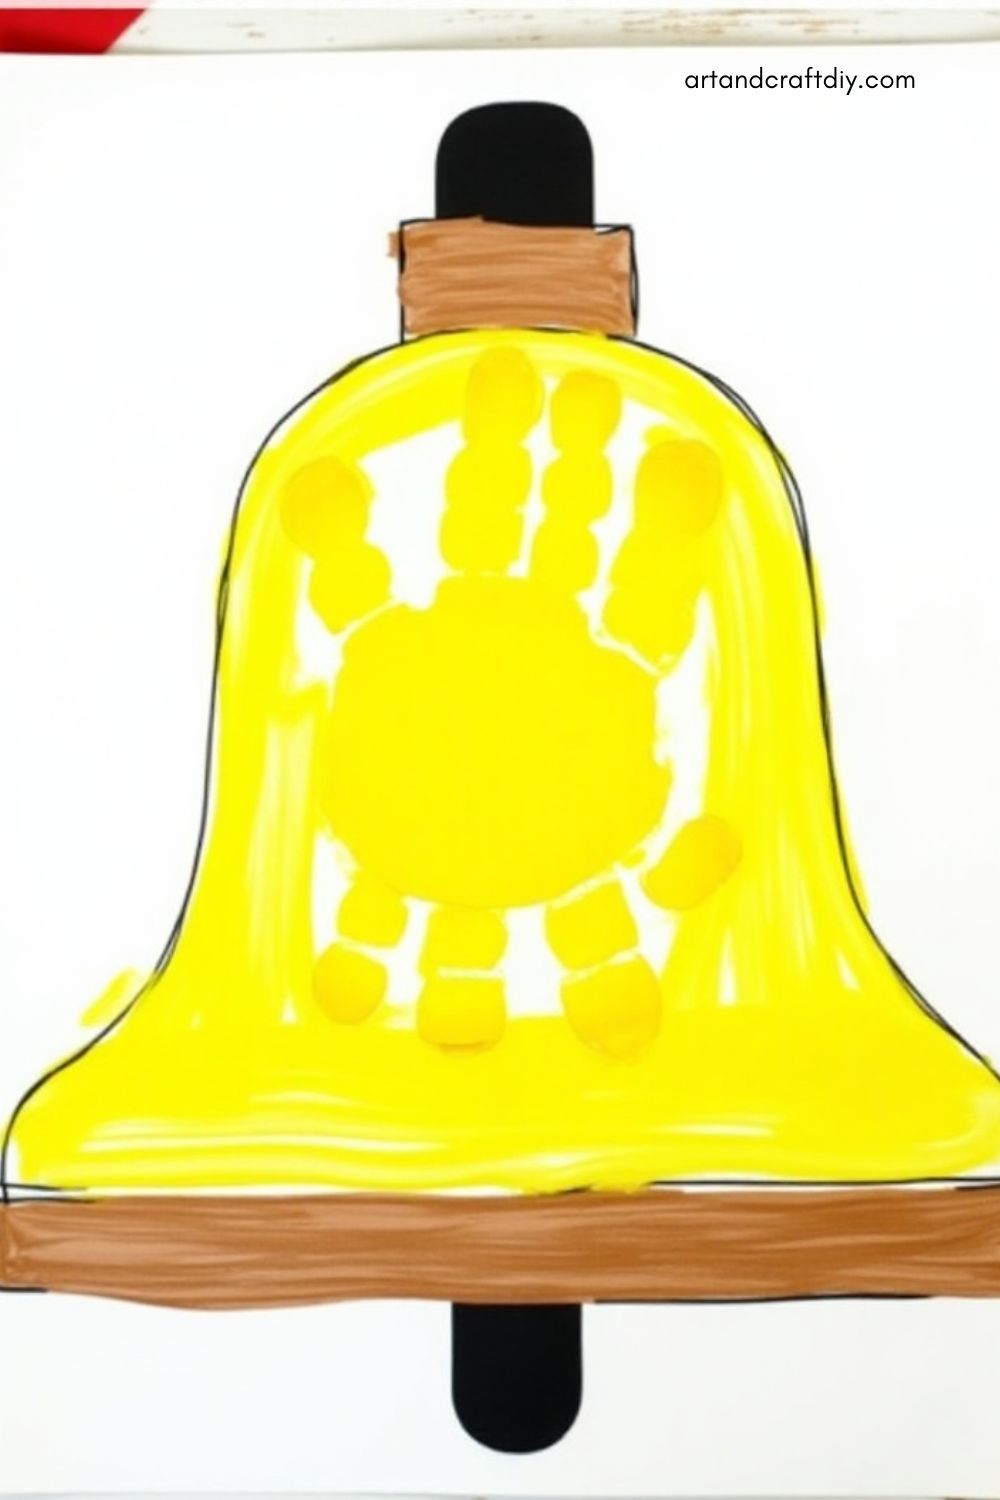
Handprint Liberty Bell
Materials: Yellow, black, and brown paint, construction paper, and scissors.
Steps:
-
Paint the child’s hands yellow and press them down on the paper to form the shape of the bell.
-
Add the clapper of the bell with black paint or markers.
-
Use brown paint to color the bell’s frame and add decorative details around the edges.
-
Let the craft dry, and the child will have their very own handprint liberty bell!
Handprint Firecracker
Materials: Red, white, and blue paint, construction paper, markers, and scissors.
Steps:
-
Paint the child’s hand with red paint and press it on the paper to form the firecracker.
-
Cut a rectangle from blue paper and attach it to the top for the firecracker’s fuse.
-
Add blue and white streaks coming out of the firecracker to resemble sparks and fireworks.
-
Allow it to dry, and this colorful firecracker will brighten up your holiday!
Handprint Flag Plates
Materials: Red, white, and blue paper plates, paint, markers.
Steps:
-
Paint the top half of the paper plate blue for the stars portion of the flag.
-
Use red and white paint or markers to make alternating stripes on the bottom half.
-
Add white stars with a paintbrush or sticker stars.
-
Your child can proudly display their handprint flag plate as a table setting or decoration!
Handprint Heart Flag
Materials: Red, white, and blue paint, construction paper.
Steps:
-
Paint the child’s hands red and press them to form hearts in a row on the paper.
-
Use blue paint at the top left corner to create a starry effect.
-
This project combines patriotism and love, making it a sweet way to celebrate the 4th of July!
Handprint Patriotic Crown
Materials: Red, white, and blue construction paper, scissors, glue, markers.
Steps:
-
Cut a strip of paper to fit around the child’s head.
-
Paint their handprint in red, white, or blue and cut it out.
-
Glue the handprint shapes around the crown.
-
Add decorative stars and stripes with markers, then glue the ends of the paper strip to fit the child’s head.
-
The child can wear their handprint patriotic crown proudly during the festivities!
Handprint Paper Fans
Materials: Red, white, and blue paper, glue, scissors, and wooden craft sticks.
Steps:
-
Cut out handprint shapes from red, white, and blue paper.
-
Glue the handprints together to form a fan shape.
-
Attach a craft stick to the base of the fan for the handle.
-
The child can wave their handprint fan as part of their 4th of July celebration!
Handprint Star Garland
Materials: Red, white, and blue construction paper, scissors, string or ribbon, glue.
Steps:
-
Trace the child’s handprint on red, white, and blue paper.
-
Cut out the handprints and glue them in a row along a piece of string or ribbon.
-
Hang the handprint garland to decorate the home for the holiday.
-
The child will love seeing their colorful handprint stars decorating the space!
These 4th of July Handprint Crafts for Kids offer a creative, fun, and festive way to celebrate Independence Day while making cherished keepsakes. Enjoy crafting together and creating lasting memories!
Displaying the Crafts
Once the handprint crafts are complete, it’s time to showcase them and turn them into meaningful decorations or keepsakes. Whether you’re looking to create a display for your home or share these handmade treasures with others, there are several ways to make the most of these fun and creative 4th of July handprint crafts. Here are some ideas to transform your crafts into beautiful greeting cards, wall art, or magnets, and ways to incorporate them into your 4th of July decorations!
-
Greeting Cards:
-
Turn the handprint crafts into personalized greeting cards by cutting the artwork to size and gluing it onto blank cards.
-
You can add a festive 4th of July message and use these cards for sending holiday wishes to friends and family.
-
-
Wall Art:
-
Frame your child’s handprint creations and hang them as patriotic wall art.
-
Mix and match different handprint crafts, like the American flag, fireworks, and bald eagle, to create a themed gallery wall.
-
You can also create a photo collage of handprint crafts in a large frame to display as a striking piece of art.
-
-
Magnets:
-
Use smaller handprint crafts to create magnets by gluing the finished artwork onto magnetic sheets or attaching magnet strips to the back.
-
These can be placed on refrigerators or magnetic boards, offering a fun, functional way to display your child’s handiwork.
-
-
4th of July Banner:
-
String together multiple handprint crafts to create a colorful, festive banner.
-
Hang this banner across the mantel, on windows, or along the walls to add a personalized touch to your holiday décor.
-
-
Framing:
-
Frame individual handprint projects in simple or ornate frames to make them stand out as memorable pieces of art.
-
Opt for patriotic-themed frames, such as those in red, white, or blue, to tie them into the 4th of July celebration.
-
If you have multiple handprint crafts, consider creating a shadow box frame where you can add extra details like stickers, stars, or other craft materials.
-
-
Hanging Decorations:
-
Punch holes at the top of your handprint crafts and thread a ribbon or string through to create hanging decorations.
-
Hang these from the ceiling, windows, or even as a mobile-style display to give the room a festive, 3D feel.
-
These ideas not only let you display the handprint crafts but also give them a functional and decorative role in your 4th of July celebration. By turning them into greeting cards, magnets, or framed art, you’ll have a lasting reminder of the holiday and your child’s creativity!
FAQ
What materials do I need for 4th of July handprint crafts?
For most 4th of July handprint crafts, you will need basic materials such as:
-
Red, white, and blue paint
-
Construction paper or canvas
-
Glitter, markers, and stickers
-
Scissors and glue
-
Craft supplies like ribbon, magnets, or frames (depending on your display idea)
Can I use washable paint for handprint crafts?
Yes, washable paint is a great choice for handprint crafts, especially for younger children. It’s easy to clean up and safe for little hands. Just make sure to protect surfaces with newspaper or a plastic sheet.
How can I make the handprint crafts last longer?
To preserve handprint crafts, consider framing them or laminating the finished artwork. You can also use acrylic sealant to coat the artwork for added durability, especially if it will be handled frequently or displayed outdoors.
What age group is best for these handprint crafts?
These handprint crafts are ideal for children of all ages. Younger children will need some help with painting and pressing hands, while older kids can take more ownership of the project, adding their creative touches.

Hi, I’m Victoria, an art and craft teacher at Newark City Schools, where I have the joy of working with middle school students to help them explore their creativity and develop their artistic talents. I believe that art is a powerful way for students to express themselves, and I strive to make every lesson a fun, engaging, and inspiring experience.
I created this website to share the art and craft projects, techniques, and resources that I use in my classroom, hoping to inspire both educators and young artists alike. Whether you’re a teacher looking for new ideas or a student eager to try something new, I’m excited to provide creative tools and projects that anyone can enjoy.
When I’m not in the classroom, I love experimenting with different art forms and learning new crafting techniques. My goal is to help others discover the joy of making things with their hands, and I hope my website serves as a space for everyone to explore their creative potential.