
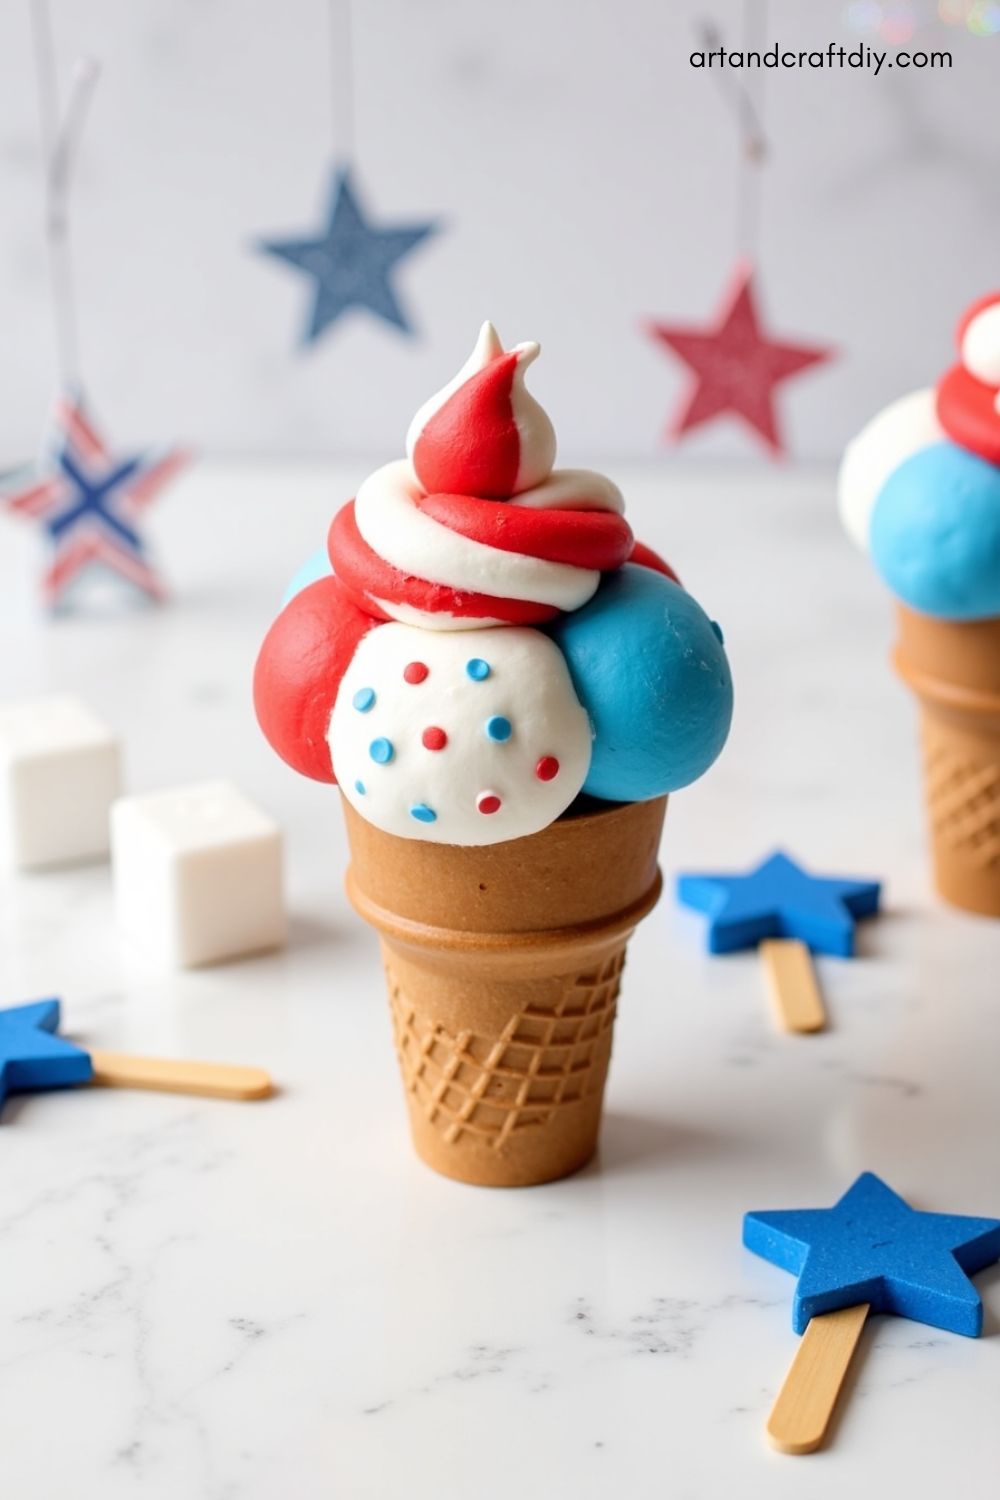
The 4th of July Ice Cream Craft for Kids is a sweet and simple way to celebrate Independence Day without the sticky mess of real ice cream. This fun craft lets kids use their imagination to create colorful, patriotic ice cream cones using paper, cotton balls, and a dash of sparkle. It’s a perfect blend of creativity and hands-on fun that’s completely mess-free—no melting, no cleanup!
4th of July Ice Cream Craft for Kids
The 4th of July Ice Cream Craft for Kids is a fun, mess-free way to celebrate with patriotic flair. It’s simple, creative, and perfect for parties, classrooms, or family activities!

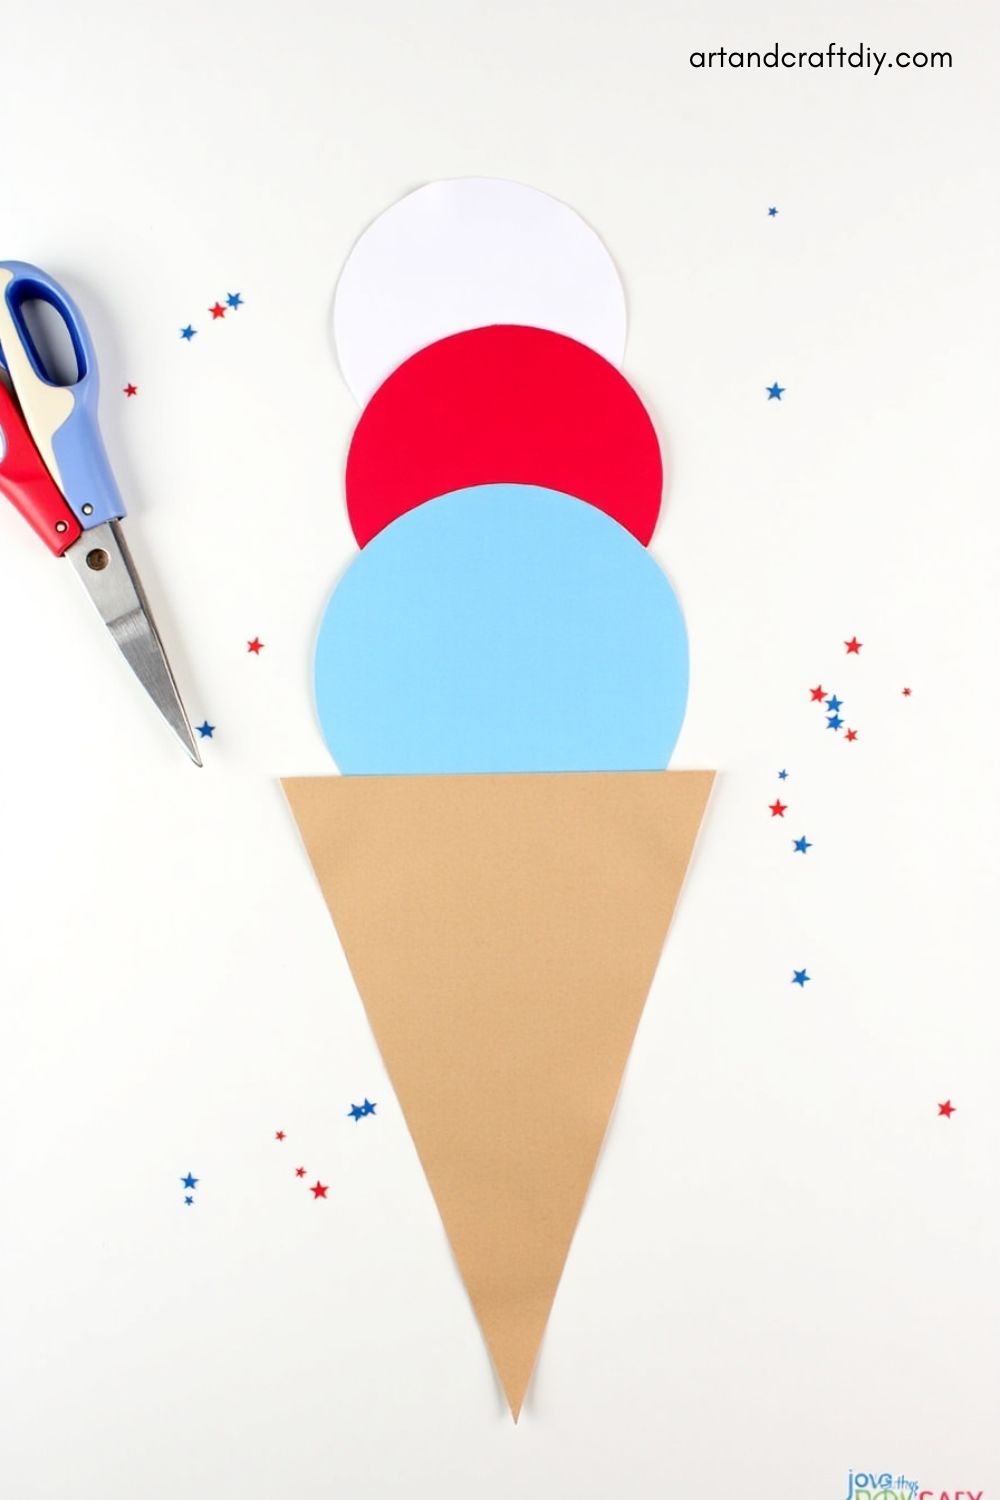
Ice Cream Cone Paper Craft
Materials Needed
-
Brown construction paper
-
Red, white, and blue markers or colored paper
-
Glue
-
Scissors
-
Glitter or stickers
Steps
-
Cut a large triangle from the brown construction paper to create the cone.
-
Cut three circles from red, white, and blue paper to form the scoops of ice cream.
-
Stack the scoops on top of the cone and glue them down.
-
Decorate with glitter, stars, or stickers for a patriotic touch.
Cotton Ball Ice Cream Cones

Materials Needed
-
Cotton balls
-
Red, white, and blue construction paper
-
Glue
-
Scissors
Steps
-
Cut a triangle from brown paper to form the ice cream cone.
-
Glue cotton balls on top of the cone to represent scoops of ice cream.
-
Use red, white, and blue cotton balls to make it festive.
-
Add a cherry on top using a red pom-pom or paper circle.
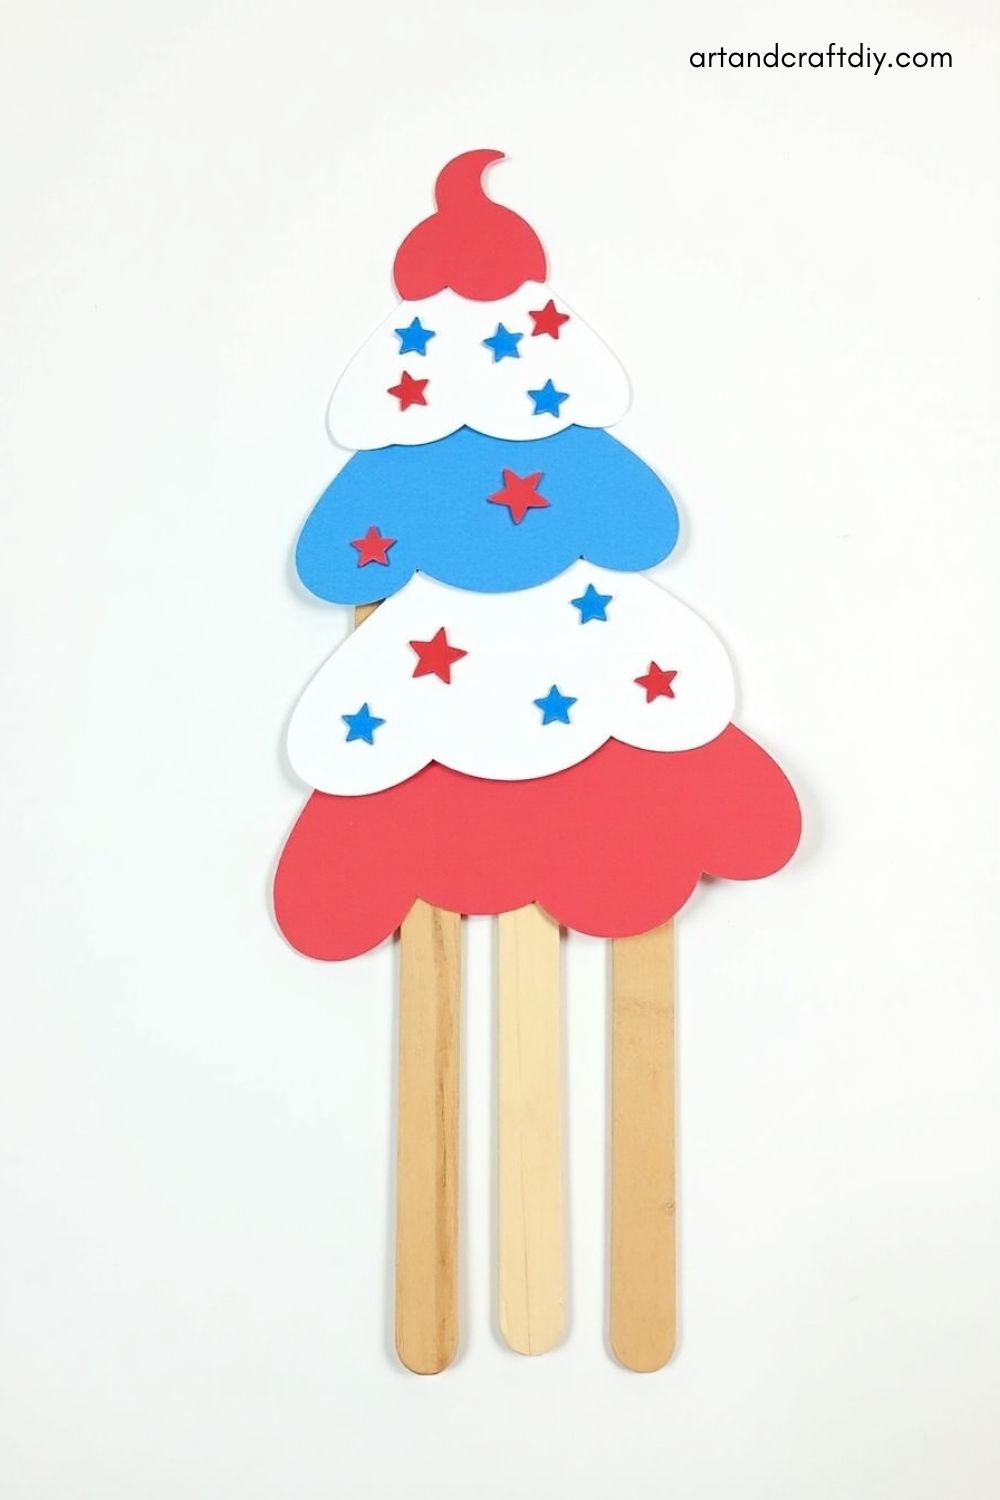
Popsicle Stick Ice Cream Craft
Materials Needed
-
Popsicle sticks
-
Red, white, and blue paint or markers
-
Glue
-
Paper
Steps
-
Glue three popsicle sticks side by side to form a base.
-
Paint or color each stick in red, white, and blue.
-
Cut out an ice cream scoop shape from colored paper and glue it on top.
-
Add fun details like sprinkles or stars with markers.
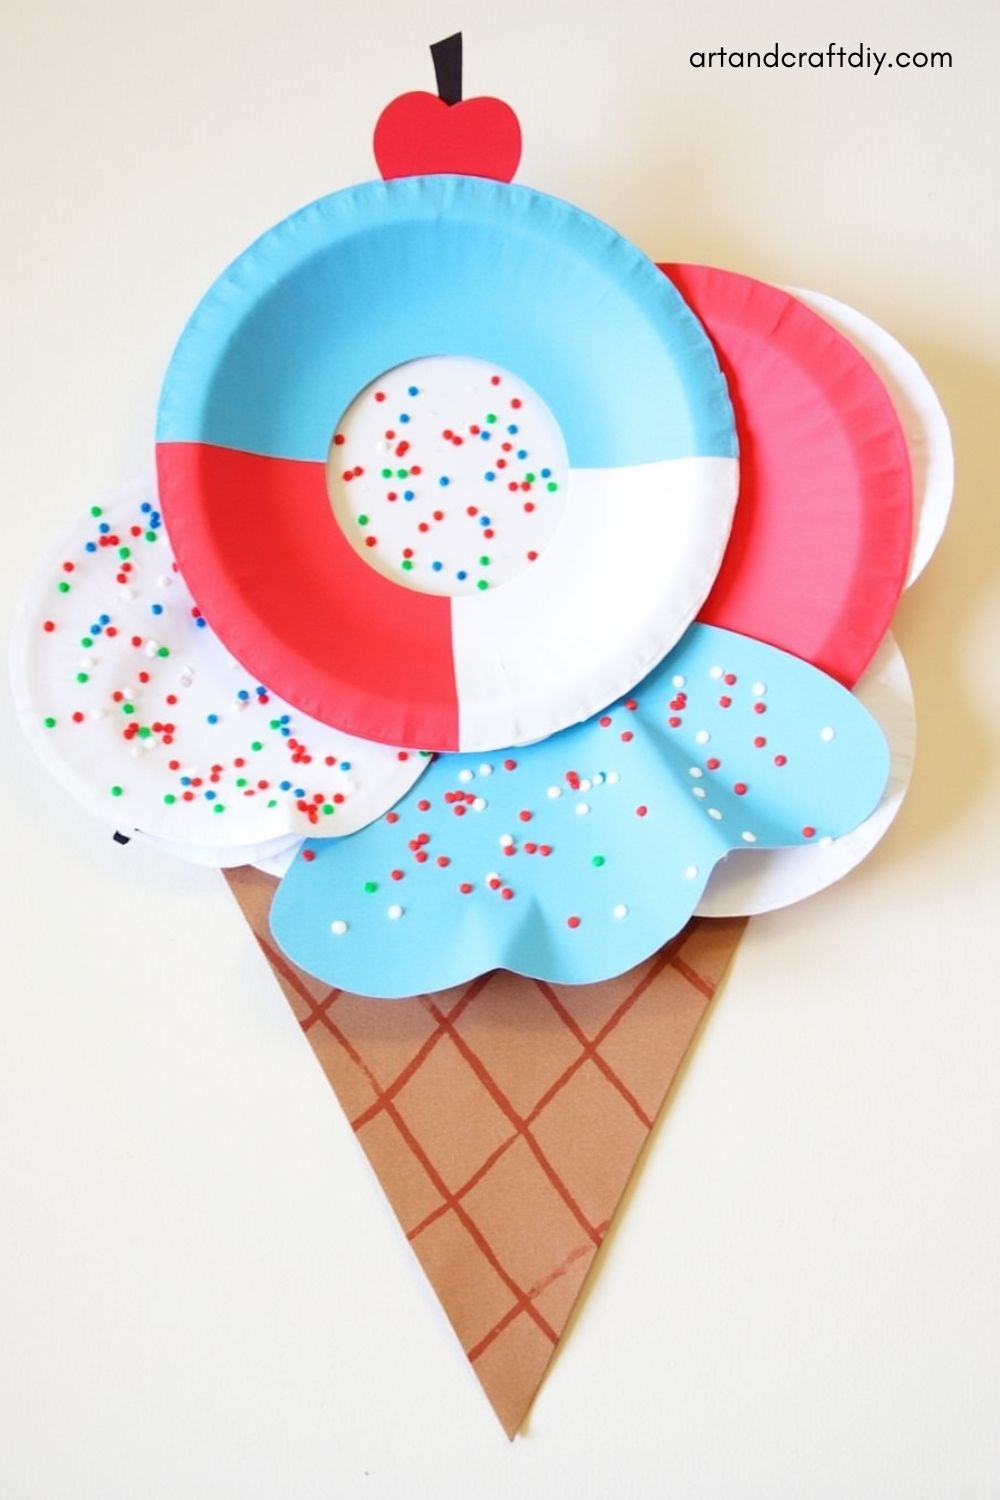
Paper Plate Ice Cream Craft
Materials Needed
-
Paper plates
-
Red, white, and blue construction paper
-
Glue
-
Scissors
-
Markers
Steps
-
Cut the center of a paper plate to create the “ice cream scoop” part.
-
Use red, white, and blue paper to cut out scoops and glue them to the plate.
-
Draw or color on the paper plate to make the cone shape.
-
Add sparkles or fun embellishments to make it festive.
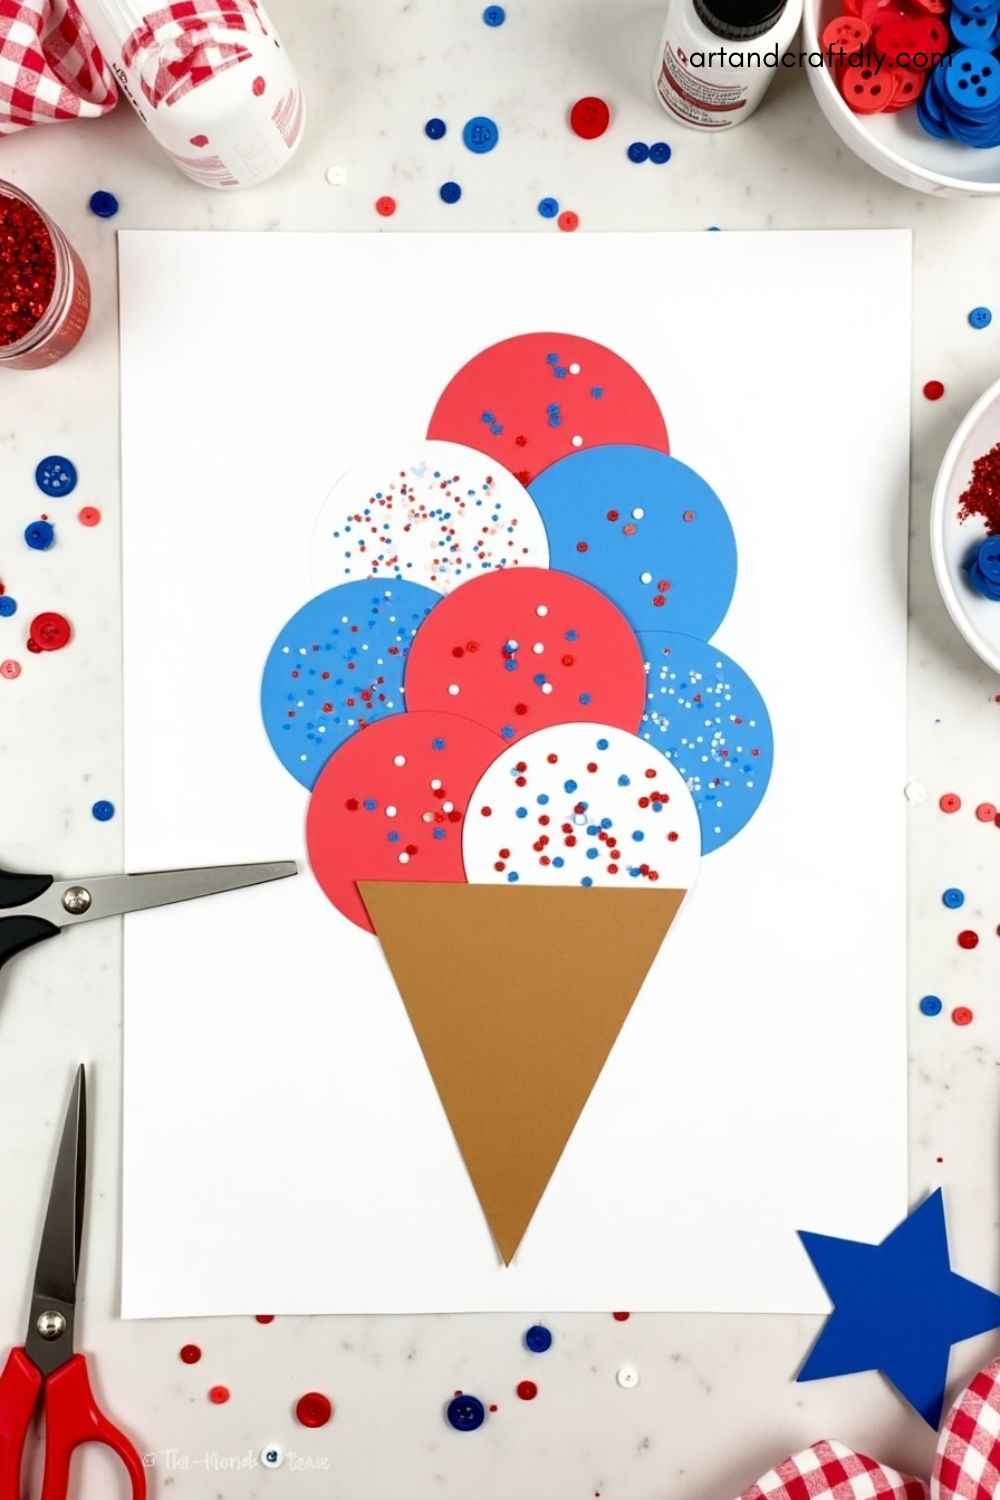
Ice Cream Cone Collage
Materials Needed
-
Various craft papers (red, white, blue, brown)
-
Glue
-
Scissors
-
Decorative items (glitter, sequins, buttons)
Steps
-
Cut out cone shapes from brown paper and various circle shapes from the colored papers.
-
Layer the circles to create a fun ice cream scoop tower.
-
Glue them onto a large sheet of paper to create a collage.
-
Decorate with sequins or buttons to add some texture.
Ice Cream Cone Salt Dough Craft
Materials Needed
-
Salt dough (flour, salt, water)
-
Red, white, and blue paint
-
Popsicle stick
-
Scissors
Steps
-
Shape the salt dough into a cone shape and bake until hardened.
-
Paint the dough in red, white, and blue, leaving a cone brown for contrast.
-
Attach a popsicle stick to the bottom to act as a handle.
-
Let dry, then display as a patriotic ice cream cone!
Ice Cream Cone Magnet Craft
Materials Needed
-
Magnetic strips
-
Construction paper
-
Scissors
-
Glue
Steps
-
Cut the cone shape from brown paper and three scoops from red, white, and blue paper.
-
Glue the scoops on top of the cone and decorate with glitter.
-
Attach a magnetic strip to the back for a fridge magnet.
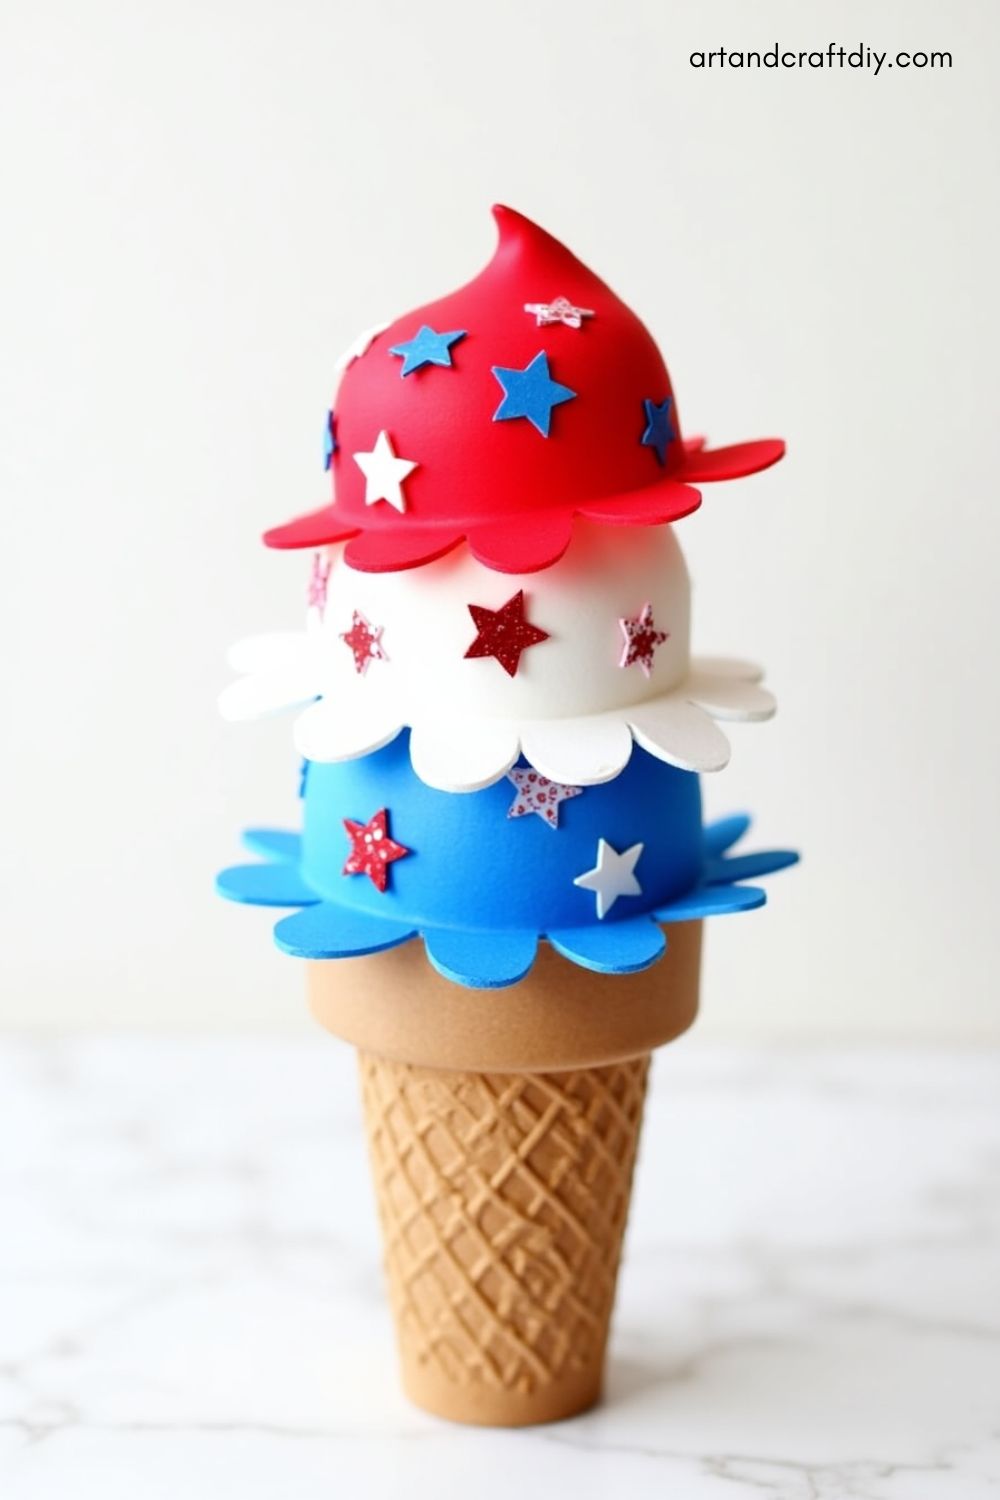
Foam Ice Cream Craft
Materials Needed
-
Foam sheets in red, white, blue, and brown
-
Glue
-
Scissors
Steps
-
Cut a cone from brown foam and a scoop from red, white, and blue foam.
-
Stack the scoops on top of the cone and glue them.
-
Decorate with fun foam stars or sequins to add extra sparkle.
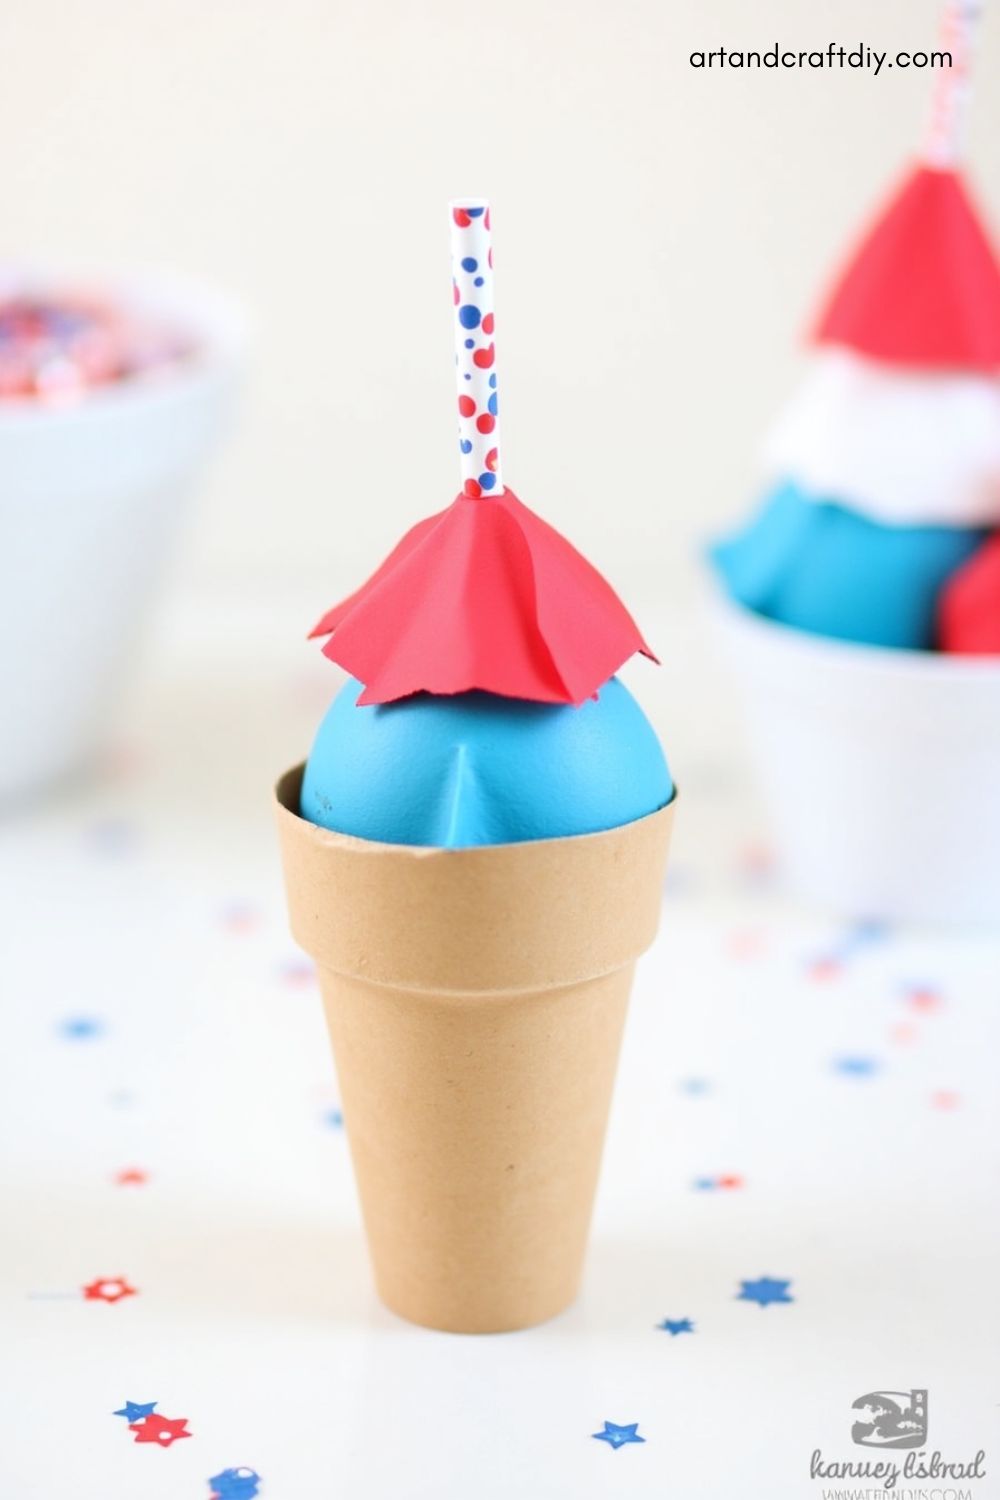
Straw and Paper Ice Cream Cone
Materials Needed
-
Drinking straws
-
Colored paper (red, white, blue)
-
Scissors
-
Glue
Steps
-
Cut a cone shape from brown paper and glue it to the bottom of a drinking straw.
-
Cut out scoop shapes from the red, white, and blue paper.
-
Glue the paper scoops onto the top of the straw to make it look like ice cream.
Ice Cream Cone Shadow Art

Materials Needed
-
Construction paper
-
Light source (flashlight)
-
Scissors
Steps
-
Cut out cone and scoop shapes from colored paper.
-
Place the paper cut-outs in front of a flashlight to create shadows on a wall.
-
Have kids trace the shadows to create their ice cream cone art.
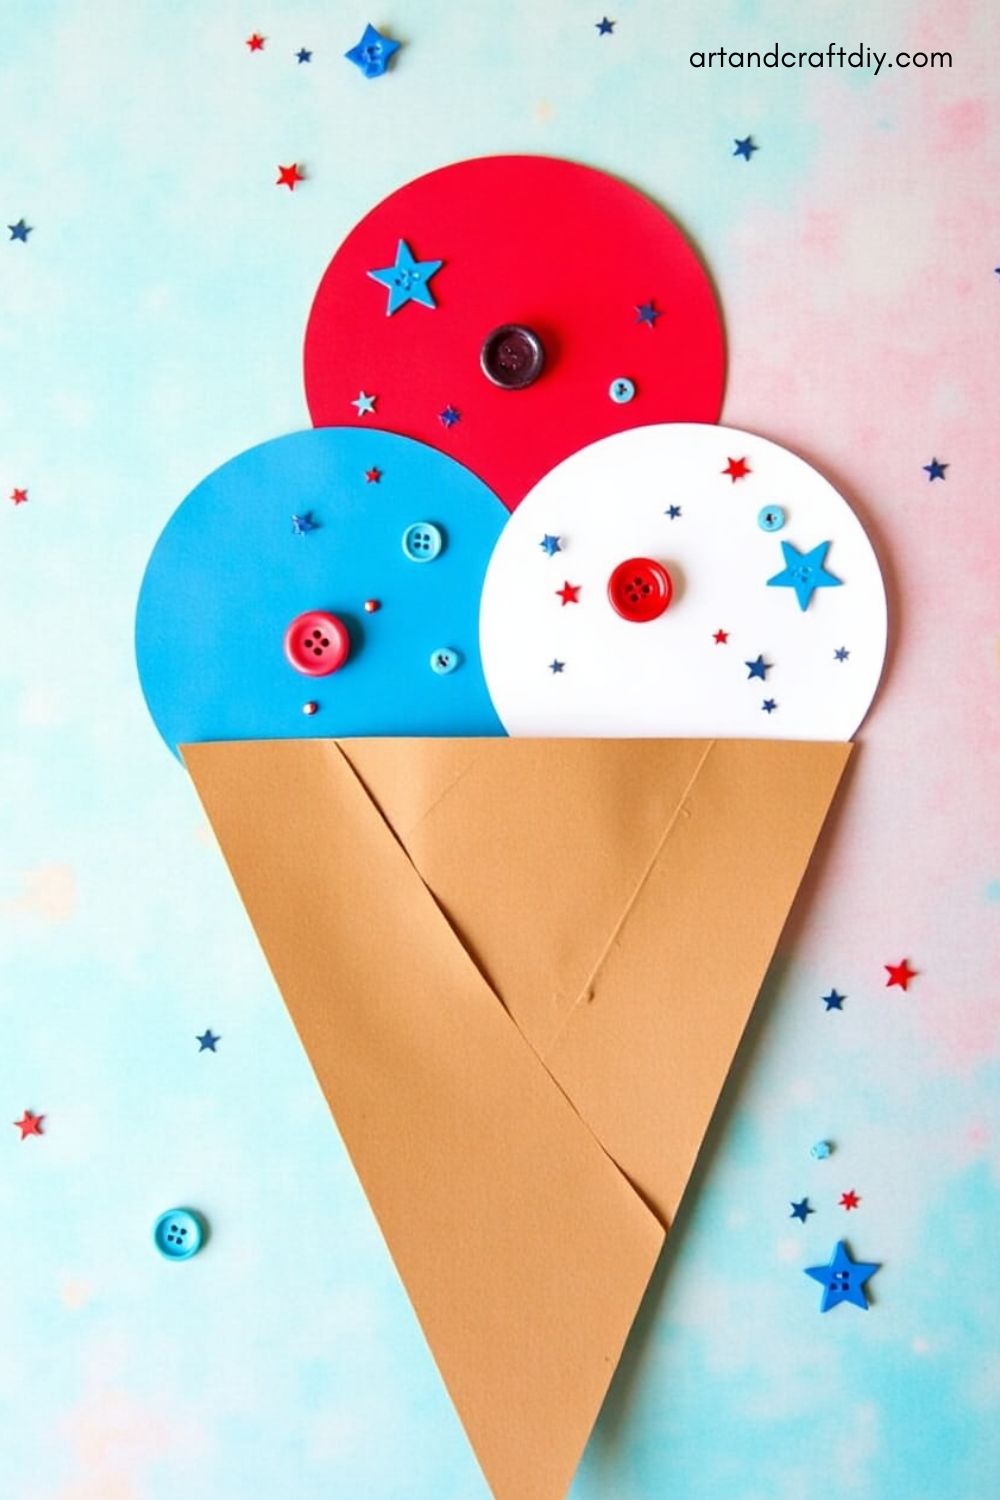
Ice Cream Craft with Buttons
Materials Needed
-
Buttons (red, white, and blue)
-
Construction paper
-
Glue
Steps
-
Cut out a cone shape from brown paper and scoops from red, white, and blue paper.
-
Glue buttons onto the paper scoops to create a fun, textured effect.
-
Add decorative elements like stars or glitter for extra fun.
Ice Cream Cone Stamps
Materials Needed
-
Sponge or foam
-
Scissors
-
Paint
-
Paper
Steps
-
Cut out a cone shape from the sponge or foam.
-
Use paint to stamp the cone shape onto paper.
-
Add red, white, and blue paint on top to make the ice cream scoops.
-
Create a pattern with stars or glitter on the ice cream for a patriotic touch.
3D Ice Cream Craft
Materials Needed
-
Cardstock
-
Tissue paper (red, white, blue)
-
Glue
-
Scissors
Steps
-
Cut out a cone shape from cardstock.
-
Crumple the tissue paper into small balls and glue them on top of the cone.
-
Layer red, white, and blue tissue to create a 3D ice cream effect.
Ice Cream Cone Pompom Craft
Materials Needed
-
Pom-poms (red, white, blue)
-
Construction paper
-
Glue
Steps
-
Cut out a cone from brown construction paper.
-
Glue pom-poms of various sizes on top to form the scoops.
-
Use glue to attach stars or other fun details for extra flair.
Watercolor Ice Cream Art
Materials Needed
-
Watercolor paints
-
Paintbrush
-
Construction paper
Steps
-
Paint a large ice cream cone shape on construction paper with watercolors.
-
Use red, white, and blue watercolor paints to create the scoops of ice cream.
-
Add some fun details with a fine-tipped brush to decorate.
These 4th of July ice cream crafts are the perfect way to bring creativity and patriotism together in a fun, kid-friendly way. They are sure to keep children entertained and excited while celebrating Independence Day!
Craft Tips & Variations
To make these 4th of July ice cream crafts even more enjoyable and customizable, here are some fun tips and variations to try! These simple ideas can enhance the craft experience and give it a personal touch. Whether you want to add a sensory element, create a keepsake, or encourage kids to add their own flair, these variations are sure to make the project even more exciting!
-
Use textured paper or felt for sensory fun
Swap regular paper with textured materials like felt or fabric to add a sensory element. The different textures will engage kids’ senses and make the craft feel even more interactive. It’s a great way to add depth and dimension to their creations! -
Turn it into a fridge magnet with adhesive magnets on the back
After finishing the craft, add an adhesive magnet to the back so kids can proudly display their patriotic ice cream cone on the fridge. It’s a fun and functional way to keep the craft as a lasting memory of the holiday! -
Let kids write their name or a “Happy 4th of July” message on it
Encourage kids to personalize their ice cream craft by writing their name or a festive “Happy 4th of July” message on the cone or scoops. This not only makes the craft more special but also gives them a chance to practice writing in a fun, creative way.
FAQ
What age group is this craft suitable for?
This craft is perfect for kids aged 4-10, though older children can enjoy it too by adding more intricate details or designs. Younger children may need help with cutting, while older kids can do most of the craft on their own.
Can I use different colors for the ice cream scoops?
Absolutely! While red, white, and blue are traditional for the 4th of July, feel free to let kids choose any colors they like. This allows for creative expression and can be a great way to mix things up for different holidays or personal tastes.
Is this craft messy?
This craft is designed to be mess-free! There’s no melting ice cream or sticky syrup involved. However, some materials like glue, markers, or glitter may require a bit of supervision, especially with younger kids.
Can I make this craft into a keepsake or gift?
Yes! By adding a magnet to the back, writing a personal message, or letting kids decorate with special touches like glitter or buttons, this craft can easily be turned into a keepsake or a gift for family and friends.

Hi, I’m Victoria, an art and craft teacher at Newark City Schools, where I have the joy of working with middle school students to help them explore their creativity and develop their artistic talents. I believe that art is a powerful way for students to express themselves, and I strive to make every lesson a fun, engaging, and inspiring experience.
I created this website to share the art and craft projects, techniques, and resources that I use in my classroom, hoping to inspire both educators and young artists alike. Whether you’re a teacher looking for new ideas or a student eager to try something new, I’m excited to provide creative tools and projects that anyone can enjoy.
When I’m not in the classroom, I love experimenting with different art forms and learning new crafting techniques. My goal is to help others discover the joy of making things with their hands, and I hope my website serves as a space for everyone to explore their creative potential.