
Oh, I’ve gotta tell you—last Christmas, I was staring at a pile of craft supplies, feeling completely overwhelmed. I wanted to make something cute, something that actually looked like it belonged under a Christmas tree, but all I could think was, “Ugh… where do I even start?” That’s when I stumbled across these adorable Christmas gnome craft ideas, and honestly, it was a total game-changer.
I started small, just playing around with felt, little buttons, and tiny pom-poms, and before I knew it, my living room was full of these tiny, whimsical gnomes that somehow made the whole space feel cozier. I know how frustrating it can be when craft projects feel impossible or you’re worried they’ll turn out messy, but trust me, this isn’t one of those. In this post, I’m sharing simple, fun Christmas gnome craft ideas that anyone can do, even if you’re not a “crafty person.” Ready to make some magic?
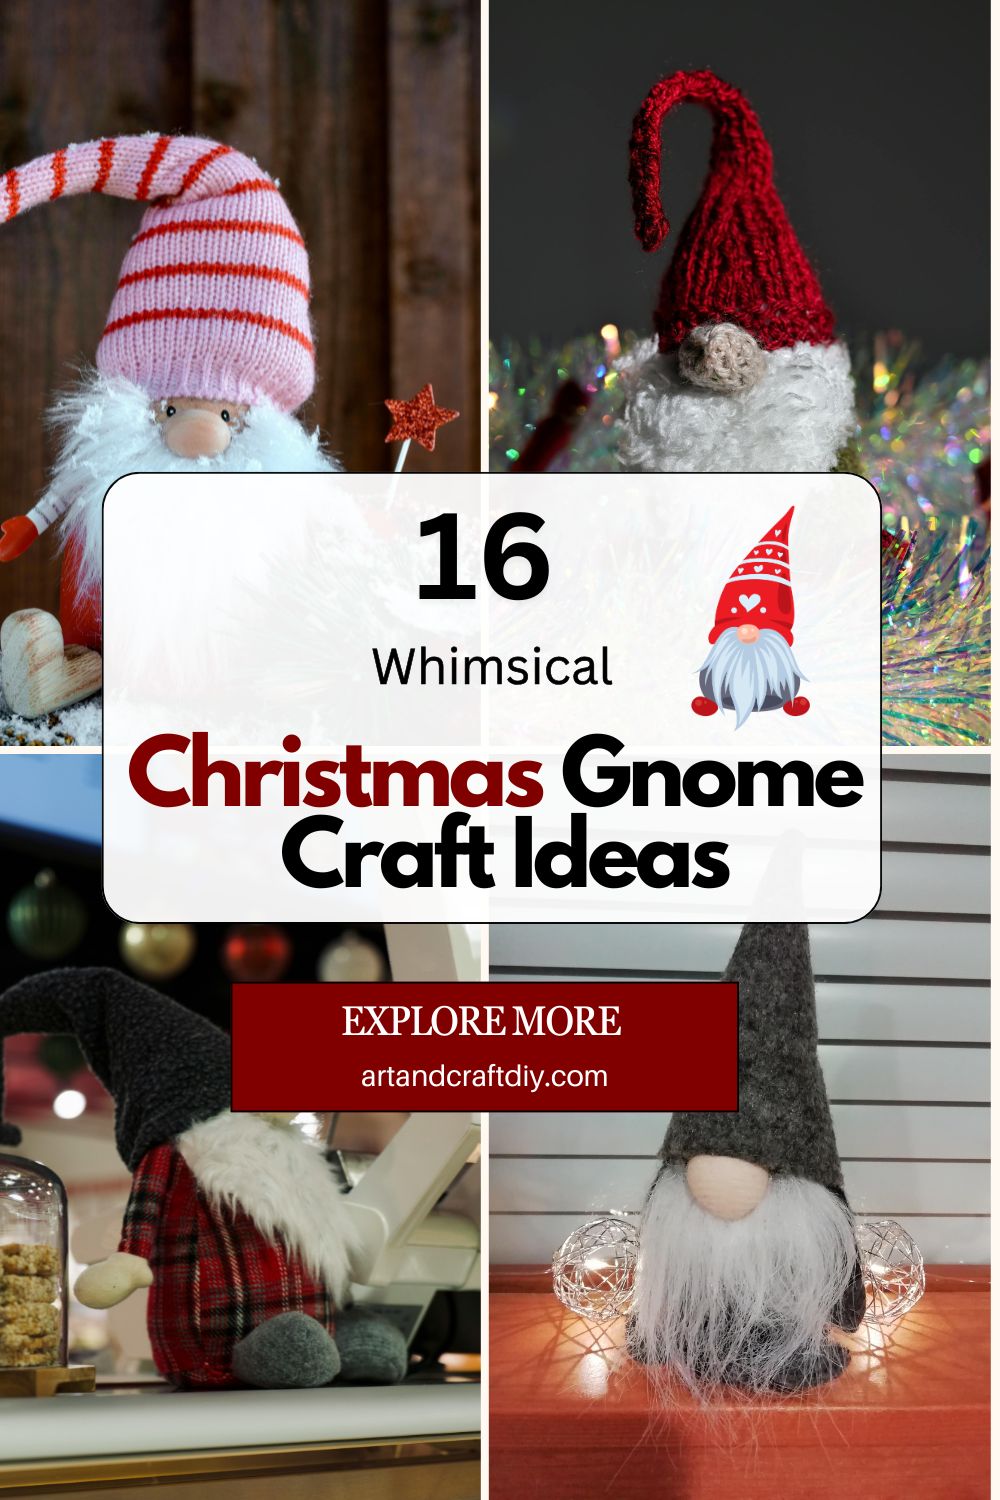
Christmas Gnome Craft Ideas
Christmas gnomes are cute, festive decorations that add a cozy touch to your holiday home. Making gnome crafts is fun, easy, and perfect for all ages.
Sock Gnome
Honestly, sock gnomes are my absolute favorite to make because they’re so simple yet super cute. I usually grab an old sock, some rice or beans to fill it, and a little bit of felt for the nose. The first time I made one, I ended up spilling rice everywhere, but it was hilarious, and the gnome still looked adorable.
I tie off the top to make the hat, and sometimes I even add a little jingle bell for fun. In my opinion, the best part is you can personalize it with different socks or add tiny accessories like buttons or mini scarves. Kids especially love helping with these because they’re basically little plush friends by the end.
Felt Cone Gnome
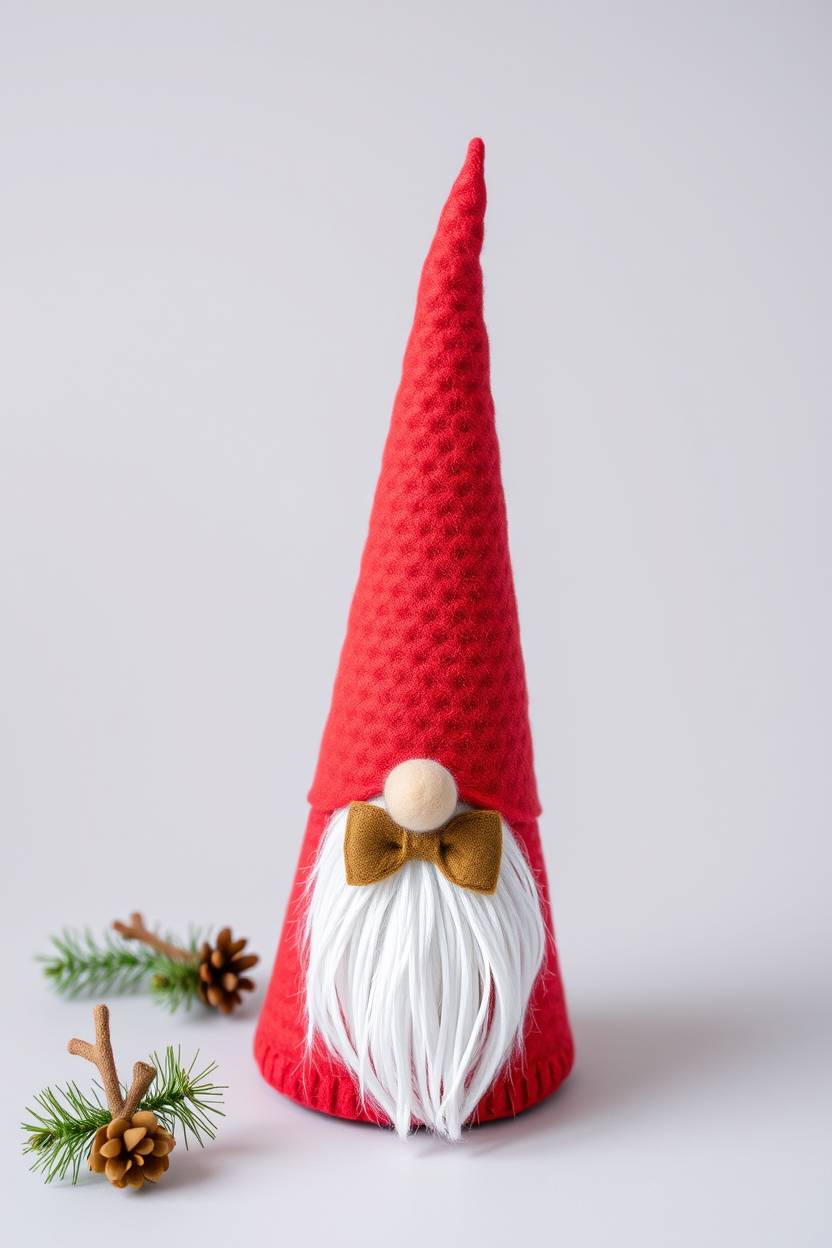
Felt cone gnomes are a classic in my craft stash. I usually cut out a cone shape from a piece of felt, glue the sides, and then stuff it with cotton or scrap fabric. To be fair, the first felt cone I made was super lopsided, but that gave it character!
I love adding a fluffy pom-pom for the nose and some yarn for the beard—it makes the gnome look super whimsical. Honestly, the color combinations are endless, and I’ve found that using patterned felt adds a fun touch. You can even glue little buttons or tiny bells to the hat if you’re feeling extra festive.
Mason Jar Gnome
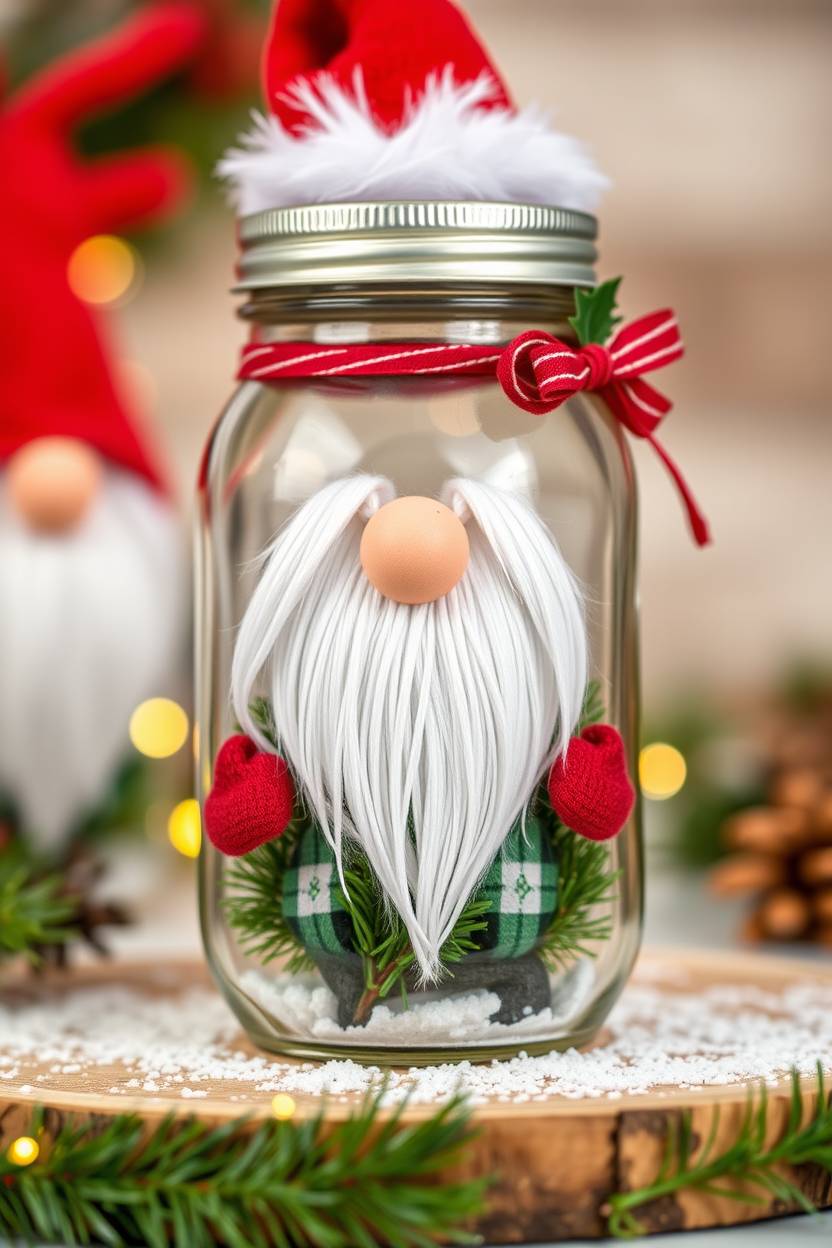
Mason jar gnomes are one of my quirky favorites because you get a little container and a gnome all in one. I usually paint the jar lid to match the hat and then glue felt or fabric around it. I still remember the first one I made; I accidentally glued the hat crooked, but it looked funny and cute, so I kept it.
Filling the jar with fake snow, candies, or little fairy lights instantly makes it festive. Honestly, I love how versatile they are—you can display them on a shelf, a windowsill, or even use them as a gift jar. I’ve found that personalizing the gnome with tiny accessories or different hat styles makes it feel extra homemade.
Pinecone Gnome
Pinecone gnomes are the ultimate rustic Christmas craft, in my opinion. I usually collect pinecones from my backyard, add a little felt hat, and glue on a tiny pom-pom nose. The first time I tried this, a pinecone kept flipping over—it was frustrating, but honestly, that imperfection made it look like a real little forest gnome.
I love using yarn for the beard because it’s fluffy and whimsical. Sometimes I add tiny bells or glitter to the hat for a festive touch. Pinecone gnomes are honestly one of those crafts that feel natural, cozy, and a little magical. Displaying them around the house gives me all the Christmas vibes.
Wine Bottle Gnome Cover
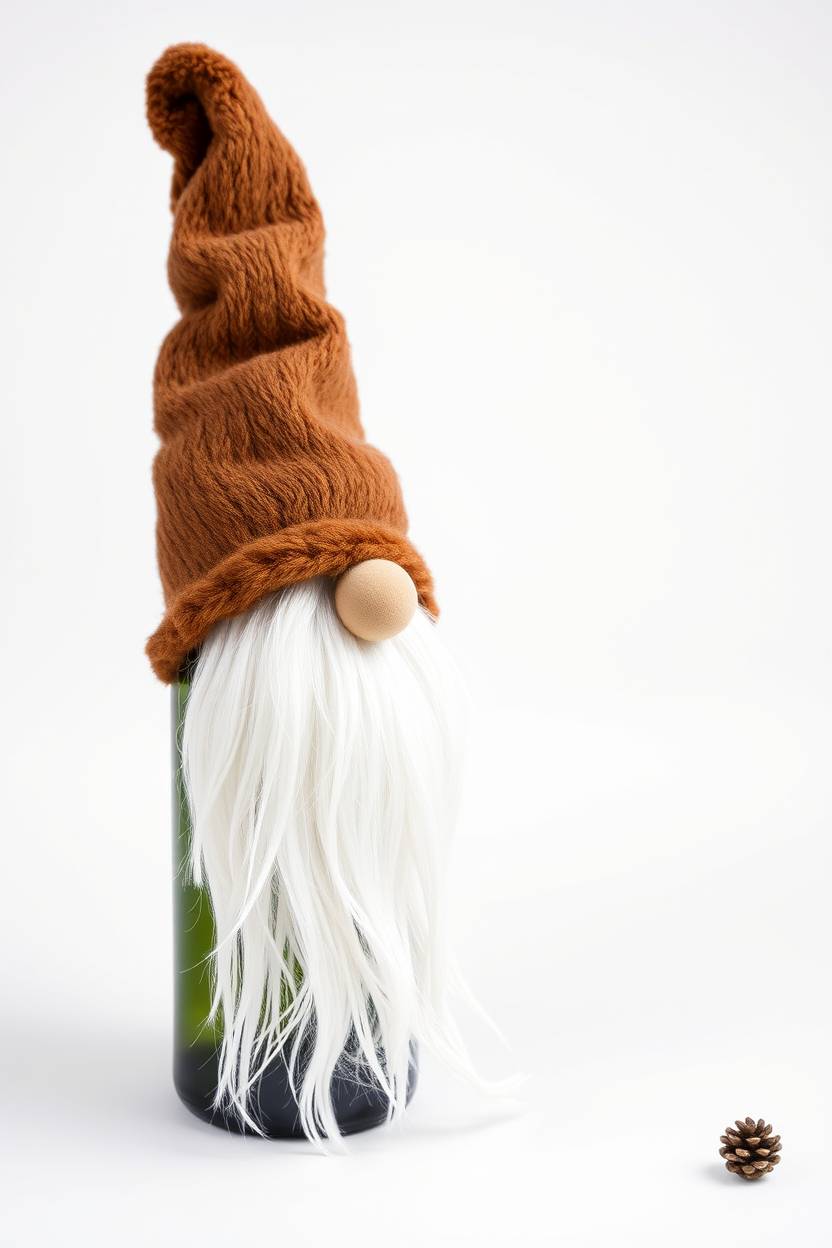
Wine bottle gnome covers are hilarious and festive, honestly. I first tried this on a fancy wine bottle for a friend’s party, and everyone laughed—they’re basically a gnome that doubles as decor. I usually use felt or knit fabric to make the hat and glue it around the neck of the bottle, adding a little beard with yarn.
The best part is that it makes a simple gift feel extra thoughtful. I’ve found that adding a small button or a little felt mitten glued on the side gives it a fun personality. To be fair, sometimes the hat slips, but a dab of glue fixes that. These gnome covers are so easy, and honestly, everyone needs one on their table at Christmas.
Pom-Pom Beard Gnome
I’ve discovered that pom-pom beard gnomes are the fluffiest, goofiest little guys. I usually make several small pom-poms, glue them together for a full beard, and then top it with a felt or knit hat. The first time I tried this, the beard was so big it completely hid the gnome’s face—it looked ridiculous, but I loved it.
Honestly, the bigger and fluffier the beard, the better. I like to mix yarn colors for a fun twist. Adding little button noses or tiny bell hats gives them personality. Kids adore helping with these because rolling pom-poms and gluing them is just so satisfying. It’s honestly one of my happiest Christmas crafts.
Ornament Gnomes
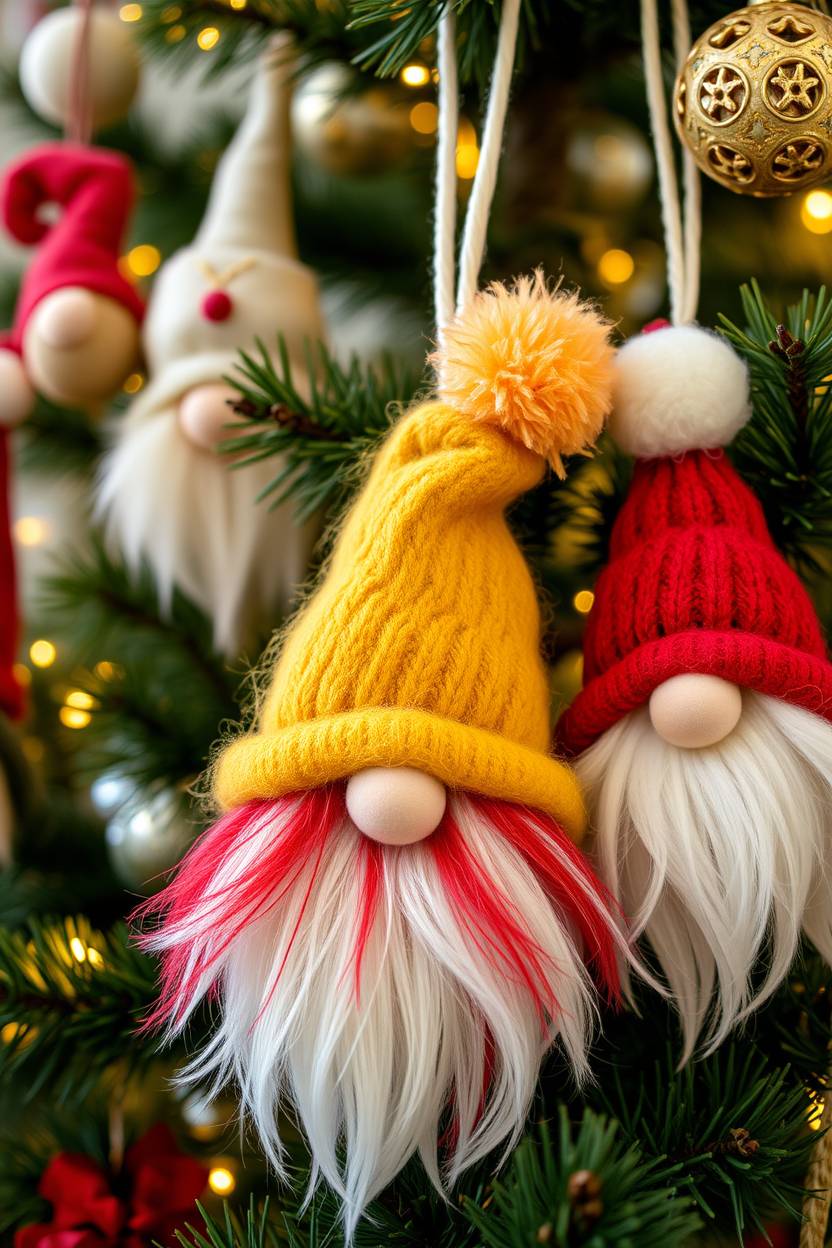
Ornament gnomes are tiny, festive, and honestly, addictive to make. I usually use small felt cones, mini pom-poms, and a loop for hanging. The first time I tried it, my cat knocked over all the materials, and I ended up making a bunch of “scrap gnomes,” which actually looked adorable.
I love mixing different textures—some wool, some felt, even a bit of faux fur for the beard. Honestly, the charm is in the details. You can hang them on the tree, tie them to gifts, or even make a little gnome village in a bowl. It’s super satisfying seeing these tiny guys add personality to the tree.
Wreath Gnome
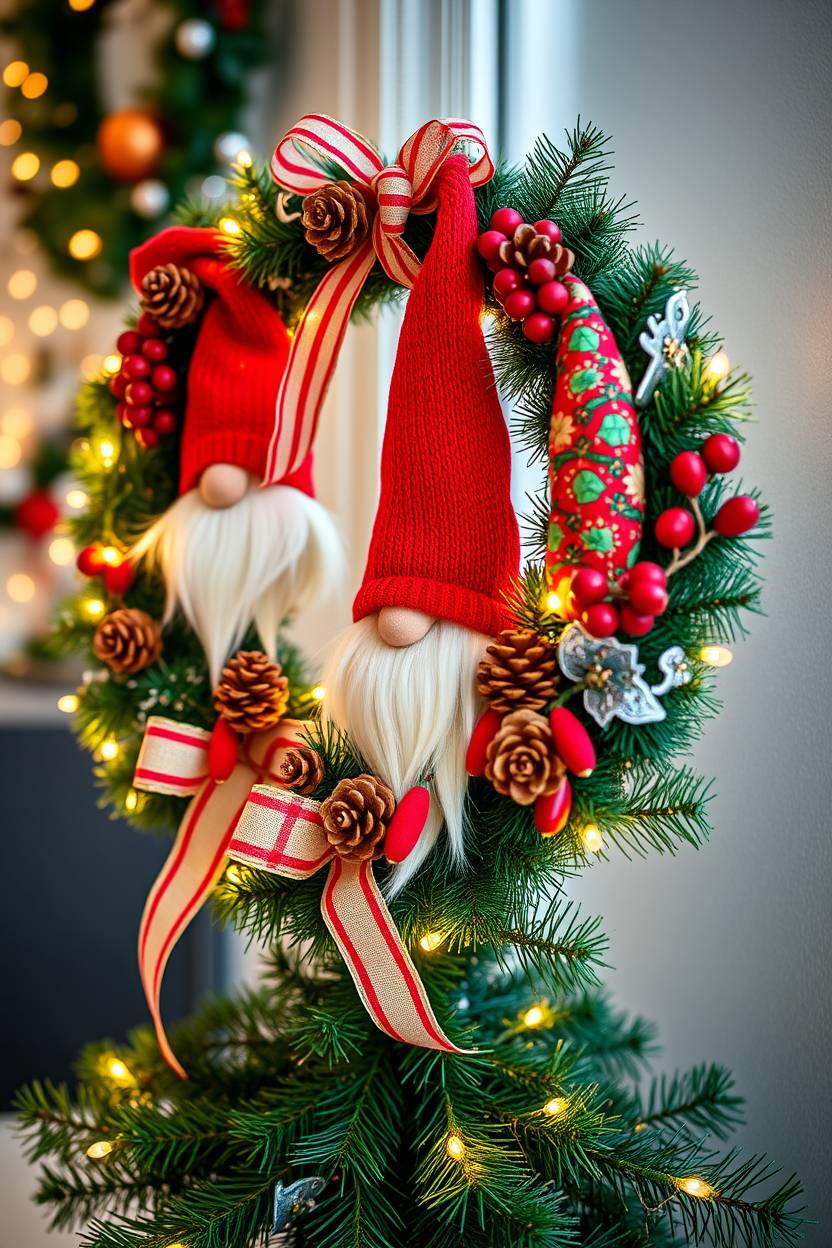
Gnome wreaths are my personal favorite for front doors because they instantly make me smile. I usually glue a few small gnomes to a basic pine wreath, then add pinecones, berries, and ribbon. To be fair, the first wreath I made looked like the gnomes were having a chaotic party, but honestly, that’s kind of charming.
I like experimenting with different hat colors and sizes so it doesn’t look too uniform. Adding little fairy lights gives it an extra magical vibe. Honestly, whenever I see this wreath hanging outside, it makes me so happy—it’s festive and whimsical, plus it’s a great conversation starter with guests.
Tabletop Gnome Decoration
Tabletop gnome decorations are honestly my easiest go-to for last-minute festive touches. I usually make 2–3 small gnomes using felt or socks, then arrange them on a tray with some pinecones and fairy lights. I remember the first time I did this—I thought it looked sparse, but adding a candle instantly made it cozier.
I’ve found that varying the sizes and colors makes the display look more natural. Honestly, you can use them for the dining table, a bookshelf, or even on your office desk. They’re playful, whimsical, and in my opinion, bring a little extra holiday cheer wherever you place them.
Wooden Gnome Signs
Wooden gnome signs are honestly one of my favorite rustic projects. I usually buy a plain wooden plaque and paint or stencil a gnome onto it. To be fair, the first one I painted had a wobbly nose, but honestly, it added character.
I like adding a cute quote or holiday phrase underneath, like “Gnome Sweet Gnome.” You can distress the wood a bit for a vintage feel. Honestly, these signs make perfect gifts and can be displayed year after year. I’ve found that even simple gnome shapes painted with bold colors look charming and festive on your wall or shelf.
No-Sew Sock Hat Gnome
No-sew sock hat gnomes are honestly perfect when I’m in a rush. I usually take a sock, fill it with rice, fold it, and tie it off—no sewing needed. The first time I tried this, I didn’t even have glue, and somehow it still turned out super cute.
I like using different sock patterns for variety and adding yarn for the beard. Honestly, it’s amazing how little effort gives such a fun result. These gnomes are perfect for kids to make because there’s no sewing involved, and honestly, everyone ends up with a tiny little friend they can’t stop smiling at.
Clay Pot Gnome
Clay pot gnomes are a bit quirky, but I love them. I usually paint a small terracotta pot, add a felt hat, and glue on a yarn or faux fur beard. Honestly, the first one I made tipped over a few times while drying, but I kind of loved its crooked charm.
I’ve found that using bright, cheerful colors makes them really pop on shelves or windowsills. Sometimes I even add tiny mini gloves or buttons to give them extra personality. Honestly, clay pot gnomes feel a bit more permanent, so they’re perfect if you want something that lasts year after year.
Paper Gnome Craft
Paper gnome crafts are surprisingly fun and versatile. I usually cut out triangle hats and circles for noses, then layer paper for the beard. Honestly, my first attempt looked more like a tiny wizard than a gnome, but that made it kind of funny.
I’ve found that using patterned or textured paper adds so much character. You can glue them to cards, hang them as ornaments, or even make a little paper gnome village. Honestly, these are perfect for crafting with kids because it’s simple, low mess, and you get to play with colors and textures freely.
LED Light-Up Gnome
LED light-up gnomes are honestly my most magical creations. I usually hide a small battery-operated LED inside a felt hat or mason jar gnome. To be fair, the first time I tried this, I got tangled in wires, but honestly, it was worth it when the gnome glowed.
I’ve found that using warm white lights gives a cozy Christmas feel, and adding glitter to the hat makes it extra festive. Honestly, these gnomes feel alive when the lights are on—they make perfect mantel or tabletop decorations. I love seeing their little faces illuminated in the evening—it’s like magic in my living room.
DIY Gnome Garland
DIY gnome garlands are honestly the easiest way to make a big festive statement. I usually make several small gnomes from felt or socks, then string them together with twine. To be fair, the first garland I tried kept tangling, but honestly, that’s part of the fun.
I like mixing different hat colors and beard styles so it doesn’t look repetitive. You can hang it over a fireplace, along a staircase, or even across a window. Honestly, the best part is seeing all the little gnomes lined up—it feels playful, whimsical, and instantly festive. I’ve found that everyone who visits asks where I got it, so it’s definitely a crowd-pleaser.
Tips for Making Gnome Crafts
Creating Christmas gnome crafts is fun, but a few simple tips can make them look even more charming and festive. Here are some ideas to help you craft perfect gnomes:
-
Mix textures like faux fur, felt, and wood to give your gnomes a cozy and interesting look.
-
Use festive colors such as red, green, grey, and plaid to make them holiday-ready.
-
Personalize your gnomes with names or tiny props like mini gifts, candy canes, or little ornaments.
-
Keep kid-friendly versions simple and safe, avoiding sharp tools or small choking hazards.
FAQ
What materials do I need to make Christmas Gnome Craft Ideas?
Common materials include for making Christmas Gnome Craft Ideas like: felt, fabric, socks, yarn, faux fur, stuffing, wooden beads, buttons, and hot glue. You can also use pinecones, mason jars, or clay pots for creative versions.
Are Christmas Gnome Craft Ideas suitable for kids?
Yes! Many gnome crafts are kid-friendly, like paper gnomes or no-sew sock gnomes. Just supervise when using hot glue or small beads.
Can I make gnomes without sewing?
Absolutely! You can use glue, pre-made materials, or no-sew sock hats to create adorable gnomes without sewing.
How can I personalize my gnome crafts?
You can add names, mini props like candy canes or tiny gifts, paint the hat, or use different textures and colors to make each gnome unique.

Hi, I’m Victoria, an art and craft teacher at Newark City Schools, where I have the joy of working with middle school students to help them explore their creativity and develop their artistic talents. I believe that art is a powerful way for students to express themselves, and I strive to make every lesson a fun, engaging, and inspiring experience.
I created this website to share the art and craft projects, techniques, and resources that I use in my classroom, hoping to inspire both educators and young artists alike. Whether you’re a teacher looking for new ideas or a student eager to try something new, I’m excited to provide creative tools and projects that anyone can enjoy.
When I’m not in the classroom, I love experimenting with different art forms and learning new crafting techniques. My goal is to help others discover the joy of making things with their hands, and I hope my website serves as a space for everyone to explore their creative potential.