
You know, the other day I was cleaning out my kitchen drawers (you know, that one we all have full of random things we might need someday), and I found a pack of air-dry clay I’d completely forgotten about. Instead of tossing it, I thought—why not get a little creative? A few hours later, I had the cutest set of handmade clay spoons and a trinket dish sitting on my counter. It wasn’t perfect, but honestly, that’s the charm of kitchen clay crafts—they’re fun, relaxing, and a little messy in the best way possible. If you’ve ever wanted to make something beautiful and practical for your kitchen, you’re going to love this. Whether you’re into simple clay tags for jars or personalized coasters, I’ll walk you through some easy, satisfying ideas to get those creative hands moving. So, grab that clay, friend—it’s crafting time!
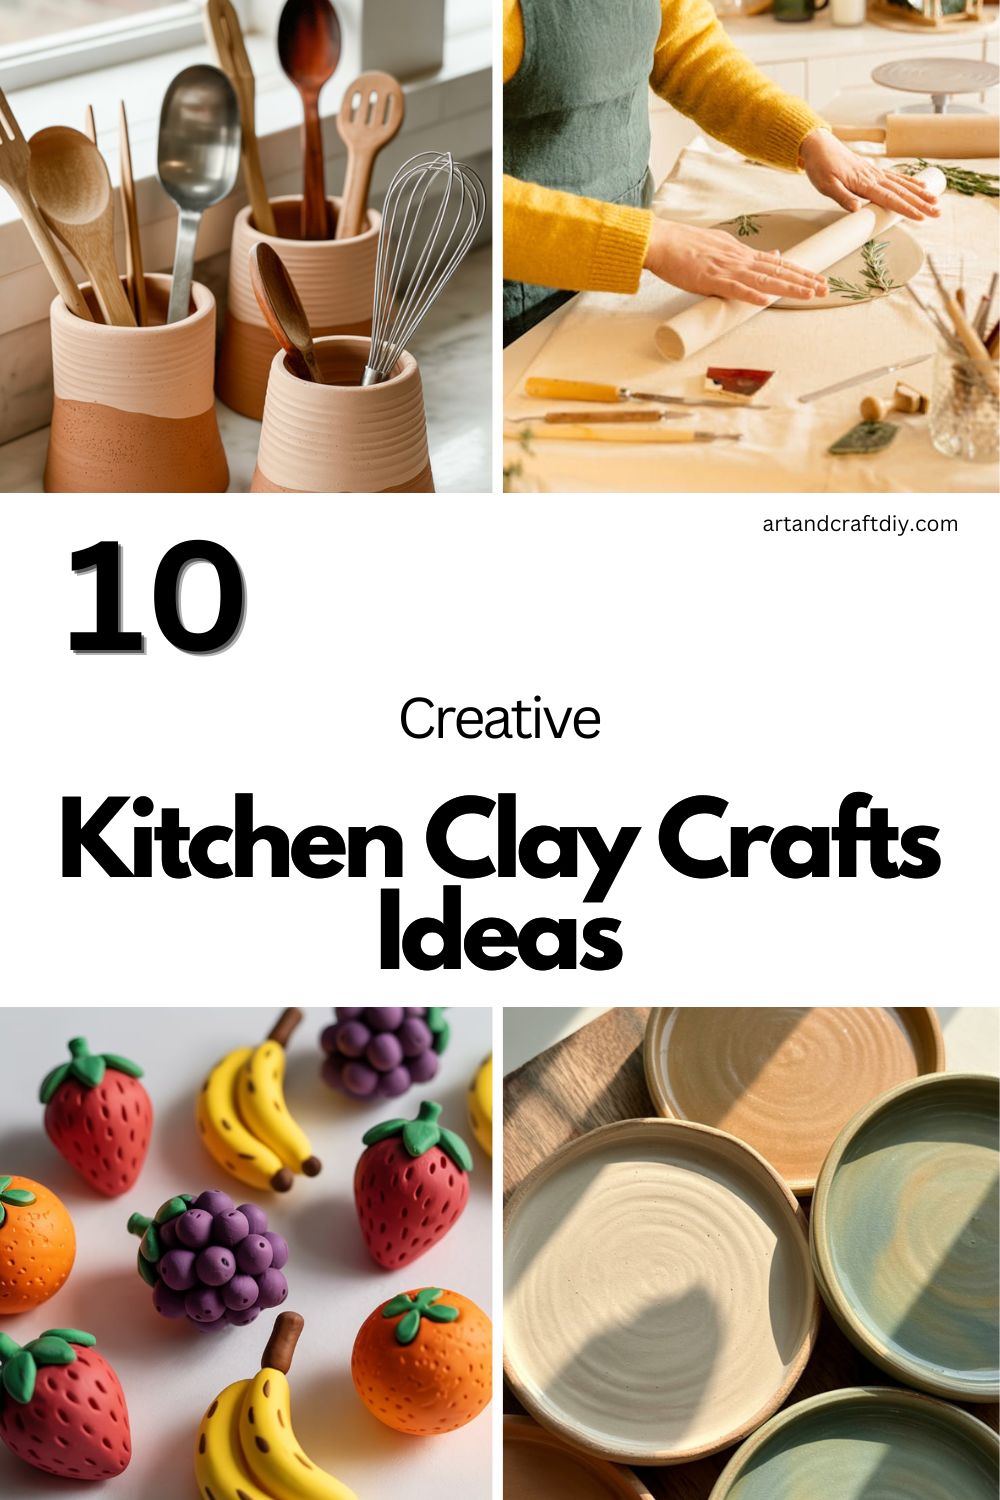
Kitchen Clay Crafts
Kitchen clay crafts are fun DIY projects that let you create beautiful and useful items for your kitchen. From coasters to utensil holders, these handmade pieces add a personal and artistic touch to your space.
Clay Coasters
I still remember the first time I made clay coasters for my kitchen—it was a total mess, but in the best way possible. I rolled out the clay too thin, my circles looked more like ovals, but when they dried, I realized that the imperfections actually made them charming. Honestly, that’s the fun of it—no two pieces look the same. You can press leaves, lace, or even a fork into the clay for texture. Once baked and painted, they look like little art pieces on your table. I love how they add warmth and a handmade touch to my morning coffee moments.
If you’re trying this, use air-dry clay if you don’t want to mess with an oven. Paint them in earthy tones or go bright—it depends on your kitchen vibe. I usually seal mine with a coat of varnish so they don’t get ruined by water. Trust me, they’re as practical as they are pretty.
Spoon Rests
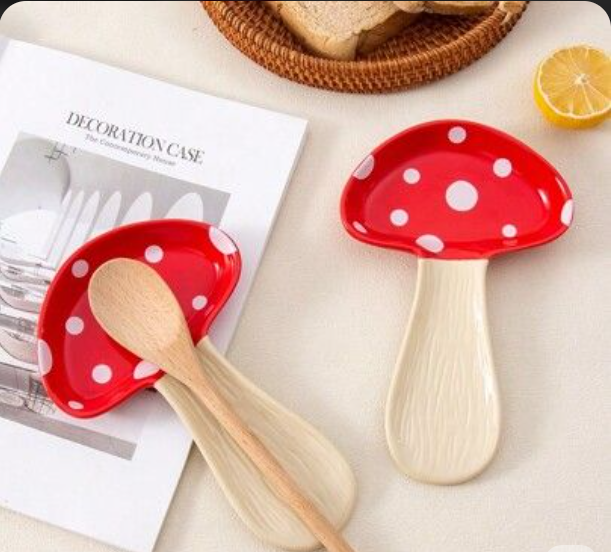
Making spoon rests from clay started because I was tired of those store-bought ones sliding around and looking boring. I wanted something that actually matched my kitchen colors. So one afternoon, I shaped a few uneven ovals, curved the edges slightly, and added thumb impressions for texture. To be fair, my first batch cracked, but after a few tries, I learned to smooth the edges and let them dry slowly. Now I’ve got this collection of mismatched, hand-painted spoon rests that feel like little bits of me scattered across my countertop.
If you ever try this, roll your clay a bit thicker than you think—you’ll thank yourself later. Paint them with food-safe glaze or acrylics and seal well. I’ve even made some as gifts, and people love the handmade vibe. There’s something cozy about resting your ladle on something you crafted yourself.
Utensil Holders

Utensil holders were one of those clay projects that I didn’t plan—I just had extra clay from another craft. I rolled it around a glass jar to get the right shape, then added some little thumbprints for that rustic look. When it dried, I painted it a soft terracotta shade, and now it sits proudly next to my stove. Honestly, it makes my whole kitchen feel more organized and creative.
What I like most is that you can personalize these however you like—add textures, carve in your initials, or press lace for patterns. Just make sure it’s thick enough to hold the weight of spoons and ladles. I once made one with a marbled effect by mixing white and brown clay together—it looked so chic. So if your utensils are just lying around, this is a fun way to give them a handmade home.
Mini Herb Pots

My kitchen window sill was begging for some greenery, so I decided to make mini herb pots from clay. They’re tiny, cute, and perfect for basil or mint. I’ve found that making them by hand gives them that slightly imperfect charm—like they belong in a cozy, lived-in kitchen. The best part? You can make matching sets in different colors or designs.
To make them, I usually roll a small slab, shape it into a cylinder, and smooth the joins with water. Paint them once dry—sometimes I go for bright pops of color, sometimes soft pastels. I even stamped mine with little words like “Grow” and “Fresh.” Every time I snip basil for pasta, it feels so satisfying knowing I made the pot myself. Trust me, once you make one, you’ll want to fill your whole windowsill with them.
Fridge Magnets
Clay fridge magnets are such a fun way to add personality to your kitchen. I started making them out of leftover clay scraps and ended up obsessed. I made tiny fruit shapes, coffee mugs, and even a miniature version of my cat. Honestly, once you start, it’s hard to stop.
Just roll out your clay, cut small shapes, poke holes for magnets, and paint after drying. I use strong adhesive to attach the magnets, and they stick perfectly. My favorite is a little lemon slice that somehow always makes me smile when I grab milk in the morning. It’s these small handmade touches that make a kitchen feel like home.
Napkin Rings
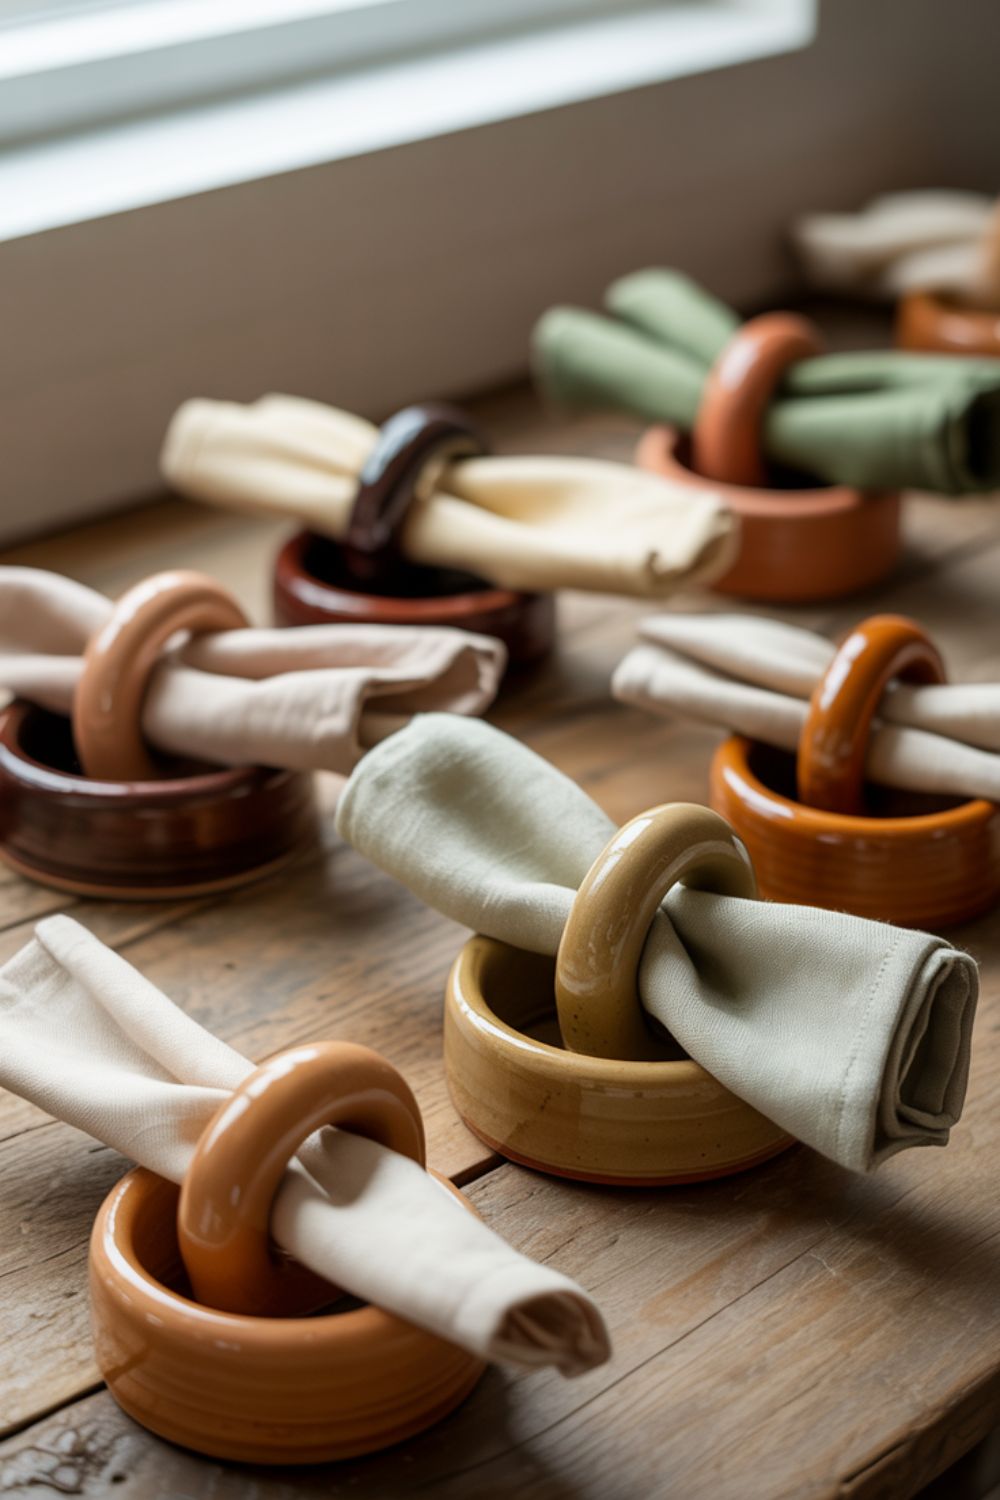
I got into making napkin rings before a family dinner—I wanted something special but not too fancy. So, I made simple clay loops and decorated them with pressed flowers before baking. To be fair, a few cracked, but the ones that survived looked like they belonged in a boutique. Everyone at dinner noticed them, and I felt like a mini Martha Stewart for a second.
They’re easy to customize—add initials, textures, or paint with metallic accents. I love mixing rustic clay texture with soft linen napkins. It’s such a small detail but instantly elevates your table setup. You’ll find yourself reaching for these even on casual nights.
Fruit-Shaped Charms
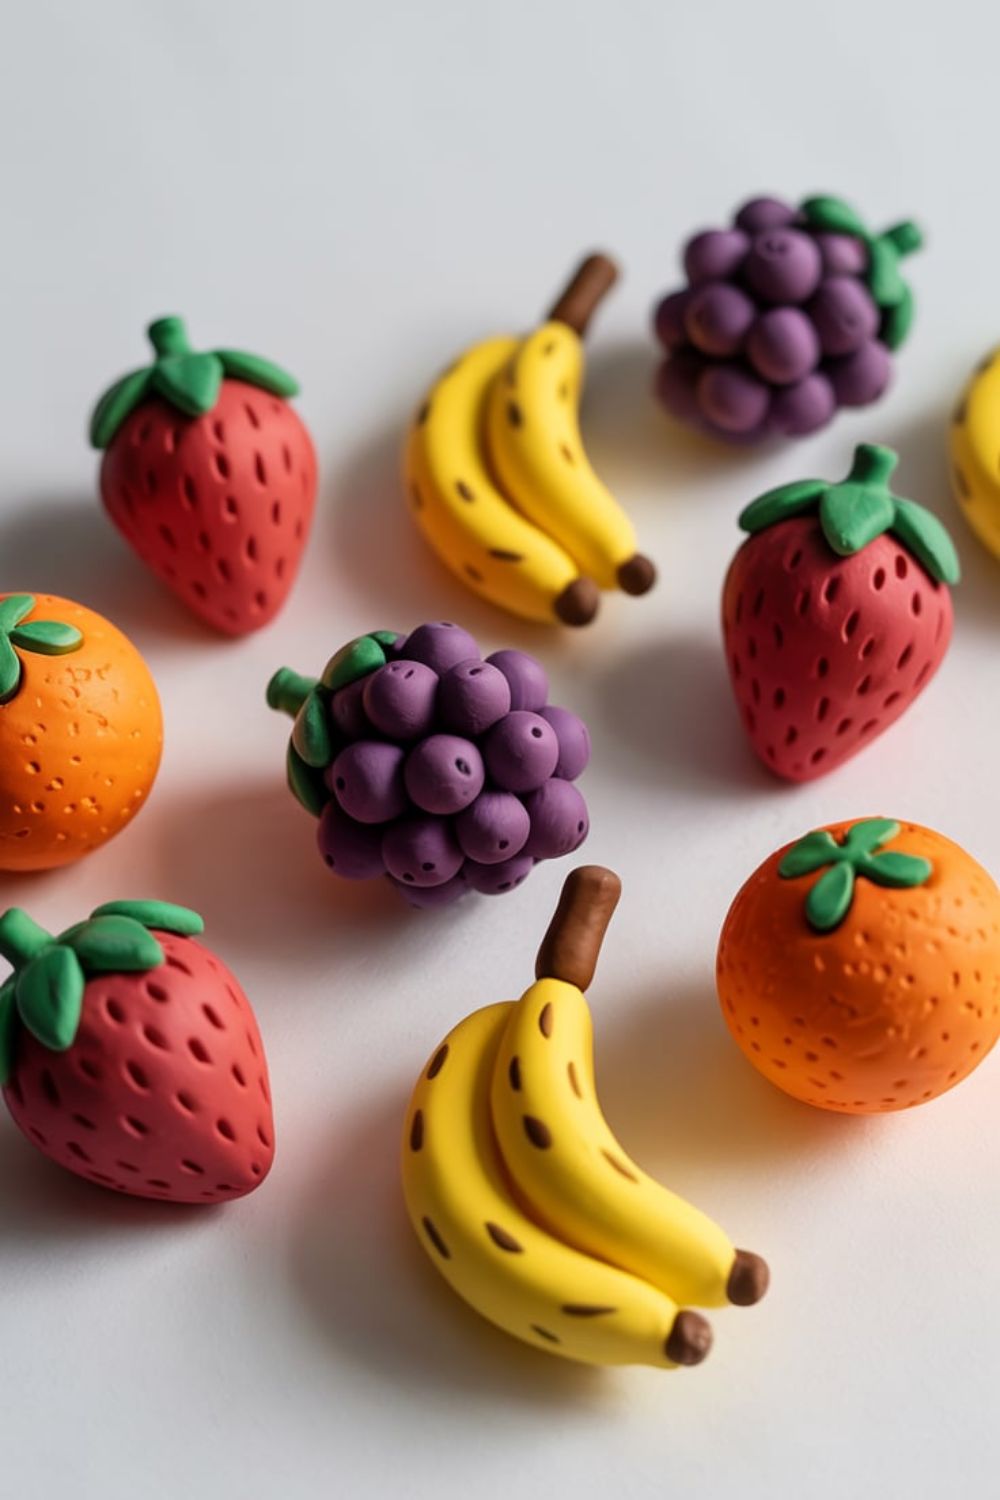
Fruit-shaped charms were my spontaneous weekend project that turned into a full-blown obsession. I started with strawberries and lemons, then moved to avocados and cherries. They’re tiny but ridiculously satisfying to make. You can turn them into keychains, fridge magnets, or just cute little decor pieces.
I love painting them in vibrant colors—it feels like playing with childhood clay again. Once, I attached a few to a kitchen jar, and now guests always ask where I got them. It’s fun telling them, “Oh, I made those!” Honestly, these little pieces can brighten any dull kitchen space.
Personalized Jar Labels
You know those plain kitchen jars that all look the same? Mine drove me nuts. So, I made personalized clay labels for them. I rolled thin clay strips, cut little rectangles, and stamped words like “Sugar,” “Tea,” and “Coffee.” After baking and painting, I tied them around jars with jute string—it completely changed the vibe of my shelf.
What I love is how functional they are—no guessing games when I’m cooking. Plus, it’s such a creative way to use leftover clay. To be fair, I’ve even made some as gifts for my mom and she still shows them off to her friends.
Key Holders
The number of times I’ve misplaced my keys is embarrassing. That’s why I made a wall-mounted clay key holder—it’s decorative and practical. I shaped a rectangular slab, pressed some texture with lace, and added hooks after drying. Painted it white with gold highlights, and now it looks so artsy.
If you make one, hang it near the kitchen entrance—it becomes part of the decor. You can even mold mini shapes like hearts or leaves around the edges. Every time I hang my keys, I feel a little proud knowing I crafted it myself.
Salt and Pepper Shakers
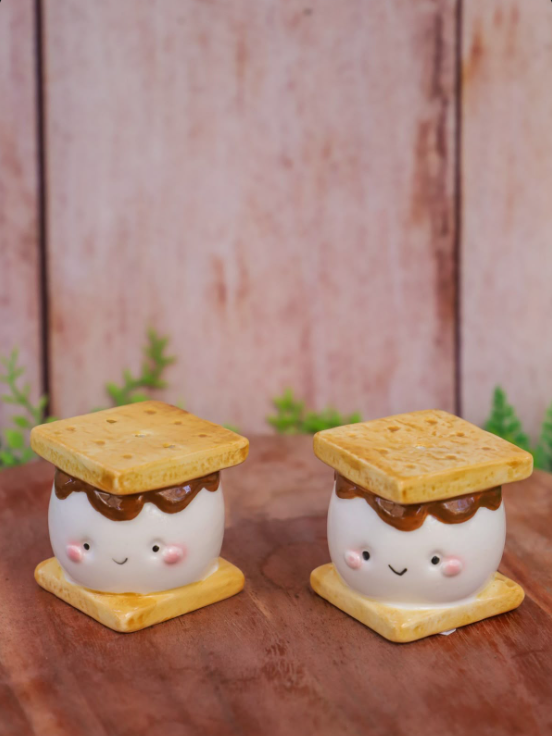
Okay, this one took patience! Making salt and pepper shakers from clay sounds simple, but getting the holes right? Not so much. My first set looked like little blobs, but once painted black and white, they were adorable. Honestly, imperfections give them character.
To make them, roll two small shapes—one for salt, one for pepper—poke holes, and carve a base opening for refilling. Paint them however you like. I’ve found that matte finishes look best. Now every dinner feels a little fancier with these handmade shakers on the table.
Trinket Dishes
Trinket dishes are my go-to when I need a quick, relaxing project. I’ve made so many of these for myself and as gifts. I use them to hold rings, spices, or even garlic cloves near the stove. They’re small but so handy.
I love pressing leaves or lace into the clay before shaping. Paint and seal them once dry—they’ll last ages. To be fair, these dishes are the easiest way to make your kitchen look stylish with minimal effort.
Wall Plaques
Wall plaques are a bold way to show off your clay creativity. I once made a plaque that said “Bakers Gonna Bake” for my kitchen wall—it makes me smile every time I see it. You can stamp quotes, carve designs, or paint fruits and flowers.
Use air-dry clay and don’t rush the drying process—it can crack if you do. I like to hang mine with rustic twine for that farmhouse look. It’s such a personal touch and makes your kitchen walls feel alive.
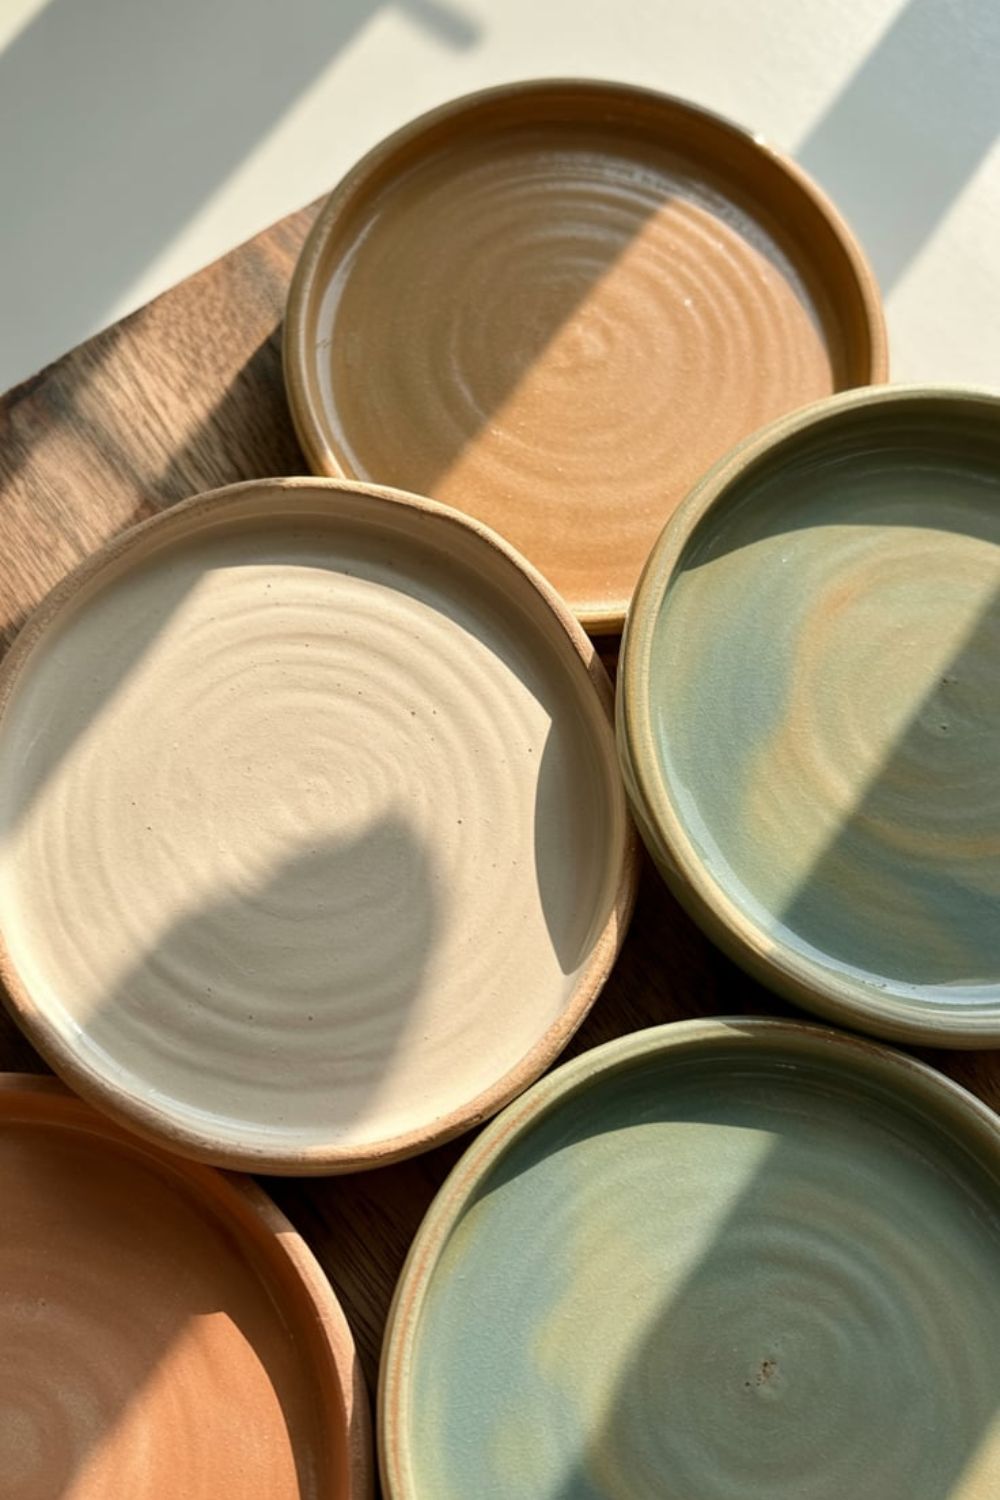
Decorative Bowls
I’ve always believed you can never have too many bowls. So, I started making decorative clay ones. My first was lopsided, but it turned out charmingly rustic. I now use it for holding lemons or wrapped candies.
You can play with shapes—oval, round, or even wavy edges. I once made one with pressed shells, and it looked straight out of a coastal decor magazine. Honestly, it’s impossible not to fall in love with these handmade pieces.
Name Tags
When I host dinners, I love adding handmade name tags—it just makes the table look thoughtful. I roll out clay, cut small rectangles, and stamp guests’ names. After baking, I paint them with metallic highlights.
People always keep them as keepsakes! It’s such a sweet, personal touch that says, “I made this for you.” It’s small details like these that turn a regular dinner into a memory.
Clay Trivets
Clay trivets are probably one of the most useful crafts I’ve made. I shaped mine into thick circles with simple line textures. They protect my counters and look amazing too. I’ve found that sealing them properly makes them super durable.
You can make matching sets in different colors or designs—it’s like art you can actually use. Every time I place a hot pan on mine, I feel a tiny spark of pride. Handmade things just hit differently, don’t they?
Decoration and Styling Tips
Decorating your kitchen clay crafts is a fun way to make them match your style and kitchen theme. With a few simple touches, you can turn plain clay items into beautiful, eye-catching pieces.
-
Use neutral or pastel tones for a minimal look. Soft colors like white, beige, or light pink give a clean and modern feel.
-
Mix matte and glossy finishes for variety. This adds texture and makes your crafts more interesting.
-
Add gold or metallic accents for elegance. A touch of shimmer can make your clay pieces look stylish and unique.
-
Match your clay crafts to your kitchen color scheme. Choose colors that blend with your walls, tiles, or tableware for a balanced look.
FAQ
What type of clay is best for kitchen crafts?
Air-dry and polymer clay are both great options. Polymer clay is more durable after baking, while air-dry clay is easier for beginners.
Can I make food-safe clay crafts?
Yes, but make sure to use non-toxic, food-safe clay and sealants. Avoid direct contact with food unless the clay is labeled food-safe.
How do I waterproof my clay crafts?
Apply a clear waterproof sealant or varnish after painting and drying your clay items to protect them from moisture.
How long does clay take to dry?
Air-dry clay usually takes 24–48 hours to dry completely, while polymer clay needs to be baked in the oven as per the package instructions.

Hi, I’m Victoria, an art and craft teacher at Newark City Schools, where I have the joy of working with middle school students to help them explore their creativity and develop their artistic talents. I believe that art is a powerful way for students to express themselves, and I strive to make every lesson a fun, engaging, and inspiring experience.
I created this website to share the art and craft projects, techniques, and resources that I use in my classroom, hoping to inspire both educators and young artists alike. Whether you’re a teacher looking for new ideas or a student eager to try something new, I’m excited to provide creative tools and projects that anyone can enjoy.
When I’m not in the classroom, I love experimenting with different art forms and learning new crafting techniques. My goal is to help others discover the joy of making things with their hands, and I hope my website serves as a space for everyone to explore their creative potential.