
I still remember sitting with my plain graduation cap, staring at it like… “Is this really it?” Everyone else seemed to have something cute, funny, or super creative, and mine? Totally blank. If you’re feeling the same way right now, trust me—you’re not alone. Decorating your cap can feel a little overwhelming at first (like, where do you even start?), but it’s actually one of the most fun parts of graduation. It’s your chance to show off your personality, your journey, and maybe even a little humor too.
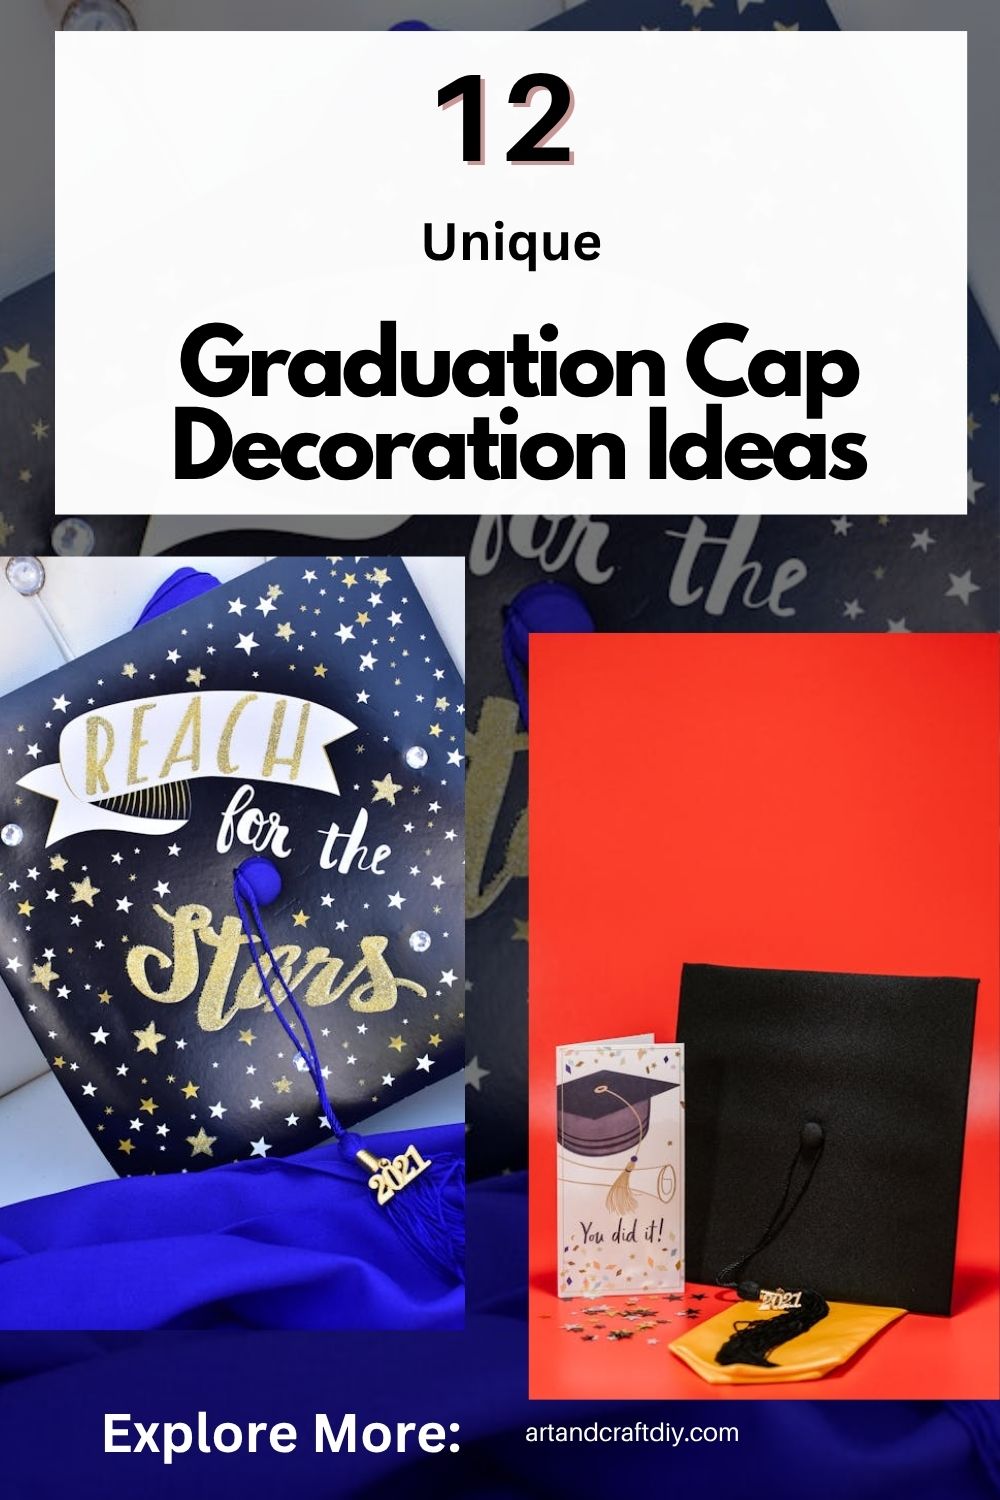
In this guide on Graduation Cap Decoration Ideas, I’ll share simple, creative, and totally doable ideas that’ll help you turn that plain cap into something you’re proud to wear. Whether you want something aesthetic, meaningful, or just funny, you’ll find inspiration here—no stress, I promise.
Graduation Cap Decoration Ideas
Graduation is such a special moment, and decorating your cap is a fun way to show your personality on the big day. From cute designs to meaningful quotes, there are so many creative ideas to make your cap truly stand out.
Inspirational Quote Cap
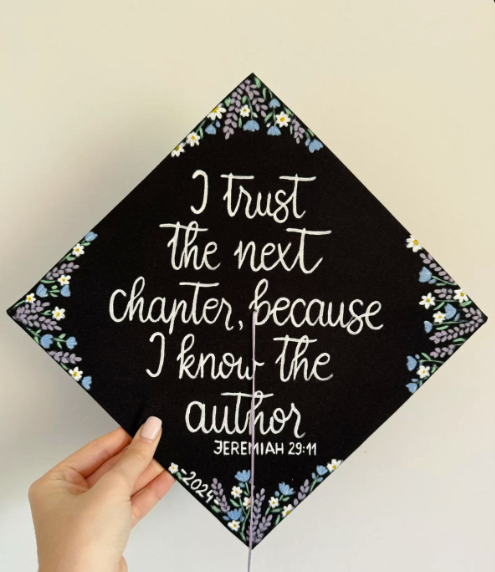
Honestly, this is the one I see the most—but when it’s done right, it still feels super personal. I remember helping my cousin decorate hers, and she picked a quote that actually meant something to her, not just a random Pinterest line. That’s the key, in my opinion. Don’t just copy a quote because it looks pretty—choose one that hits you emotionally, something that got you through exams or tough days.
When I tried this style, I used bold lettering with a paint marker and kept the background simple so the words really stood out. You can add tiny stars, sparkles, or even a subtle gradient to make it pop. I’ve found that spacing matters a lot—sketch lightly first with pencil, then go over it. It doesn’t need to be perfect; a slightly handmade look actually makes it feel more real and yours.
Funny Graduation Cap
To be fair, funny caps are my personal favorite because they instantly grab attention. At one graduation I attended, someone wrote “Game Over” with a controller design—and I swear, everyone was taking photos of it. Humor just works. If you’re someone who doesn’t like emotional stuff, this is your lane.
When making a funny cap, think about inside jokes, relatable student struggles, or even memes. I once tried a sarcastic line about “finally waking up early for nothing,” and people loved it. Use bold fonts, maybe add cartoon elements or speech bubbles. Just make sure your text is readable from a distance—big letters, high contrast colors. And honestly, don’t overthink it. If it makes you laugh, it’ll probably make others laugh too.
Floral Aesthetic Cap
This style is just so soft and pretty, and I feel like it never goes out of trend. I helped a friend create a floral cap using artificial flowers, and it turned out way better than expected. We didn’t even use anything fancy—just craft glue and some patience.
If you’re going for this look, mix different flower sizes and colors instead of using all identical ones. I’ve found that layering creates depth and makes the cap look fuller. You can also add a small quote or your name in the center. Just be careful not to overcrowd it—leave some space so it doesn’t look messy. Honestly, even a simple corner floral design can look super elegant and aesthetic.
Glitter and Glam Cap

Okay, this one is for anyone who loves sparkle (like me, not gonna lie). I once made a glitter cap and underestimated how messy it would get—glitter was everywhere for days. But the final look? Totally worth it.
The trick is to use good adhesive and seal the glitter properly so it doesn’t fall off. I usually apply glue evenly, sprinkle glitter, and then gently press it down. You can go full glam or just add glitter accents around text. Rhinestones, sequins, or metallic stickers can take it to the next level. In my opinion, less is more here—too much sparkle can hide your message. Balance it so it shines without overwhelming everything.
Photo Memory Cap
This one gets emotional really fast, honestly. I saw someone use childhood photos all the way to graduation, and it genuinely made people tear up. It’s like carrying your whole journey on your cap.
If you want to try this, print small, clear photos and arrange them in a collage style. I usually suggest placing the most important photo in the center and building around it. You can add captions, dates, or tiny doodles. I’ve found that using a transparent sheet or laminate helps protect the pictures. It takes a bit more effort, but the result feels deeply personal and meaningful.
Future Career Theme Cap
I love this idea because it’s all about looking ahead. A friend of mine made a medical-themed cap with tiny drawings of stethoscopes and a “future doctor” message—and it was so inspiring to see.
Think about your dream job or field and design around that. You can use symbols, icons, or even mini props. When I experimented with this, I used printed graphics and layered them for a 3D effect. It’s honestly such a cool way to show ambition. Just keep your theme clear and not too cluttered—focus on one career idea and build around it so it looks intentional.
Pop Culture Inspired Cap
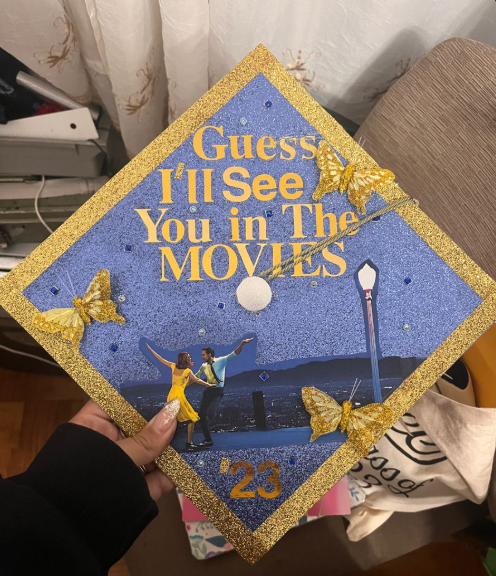
If you’re obsessed with a movie, show, or artist, this is such a fun option. I’ve seen caps inspired by everything from series quotes to iconic album covers, and they always stand out in a crowd.
When I tried this, I picked a reference that matched my personality and kept it simple. You don’t need to recreate something complicated—just use recognizable elements like colors, fonts, or symbols. I’ve found that people instantly connect when they recognize the reference. Just make sure it still feels like you, not just a copy of something trending.
Minimalist Design Cap
Not everyone wants a loud or flashy cap, and honestly, minimalist designs can look incredibly classy. I once made a plain white cap with just a small gold quote in the center, and people kept complimenting how clean it looked.
The trick here is precision. Use neat lettering, balanced spacing, and limited colors—usually two or three max. I’ve found that simple doesn’t mean boring; it actually makes your message stronger. If you’re unsure about design, this is the safest option. Just keep everything aligned and intentional.
Thank You Message Cap
This one feels really heartfelt, and I think it’s a beautiful way to end your school journey. I’ve seen caps dedicated to parents, teachers, or even friends, and honestly, they always stand out emotionally.
When I helped create one, we wrote a short thank-you note and added small decorative elements around it. Keep the message short but meaningful—something genuine. You can also include names or initials. I’ve found that handwritten text adds a personal touch, even if it’s not perfect. It’s more about the feeling than the design.
Travel Dreams Cap
This idea is perfect if you’re someone who’s always dreaming about exploring the world. I remember seeing a cap with tiny airplane trails and country names, and it instantly gave that wanderlust vibe.
You can use maps, flags, or travel icons like planes and suitcases. When I tried something similar, I used a light blue background and added white cloud details—it looked really dreamy. In my opinion, keep it light and airy so it matches the theme. It’s a fun way to show your excitement for what’s next.
School Pride Cap
Sometimes, it’s nice to just celebrate where you came from. A lot of students design caps with school colors, logos, or mascots, and it creates a strong sense of unity during graduation.
I’ve found that using your school colors as a base makes everything look cohesive. You can add your graduation year, initials, or a small symbol representing your school. When I did this, I kept it bold and simple so it was easy to recognize. It’s a great way to show pride without overcomplicating the design.
Best Friends Tribute Cap
This one is honestly so special if you’ve had a close group of friends through school. I once helped design a cap with inside jokes and tiny doodles representing each friend—it was chaotic but in a good way.
You can include names, mini caricatures, or shared memories. I’ve found that even small details—like a symbol only your group understands—make it meaningful. Don’t worry about making it look perfect; it’s supposed to feel personal. In the end, it becomes more than just a cap—it’s like carrying your friendships with you into the next chapter.
Tips for the Perfect Graduation Cap Design
Decorating your graduation cap is super exciting, but a few smart tips can make sure your design looks great and stays perfect throughout the ceremony. You don’t want anything falling off or getting in the way on your big day, right? So here are some simple tips to help you create a clean, stylish, and practical cap design.
- Keep it lightweight
Try to use light materials so your cap stays comfortable and doesn’t slip off your head. - Avoid blocking the tassel
Make sure your design leaves space for the tassel to move freely, as it’s an important part of the ceremony. - Use strong adhesive
Always use good-quality glue or tape so your decorations stay in place the whole time. - Test layout before final sticking
Arrange everything first and check how it looks before you glue anything down. - Match colors with outfit
Choose colors that go well with your graduation gown or overall look for a neat and stylish finish.

Hi, I’m Victoria, an art and craft teacher at Newark City Schools, where I have the joy of working with middle school students to help them explore their creativity and develop their artistic talents. I believe that art is a powerful way for students to express themselves, and I strive to make every lesson a fun, engaging, and inspiring experience.
I created this website to share the art and craft projects, techniques, and resources that I use in my classroom, hoping to inspire both educators and young artists alike. Whether you’re a teacher looking for new ideas or a student eager to try something new, I’m excited to provide creative tools and projects that anyone can enjoy.
When I’m not in the classroom, I love experimenting with different art forms and learning new crafting techniques. My goal is to help others discover the joy of making things with their hands, and I hope my website serves as a space for everyone to explore their creative potential.