I still remember sitting at the table one lazy afternoon, trying to make something “creative” with a block of clay… and somehow ending up with a very funny-looking apple. Have you ever tried clay crafts and thought, “Why does mine not look like Pinterest?” Yeah, same here. But honestly, that’s part of the fun. Clay fruit crafts ideas are perfect when you want something simple, colorful, and a little stress-free (well… mostly). Whether you’re bored, planning a kids’ activity, or just want to try easy DIY art, these tiny fruits can actually turn out super cute. And the best part? You don’t need to be an expert at all. In this article, I’ll share some fun and beginner-friendly clay fruit crafts ideas that you can actually make without getting frustrated. Trust me, if I can do it, you definitely can too.
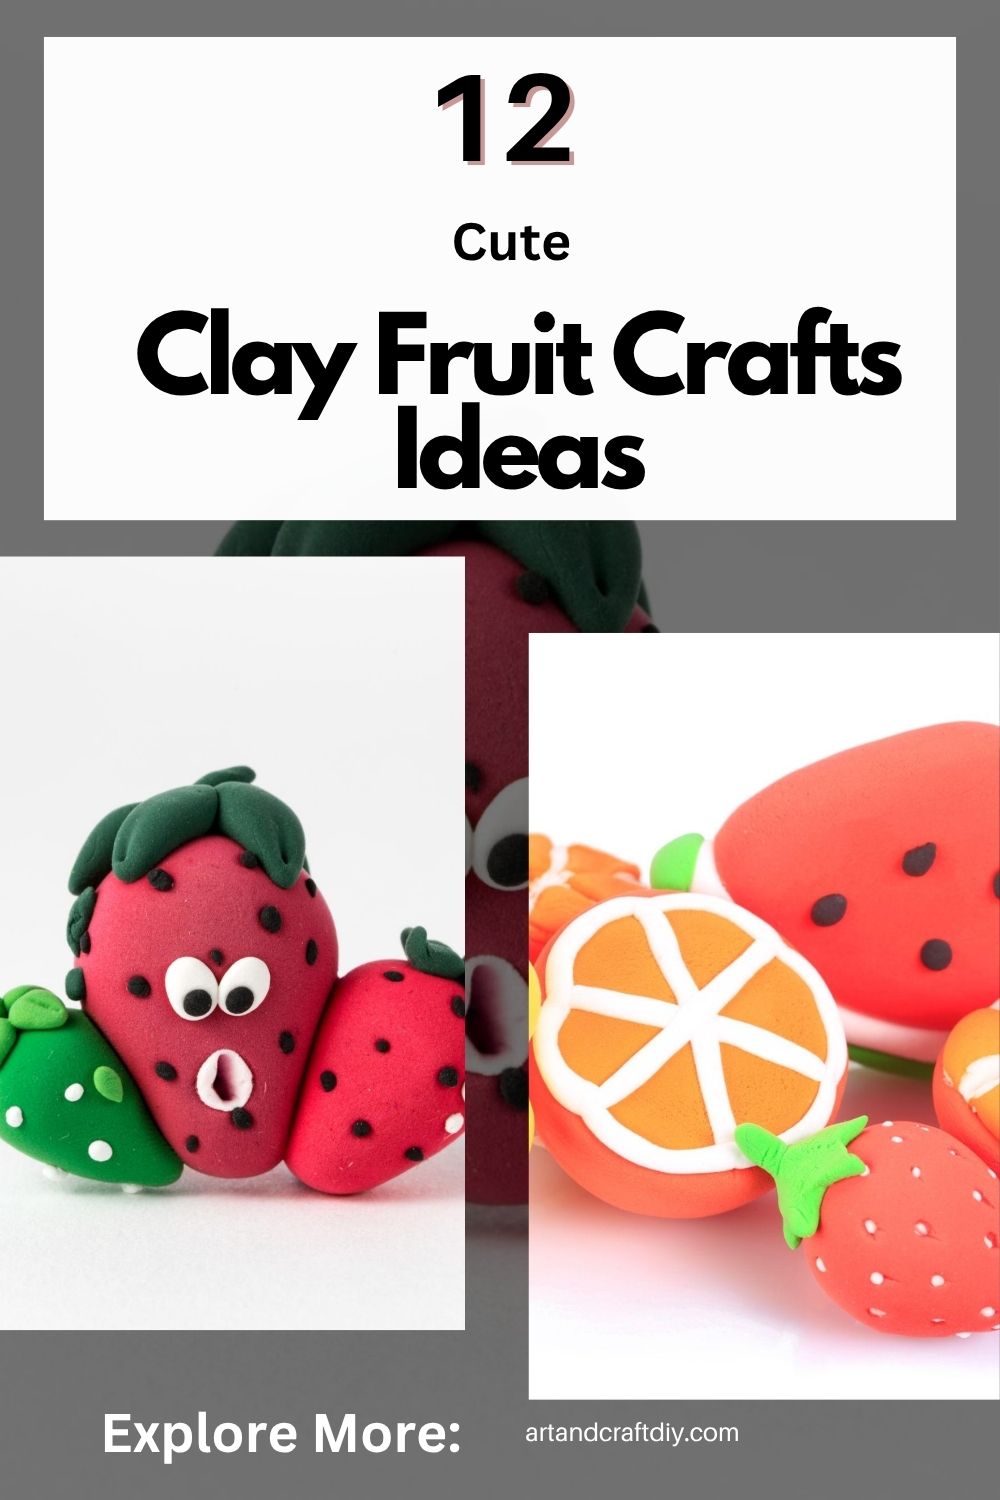
Clay Fruit Crafts Ideas
Clay fruit crafts are such a fun and creative way to turn simple clay into cute, colorful mini fruits. Whether you’re a beginner or just looking for an easy DIY, these ideas are perfect to try at home.
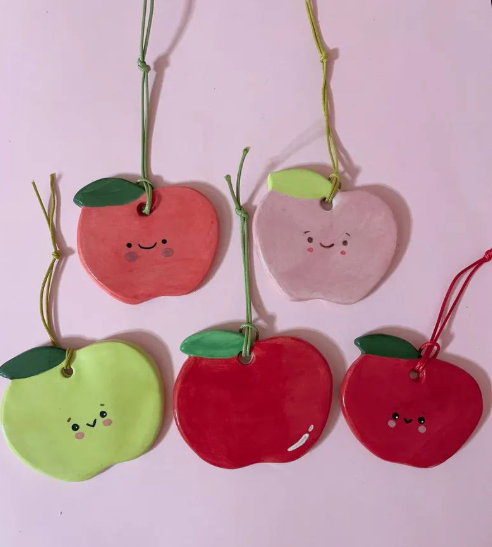
Honestly, clay apples are always the first thing I make when I just want something easy but still cute. There’s something really satisfying about shaping that perfect round form with your hands. I usually start with a simple red ball and then gently press the top to create that little dip where the stem goes. It doesn’t have to be perfect—actually, slightly uneven apples look more real in my opinion.
I’ve found that adding a tiny green leaf instantly makes it look 10x better. Sometimes I even mix a little yellow into the red clay to give it that natural apple shade. If you’re new to clay crafts, this is such a confidence booster. You’ll finish it quickly and think, “Wait… I made that?”
Clay Banana
To be fair, clay bananas look simple, but getting that curved shape right can be a bit tricky. The first time I tried, mine looked more like a weird stick than a banana 😅. But once you understand how to gently roll and bend the clay, it becomes really fun. I usually roll a long cylinder and then slowly curve it with my fingers.
What really brings it to life is adding those tiny brown tips at both ends. I sometimes even add little lines on the peel to make it look realistic. Honestly, bananas are great if you want to experiment with shading—mixing a bit of green with yellow gives that slightly raw banana vibe.
Clay Strawberry
Strawberries are one of my personal favorites because they look fancy but are actually super easy. I just shape a small cone and slightly round the edges. The fun part is poking tiny holes all over to create that seed texture—it’s oddly satisfying, not going to lie.
I’ve found that adding tiny yellow dots into those holes makes a huge difference. And don’t skip the green leafy top—it completely transforms the piece. Sometimes I make a bunch of these and turn them into charms or fridge magnets. They always get compliments, which feels pretty nice honestly.
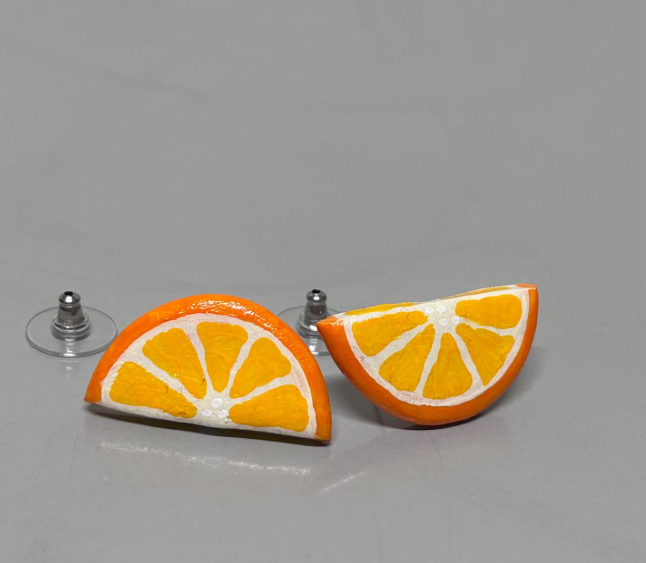
Clay orange slices are where things get really creative. Instead of making a full fruit, you’re focusing on those little details inside, which I personally love. I flatten a small circle and then use a toothpick or blade to carve out the segments. It doesn’t have to be super precise—just enough to give that citrus look.
I like layering slightly different shades of orange to make it pop. Sometimes I even add a thin white border around the slice to mimic the real fruit. These look amazing in sets, especially if you’re making miniature food items. In my opinion, this is where clay crafting starts to feel like art.
Clay Watermelon
Watermelon is honestly one of the most fun fruits to recreate. The color contrast alone makes it exciting—bright red, green, and those tiny black seeds. I usually start by shaping a triangle slice instead of a full watermelon because it’s quicker and cuter.
Adding the seeds is my favorite part. I just press tiny black dots randomly, and suddenly it looks so real. I’ve found that blending two shades of green for the rind gives a more natural finish. These little slices are perfect for summer-themed crafts, and I always end up making more than I planned.
Clay Pineapple
Okay, pineapples… they take patience. I won’t lie. The first time I made one, I underestimated how much detail goes into that texture. But once you get into the rhythm, it’s actually quite relaxing. I start with an oval shape and then carve small criss-cross patterns all over.
The leafy top is where you can get creative. I usually make long green spikes and layer them upwards. Honestly, it doesn’t need to be perfect—slightly messy leaves look more realistic. In my opinion, pineapples are for those days when you want a bit of a challenge.
Grapes are such a fun little project, especially if you enjoy repetitive crafting. I just roll a bunch of tiny balls and stick them together—it’s simple but weirdly calming. You don’t even need them to be the same size; uneven grapes look more natural.
I’ve found that adding a small stem and maybe one or two leaves makes the whole bunch look complete. Sometimes I go for purple grapes, sometimes green—it really depends on my mood. These are great when you don’t want to think too much and just enjoy the process.
Clay Cherries
Cherries are tiny, cute, and honestly addictive to make. I usually create two small red balls and connect them with thin stems. The trick is making the stems slightly curved so they don’t look stiff.
Adding a glossy finish (even just imagining it while shaping) makes them look super realistic. I’ve made these as earrings once, and they turned out adorable. In my opinion, cherries are perfect when you want quick results without compromising on cuteness.
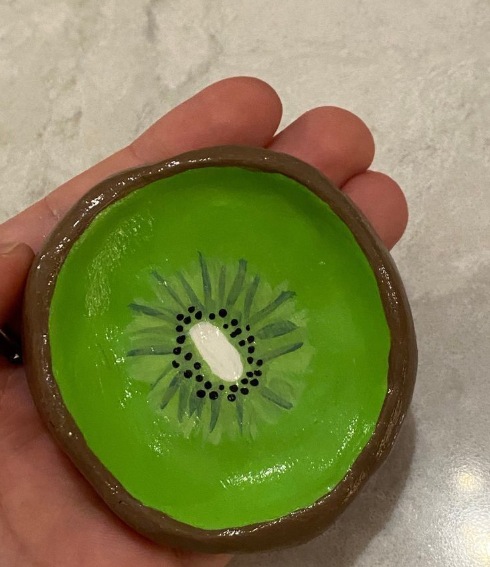
Kiwi designs are surprisingly satisfying because of the detail inside. I flatten a small oval and then add a lighter center. After that, I carefully place tiny black seeds around it—it takes patience, but the result is worth it.
Honestly, I didn’t expect to enjoy making kiwis this much, but the contrast of green, white, and black looks so good. Sometimes I make them as slices, sometimes whole. Either way, they always stand out in a collection.
Clay Mango
Mangoes feel very close to home for me, so I love making them in clay. I usually go for that slightly oval, uneven shape—it doesn’t have to be perfect. In fact, mangoes look better when they’re a bit asymmetrical.
I mix yellow with a touch of orange or even red to get that ripe mango color. I’ve found that adding a small leaf gives it that complete look. Honestly, every time I make one, it reminds me of summer, and that makes the whole process even more enjoyable.
Clay Pear
Pears have such a unique shape, and that’s what makes them fun to create. I start with a round base and then gently stretch the top upward. It might take a couple of tries to get it right, but once you do, it feels really satisfying.
I usually go with a soft green shade and add a brown stem. Sometimes I even dab a little yellow or darker green to give it depth. In my opinion, pears are underrated in clay crafts—they look elegant without much effort.
Clay Lemon
Lemons are simple but super refreshing to make. I roll a small oval and slightly taper both ends. That’s pretty much it for the base shape. But what makes it interesting is the texture—I like adding tiny dimples to mimic the real skin.
Sometimes I make lemon slices instead, with that bright yellow center and white border. I’ve found that lemons instantly brighten up any clay collection. Honestly, they’re one of those crafts that never get boring, no matter how many times you make them.
Tips to Make Your Clay Crafts Look Realistic
Making clay fruits look real is all about focusing on small details and natural colors. With a little practice and the right techniques, you can turn simple clay into lifelike and eye-catching creations.
Use reference images of real fruits Always keep a real fruit photo in front of you to match shape, color, and details more accurately.
Blend colors for natural effect Mix different shades instead of using one solid color to give your fruit a more realistic look.
Add small details (seeds, texture) Tiny details like seeds, lines, or skin texture make a big difference in how real your craft looks.
Use gloss varnish for shine Apply a light coat of gloss varnish to give your fruits a fresh, natural shine.
Practice layering techniques Build your clay in layers to create depth and a more natural finish instead of flat designs.
Hi, I’m Victoria, an art and craft teacher at Newark City Schools, where I have the joy of working with middle school students to help them explore their creativity and develop their artistic talents. I believe that art is a powerful way for students to express themselves, and I strive to make every lesson a fun, engaging, and inspiring experience.
I created this website to share the art and craft projects, techniques, and resources that I use in my classroom, hoping to inspire both educators and young artists alike. Whether you’re a teacher looking for new ideas or a student eager to try something new, I’m excited to provide creative tools and projects that anyone can enjoy.
When I’m not in the classroom, I love experimenting with different art forms and learning new crafting techniques. My goal is to help others discover the joy of making things with their hands, and I hope my website serves as a space for everyone to explore their creative potential.