
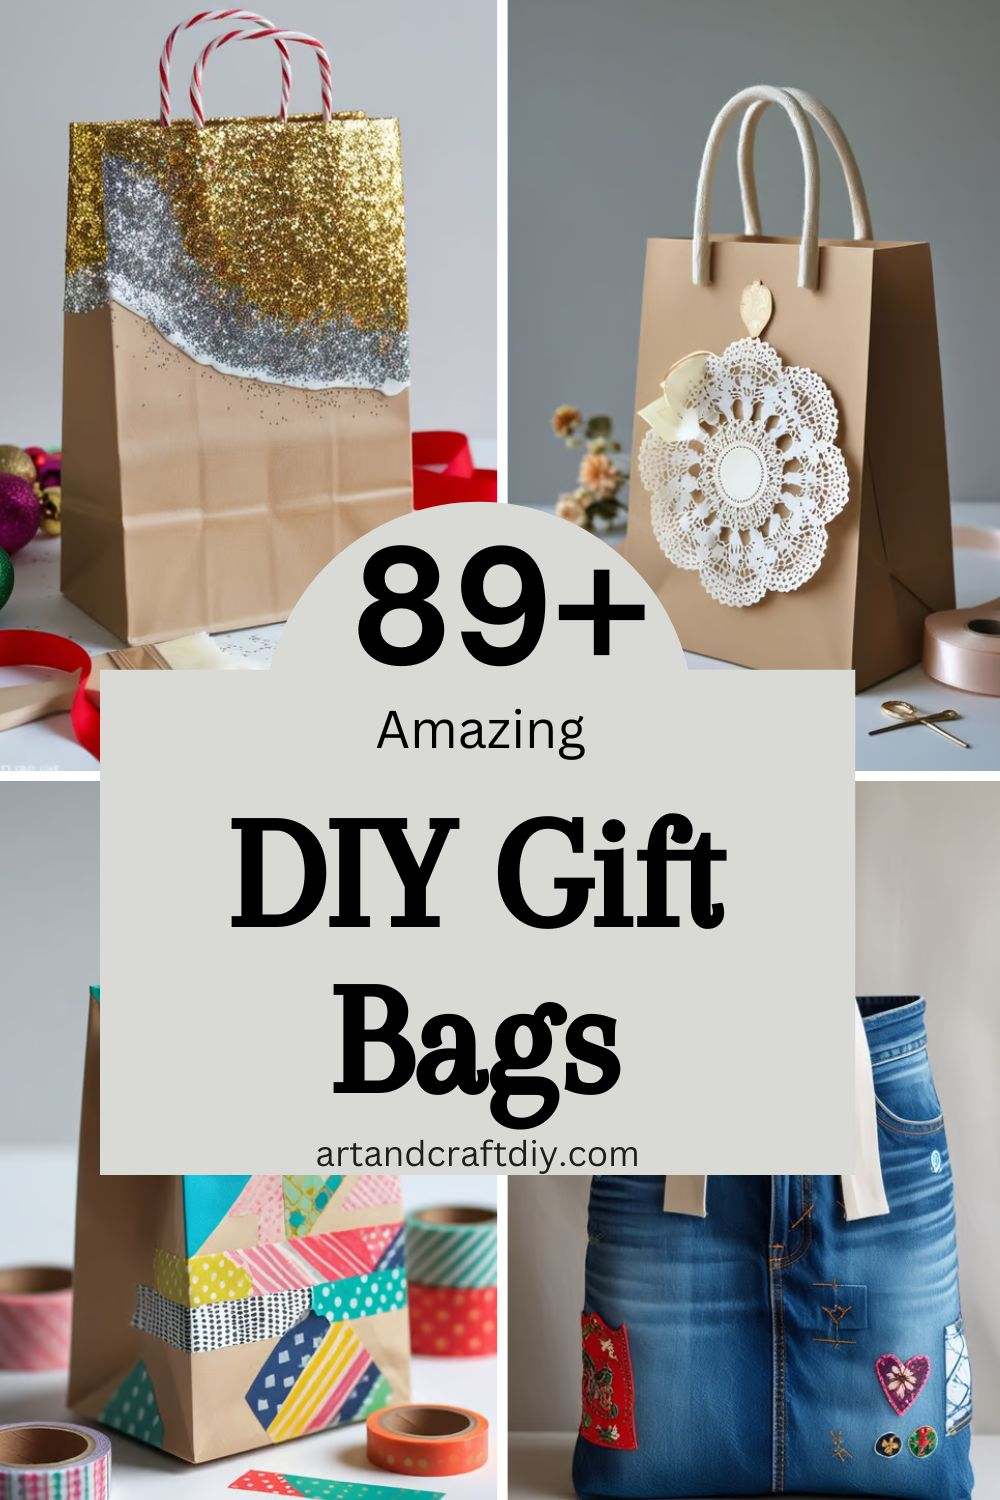
DIY Gift Bags are a creative and personalized way to present gifts for any occasion. Instead of using store-bought options, making your own gift bags allows you to customize them to match the recipient’s personality, the theme of the event, or even your own artistic style. Not only are they cost-effective, but they also provide an eco-friendly alternative by reusing materials like old newspapers, fabric scraps, or brown paper. Whether for birthdays, holidays, weddings, or any special celebration, DIY gift bags add a heartfelt touch that makes any present even more special.
DIY Gift Bags are a fun and creative way to add a personal touch to gift-giving. Instead of relying on store-bought options, making your own DIY Gift Bags allows for endless customization, from choosing colors and patterns to adding embellishments like ribbons, stickers, or hand-drawn designs. DIY Gift Bags are not only a unique way to present gifts but also a cost-effective and eco-friendly alternative, as they can be made using recycled paper, fabric scraps, or other reusable materials. Whether for birthdays, holidays, weddings, baby showers, or any special occasion, DIY Gift Bags help make any present feel extra thoughtful and special. Plus, they give you the freedom to match the bag perfectly to the recipient’s taste or the theme of the event, making the entire gifting experience even more memorable.
DIY Gift Bags
DIY gift bags are a fun, creative, and personalized way to present gifts for any occasion. Instead of using store-bought bags, you can craft unique designs using paper, fabric, or recycled materials. Decorating with ribbons, stamps, stickers, or hand-drawn elements adds a special touch, making your gift even more meaningful. Whether for birthdays, holidays, or special events, DIY gift bags are an eco-friendly and budget-friendly alternative that showcase your creativity and thoughtfulness.
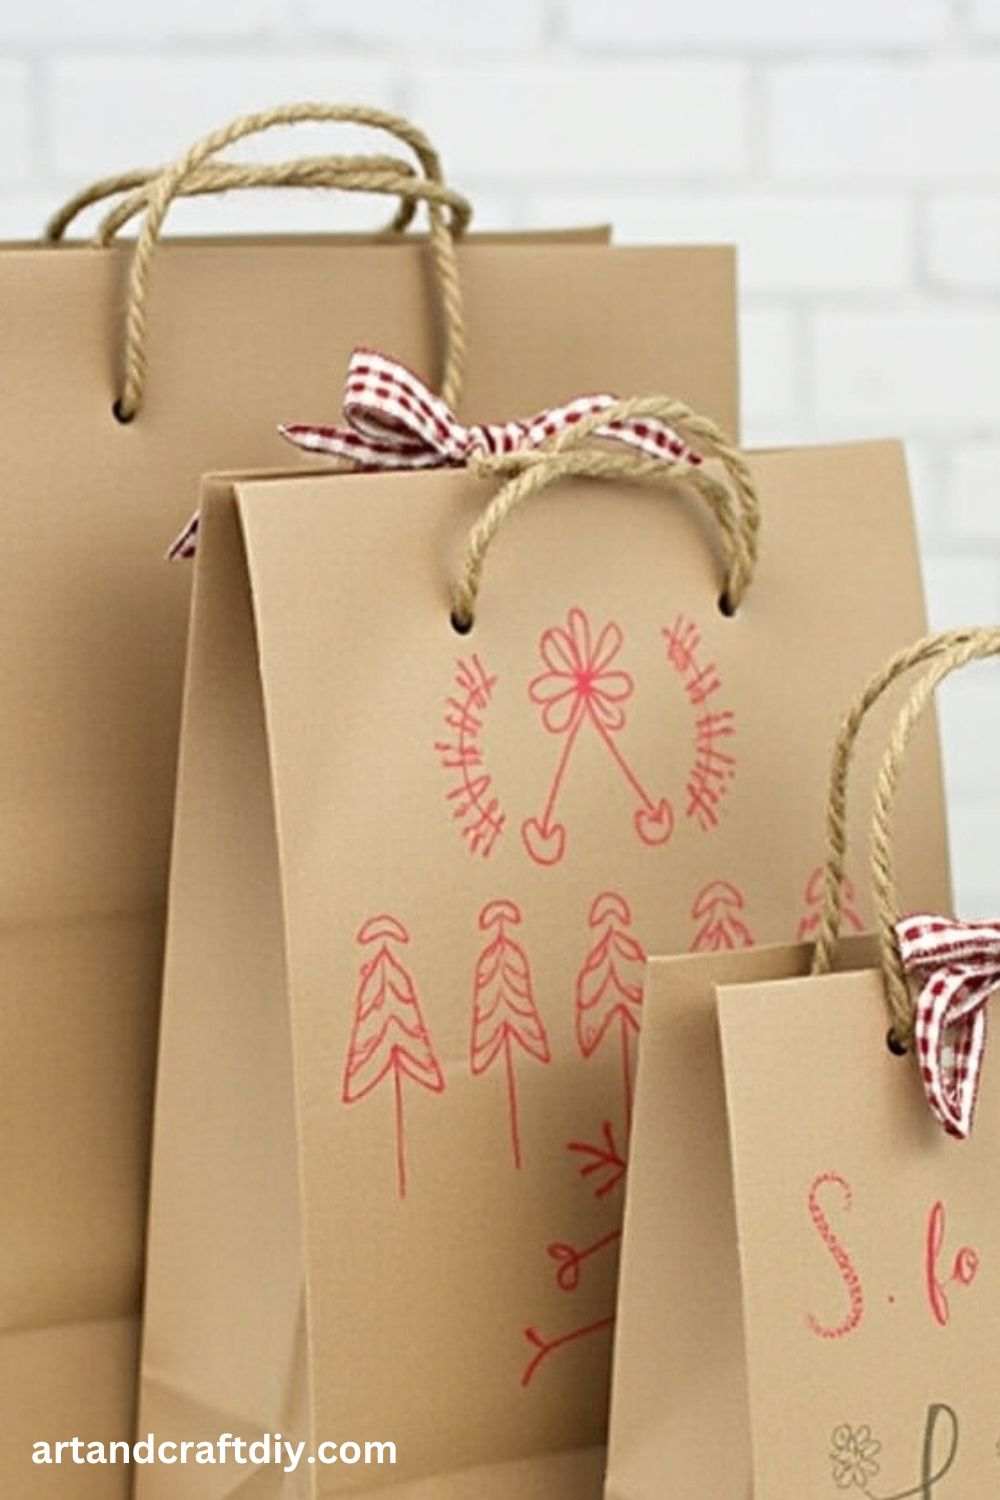
Brown Paper Stamped Gift Bag
A simple brown paper bag can be transformed into a charming gift bag with some stamps and creativity.
Materials:
- Brown paper bags
- Rubber stamps
- Ink pads
- Twine or ribbon
Steps:
- Lay the brown paper bag flat on a clean surface.
- Choose a rubber stamp and press it onto an ink pad.
- Stamp the design onto the bag, repeating as needed for a pattern.
- Let the ink dry completely.
- Punch holes at the top and thread twine or ribbon through to close.
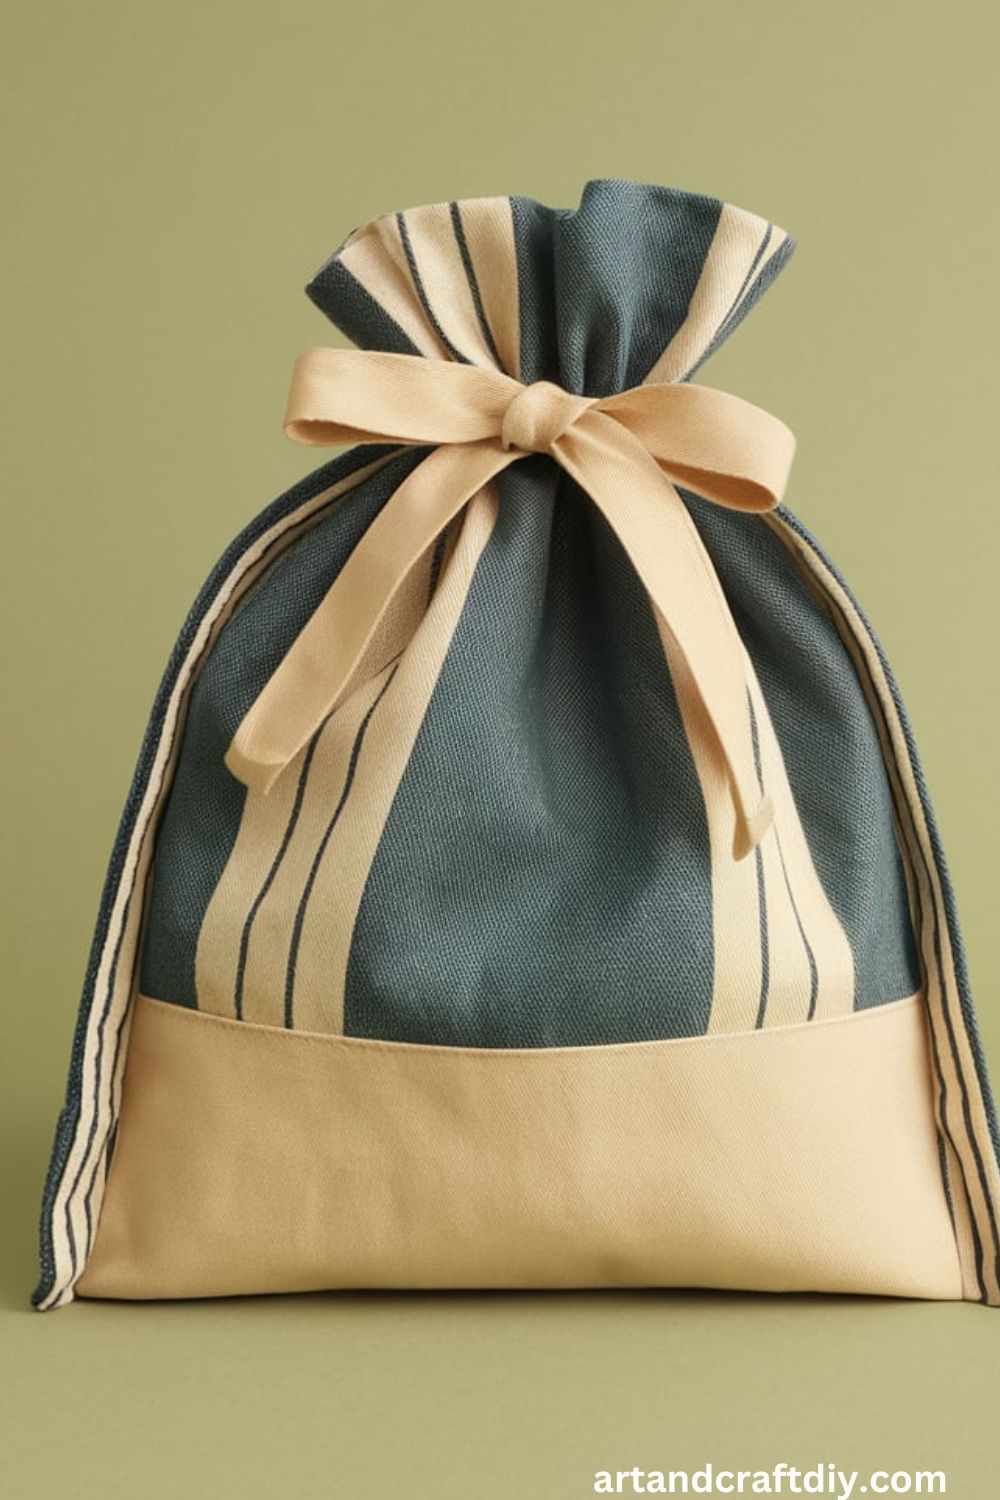
Fabric Drawstring Gift Bag
A reusable fabric gift bag is both beautiful and eco-friendly.
Materials:
- Fabric of your choice
- Scissors
- Sewing machine or needle and thread
- Ribbon or cord
Steps:
- Cut two pieces of fabric to your desired size.
- Sew the sides and bottom, leaving the top open.
- Fold the top edge down and sew a casing for the drawstring.
- Thread the ribbon or cord through the casing.
- Pull the drawstring to close the bag.
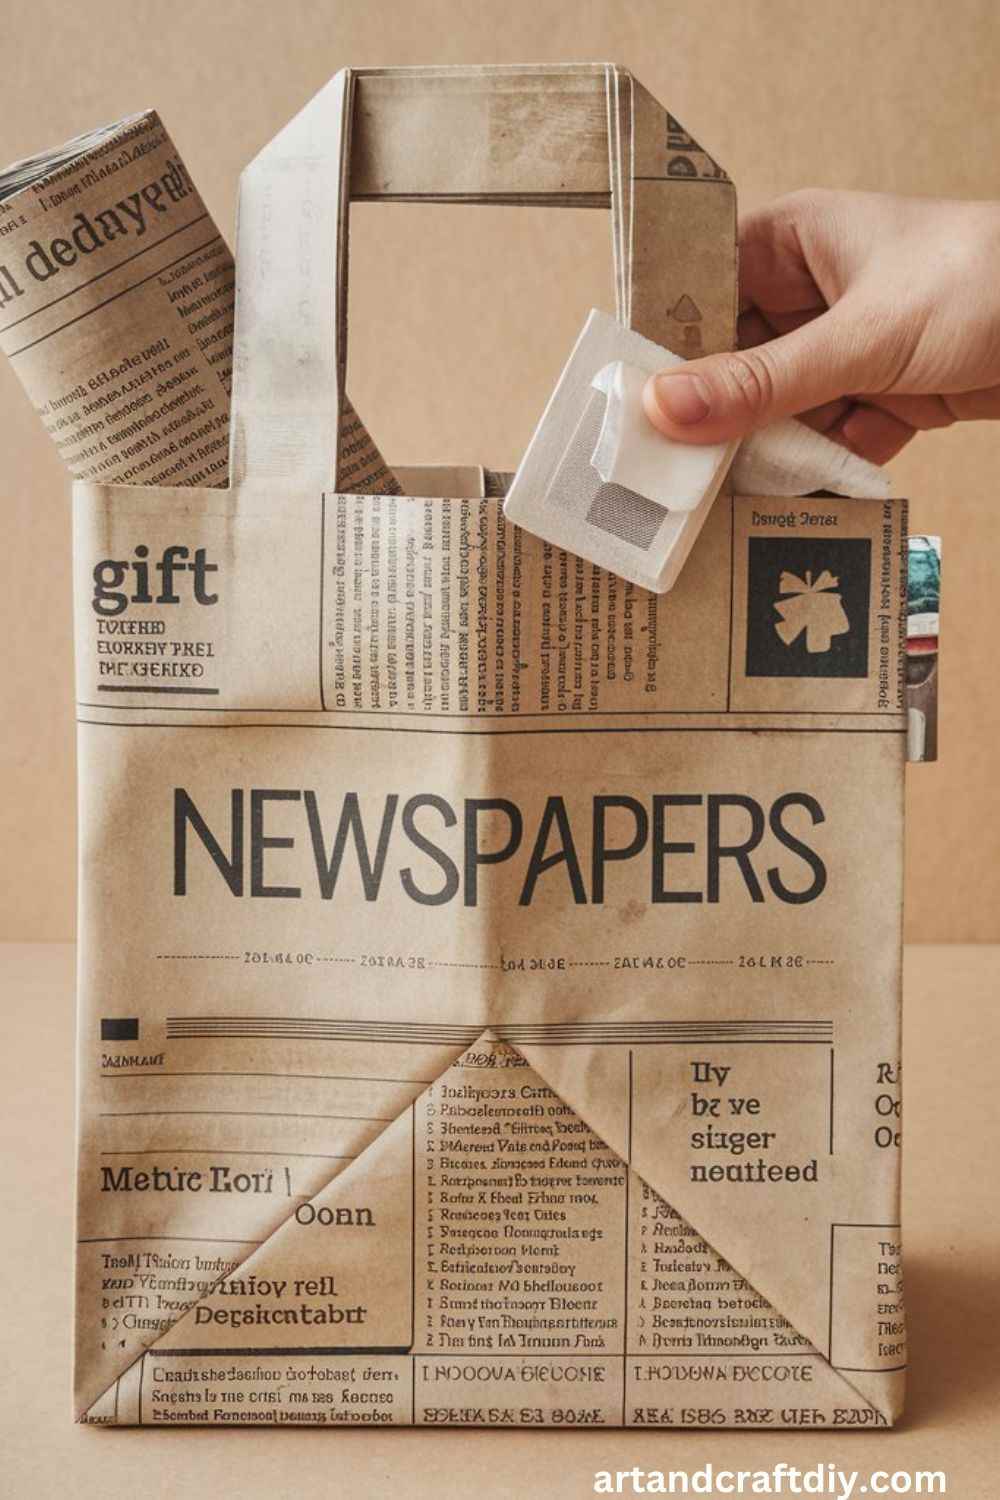
Newspaper Gift Bag
A great way to recycle old newspapers while creating a unique wrapping option.
Materials:
- Old newspapers
- Scissors
- Glue or double-sided tape
- Hole punch
- Ribbon or twine
Steps:
- Cut two identical newspaper sheets to the desired size.
- Fold and glue the sides and bottom to form a bag shape.
- Fold the top down for a finished edge.
- Punch holes and thread ribbon through for handles.
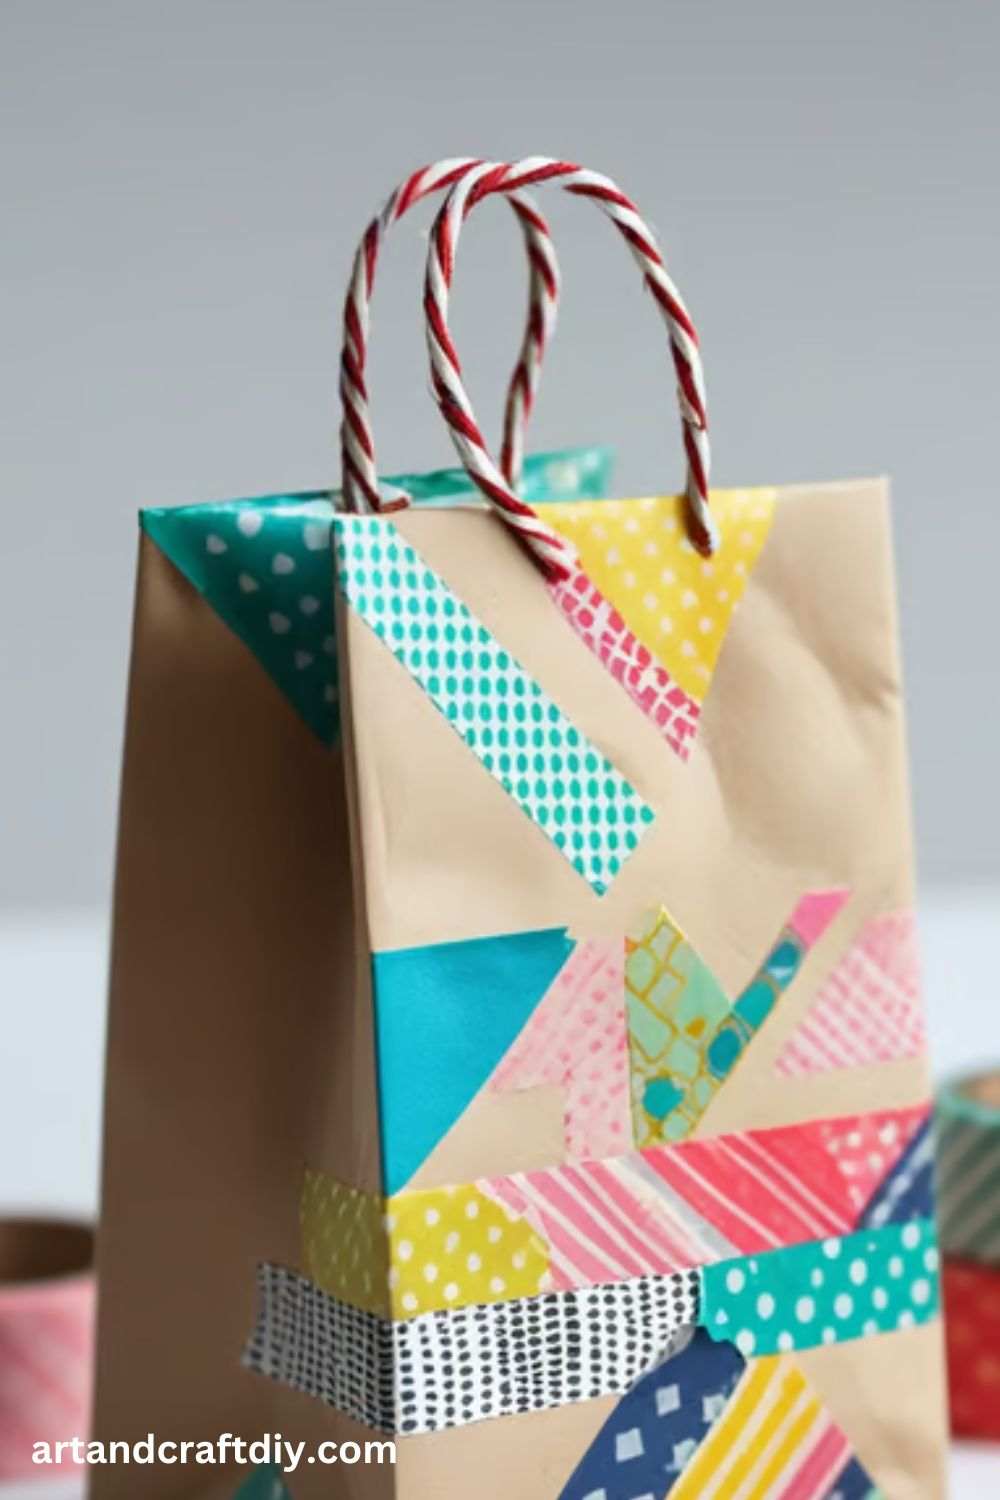
Washi Tape Gift Bag
Add a pop of color with decorative washi tape on a plain paper bag.
Materials:
- Plain paper bag
- Washi tape
- Scissors
Steps:
- Arrange washi tape in your desired pattern on the bag.
- Trim any excess tape.
- Fold over the top and secure with more tape or a sticker.
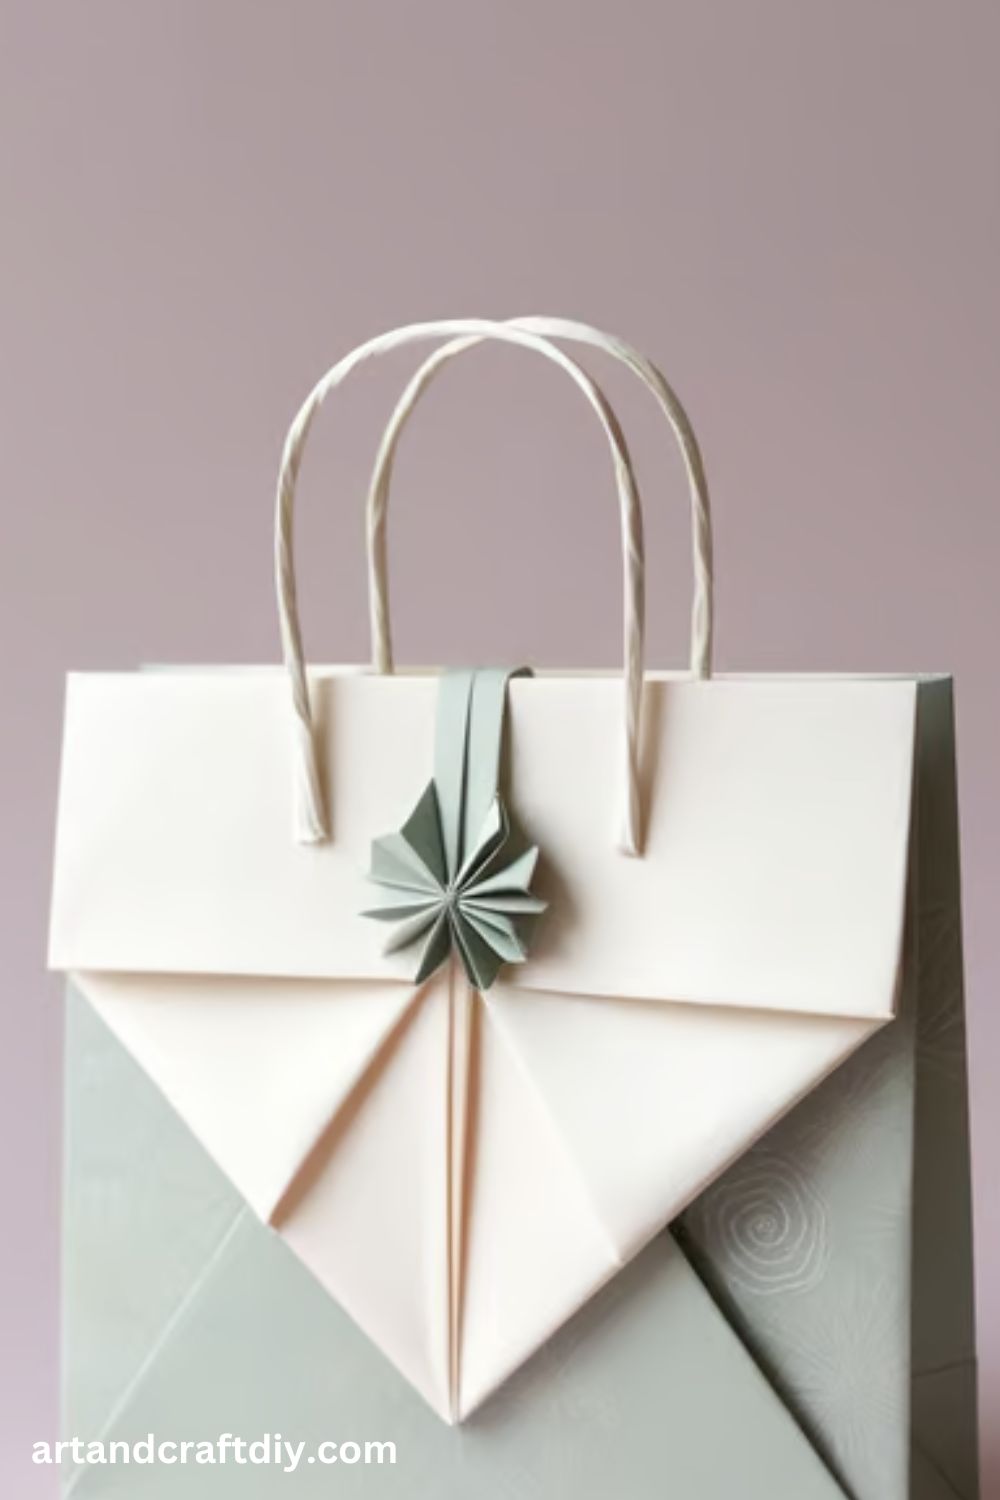
Origami Paper Gift Bag
An elegant, no-glue bag made entirely from folding.
Materials:
- Square sheet of decorative paper
Steps:
- Fold the paper in half diagonally.
- Fold the two outer corners toward the center.
- Fold down the top flap to secure.
- Open up to form a bag shape.
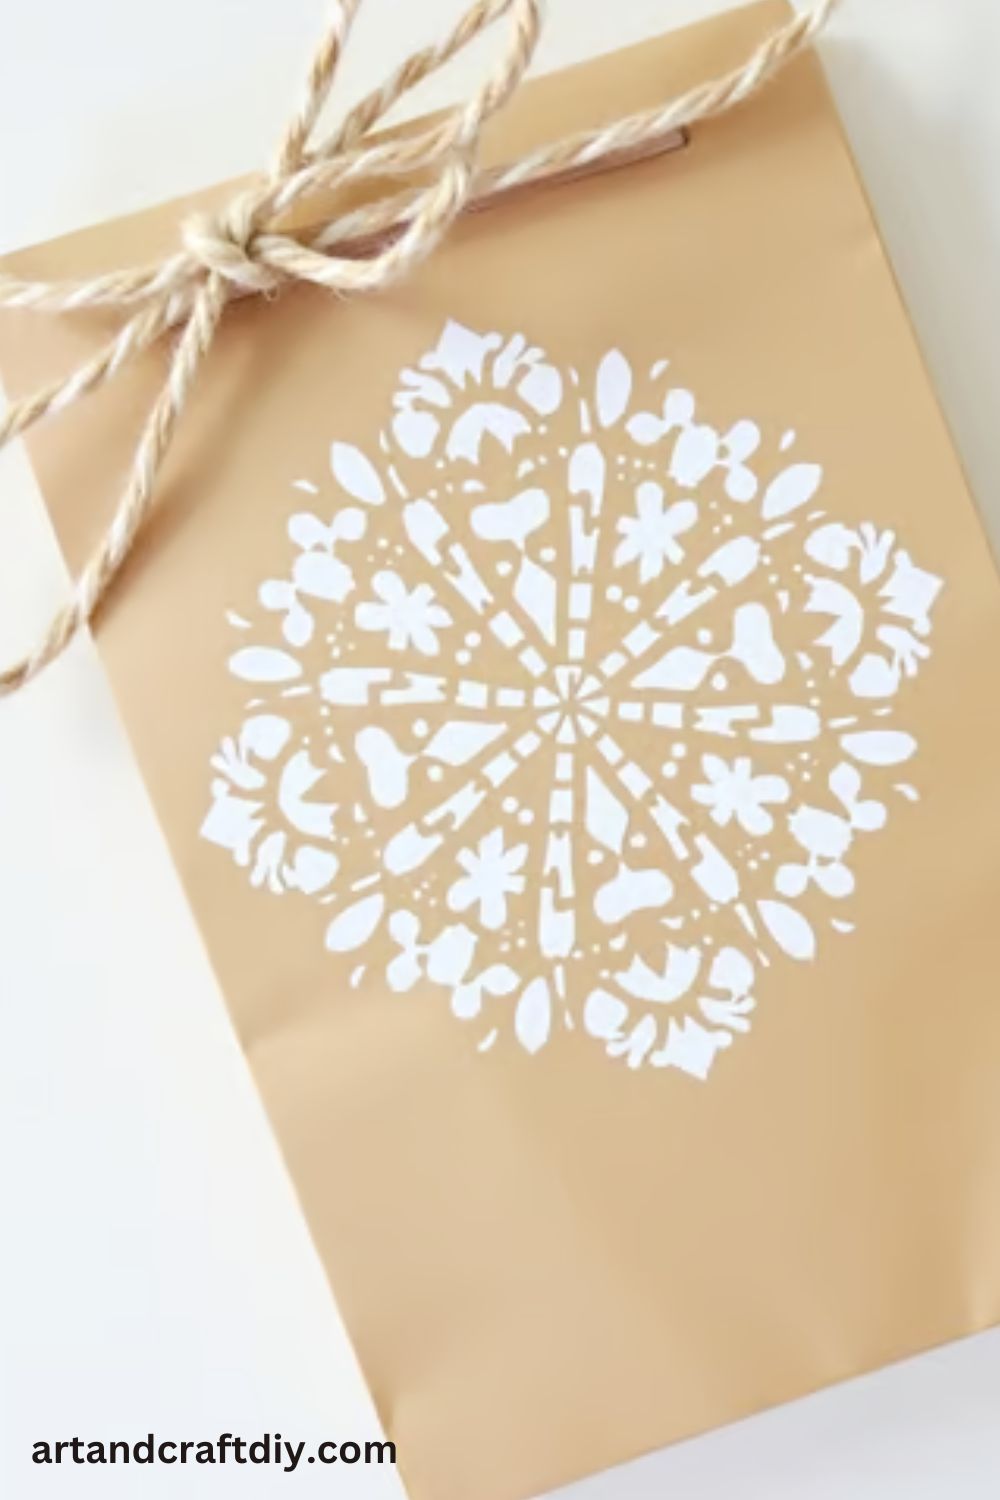
Stenciled Kraft Paper Bag
Stenciling adds a custom, artistic touch to a simple kraft bag.
Materials:
- Kraft paper bag
- Stencils
- Paint or spray paint
- Sponge or brush
Steps:
- Place the stencil over the bag.
- Apply paint over the stencil using a sponge or brush.
- Remove the stencil carefully and let it dry.
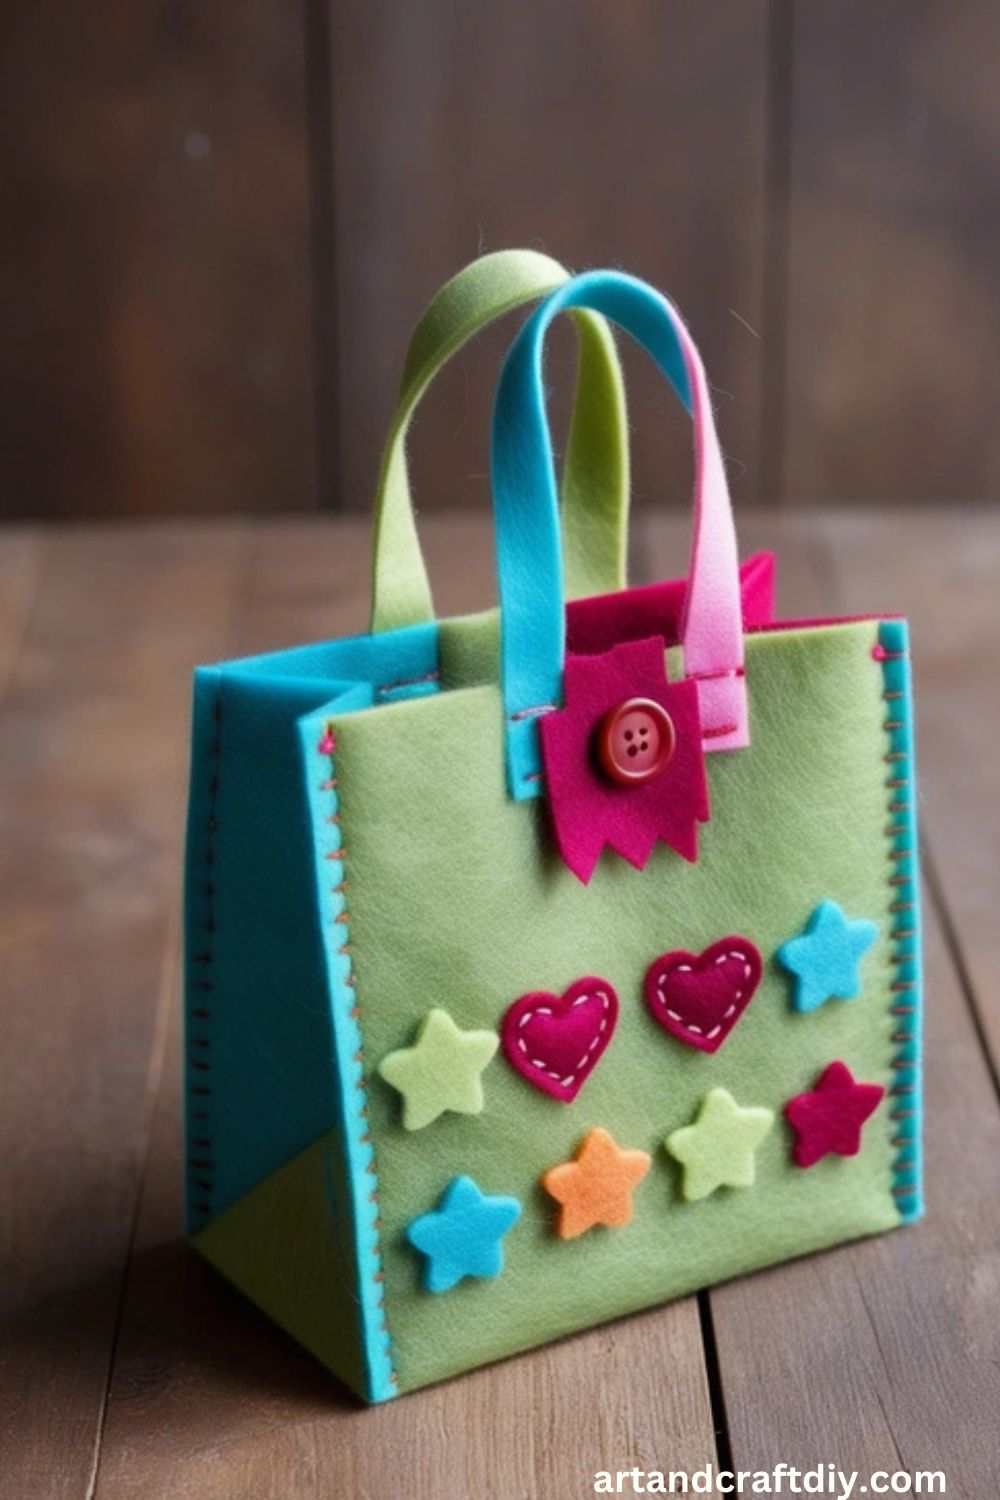
Felt Gift Bag
A soft, cozy bag made from felt—great for small gifts.
Materials:
- Felt sheets
- Scissors
- Fabric glue or needle and thread
- Ribbon
Steps:
- Cut two rectangles of felt.
- Sew or glue the sides and bottom.
- Attach a ribbon as a handle.
Upcycled Jeans Gift Bag
A stylish bag made from old denim.
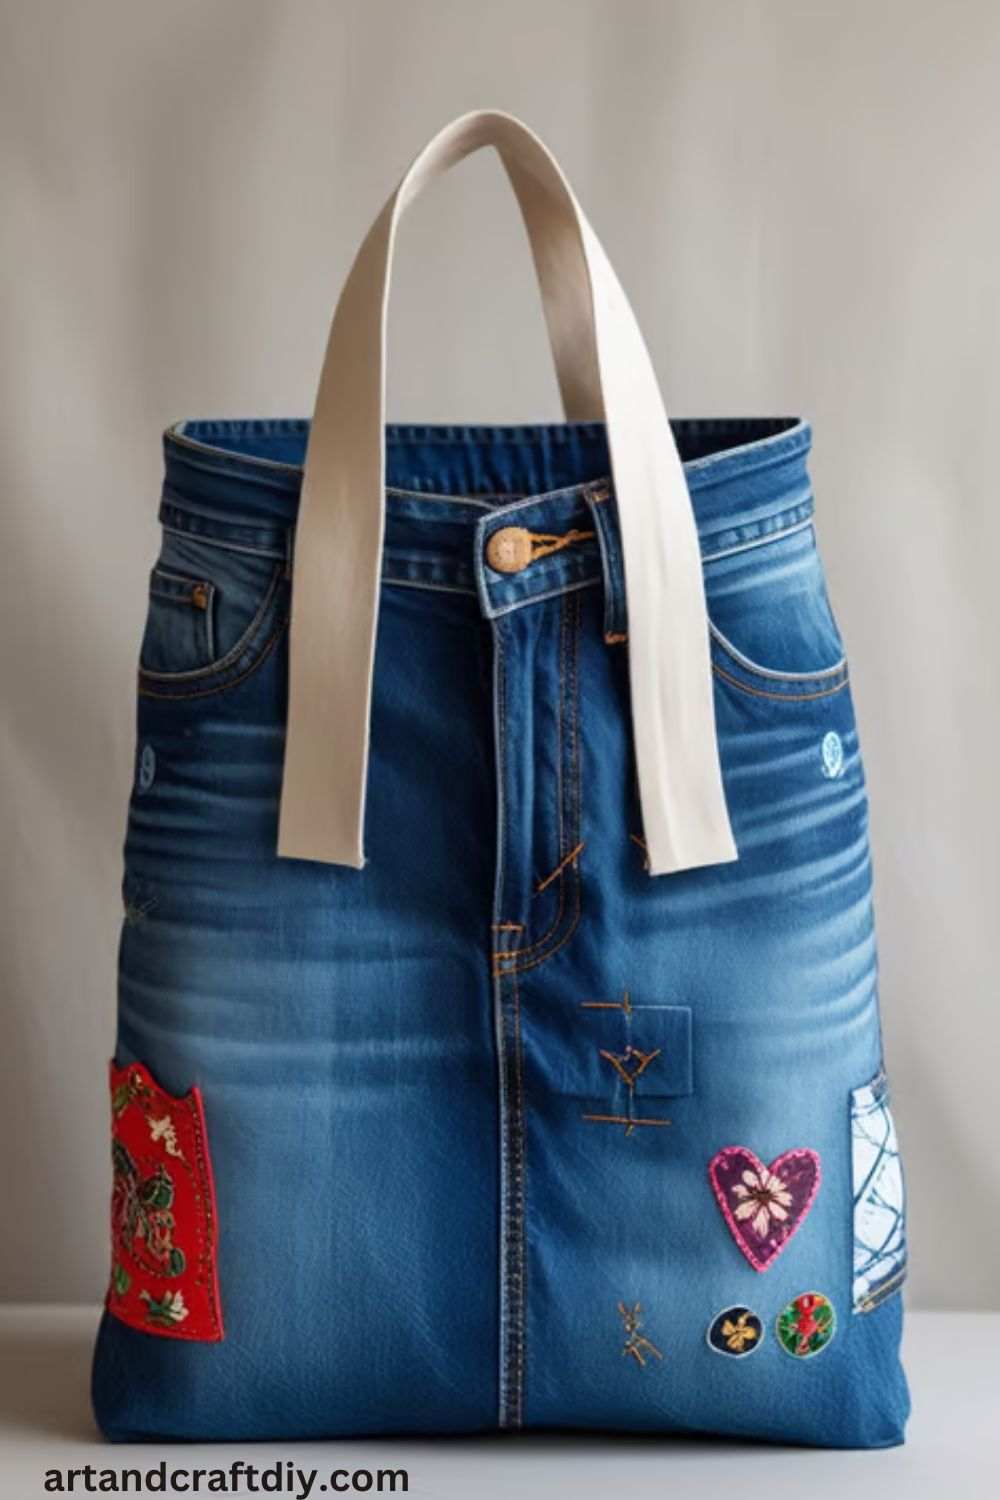
Materials:
- Old jeans
- Scissors
- Needle and thread or glue
- Ribbon or rope for handles
Steps:
- Cut a rectangle from the denim.
- Sew or glue the sides and bottom.
- Add ribbon handles.
Paper Doily Gift Bag
A delicate and vintage-style bag using paper doilies.
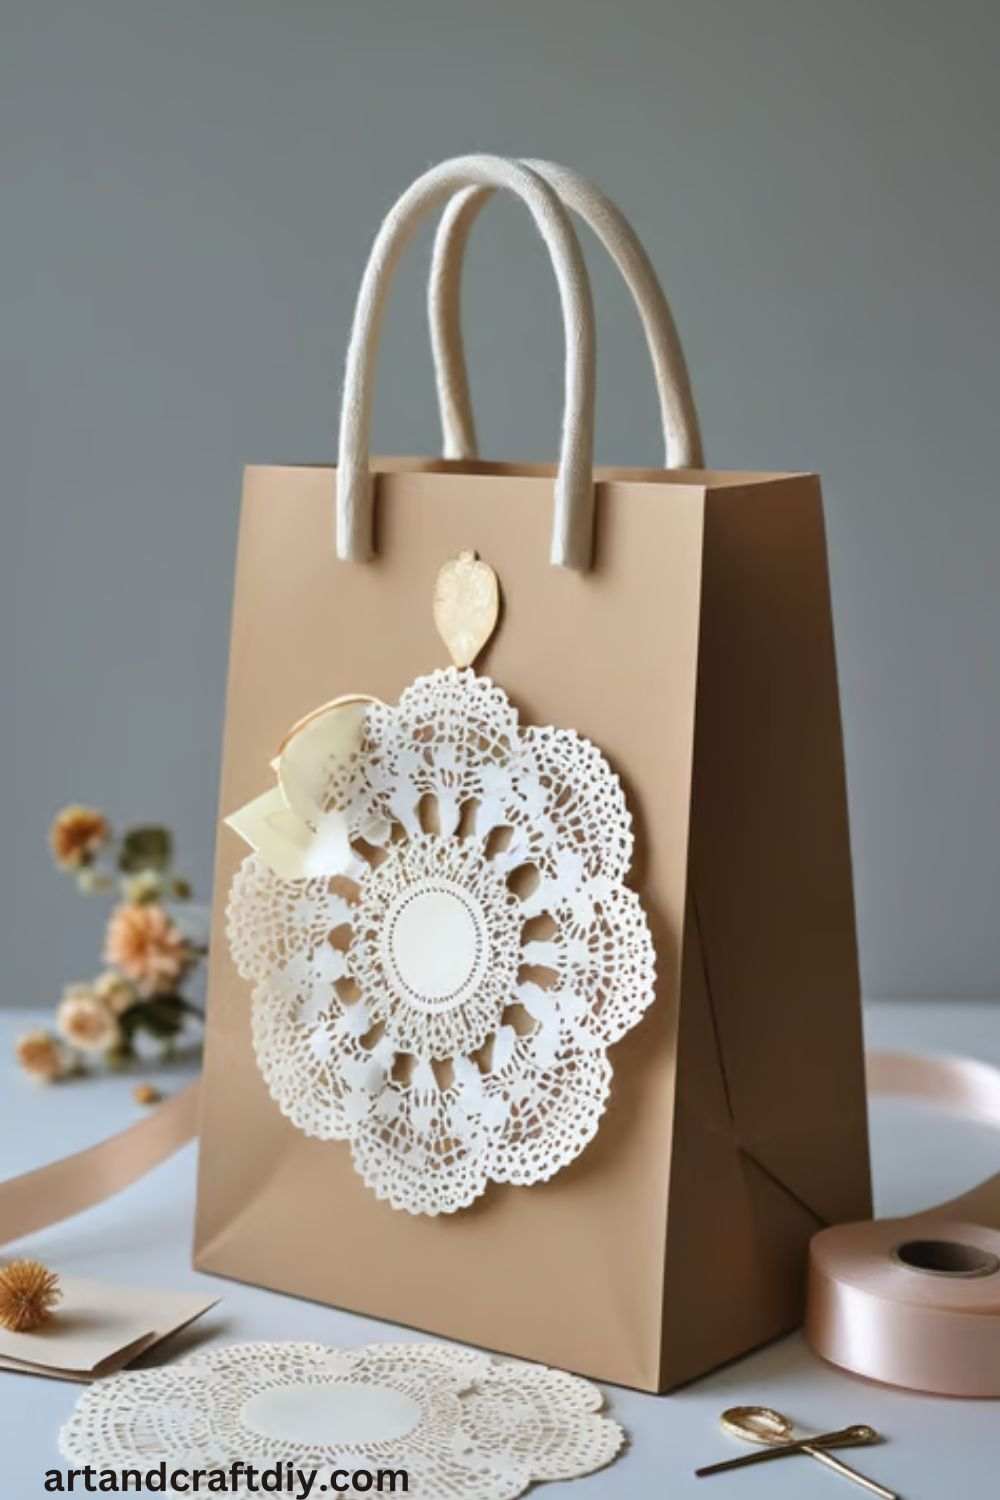
Materials:
- Paper doilies
- Glue
- Small paper bag
Steps:
- Glue doilies onto the paper bag.
- Allow to dry before use.
Glitter Gift Bag
Perfect for a festive touch!
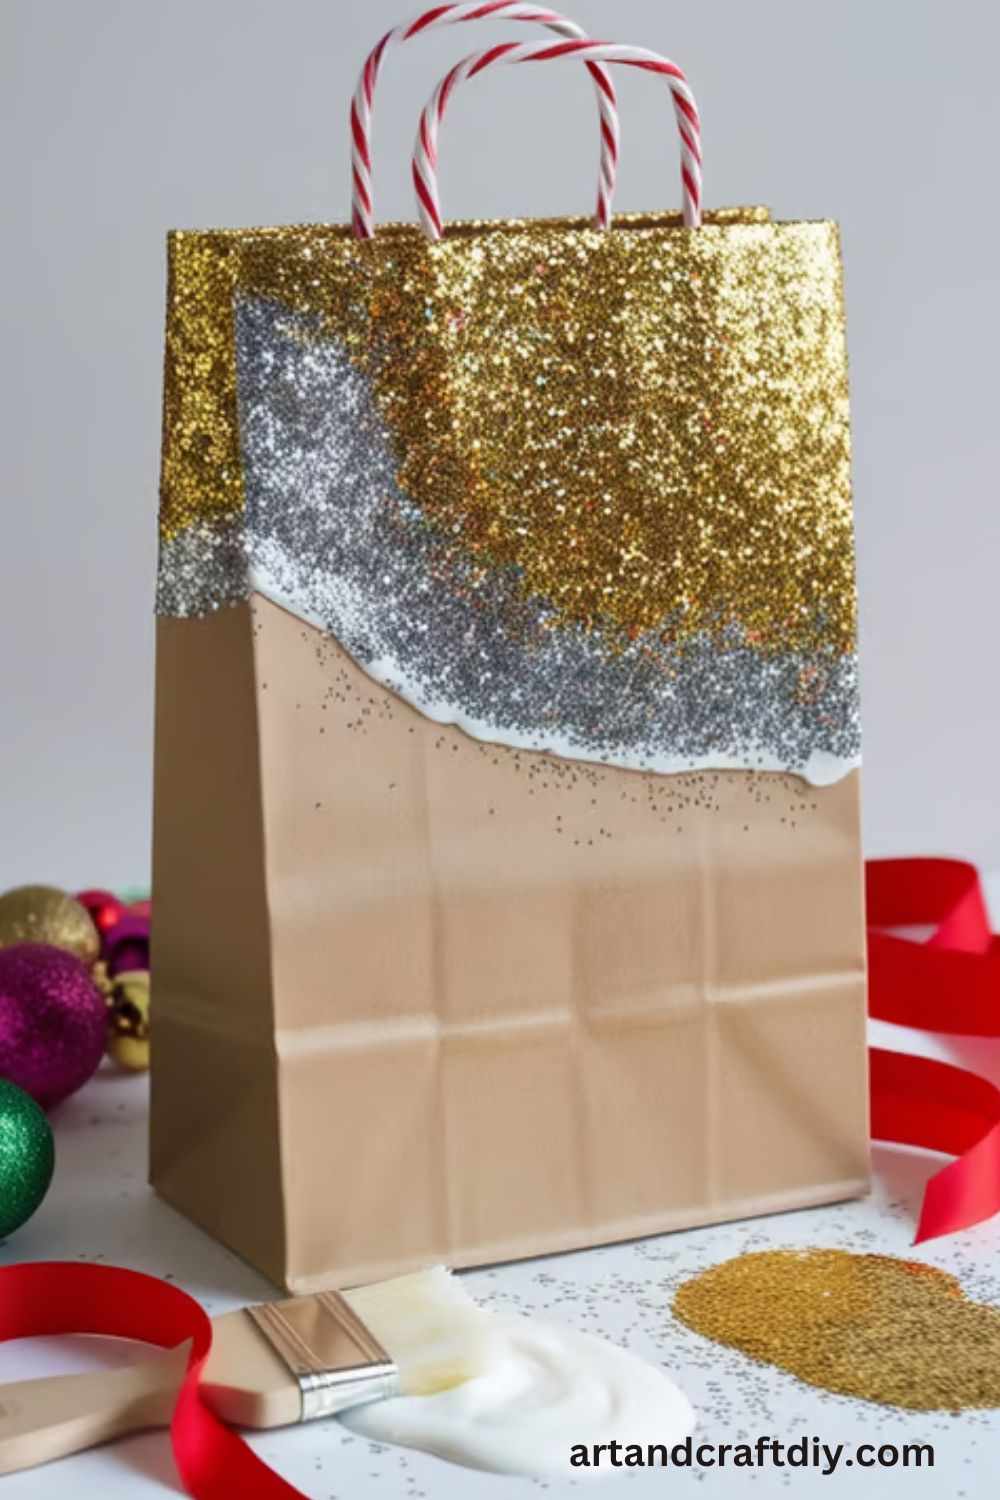
Materials:
- Plain gift bag
- Glue
- Glitter
Steps:
- Apply glue to the bag in desired areas.
- Sprinkle glitter over the glue.
- Shake off excess glitter and let dry.
Pillow Box Gift Bag
A cute and compact bag for small gifts.
Materials:
- Cardstock
- Scissors
- Ribbon
Steps:
- Cut and fold cardstock into a pillow box shape.
- Secure the sides with glue.
- Add ribbon for decoration.
Lace Gift Bag
Adds an elegant, feminine touch to any gift.
Materials:
- Lace fabric
- Glue
- Kraft paper bag
Steps:
- Cut lace to size.
- Glue onto the bag and let dry.
Map Paper Gift Bag
Great for travel lovers!
Materials:
- Old maps
- Scissors
- Glue
Steps:
- Fold and glue the map into a bag shape.
- Add handles if needed.
Twine-Wrapped Gift Bag
A rustic touch for any occasion.
Materials:
- Plain paper bag
- Twine
- Glue
Steps:
- Wrap twine around the bag.
- Secure with glue.
Hand-Painted Gift Bag
Unleash your inner artist!
Materials:
- Plain paper bag
- Paints and brushes
Steps:
- Paint any design you like.
- Let it dry completely.
Popcorn Box Gift Bag
Perfect for movie night gifts!
Materials:
- Striped cardstock
- Scissors
- Glue
Steps:
- Cut and fold cardstock into a popcorn box shape.
- Glue edges together.
Burlap Sack Gift Bag
A rustic, country-style option.
Materials:
- Burlap fabric
- Needle and thread
- Ribbon
Steps:
- Sew a small burlap sack.
- Tie it closed with a ribbon.
Cereal Box Gift Bag
Upcycle old cereal boxes into trendy bags.
Materials:
- Empty cereal box
- Wrapping paper
- Glue
Steps:
- Cut the top off the cereal box.
- Cover it with wrapping paper.
Tea-Stained Paper Gift Bag
Give your gift bag a vintage, aged look with tea staining.
Materials:
- Plain white paper bag
- Black tea bags
- Water
- Sponge or brush
Steps:
- Brew a strong cup of black tea and let it cool.
- Dip a sponge or brush into the tea and apply it to the bag.
- Let it dry completely before using.
Chalkboard Gift Bag
A fun, customizable bag where you can write a special message!
Materials:
- Black paper bag
- Chalkboard paint
- Chalk
Steps:
- Paint the front of the bag with chalkboard paint.
- Let it dry and write a message with chalk.
Wooden Handle Gift Bag
A creative way to add a rustic touch with wooden handles.
Materials:
- Kraft paper bag
- Small wooden dowels
- Glue
Steps:
- Cut small holes at the top of the bag.
- Insert wooden dowels as handles and glue them in place.
Sweater Sleeve Gift Bag
Upcycle an old sweater into a cozy gift bag.
Materials:
- Old sweater
- Scissors
- Needle and thread
Steps:
- Cut a sleeve from the sweater.
- Sew the bottom closed to create a pouch.
- Tie the top with ribbon or twine.
Book Page Gift Bag
Perfect for book lovers, made from old book pages.
Materials:
- Old book pages
- Glue
- Scissors
Steps:
- Glue book pages together to form a bag shape.
- Let it dry before using.
Hand-Dyed Gift Bag
Create a colorful, tie-dye effect with fabric dye.
Materials:
- Plain fabric bag
- Fabric dye
- Water
Steps:
- Prepare the dye according to instructions.
- Dip the bag into the dye and let it soak.
- Let it dry before use.
Watercolor Gift Bag
Soft, artistic touch with watercolors.
Materials:
- White paper bag
- Watercolor paints
- Brush
Steps:
- Apply watercolor paint in soft strokes.
- Let it dry before use.
Cork Stamped Gift Bag
Use a wine cork to create beautiful stamped patterns.
Materials:
- Wine cork
- Paint
- Plain paper bag
Steps:
- Dip the cork into paint.
- Stamp onto the bag to create a pattern.
Cut-Out Window Gift Bag
Add a peek-a-boo window to showcase the gift inside.
Materials:
- Plain paper bag
- Scissors
- Clear plastic sheet
- Glue
Steps:
- Cut a small window in the front of the bag.
- Glue a plastic sheet behind the cut-out.
Button-Embellished Gift Bag
Add charm with buttons of different shapes and colors.
Materials:
- Plain paper bag
- Buttons
- Glue
Steps:
- Arrange buttons in a pattern or design.
- Glue them onto the bag and let them dry.
The Joy of Giving a Handmade Gift Bag
Giving a handmade gift bag brings a unique sense of fulfillment and joy. Unlike store-bought items, handmade gifts carry a personal touch that shows thoughtfulness, effort, and care. The process of creating something by hand is as rewarding as the gift itself, and the recipient can feel the warmth and sincerity behind the gesture. Here are some reasons why giving a handmade gift bag brings such happiness:
- Personal Touch
Handmade gift bags reflect the giver’s personal style and creativity, making the gift extra special. - Meaningful Connection
It shows a deeper level of thought and consideration for the recipient, making the gift more meaningful. - Uniqueness
A handmade gift bag is one-of-a-kind, offering something different from what can be found in stores. - Sentimental Value
The time and effort invested in creating the bag create lasting memories for both the giver and receiver. - Sustainability
Often, handmade gift bags are crafted from recycled or eco-friendly materials, making them a great sustainable choice.
Eco-Friendly & Budget-Friendly Tips for Sustainable Living
Adopting an eco-friendly lifestyle doesn’t have to mean breaking the bank. In fact, there are many creative, cost-effective ways to make your home, celebrations, and daily habits more sustainable. Here are some simple yet impactful ways to live sustainably without stretching your budget:
- Use Recycled Materials
- Old newspapers, magazine pages, and fabric scraps can be transformed into unique, functional items like gift wraps, decorations, or even new DIY projects.
- Repurpose materials you already have, saving both money and resources.
- Reusable Gift Bags
- Instead of purchasing disposable gift bags, opt for reusable options made from fabric, jute, or other eco-friendly materials.
- You can even repurpose old bags or clothing to create your own, reducing waste and giving gifts a personal touch.
- Cost-Effective Ways to Decorate
- Get creative with DIY decorations using simple materials like stamps, stencils, or hand-drawn designs.
- Personalize your space with items you already have on hand, or upcycle old furniture to give it a fresh new look.
FAQ
What materials do I need to create a DIY gift bag?
To create a DIY gift bag, you will need basic supplies like craft paper or cardstock, scissors, glue or tape, ribbon, markers or stamps for decoration, and possibly a hole puncher to add handles.
How can I make a simple DIY gift bag without a template?
You can create a simple gift bag by cutting a piece of paper to your desired size, folding it into a bag shape, and gluing or taping the edges. Don’t forget to punch holes for handles or use string or ribbon for decoration.
Can I customize the DIY gift bags with my own designs?
Yes, DIY gift bags can be customized with your own designs. You can use stamps, stickers, paint, or markers to create unique patterns or messages, making each bag special.
What type of paper is best for DIY gift bags?
Sturdy papers like cardstock or kraft paper are great for DIY gift bags because they hold their shape and are easy to fold. You can also use patterned scrapbook paper for a more decorative look.

Hi, I’m Victoria, an art and craft teacher at Newark City Schools, where I have the joy of working with middle school students to help them explore their creativity and develop their artistic talents. I believe that art is a powerful way for students to express themselves, and I strive to make every lesson a fun, engaging, and inspiring experience.
I created this website to share the art and craft projects, techniques, and resources that I use in my classroom, hoping to inspire both educators and young artists alike. Whether you’re a teacher looking for new ideas or a student eager to try something new, I’m excited to provide creative tools and projects that anyone can enjoy.
When I’m not in the classroom, I love experimenting with different art forms and learning new crafting techniques. My goal is to help others discover the joy of making things with their hands, and I hope my website serves as a space for everyone to explore their creative potential.