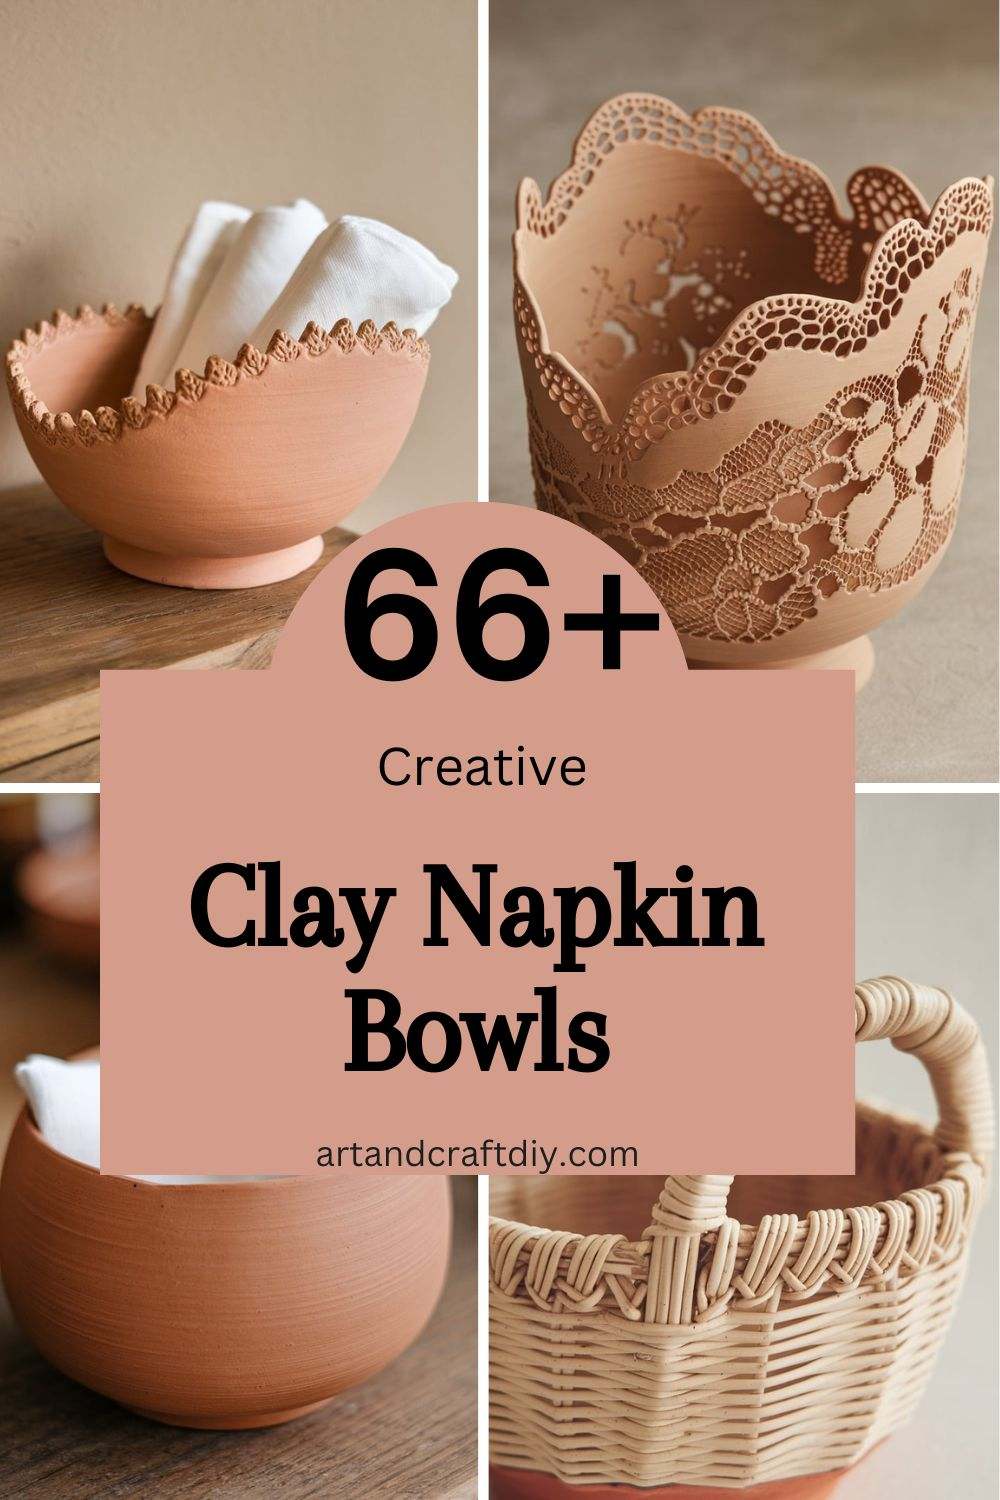
Clay napkin bowls are a simple yet elegant way to add a handmade touch to your dining setup. These bowls, crafted from air-dry or oven-bake clay, serve as both functional and decorative pieces, perfect for holding napkins, small trinkets, or table essentials. They make excellent DIY projects because they are easy to create, highly customizable, and allow for endless design possibilities—whether you prefer a sleek, modern look or a rustic, textured finish. Plus, working with clay is a fun and relaxing craft that requires minimal materials, making it accessible to beginners and experienced crafters alike.
Clay napkin bowls are a stylish and practical addition to any dining table, offering both functionality and a handmade charm. These bowls, crafted from air-dry, oven-bake, or even polymer clay, can be molded into various shapes and sizes to fit different aesthetics, from modern minimalism to rustic elegance. They serve as perfect holders for napkins, small trinkets, or even decorative accents, making them a versatile element in home decor. One of the biggest appeals of clay napkin bowls is their DIY potential—they are easy to make, require only a few materials, and can be customized with different textures, patterns, and colors. Whether you’re a beginner or an experienced crafter, creating clay napkin bowls is a fun and rewarding project that allows you to express your creativity while making something functional for your home.
Clay Napkin Bowls
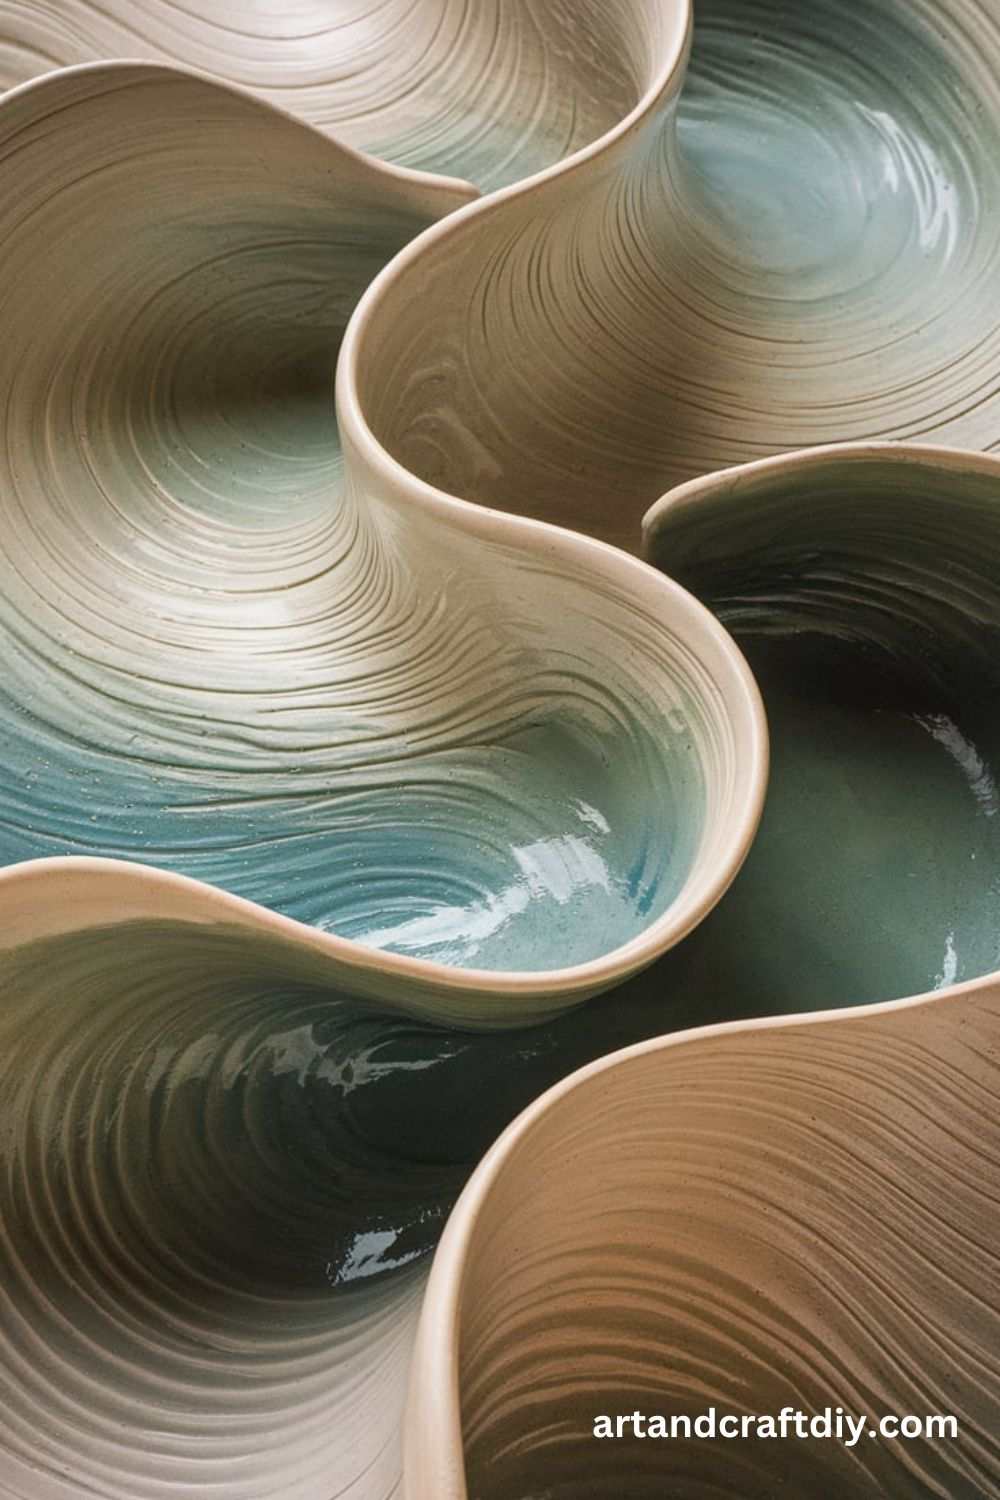
Clay napkin bowls are handcrafted ceramic bowls designed to resemble the folds and softness of a napkin. Clay Napkin Bowls often feature organic, flowing edges and are created using techniques like hand-building or draping clay over molds. They serve as elegant decorative accents, functional serving dishes, or statement art pieces. The natural texture and glaze variations make each bowl one of a kind, adding a touch of artisanal charm to any table setting.
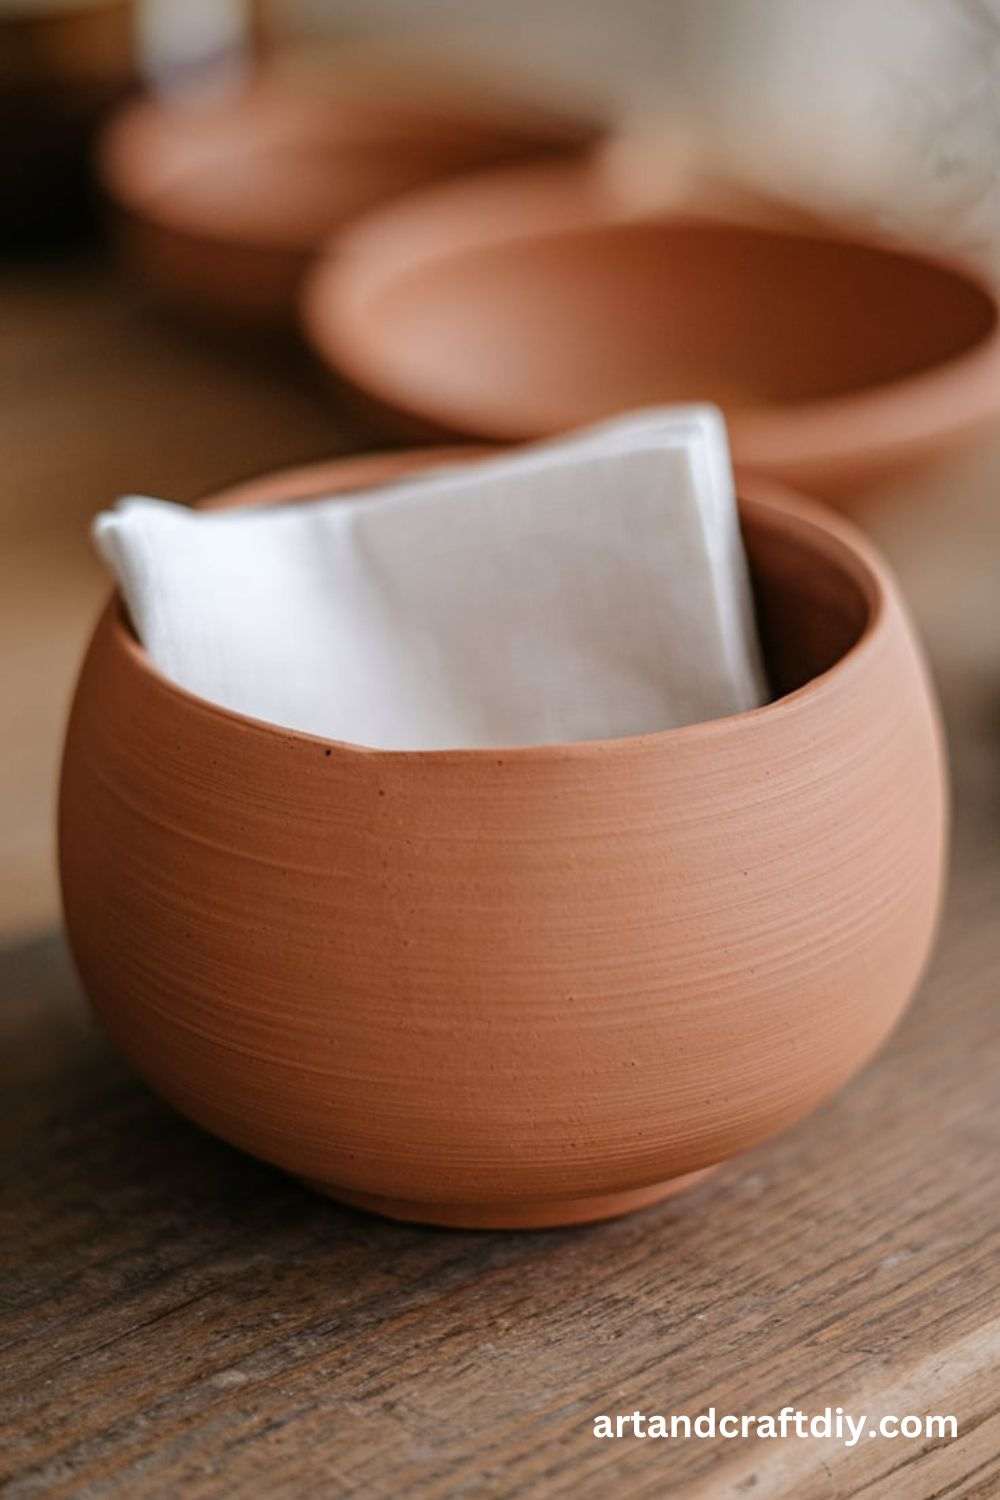
Classic Round Clay Napkin Bowl
A timeless design that suits any table setting, this round napkin bowl is simple yet elegant.
Materials:
Air-dry or oven-bake clay
Rolling pin
Circular bowl (for shaping)
Sandpaper
Acrylic paint (optional)
Steps:
Roll out the clay to about ¼ inch thick.
Use an upside-down bowl to cut out a circular shape.
Place the clay inside a slightly larger bowl to give it a curved shape.
Let it dry or bake according to the clay’s instructions.
Once dry, sand the edges for smoothness.
Paint or glaze as desired.
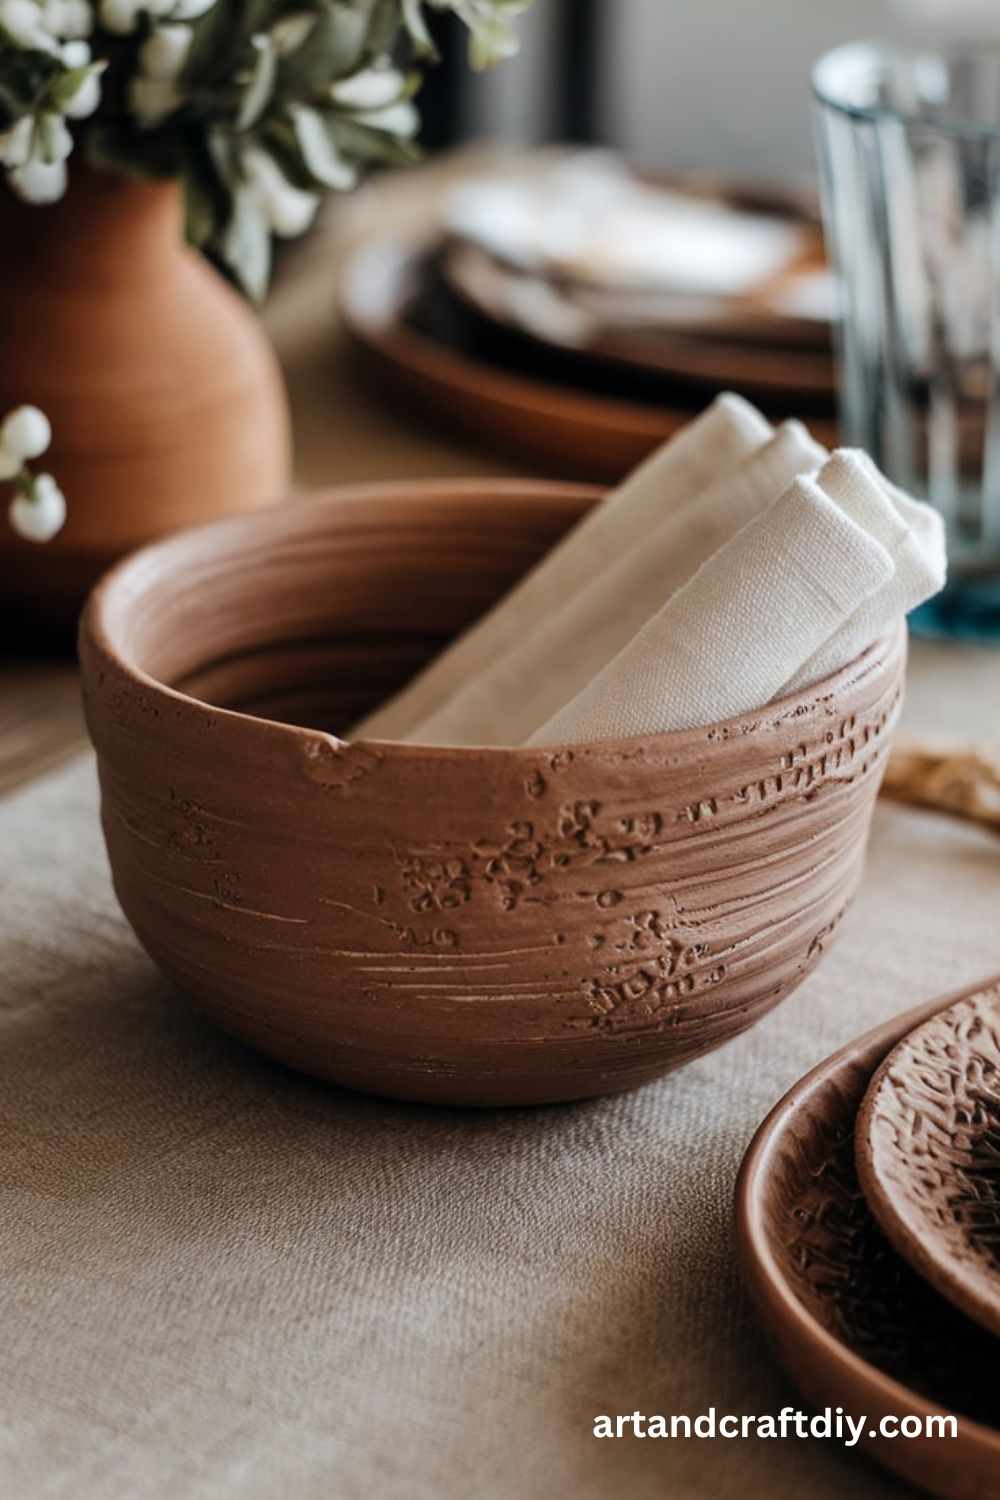
Rustic Textured Napkin Bowl
This bowl has a rough, handmade feel, perfect for a farmhouse-style dining room.
Materials:
Air-dry clay
Wooden texture stamps
Rolling pin
Knife
Steps:
Roll out the clay and press texture stamps into the surface.
Cut a large circle and place it over a bowl to form the shape.
Let it dry completely.
Sand rough edges and apply a matte finish if desired.
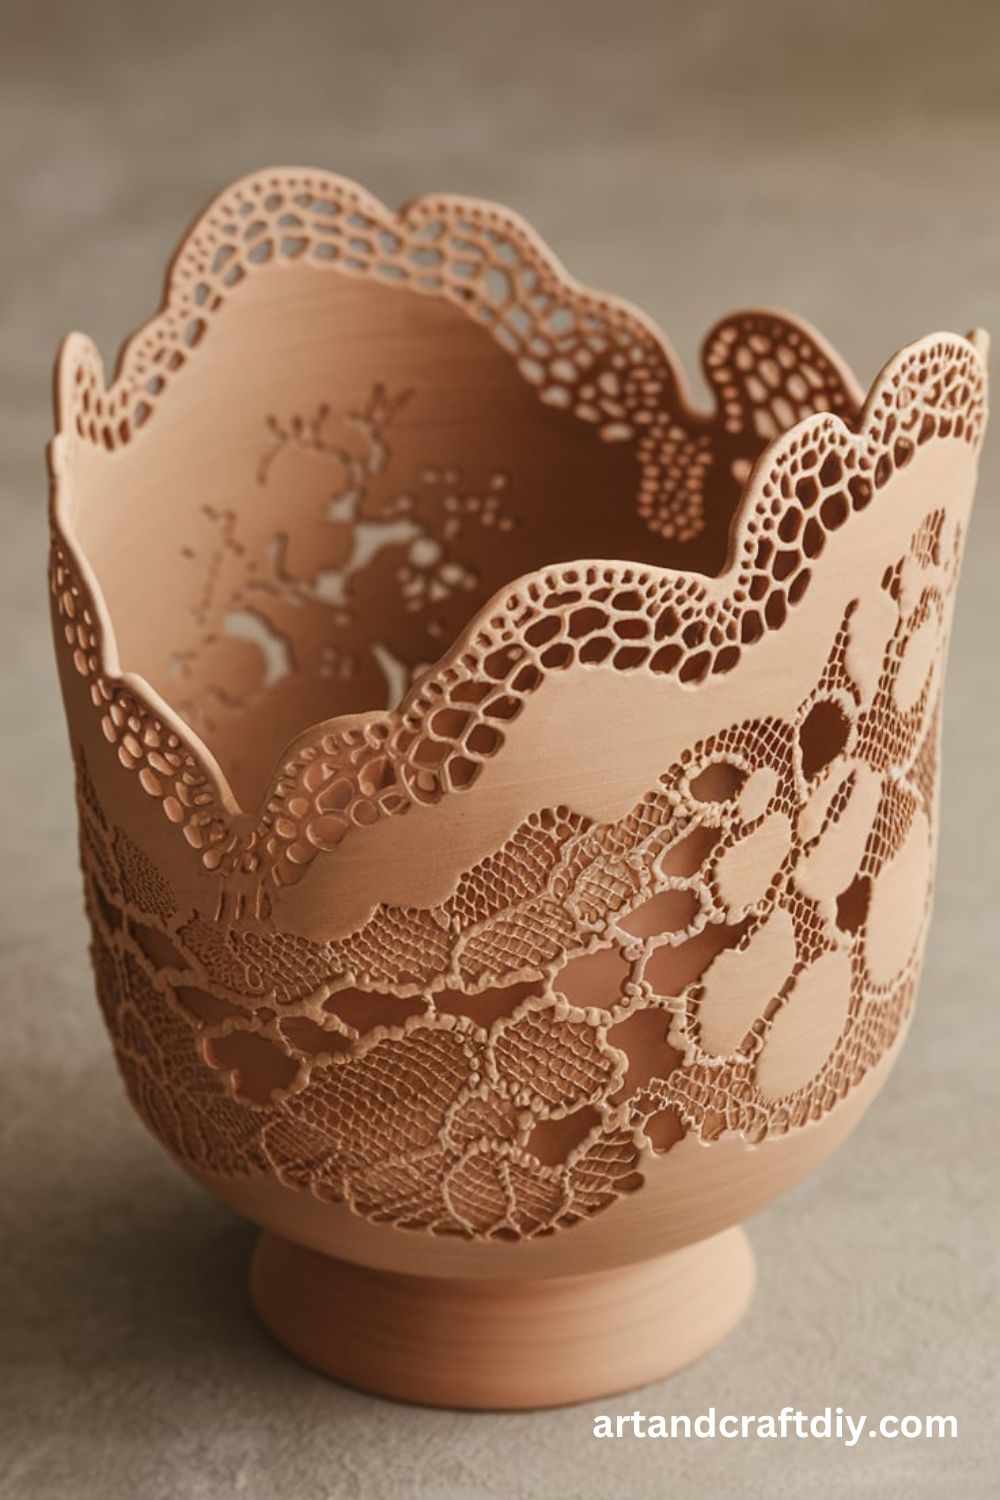
Lace-Imprinted Napkin Bowl
A delicate, vintage-style bowl created by pressing lace into the clay.
Materials:
Air-dry or polymer clay
Lace fabric
Rolling pin
Bowl for shaping
Steps:
Roll out the clay and place the lace fabric on top.
Gently press with a rolling pin to imprint the pattern.
Cut the desired shape and mold it into a bowl.
Let it dry, then paint or glaze for a polished look.
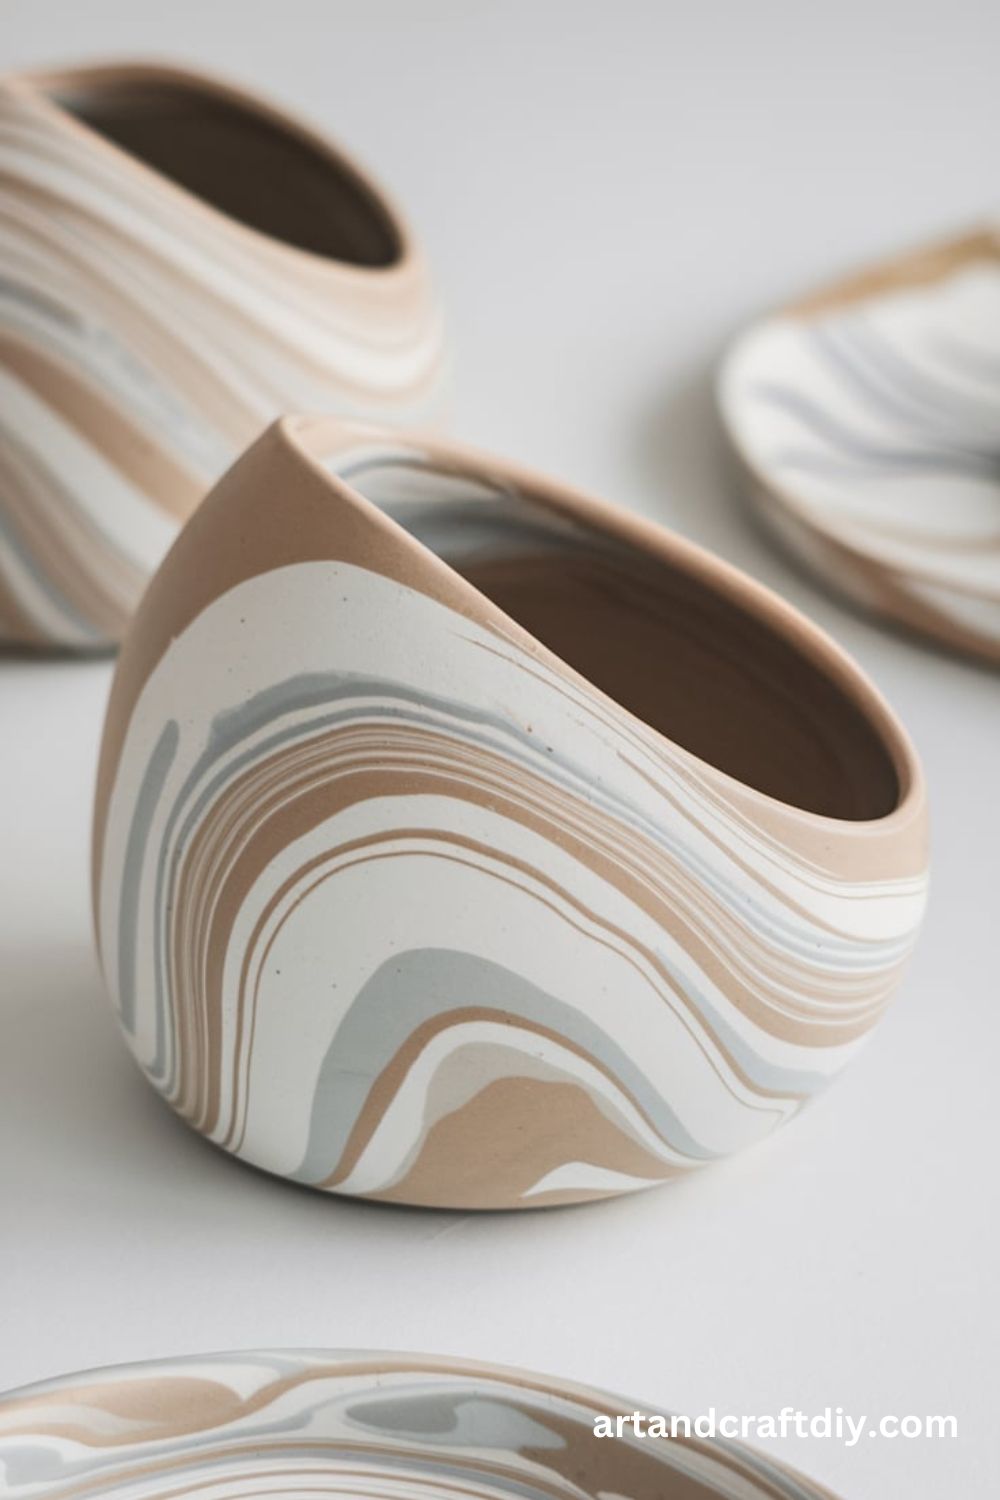
Marbled Clay Napkin Bowl
A modern, artistic bowl with a swirling marble effect.
Materials:
Two or more colors of polymer clay
Rolling pin
Bowl for shaping
Steps:
Knead two colors of clay together slightly to create a marbled effect.
Roll out the clay and cut into a circular shape.
Place inside a bowl mold and let it set.
Bake or air-dry, then glaze for a glossy finish.
Gold-Trimmed Napkin Bowl
A chic and elegant design with a touch of gold.
Materials:
White polymer clay
Gold acrylic paint or gold leaf
Paintbrush
Steps:
Shape the clay into a bowl and let it dry.
Once set, paint the rim with gold paint or apply gold leaf for a metallic accent.
Seal with a clear glaze.
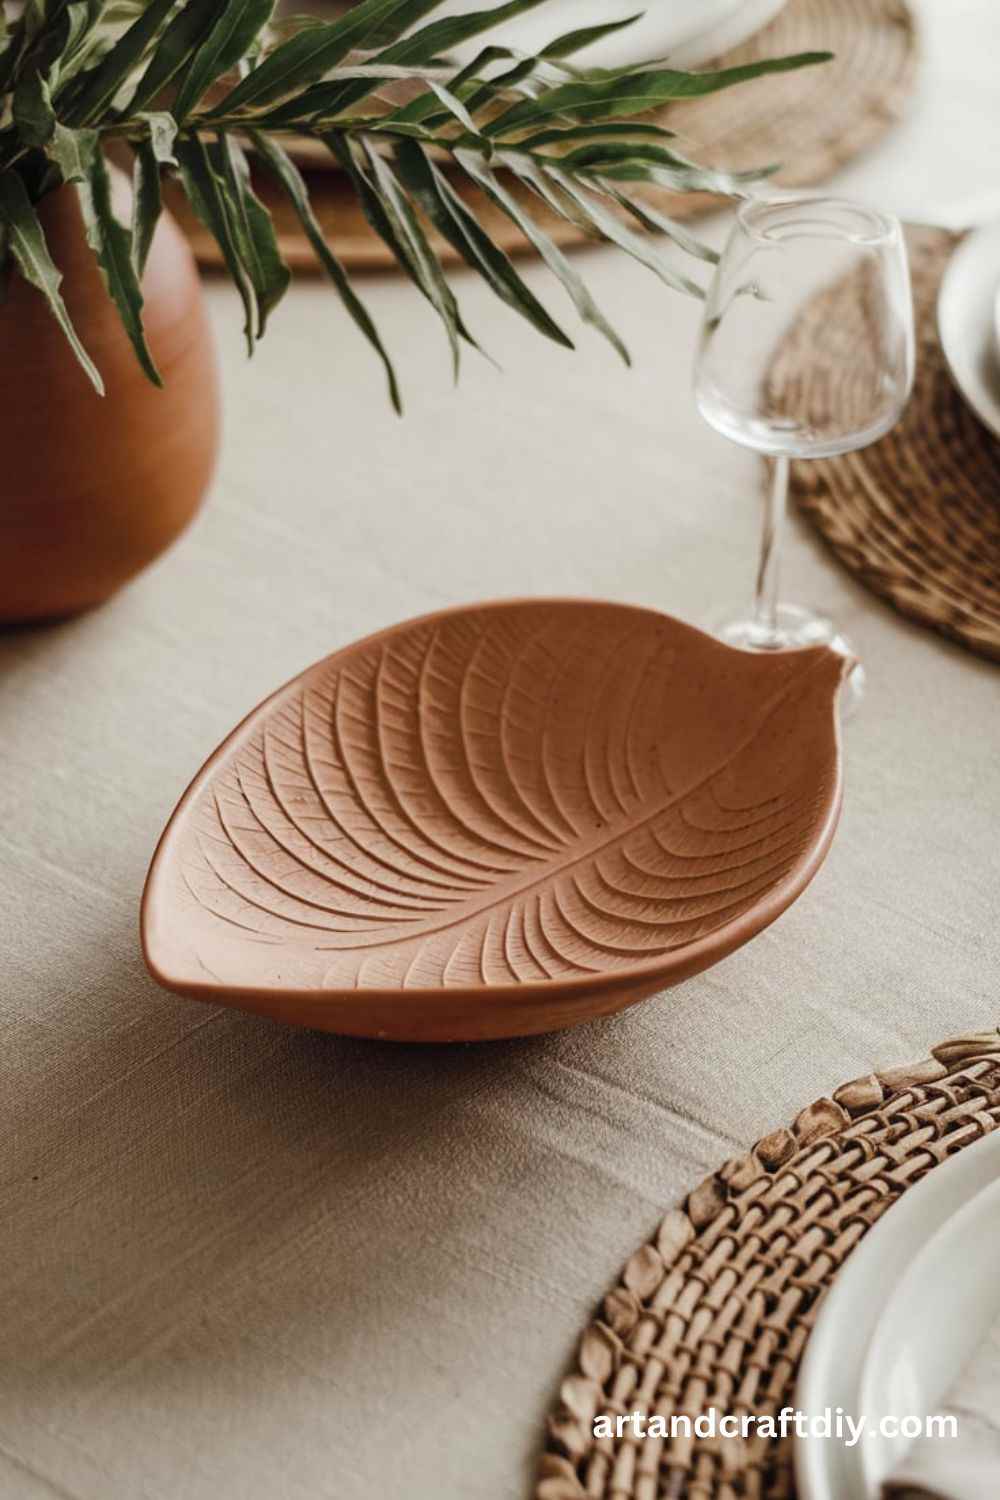
Leaf-Shaped Clay Napkin Bowl
A nature-inspired bowl that mimics the look of real leaves.
Materials:
Air-dry clay
Real leaves for imprinting
Rolling pin
Steps:
Roll out the clay and press a large leaf onto it to create texture.
Cut out the shape and curve it slightly.
Let it dry completely before painting.
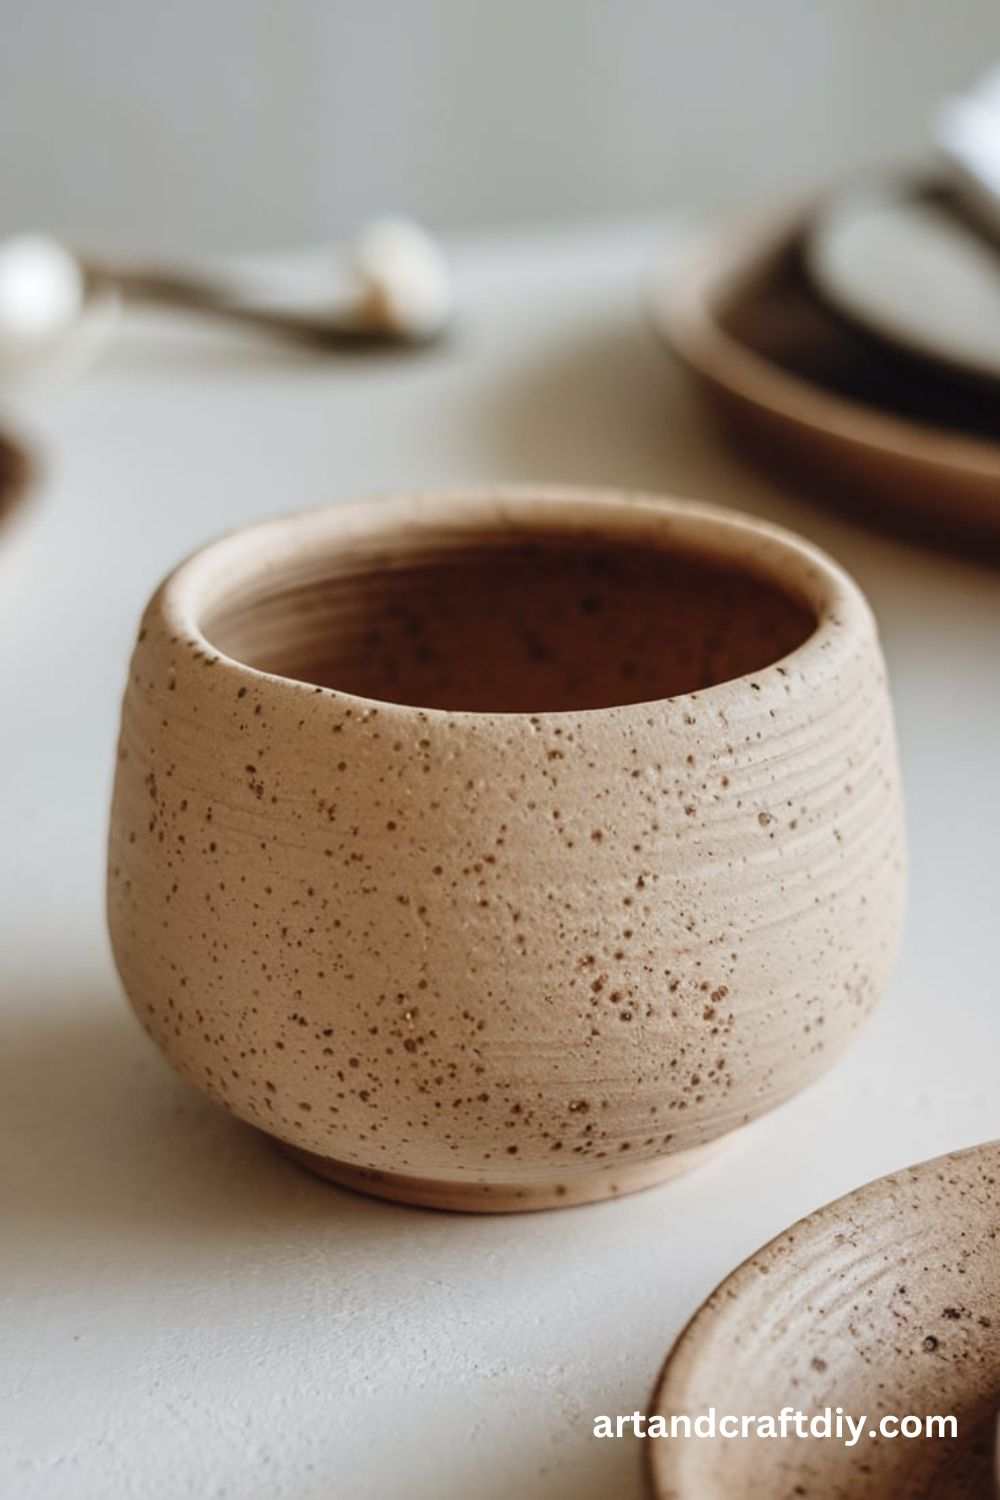
Speckled Clay Napkin Bowl
A trendy, modern design with a speckled finish.
Materials:
White clay
Black acrylic paint
Toothbrush
Steps:
Shape the clay into a bowl and let it dry.
Dip a toothbrush into black paint and flick small specks onto the surface.
Seal with a matte glaze.
Ocean Wave Napkin Bowl
A coastal-inspired design with wavy edges.
Materials:
Blue and white clay
Rolling pin
Knife
Steps:
Blend blue and white clay to create a water effect.
Roll out and cut an irregular wavy edge.
Mold into a bowl shape and dry.
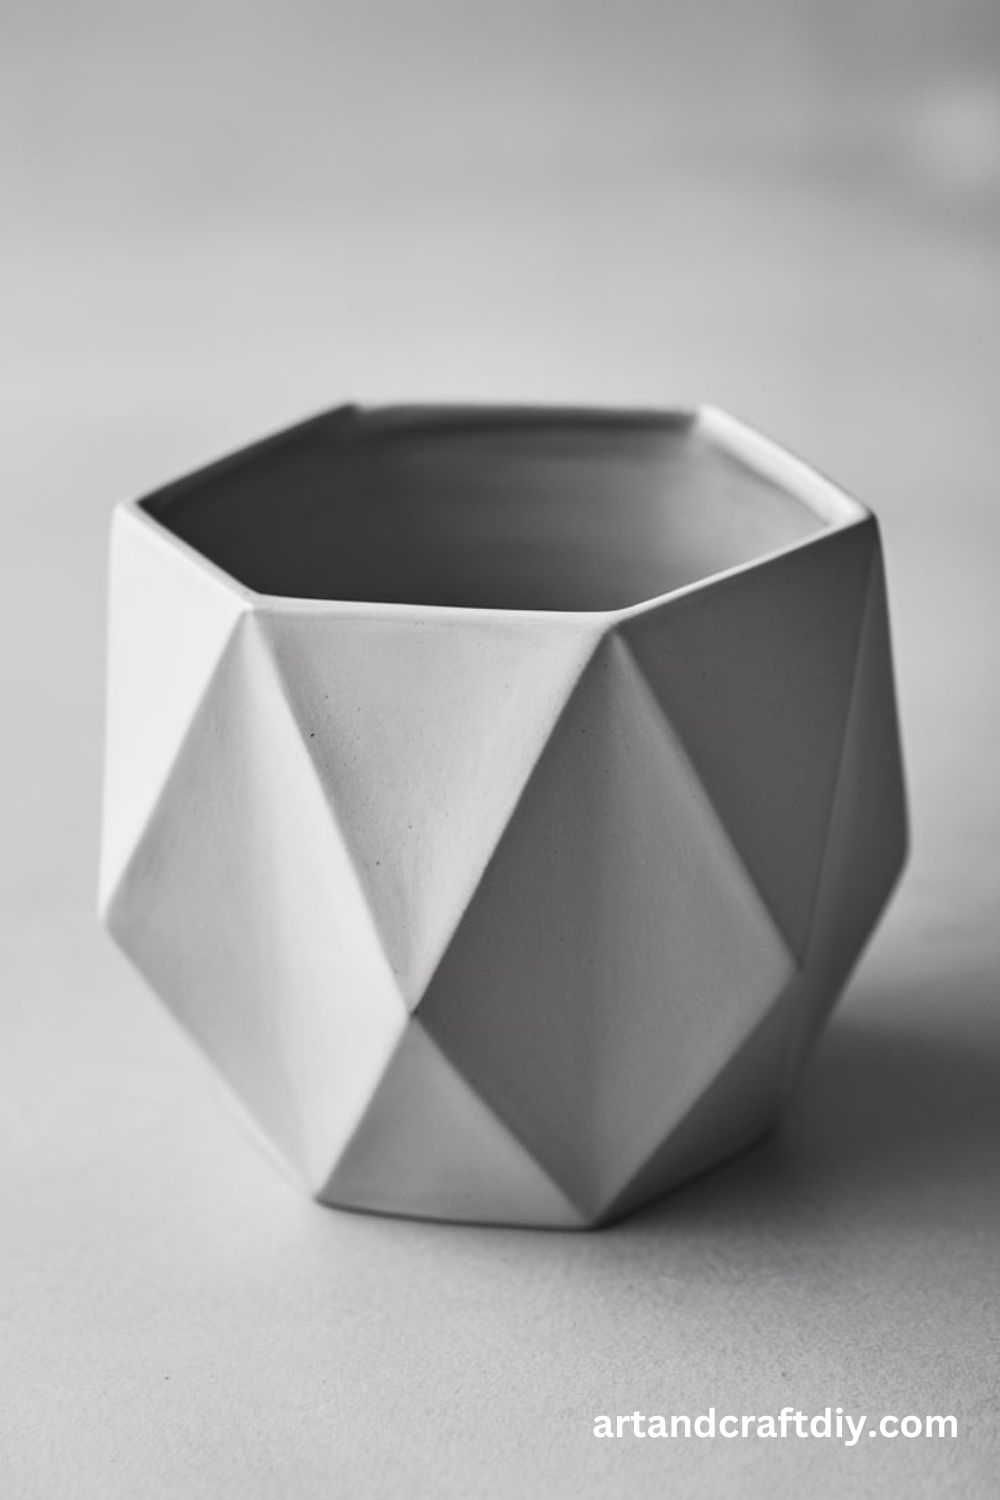
Geometric Faceted Napkin Bowl
A modern, angular bowl with a sculpted look.
Materials:
Polymer clay
Craft knife
Steps:
Shape the clay into a rough bowl form.
Use a knife to carve geometric facets.
Bake or air-dry, then glaze.
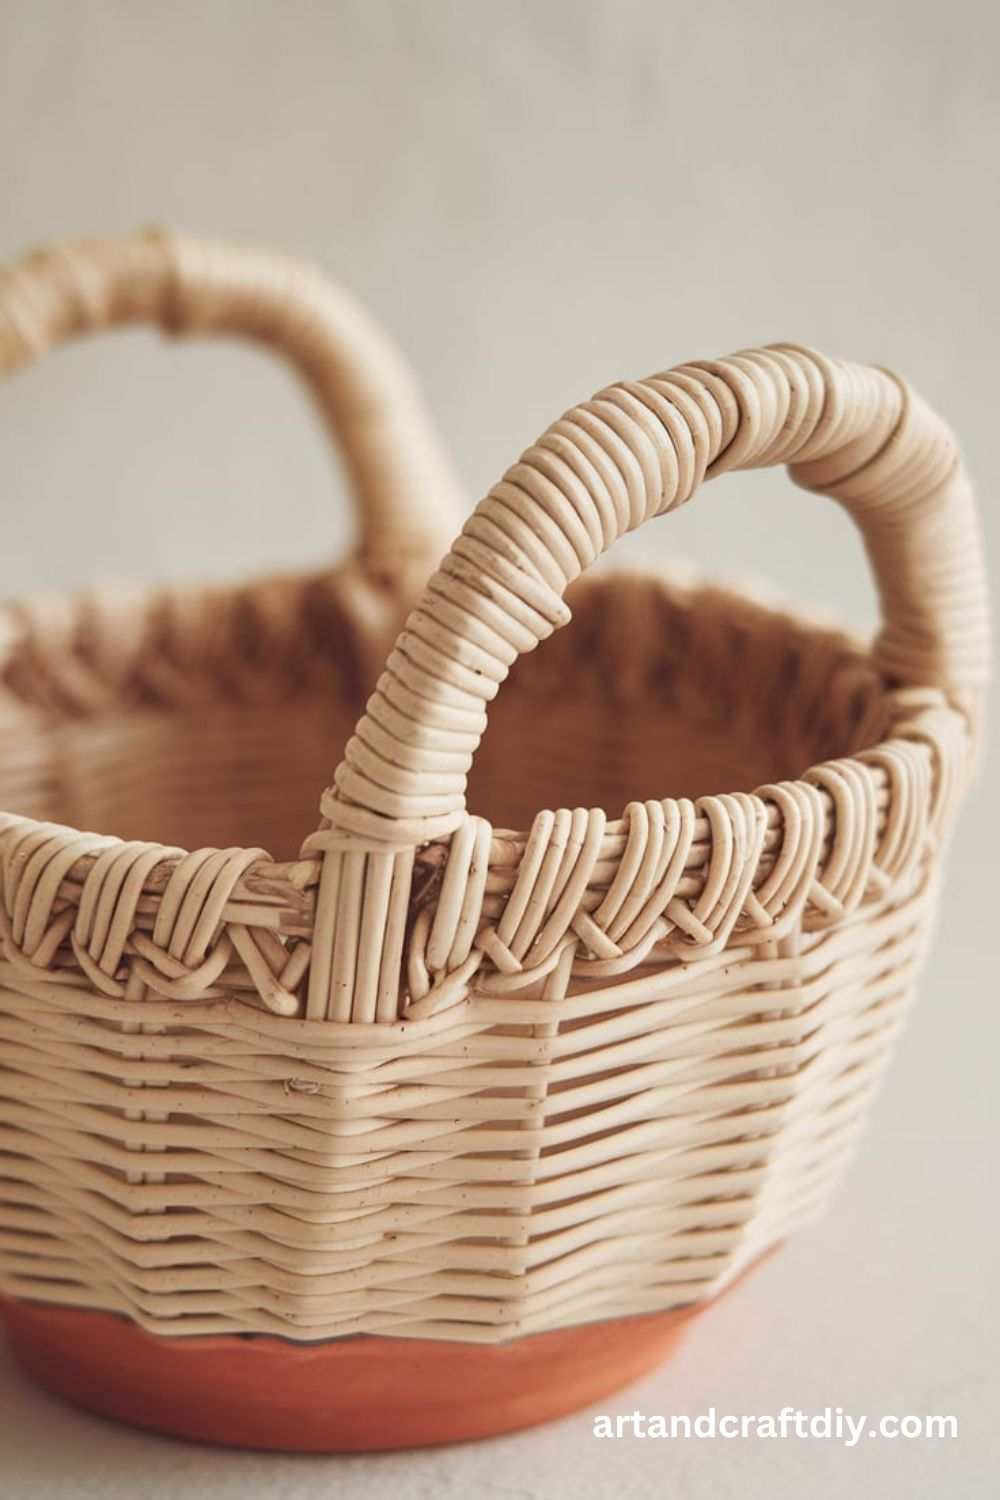
Wicker-Patterned Napkin Bowl
A textured bowl that mimics woven wicker.
Materials:
Air-dry clay
Textured mat or basket for imprinting
Steps:
Press a woven texture into rolled-out clay.
Shape into a bowl and let dry.
Metallic Clay Napkin Bowl
A bold, shiny design with a metallic finish.
Materials:
Polymer clay
Metallic spray paint
Steps:
Shape the bowl and let it dry.
Spray with metallic paint for a sleek look.
Boho-Inspired Clay Napkin Bowl
A freeform, handmade bowl with a relaxed vibe.
Materials:
Air-dry clay
Carving tools
Steps:
Shape a slightly uneven bowl for a boho look.
Carve subtle patterns into the surface.
Stamped Clay Napkin Bowl
A personalized bowl with stamped designs.
Materials:
Polymer clay
Alphabet or decorative stamps
Steps:
Press stamps into rolled-out clay.
Shape into a bowl and let it dry.
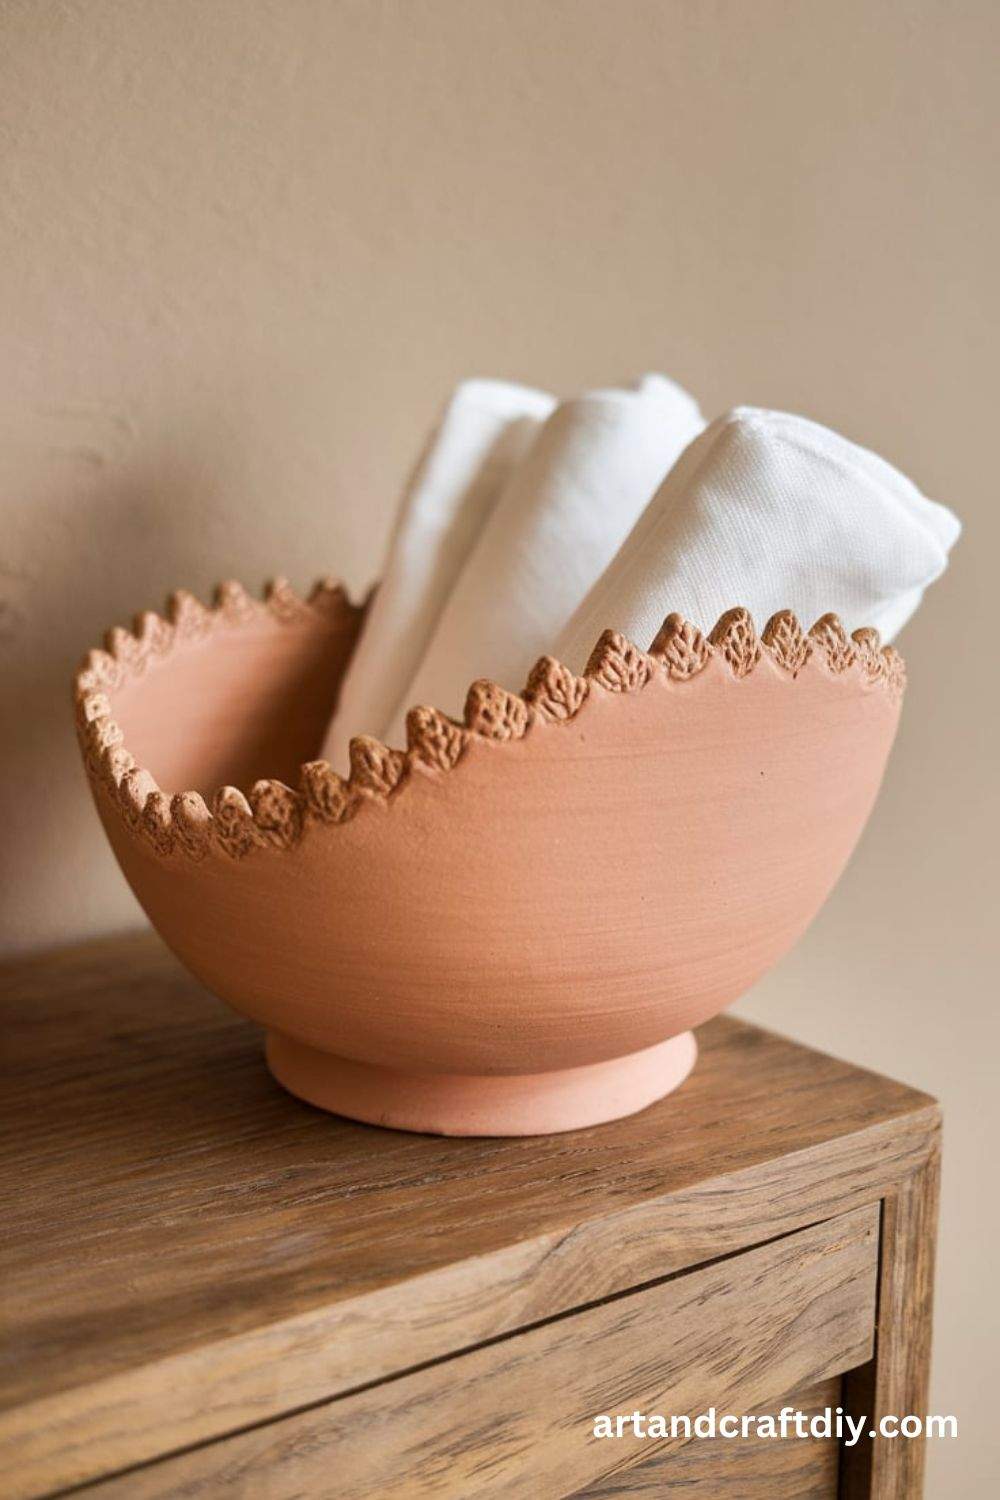
Scalloped Edge Napkin Bowl
A delicate, decorative bowl with scalloped edges.
Materials:
Polymer clay
Scallop-edged cutter
Steps:
Cut a circle and shape the edges into scallops.
Mold into a bowl and dry.
Abstract Painted Napkin Bowl
A vibrant, artistic bowl with abstract designs.
Materials:
White clay
Acrylic paints
Steps:
Shape and dry the bowl.
Paint abstract designs in bold colors.
Minimalist Matte Napkin Bowl
A sleek, simple bowl with a smooth finish.
Materials:
Air-dry clay
Matte sealant
Steps:
Shape the bowl and smooth the surface.
Apply a matte finish for a modern look.
Floral Pressed Napkin Bowl
A soft, botanical design with pressed flowers.
Materials:
Fresh flowers
Air-dry clay
Steps:
Press flowers into rolled-out clay.
Shape and let dry.
Tiered Clay Napkin Bowl
A multi-layered bowl for added depth.
Materials:
Polymer clay
Small cutters
Steps:
Create multiple layers of clay and stack them.
Shape into a bowl and bake.
Hand-Painted Tribal Napkin Bowl
A unique, cultural design with hand-painted details.
Materials:
Air-dry clay
Fine paintbrush
Steps:
Shape and dry the bowl.
Paint tribal patterns using a thin brush.
Moon-Inspired Napkin Bowl
A celestial-themed bowl with crater-like textures.
Materials:
Polymer clay
Aluminum foil
Steps:
Press aluminum foil into the clay for texture.
Shape into a bowl and dry.
Decorating & Finishing Touches
Adding the final decorative elements to a project is what brings it to life. Whether you’re working on a DIY craft, furniture restoration, or an art piece, the finishing touches make all the difference. Painting and sealing are essential steps that not only enhance the appearance but also provide durability and protection.
Painting & Sealing for a Professional Finish
✅ Acrylic Paints:
Versatile and fast-drying, ideal for various surfaces like wood, canvas, plastic, and clay.
Available in a wide range of colors and finishes (matte, satin, gloss).
Can be layered and blended for unique effects.
✅ Glaze:
Adds depth and dimension to painted surfaces.
Can be used to create antique or distressed effects.
Available in tinted or clear options to enhance the base colors.
✅ Mod Podge & Sealants:
Mod Podge acts as a glue, sealer, and finish in one.
Perfect for decoupage, protecting painted surfaces, and adding a glossy or matte finish.
Spray sealants or varnishes provide a long-lasting protective coat against wear and tear.
Creative Variations & Ideas for Clay Crafting
Clay crafting offers endless possibilities for creativity, allowing you to experiment with colors, textures, and unique design techniques. Whether you’re working on pottery, jewelry, or home décor, incorporating different elements can take your creations to the next level. Here are some inspiring ideas to explore:
1. Using Colored Clay or Marbling Techniques
Mix different shades of clay to create striking patterns and gradients.
Try marbling by twisting two or more colors together for a natural, flowing effect.
Layer contrasting hues for a bold and vibrant look.
2. Adding Metallic or Gold Leaf Accents
Apply gold, silver, or copper leaf for a luxurious and elegant finish.
Use metallic powders or paints to highlight specific details.
Embed tiny foil flakes within the clay for a shimmering, textured effect.
3. Experimenting with Different Textures
Press lace, burlap, or natural leaves into the clay for intricate, organic patterns.
Use household objects like combs, sponges, or stamps to create unique surface details.
Combine smooth and rough textures to add depth and contrast.
4. Making Nested Sets for Décor
Design stackable bowls, trays, or nesting dishes for a stylish and functional display.
Create a series of coordinating pieces in varying sizes for a cohesive collection.
Personalize nested sets with hand-painted designs or sculpted details.
FAQ
What is a clay napkin bowl?
A clay napkin bowl is a handmade decorative bowl created by draping clay over a napkin or fabric to form a unique, organic shape. Once dried and fired, it becomes a sturdy yet artistic piece.
What type of clay should I use for a napkin bowl?
Air-dry clay, polymer clay, or ceramic clay (for kiln firing) can be used. Choose based on your desired finish and durability.
Do I need a kiln to make a clay napkin bowl?
If using air-dry or polymer clay, no kiln is needed. However, if working with traditional ceramic clay, a kiln is required for firing.
How do I shape the clay with a napkin?
Drape a rolled-out slab of clay over a napkin-covered bowl or mold. The texture and folds of the napkin create an organic design.
Hi, I’m Victoria, an art and craft teacher at Newark City Schools, where I have the joy of working with middle school students to help them explore their creativity and develop their artistic talents. I believe that art is a powerful way for students to express themselves, and I strive to make every lesson a fun, engaging, and inspiring experience.
I created this website to share the art and craft projects, techniques, and resources that I use in my classroom, hoping to inspire both educators and young artists alike. Whether you’re a teacher looking for new ideas or a student eager to try something new, I’m excited to provide creative tools and projects that anyone can enjoy.
When I’m not in the classroom, I love experimenting with different art forms and learning new crafting techniques. My goal is to help others discover the joy of making things with their hands, and I hope my website serves as a space for everyone to explore their creative potential.