Slime has become a popular DIY craft and sensory toy enjoyed by kids and adults alike. Its gooey, stretchy texture makes it fun to play with, while the process of making slime at home can be both educational and entertaining. One of the simplest ways to make slime is by using baking soda, which helps give slime its perfect consistency when combined with other ingredients like glue and contact lens solution.
Making slime at home has several benefits. It encourages creativity, provides a hands-on science lesson about chemical reactions, and serves as a great sensory activity that can be soothing and stress-relieving. Children can experiment with different textures, colors, and add-ins like glitter or foam beads, making each batch unique and engaging.
How to Make Slime Recipe with Baking Soda
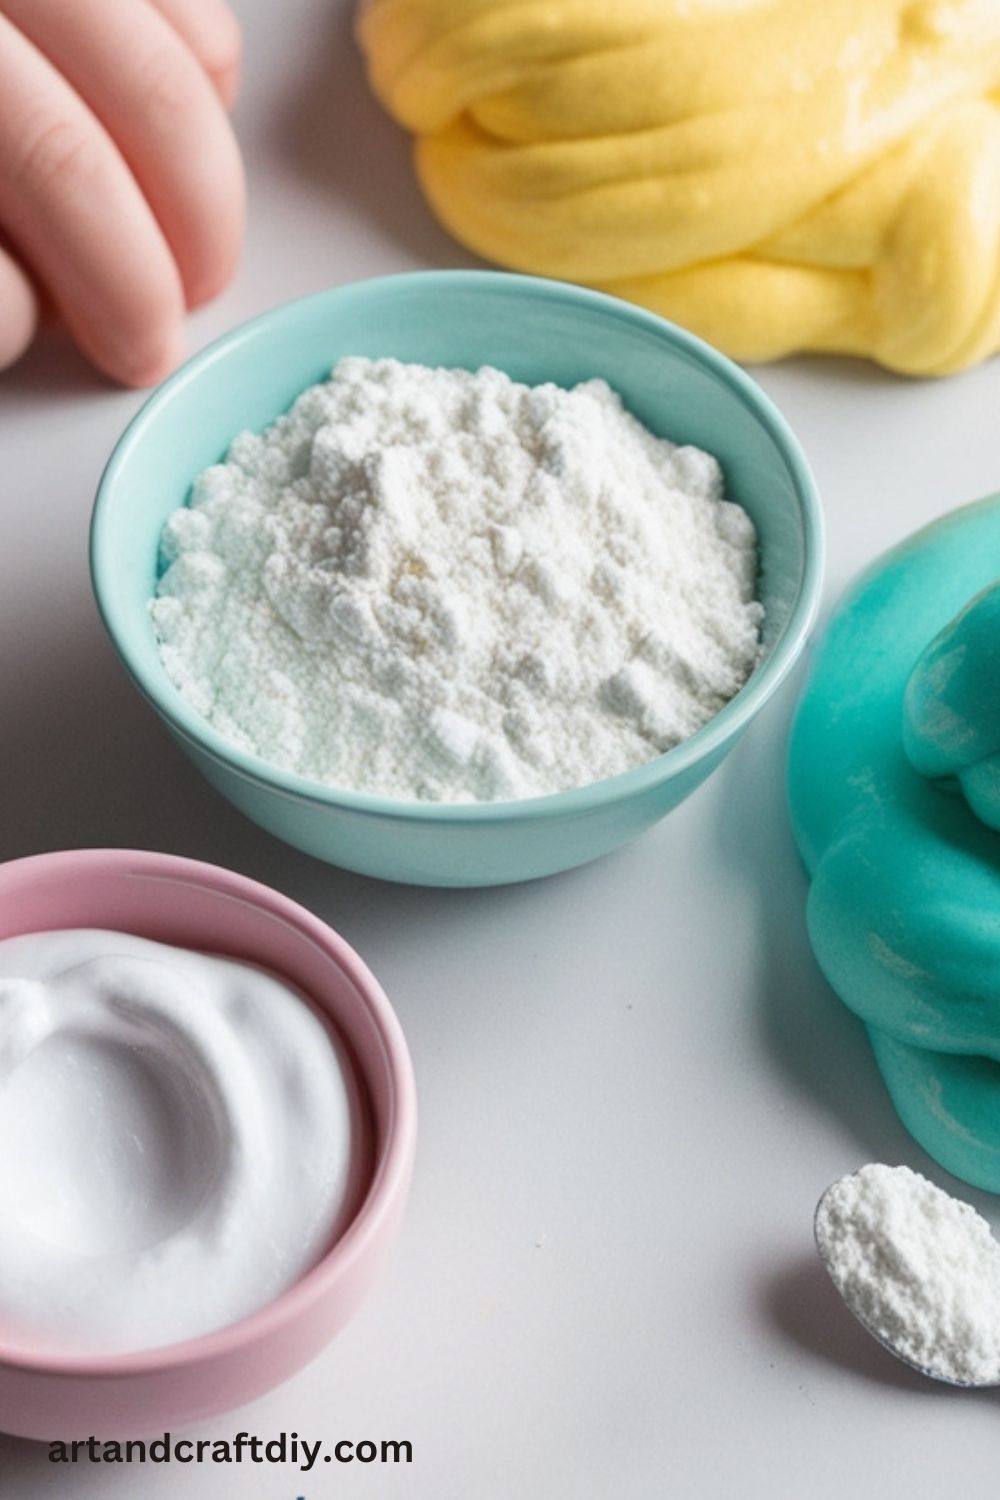
A Slime Recipe with Baking Soda is a simple and fun DIY project that creates stretchy, gooey slime using basic household ingredients. The key components include white glue, baking soda, and a slime activator like contact lens solution (which contains boric acid). Baking soda helps stabilize the slime’s texture, making it less sticky and more pliable. You can customize your slime with food coloring, glitter, or beads for extra fun. This easy, kid-friendly recipe is perfect for science experiments, sensory play, or just a creative activity!
Shampoo Slime with Baking Soda
A soft and stretchy slime using shampoo!
Materials:
½ cup thick shampoo
½ teaspoon baking soda
2 tablespoons salt
Steps:
Mix shampoo and baking soda in a bowl.
Add salt and stir until thick.
Let sit for 10 minutes before kneading.
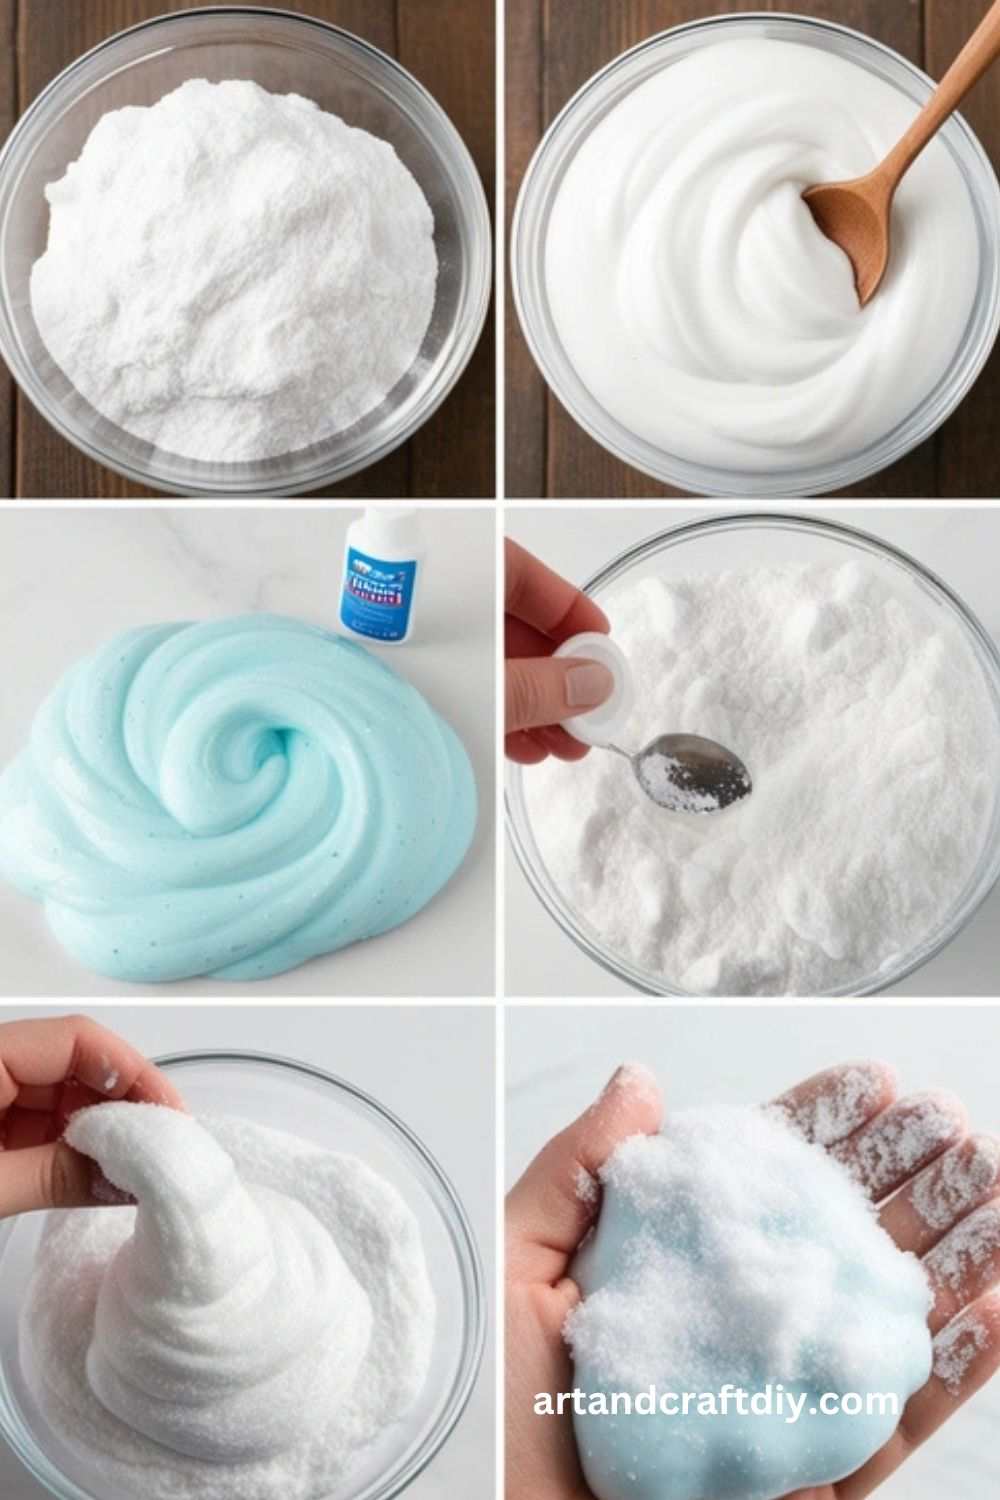
Snow Slime with Baking Soda
A winter-themed slime with fake snow!
Materials:
½ cup white glue
½ teaspoon baking soda
1½ tablespoons contact lens solution
¼ cup fake snow
Steps:
Mix glue and baking soda.
Stir in fake snow.
Add contact lens solution and knead.
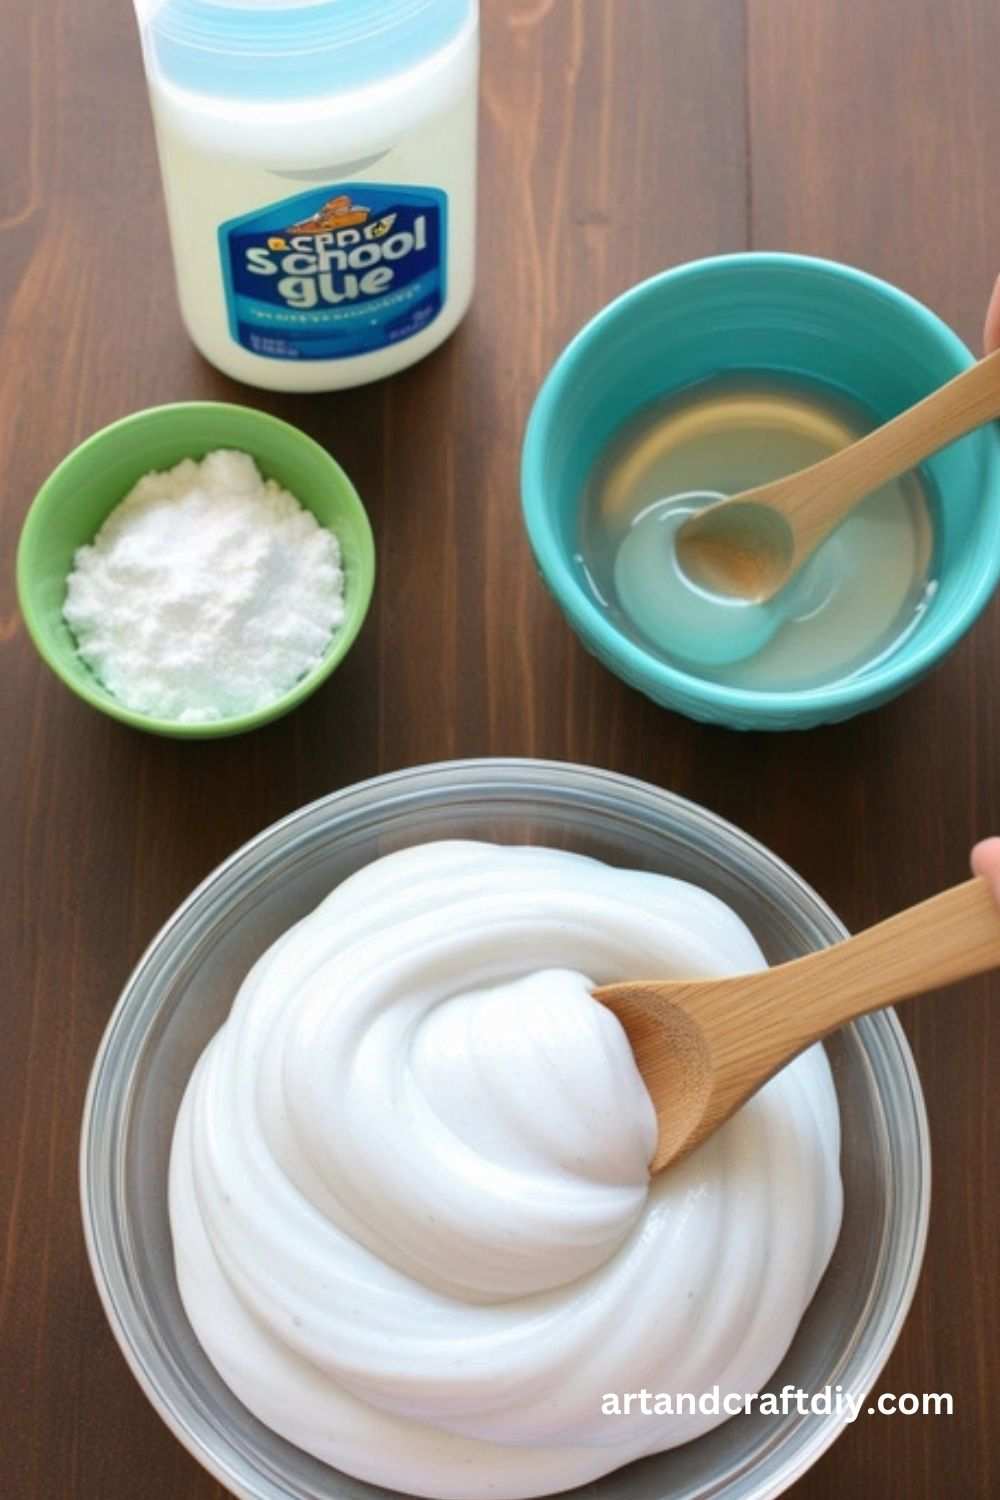
Basic Slime with Baking Soda
This is the simplest way to make slime with baking soda. It’s easy and perfect for beginners!
Slowly add contact lens solution, stirring until the slime forms.
Knead until smooth and stretchy.
Fluffy Slime with Baking Soda
This fluffy version adds shaving cream for extra softness and volume!
Materials:
½ cup white school glue
½ teaspoon baking soda
1 cup shaving cream
1½ tablespoons contact lens solution
Food coloring (optional)
Steps:
Mix glue and baking soda in a bowl.
Stir in shaving cream until fully incorporated.
Add food coloring if desired.
Gradually add contact lens solution, stirring until it thickens.
Knead until fluffy and smooth.
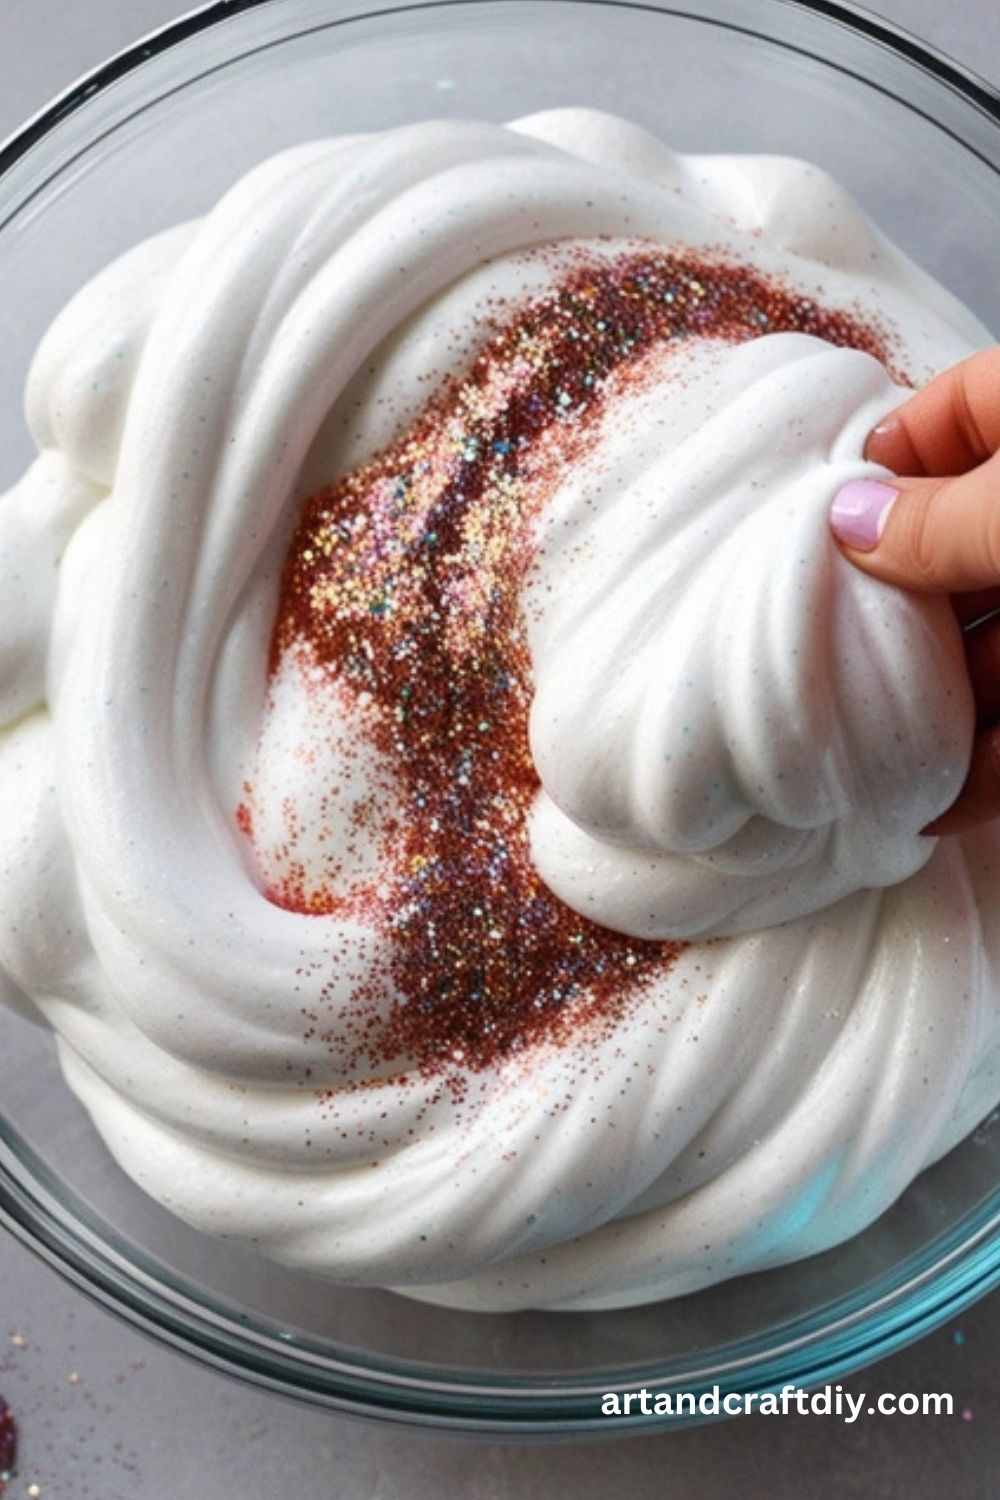
Glitter Slime with Baking Soda
Perfect for those who love sparkle, this slime shines bright with glitter!
Materials:
½ cup clear glue
½ teaspoon baking soda
1½ tablespoons contact lens solution
1 tablespoon glitter
Steps:
Mix clear glue and baking soda in a bowl.
Add glitter and mix well.
Slowly add contact lens solution while stirring.
Knead until the slime is stretchy and smooth.
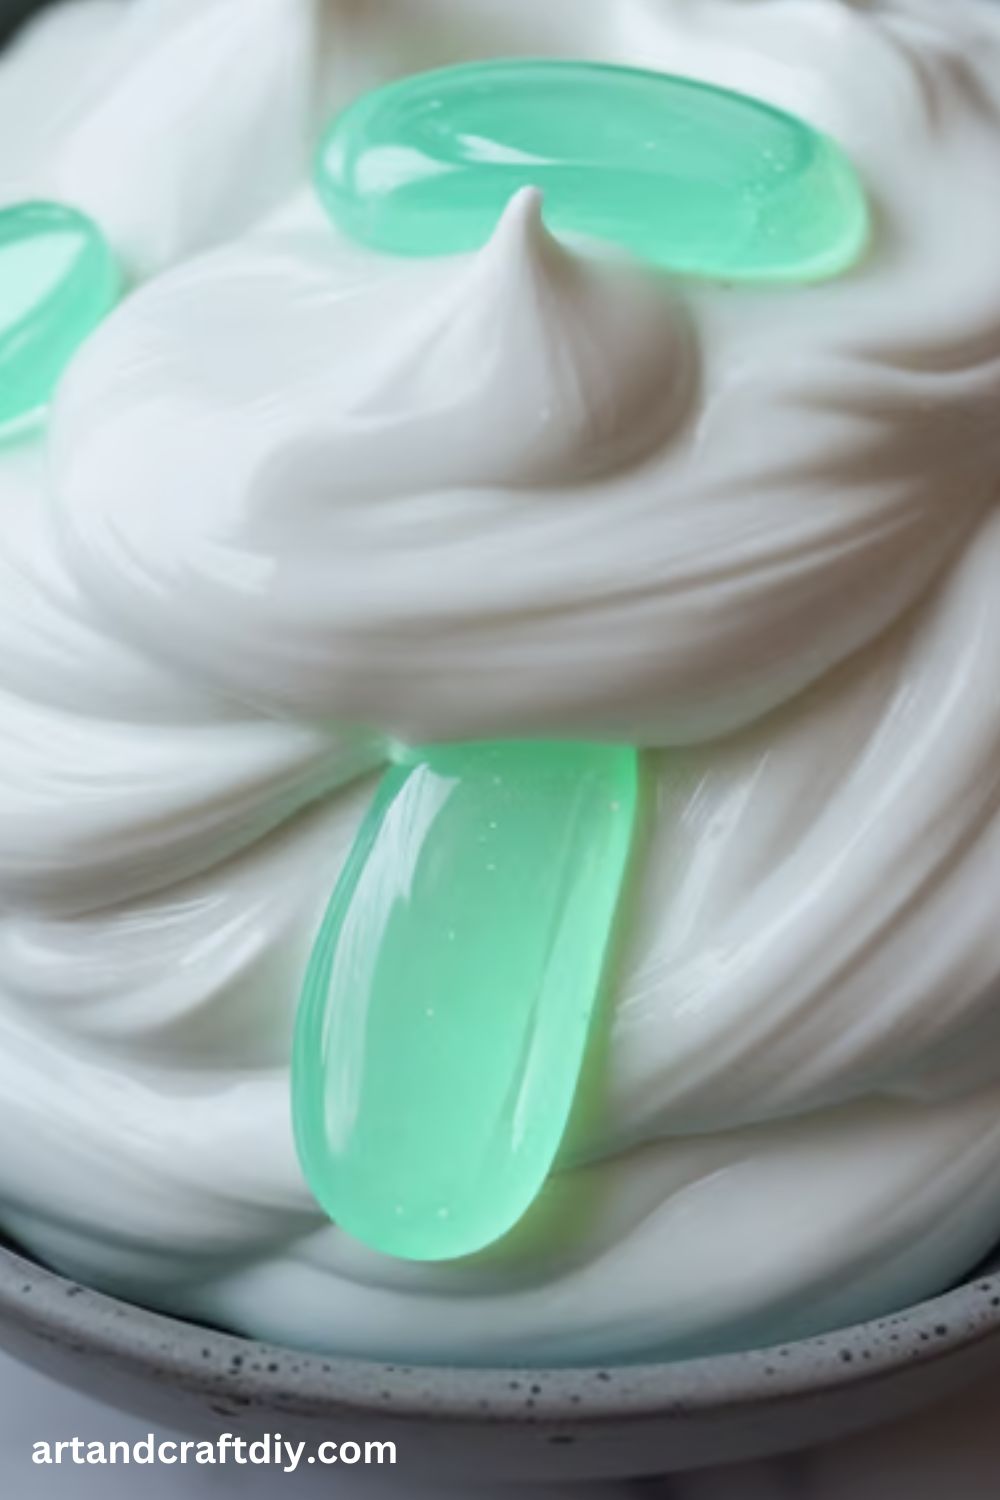
Glow-in-the-Dark Slime with Baking Soda
Make your slime glow by adding glow powder or glow-in-the-dark paint!
Materials:
½ cup clear glue
½ teaspoon baking soda
1½ tablespoons contact lens solution
1 teaspoon glow powder or glow-in-the-dark paint
Steps:
Mix glue and baking soda in a bowl.
Add glow powder or paint and mix well.
Slowly add contact lens solution while stirring.
Knead until stretchy and glowing.
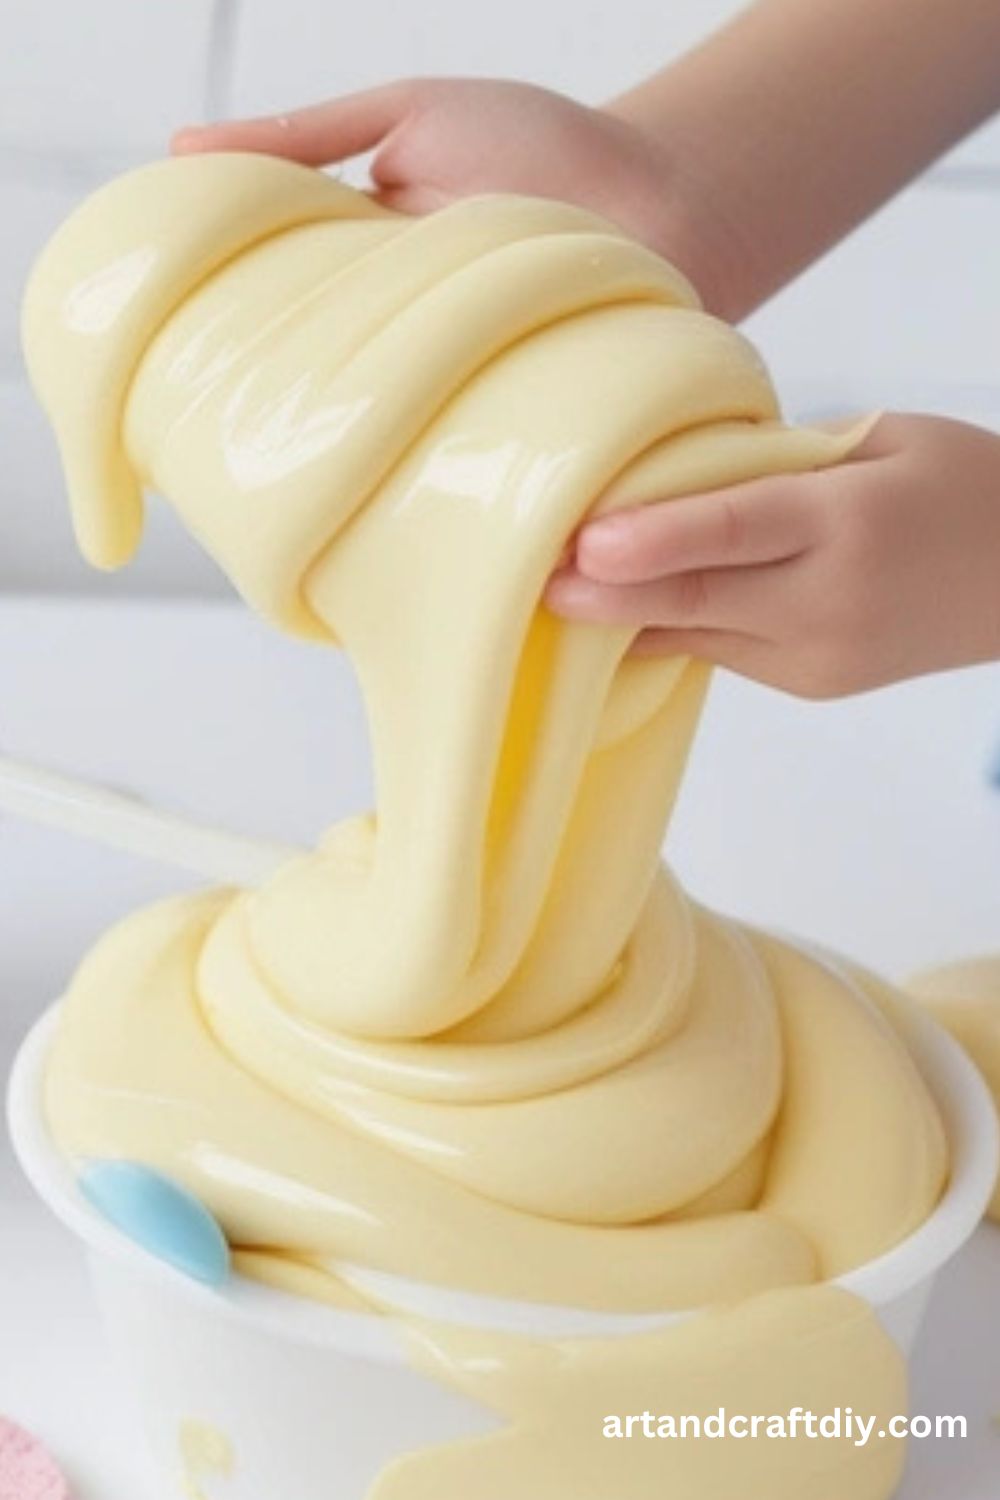
Butter Slime with Baking Soda
Butter slime is super soft and moldable with a smooth, clay-like texture!
Materials:
½ cup white glue
½ teaspoon baking soda
1½ tablespoons contact lens solution
¼ cup soft modeling clay
Steps:
Mix glue and baking soda together.
Add contact lens solution and mix until slime forms.
Knead in the modeling clay until fully blended.
Crunchy Slime with Baking Soda
Crunchy slime adds foam beads for a fun, crackling texture!
Materials:
½ cup clear glue
½ teaspoon baking soda
1½ tablespoons contact lens solution
½ cup foam beads
Steps:
Mix clear glue and baking soda.
Stir in foam beads.
Add contact lens solution slowly while stirring.
Knead until the slime is stretchy and holds the beads.
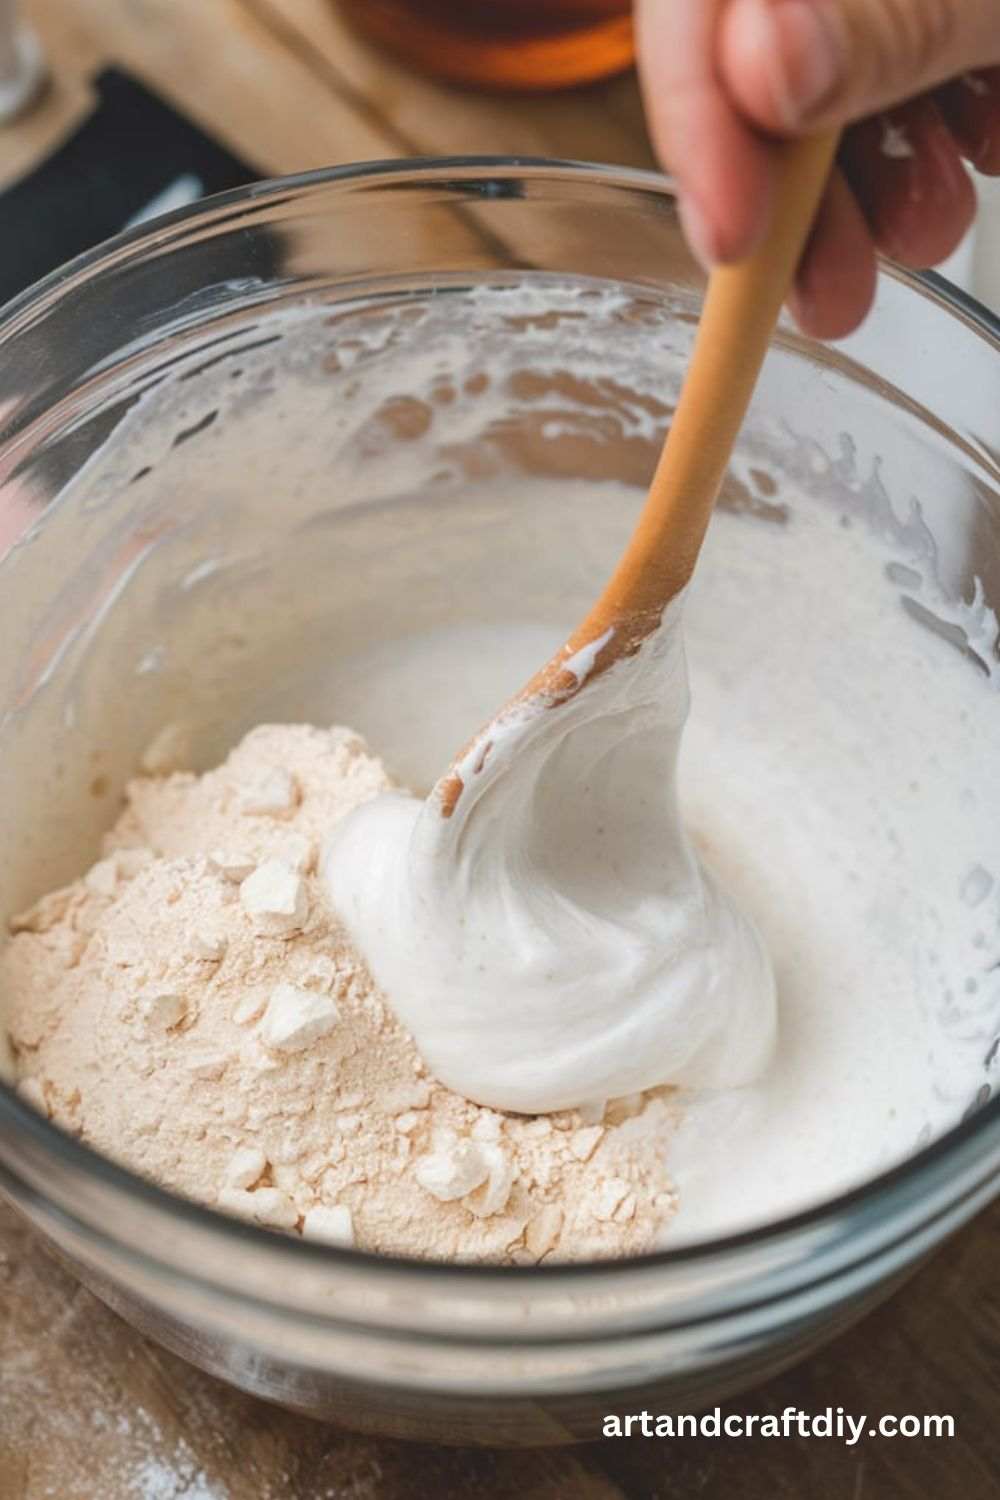
Edible Slime with Baking Soda
A safe, edible slime that uses cornstarch instead of glue!
Materials:
½ cup cornstarch
¼ cup warm water
½ teaspoon baking soda
Steps:
Mix cornstarch and baking soda.
Slowly add warm water while stirring.
Knead until the consistency is stretchy.
Soap Slime with Baking Soda
A mess-free slime made with dish soap!
Materials:
½ cup dish soap
½ teaspoon baking soda
2 tablespoons cornstarch
Steps:
Mix dish soap and baking soda together.
Add cornstarch slowly while stirring.
Knead until stretchy.
Sand Slime with Baking Soda
Perfect for a beach-themed playtime!
Materials:
½ cup white glue
½ teaspoon baking soda
1½ tablespoons contact lens solution
¼ cup fine sand
Steps:
Mix glue and baking soda together.
Stir in sand.
Add contact lens solution and knead.
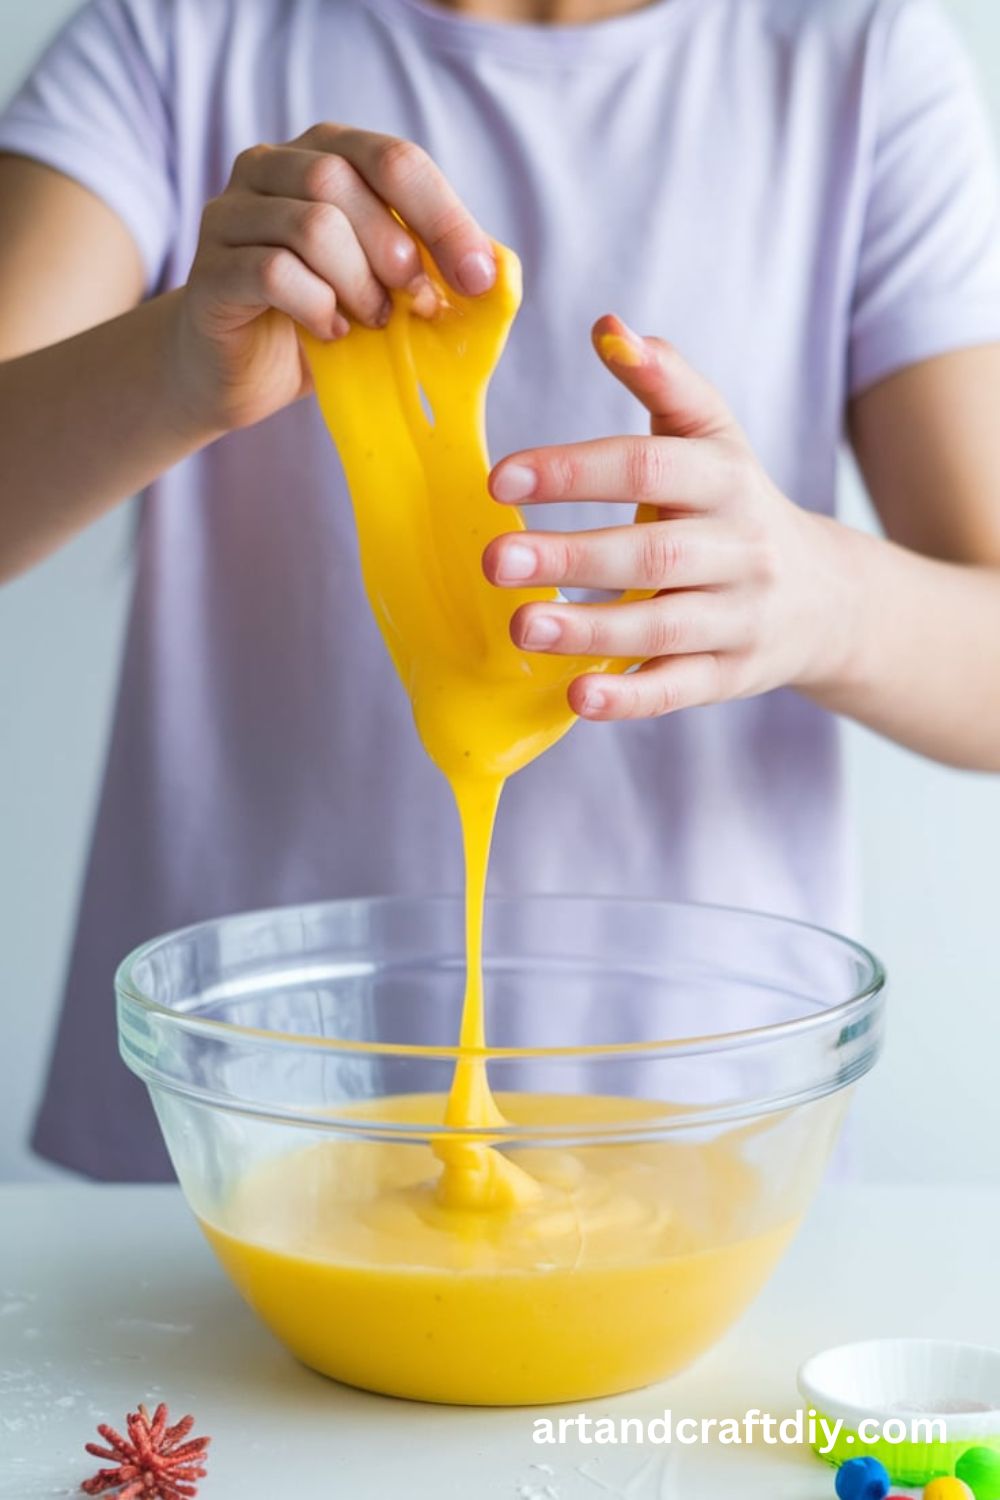
Stretchy Slime with Baking Soda
This version is extra stretchy!
Materials:
½ cup white glue
½ teaspoon baking soda
2 tablespoons lotion
1½ tablespoons contact lens solution
Steps:
Mix glue and baking soda together.
Add lotion for extra stretchiness.
Slowly add contact lens solution and knead.
No-Glue Slime with Baking Soda
For those who don’t have glue, this recipe works great!
Materials:
½ cup cornstarch
¼ cup water
½ teaspoon baking soda
Steps:
Mix cornstarch and baking soda.
Slowly add water while stirring.
Knead until smooth.
Thermochromic Slime with Baking Soda
This color-changing slime reacts to heat!
Materials:
½ cup white glue
½ teaspoon baking soda
1½ tablespoons contact lens solution
1 teaspoon thermochromic pigment
Steps:
Mix glue and baking soda.
Add thermochromic pigment and mix.
Stir in contact lens solution and knead.
Safety Tips & Precautions for Playing with Slime
Playing with slime is a fun and creative activity, but it’s important to follow safety precautions to ensure a safe experience, especially for young children. Here are some essential safety tips:
1. Use Non-Toxic Ingredients
Always check that all ingredients used in making slime are non-toxic and safe for children.
Avoid using harsh chemicals, strong adhesives, or borax in large amounts, as they may cause skin irritation.
2. Supervise Young Children
Always supervise young children while they play with or make slime to prevent accidental ingestion.
Ensure they follow instructions and use the materials correctly.
3. Avoid Contact with Eyes and Mouth
Slime should never be put in the mouth, as some ingredients may be harmful if ingested.
If slime accidentally gets into the eyes, rinse immediately with clean water.
4. Wash Hands After Playing
Encourage children to wash their hands thoroughly after handling slime to remove any residue.
This helps prevent the spread of germs and reduces the risk of skin irritation.
Slime Storage & Maintenance Guide
Slime is a fun and enjoyable sensory toy, but proper storage and maintenance are essential to keep it fresh and mess-free. Follow these simple tips to extend the life of your slime and avoid any unwanted messes.
Storage & Maintenance Tips:
Store in an airtight container – This prevents the slime from drying out and keeps it fresh for longer.
Keep away from fabric and carpets – Slime can stick to and stain fabrics, making it difficult to remove. Always play on a clean, non-porous surface.
Dispose of properly – When the slime dries out or becomes unusable, do not throw it down the drain. Instead, dispose of it in the trash to avoid clogging pipes.
FAQ
What ingredients do I need to make Slime Recipe with Baking Soda?
Slowly add the contact lens solution while stirring until the slime starts to form.
Knead the slime with your hands until it reaches the desired consistency.
Why is my Slime Recipe with Baking Soda too sticky?
If your slime is too sticky, add a few more drops of contact lens solution and knead it until it becomes less sticky. Be careful not to add too much, or the slime may become too stiff.
Can I use any type of glue?
White school glue or clear glue works best. Avoid using glue sticks or non-PVA glue, as they may not react properly with baking soda and contact lens solution.
Hi, I’m Victoria, an art and craft teacher at Newark City Schools, where I have the joy of working with middle school students to help them explore their creativity and develop their artistic talents. I believe that art is a powerful way for students to express themselves, and I strive to make every lesson a fun, engaging, and inspiring experience.
I created this website to share the art and craft projects, techniques, and resources that I use in my classroom, hoping to inspire both educators and young artists alike. Whether you’re a teacher looking for new ideas or a student eager to try something new, I’m excited to provide creative tools and projects that anyone can enjoy.
When I’m not in the classroom, I love experimenting with different art forms and learning new crafting techniques. My goal is to help others discover the joy of making things with their hands, and I hope my website serves as a space for everyone to explore their creative potential.