
Welcome to the colorful world of DIY room decor crafts—where creativity meets comfort, and every project brings your space to life! Whether you’re decorating your bedroom, study nook, or your favorite corner, these fun crafts let you express your personality in the most hands-on way.
The best part? They’re affordable, totally personalized, and surprisingly therapeutic. You don’t need to be an expert or have a fancy setup—just a few basic supplies, a bit of inspiration, and the willingness to try something new.
DIY Room Decor Crafts
DIY room decor crafts are a fun and creative way to personalize your space on a budget. These easy projects let you add unique, handmade touches that reflect your style.
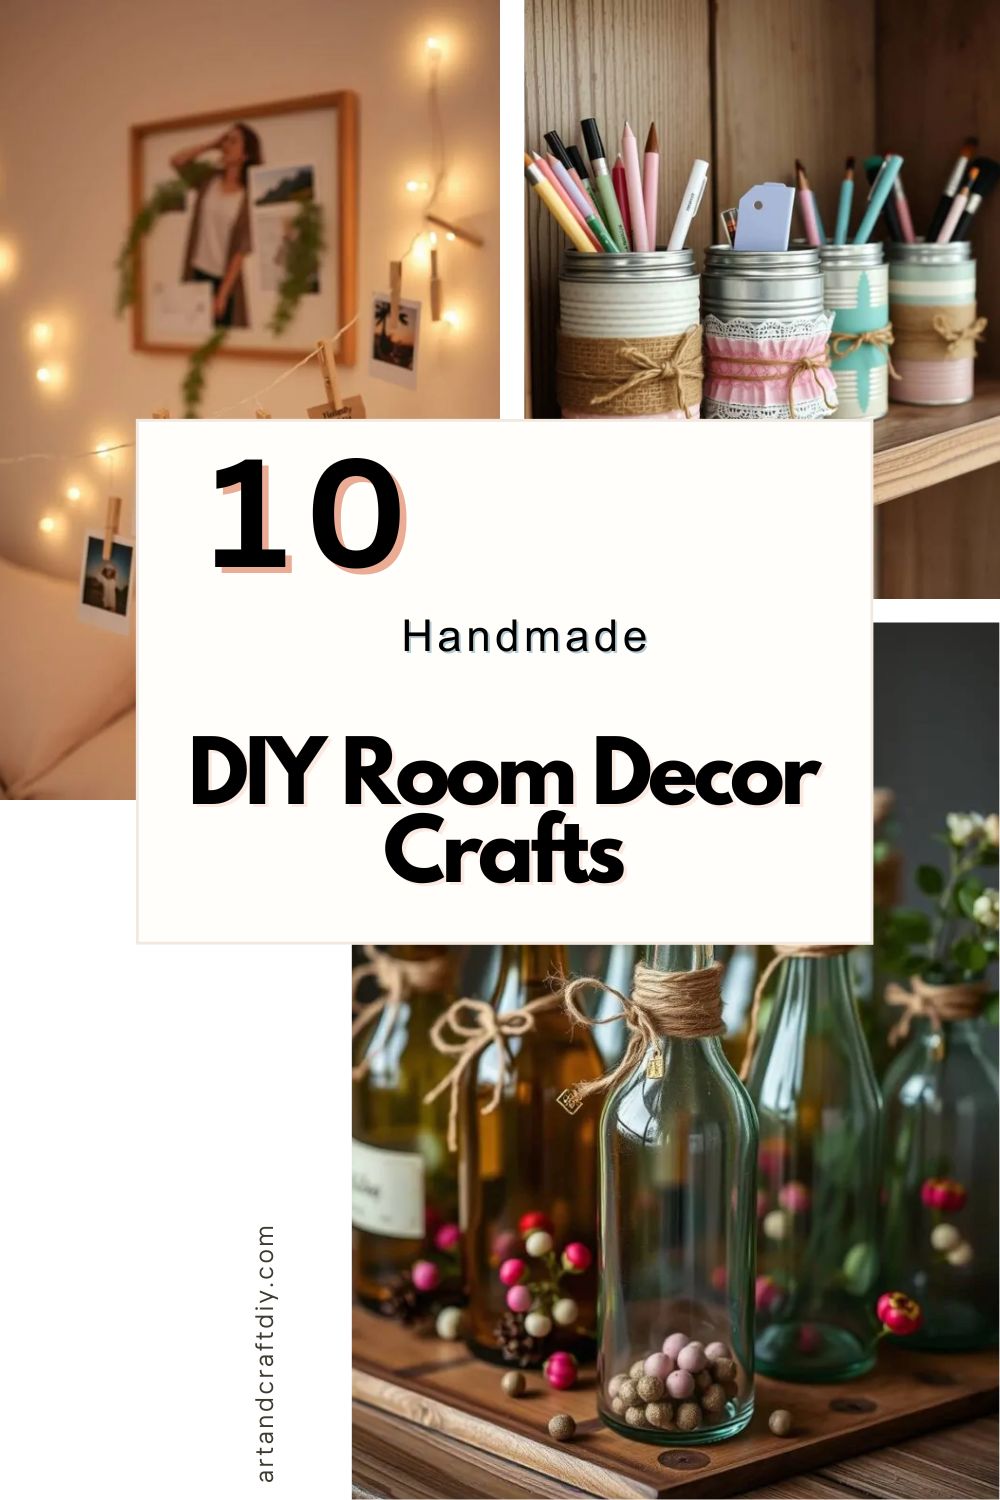
Photo Clip String Lights
Okay, so I’m a sucker for anything with fairy lights. A few years back, I saw this idea on Pinterest and I couldn’t stop thinking about it. Photo clip string lights aren’t just adorable—they turn your room into this cozy little memory lane. I took some of my favorite polaroids, a string of warm white lights, and those mini clips (you can grab them online or in craft stores) and just went for it.
Honestly, I didn’t measure anything perfectly. I just kind of eyeballed the space above my bed and started clipping. The best part? I can switch out the photos whenever I want. Sometimes I’ll even clip little notes or ticket stubs. It’s a super easy way to make your space feel personal and a little magical. Trust me, every time I turn those lights on, I feel this gentle wave of nostalgia.
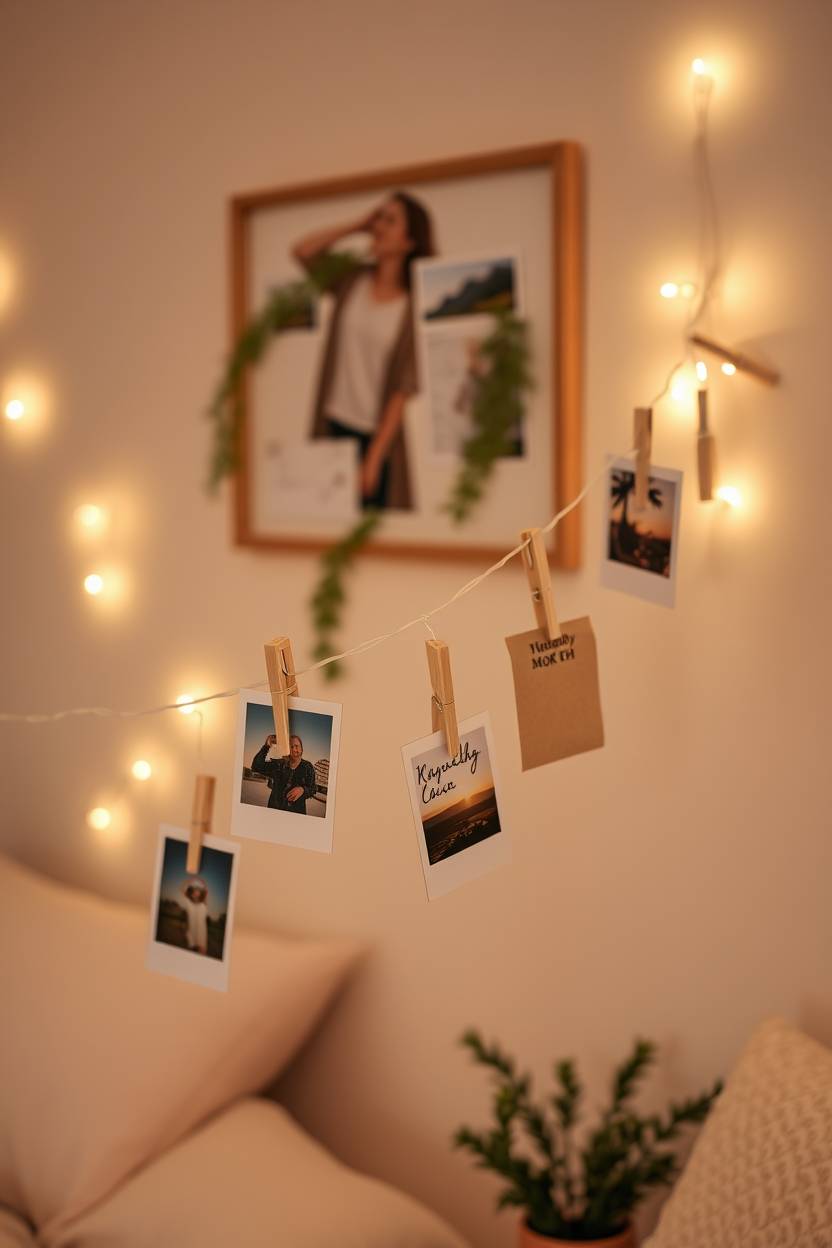
Washi Tape Wall Art
I can’t even explain how much I love washi tape. It’s like stickers for grown-ups—fun, colorful, and honestly addicting. A while ago, I had this empty corner that felt so boring, and I didn’t want to hammer nails or commit to wall paint. Washi tape saved the day.
I started by creating simple geometric patterns. Nothing too fancy—just some overlapping triangles and stripes. And you know what? It looked like something out of a design magazine! The best thing is, if you mess up or get bored, you just peel it off and start again. No damage, no fuss. It’s perfect for renters or indecisive decorators like me. I even let my niece make her own mini design in one section—it turned into a little family art wall.
Canvas Quote Painting
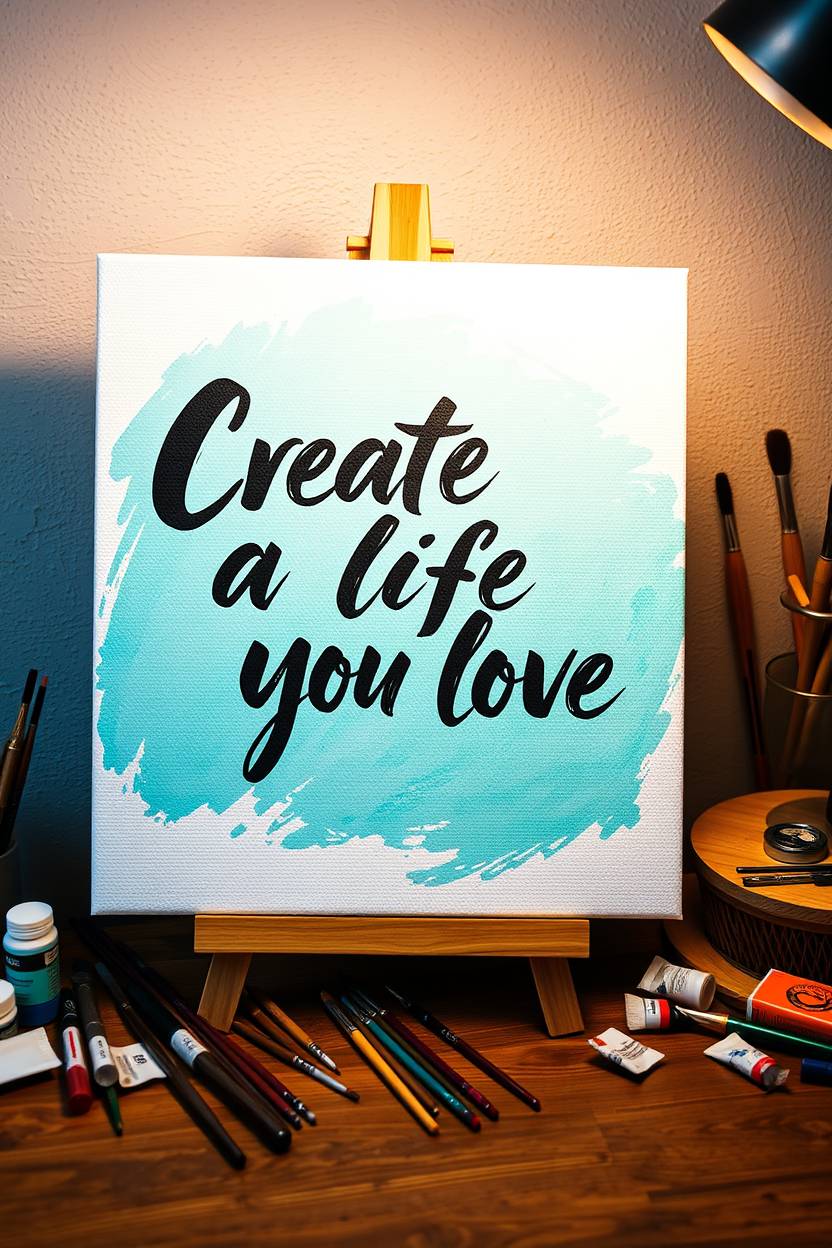
This one is close to my heart. I did my first canvas quote painting during a really stressful week. I needed something relaxing and uplifting, and painting out my favorite quote felt like therapy. “Create a life you love”—I painted that in bold brush script on a turquoise background.
You don’t need to be a professional painter to do this. I’m not! Just grab an affordable canvas, some acrylic paint, and maybe a stencil if freehand isn’t your thing. Honestly, imperfections make it charming. I love how each brushstroke feels personal, like you’re imprinting your energy onto the canvas. Plus, hanging it up afterward feels like a little personal cheerleader on your wall.
Tissue Paper Wall Flowers
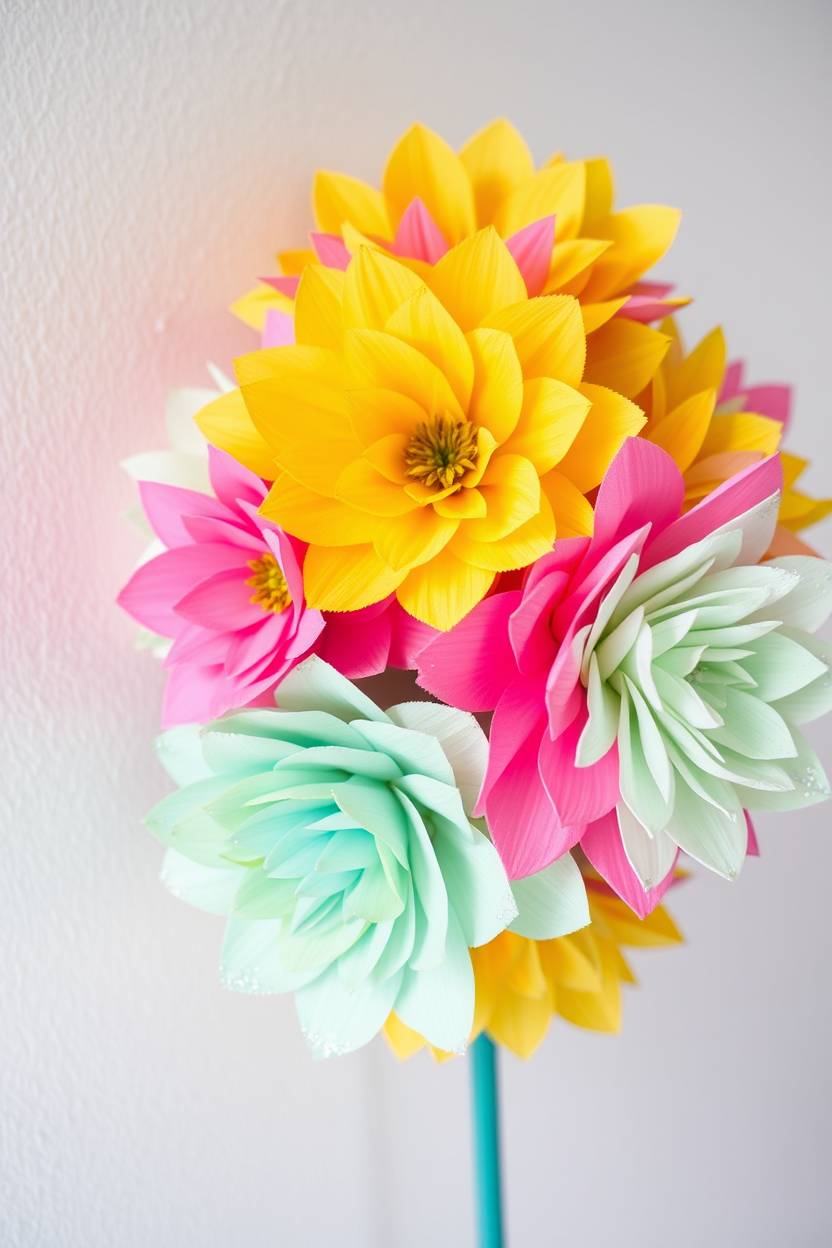
Oh, the tissue paper flowers! These were such a happy accident. I was prepping for a birthday backdrop and ended up with more flowers than I needed—so I stuck a few on my wall just to see how they looked. Instant joy!
They’re fluffy, colorful, and surprisingly easy to make. Fold, cut, fluff—that’s it. I like clustering them in odd numbers and mixing up sizes. Sometimes I even add a little glitter on the edges for that extra pop. The thing I love most is how they can transform a dull wall into something festive and fun. Plus, they’re cheap. I mean, come on—tissue paper? Total win.
Mason Jar Organizers

I have a small desk and a lot of art supplies, so keeping things neat is always a challenge. Mason jar organizers totally saved me. I took a few old jars, spray-painted them in pastel colors, and glued them to a piece of reclaimed wood. Instant wall-mounted magic!
They hold my brushes, pens, scissors—basically anything that used to be scattered around. I’ve even made themed sets for different seasons (hello, gold jars in December). What’s fun is how customizable this project is. You can label them, wrap twine around them, or keep them clear to show off what’s inside. They’re pretty and practical, which is rare in my world!
Painted Crates
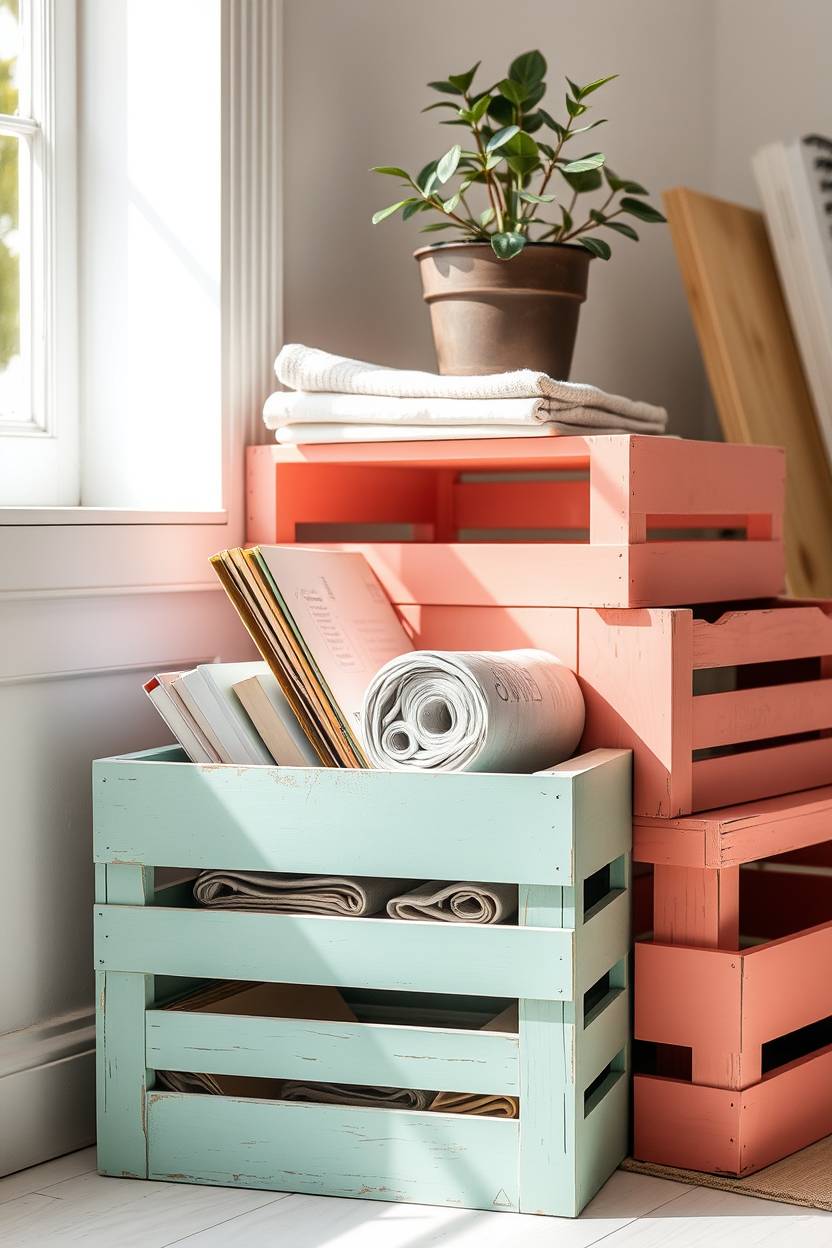
I stumbled upon this idea while organizing my craft supplies. You know those wooden crates you find in hardware or decor stores? I grabbed a couple, painted them in pastel mint and coral, and stacked them by my desk.
They now serve as both storage and display. One holds sketchbooks, another has rolled-up fabrics. I even put a plant on the top one to make it feel more styled. Painting them was a blast—I used a sponge brush and went with a slightly distressed look. It gave them that cozy, vintage vibe. Seriously, if your space needs personality and function, painted crates are a go-to.
Tin Can Holders
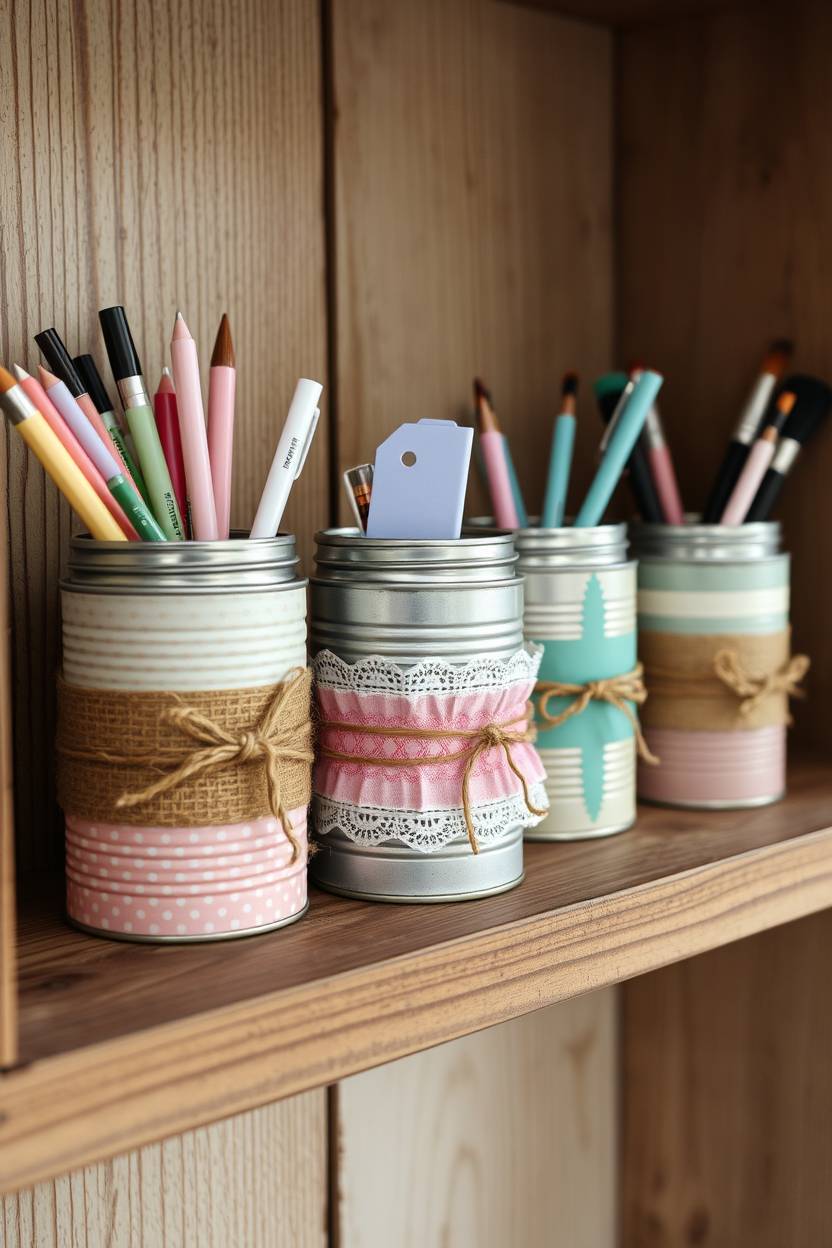
This one is the definition of turning trash into treasure. I had all these tin cans after a party, and instead of tossing them, I thought—why not craft? I scrubbed them clean, wrapped some in jute twine, others in patterned paper, and voilà!
They now sit on my shelf holding pens, paintbrushes, even makeup brushes in the bathroom. Some I mounted to a wooden board for a vertical organizer. It’s one of those crafts where you can really go wild with decoration—lace, washi tape, paint, whatever. And it feels amazing giving something a second life. Bonus: I didn’t spend a single rupee on storage that month!
T-Shirt Macrame Wall Hanging
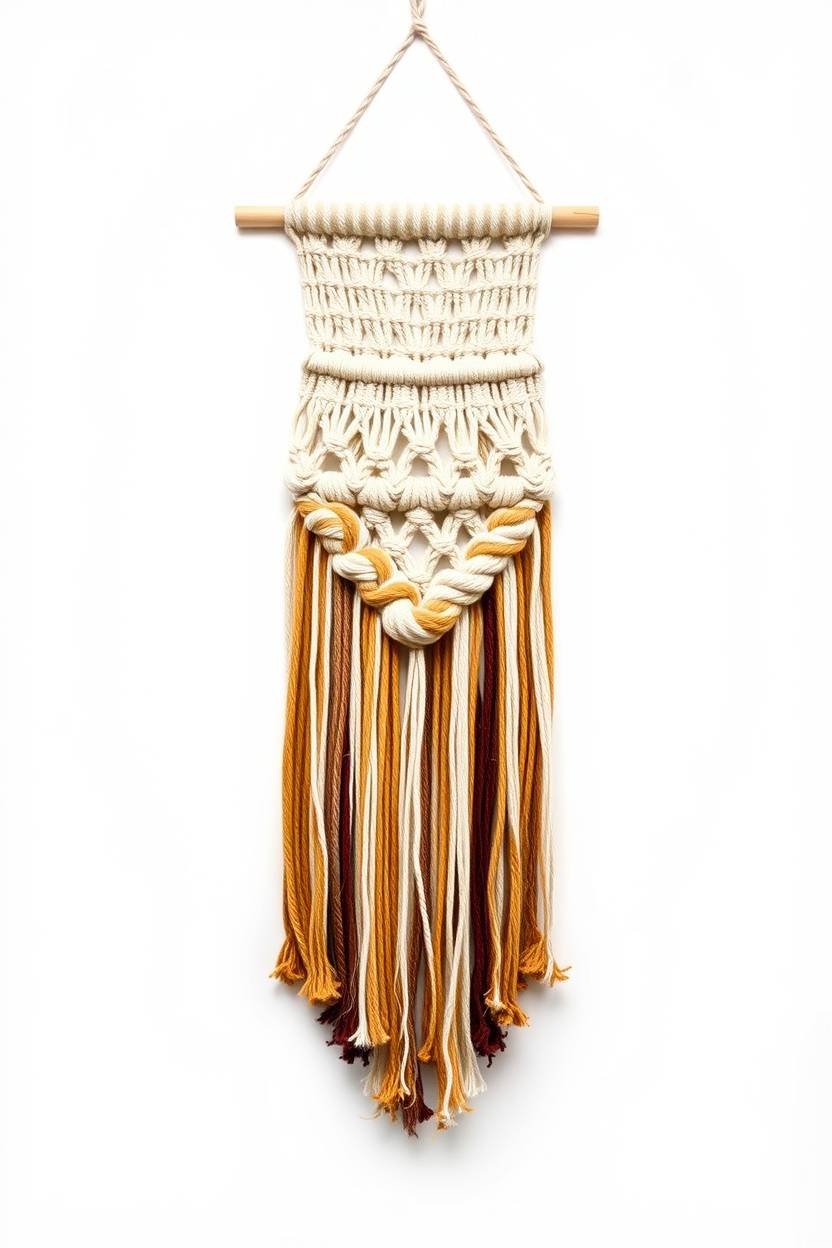
Macrame always felt intimidating until I tried this T-shirt version. I cut up a few old tees into strips (you know, the ones with holes you can’t donate), and just started knotting. There’s something meditative about it.
The beauty of this is that it doesn’t have to be perfect. My first one was all uneven and floppy, but it still looked cool hanging above my dresser. Eventually, I got better, adding beads and dip-dye effects. It’s a satisfying process—turning forgotten clothes into textured art. Plus, it’s so eco-friendly, and that makes me feel good every time I see it.
Bottle Vase with Twine
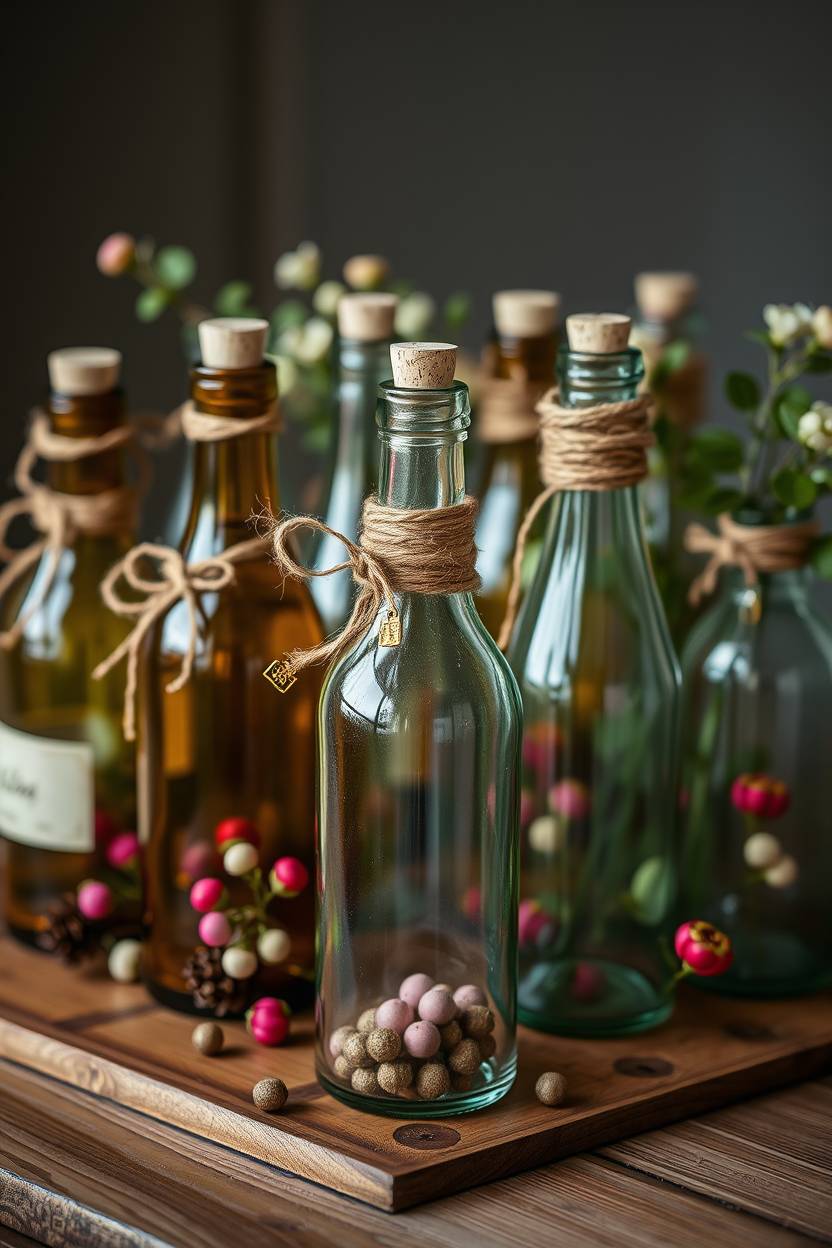
I swear, I’ve never thrown a glass bottle away since discovering this. Wrapping bottles in twine is strangely calming. I usually sit down with my hot chai and just go round and round while watching TV.
Add some artificial flowers or dried branches, and boom—instant rustic charm. I’ve made sets as gifts too, pairing different heights together. You can even paint the bottom half or add little charms. It’s the kind of decor that makes your room feel handmade and heartfelt without screaming “DIY.” And yes, my mom keeps stealing mine for her shelf.
CD Mosaic Mirror Frame
Remember those shiny old CDs we don’t use anymore? One rainy afternoon, I broke a stack of them (with safety goggles, of course) and glued the pieces onto a plain mirror frame. It was a bit messy, not gonna lie.
But oh wow, the result was stunning! Each little shard catches light differently—it’s like having a disco ball that only lights up when the sun hits it right. I’ve since done this on photo frames too. Just make sure to seal it with clear glue or resin if you want it to last. Honestly, it’s an upcycled gem.
DIY Throw Pillows
Sewing isn’t really my thing, but I’ve found that making pillow covers is weirdly doable. I use fabric glue most of the time, unless I’m in the mood to actually stitch. One time I used an old scarf as the fabric and it turned out beautifully boho.
I like adding tassels or painting on patterns with fabric paint. Even my plain white pillowcases got a glow-up with block printing. It’s such a simple way to refresh your room without buying anything new. And when friends come over and say, “Where’d you get this?”—I get to say, “Made it myself.” Feels great every time.
Memory Board
My memory board started as a random corkboard and became my little happy corner. I pinned postcards, photos, mini notes from friends, and even candy wrappers from special days. It’s chaotic in the best way.
I painted the edges of the board and added fairy lights around it. It’s become such a comforting sight. Every time I feel a little down, I glance over and remember fun times or sweet moments. You can make yours themed or just go wild like I did. Honestly, it becomes a snapshot of who you are—frozen in one cool board.
Scented Candle Holders
I used to think candle holders were just… holders. But one day I tinted a few glass jars with food coloring and mod podge, and they turned out so dreamy. Then I added cinnamon sticks around another one. Total Pinterest moment!
The way the scent mixes with the look? Chef’s kiss. Sometimes I even drop dried petals or lavender between the candle and the jar for that romantic touch. They make your space smell and look good. I’ve gifted a bunch too—especially around Diwali. You really can’t go wrong with these.
Mini Succulent Gardens
Tiny plants in cute containers? Count me in! I started my mini succulent garden with an old teacup. Yup, just added some pebbles, soil, and a baby succulent. It sat on my windowsill and made me smile every morning.
Now I have a whole little tray with mismatched cups and bowls, all holding tiny green cuties. They’re super low-maintenance (which is great for someone like me who forgets to water). Plus, they make your room feel fresh and alive. Honestly, once you start, it’s hard to stop collecting them.
Floating Bookshelves
Okay, this one made me feel like a real DIY wizard. I used L-brackets and hid them under hardcover books to make the shelves look like they were floating. It’s one of those things people always ask about when they walk in.
They don’t take up floor space, which is a huge win in small rooms. And I can change the theme—sometimes I do all colorful spines, other times I stack journals or sketchbooks. If you love books and want something quirky and smart, floating shelves are the way to go. Trust me, they’re as cool as they sound.
Tips for Successful DIY Room Crafts
Creating beautiful DIY room decor crafts is all about having fun while expressing your style. Whether you’re new to crafting or already a pro, these tips will help you get the best results and avoid common mistakes. Keep it simple, stay inspired, and enjoy the process!
-
Start small if you’re a beginner
Choose easy projects first to build confidence and learn the basics without feeling overwhelmed. -
Repurpose before you buy
Look around your home for old jars, fabric scraps, or unused items that can be transformed into decor. -
Use Pinterest or Instagram for visual inspiration
These platforms are full of ideas, step-by-step tutorials, and creative hacks to spark your imagination. -
Always measure and plan before cutting or painting
Taking a few minutes to plan ensures everything fits perfectly and saves materials from going to waste.
FAQ
What are DIY room decor crafts?
DIY room decor crafts are handmade decoration projects that allow you to personalize your space using simple tools and materials. They include wall art, organizers, lighting, and decorative pieces.
Do I need to be artistic to try DIY room decor?
Not at all! Most DIY crafts are beginner-friendly and don’t require artistic skills. You just need creativity, patience, and a willingness to try.
What basic supplies should I keep at home for DIY crafts?
Useful basics include glue, scissors, tape, paint, brushes, paper, fabric scraps, jars, and string or rope. You can expand your tools as you go.
Can I use recycled materials for room decor crafts?
Yes! Repurposing old items like jars, cans, boxes, or clothes is a great way to create eco-friendly and budget-friendly decor.

Hi, I’m Victoria, an art and craft teacher at Newark City Schools, where I have the joy of working with middle school students to help them explore their creativity and develop their artistic talents. I believe that art is a powerful way for students to express themselves, and I strive to make every lesson a fun, engaging, and inspiring experience.
I created this website to share the art and craft projects, techniques, and resources that I use in my classroom, hoping to inspire both educators and young artists alike. Whether you’re a teacher looking for new ideas or a student eager to try something new, I’m excited to provide creative tools and projects that anyone can enjoy.
When I’m not in the classroom, I love experimenting with different art forms and learning new crafting techniques. My goal is to help others discover the joy of making things with their hands, and I hope my website serves as a space for everyone to explore their creative potential.