
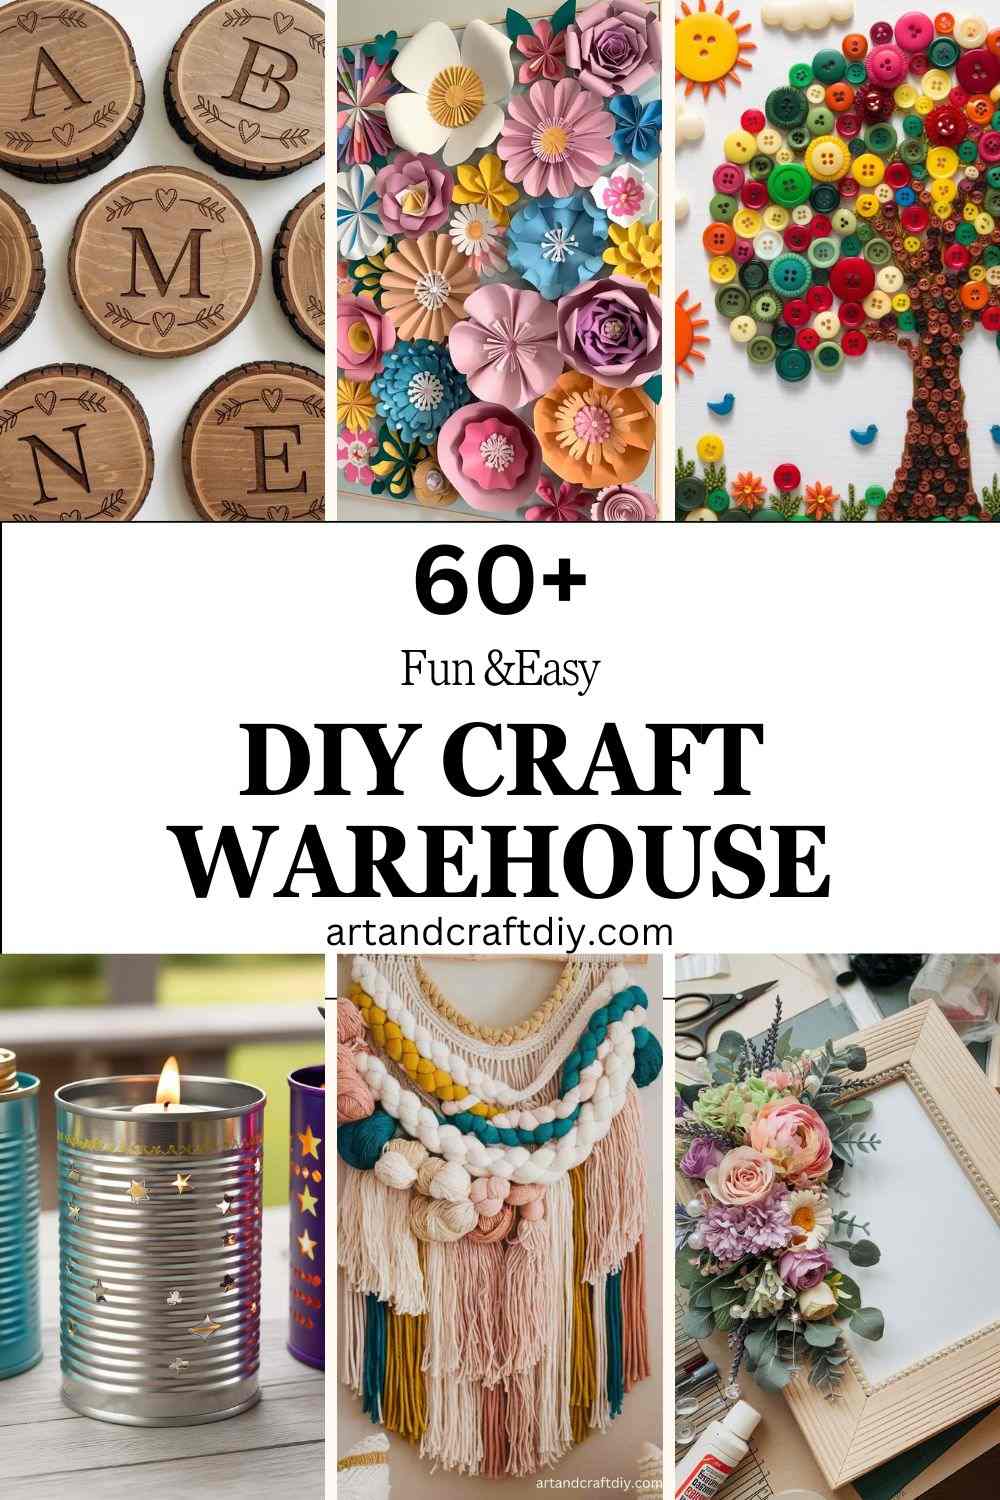
You know that feeling when you walk into a craft store “just to browse” and suddenly two hours disappear? Yeah… that’s me almost every weekend. My husband jokes that I need my own DIY craft warehouse because the boxes of ribbon, jars of buttons, and half-finished projects are slowly taking over the garage. And honestly, he’s not wrong. If you’re anything like me, you probably know the struggle of having way too many ideas, not enough space, and maybe a tiny bit of guilt about your growing stash (don’t worry, we’ve all been there). But here’s the thing—I’ve learned a few tricks for turning that chaos into something inspiring instead of overwhelming. That’s exactly what I want to share with you in this article. So if you’re ready to finally enjoy your creative mess, find smarter ways to organize, and maybe even save some money, keep reading
DIY Craft Warehouse
DIY Craft Warehouse are large retail spaces or stores designed to cater to crafting enthusiasts, hobbyists, and professionals.
DIY Button Art
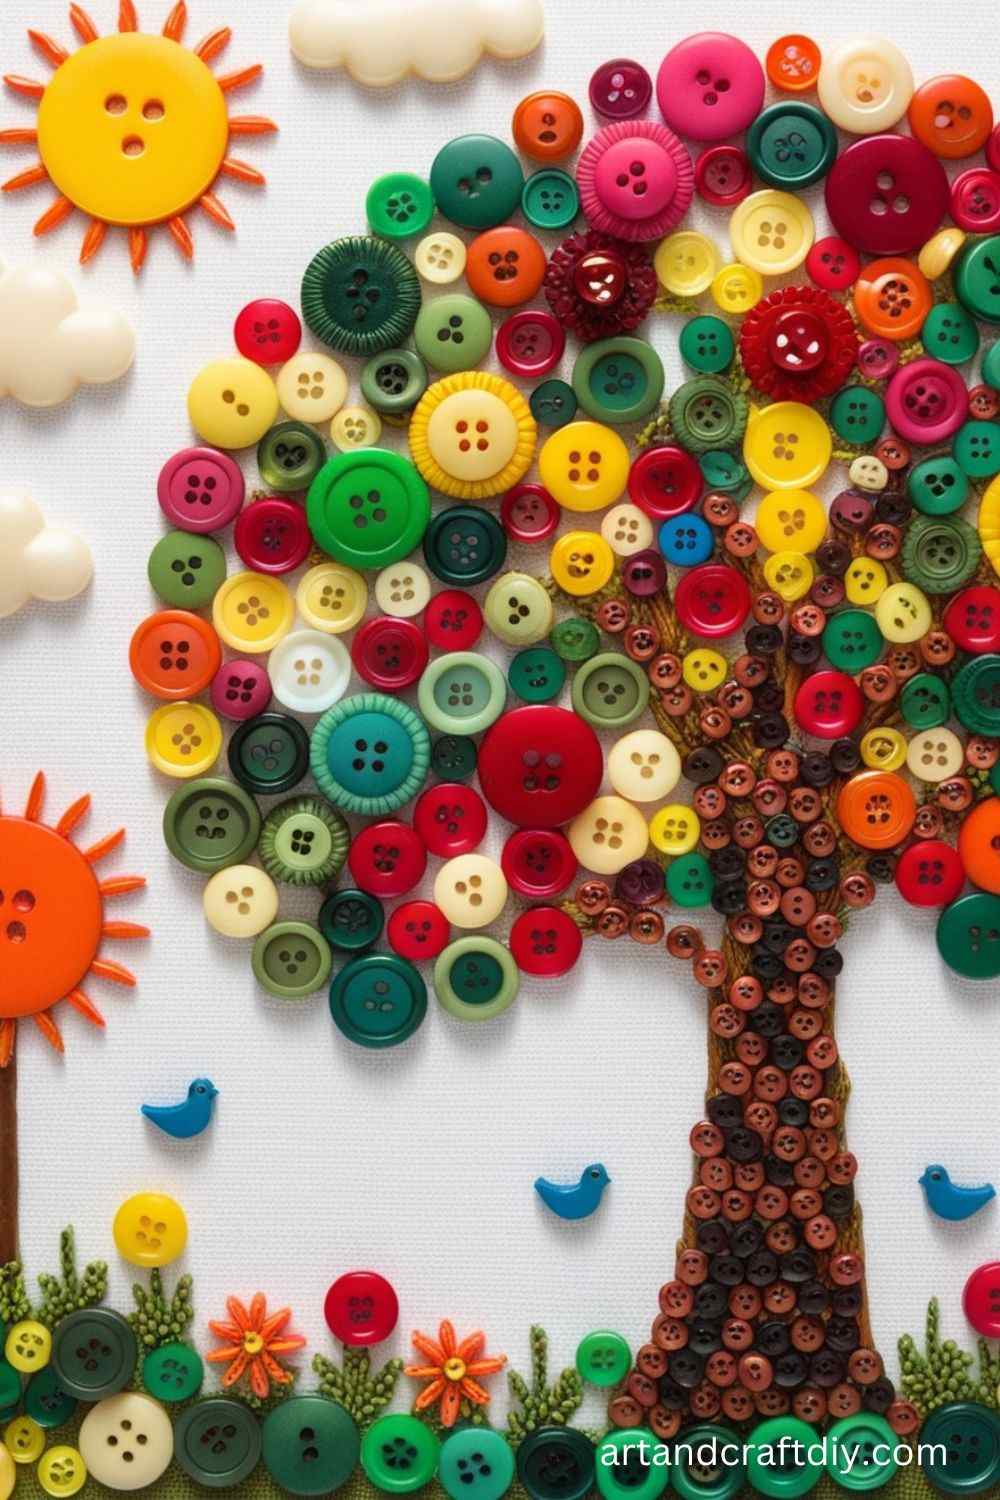
I’ve always had this weird obsession with saving old buttons—those random ones you find at the bottom of a drawer or stitched to a new shirt “just in case.” Honestly, I never knew what to do with them until I tried button art. The first time I glued them onto a canvas, I felt like a kid again, arranging colors like puzzle pieces. In my opinion, the best part is there’s really no rulebook—you can go abstract, create a heart, a flower, or even a full tree if you’re patient enough. I once made a button rainbow, and it looked far more cheerful than I expected.
What I love most about this craft is how forgiving it is. If you mess up, just peel off the button and stick it somewhere else. To be fair, I’ve spent hours lost in this simple little project. My tip? Play with background paint before gluing. A splash of color behind your buttons makes them pop, and suddenly it feels like your wall has its own personality.
DIY Paper Flowers
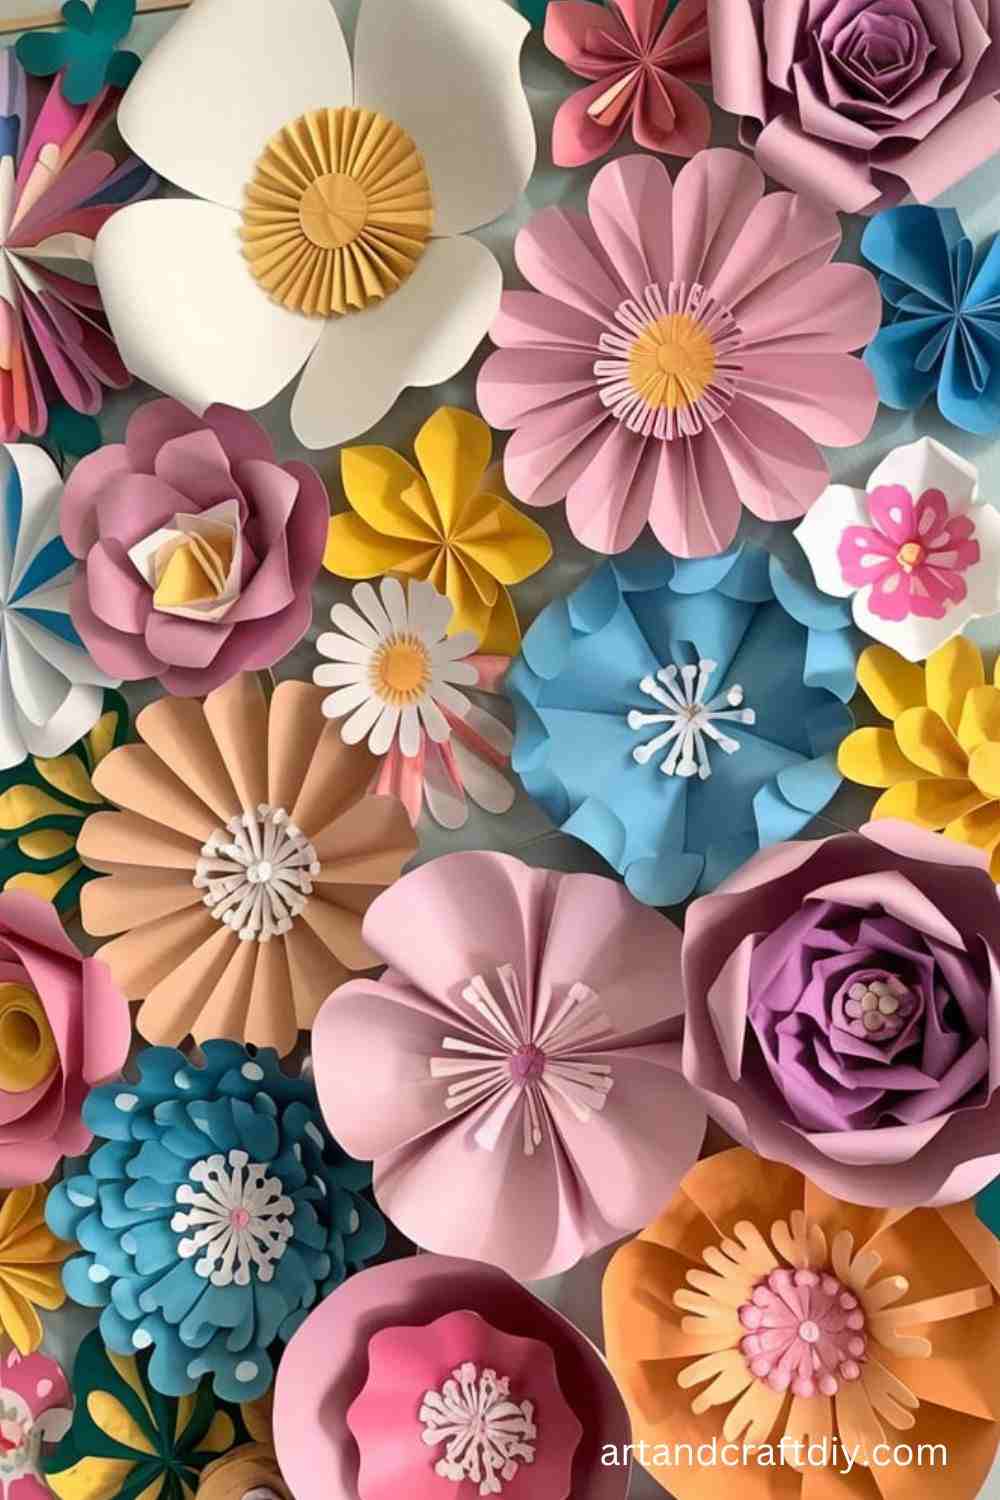
Now, paper flowers—where do I even start? I remember making them for my cousin’s wedding décor when the budget was tight, and honestly, they ended up stealing the show. Everyone thought they were store-bought, but nope, just me, some colored paper, and a bit of patience. The beauty of paper flowers is that they last forever, and you don’t need fancy tools. A pair of scissors, glue, and paper are enough. In my opinion, crepe paper works best because it’s flexible and gives that “real petal” vibe.
I’ve found that layering is the magic trick. The more layers you cut and twist, the fuller and more natural your flower looks. To be fair, it does get a bit messy when bits of paper are scattered everywhere, but that’s half the fun, right? I always tell people—don’t aim for perfection. Real flowers aren’t perfect, and that’s what makes your handmade ones feel alive too.
DIY Recycled Tin Can Lanterns
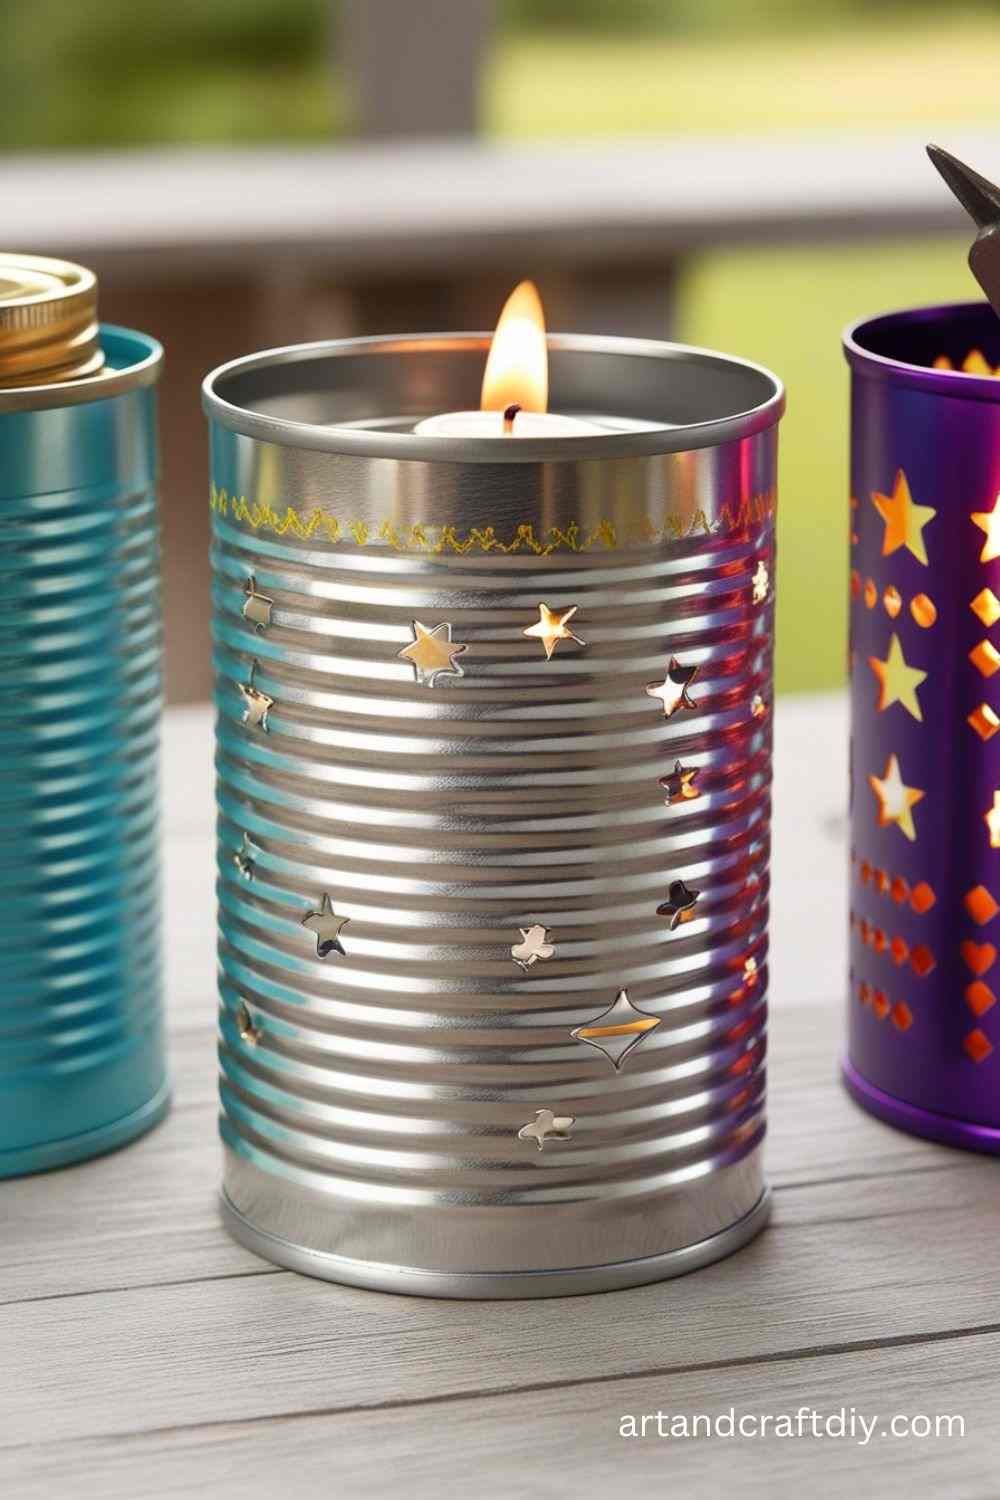
This one is super close to my heart because I started making tin can lanterns during a power cut one summer evening. Instead of tossing out old cans, I grabbed a hammer, a nail, and decided to punch little patterns into them. I can’t even explain the joy when I lit a candle inside—it glowed like a handmade starry sky. Honestly, it felt like magic in my tiny backyard. The coolest thing is, you can design anything: simple dots, hearts, spirals, or even random holes that still look amazing once the light shines through.
In my opinion, the trick is freezing water inside the can before you hammer it. I learned that the hard way when my first can got all dented and sad-looking. Now, it’s almost a ritual for me—I freeze, punch, paint the can, and then enjoy the soft glow. I’ve given a few as gifts too, and people never believe it started as a soup can. That’s the charm of upcycling—it surprises everyone, including yourself.
DIY Custom Coasters
Make custom coasters for your home using simple materials that reflect your style.
Materials Used:
- Cork or wooden coaster blanks
- Paint or patterned paper
- Mod Podge
- Paintbrush
- Scissors
Steps:
- Paint or decoupage patterned paper onto the coaster blank using Mod Podge.
- If painting, use acrylic paints to add designs or personalize the coasters.
- Allow the design to dry completely, then apply a layer of Mod Podge to seal and protect the design.
- Let the coasters dry completely before using them.
DIY Personalized Keychains
Create custom keychains as gifts or for yourself, showcasing your personality or favorite designs.
Materials Used:
- Shrink plastic
- Permanent markers
- Keychain rings
- Scissors
- Hole punch
Steps:
- Draw your design on shrink plastic using permanent markers.
- Cut out the design and use a hole punch to create a hole for the keychain ring.
- Bake the shrink plastic according to the package instructions (usually in a preheated oven at around 300°F for a few minutes).
- Once cooled, attach the keychain ring to the hole.
- Use your custom keychain on your keys, bags, or as a gift!
DIY Wooden Picture Frame
Create a personalized photo frame from wood to showcase your favorite pictures.
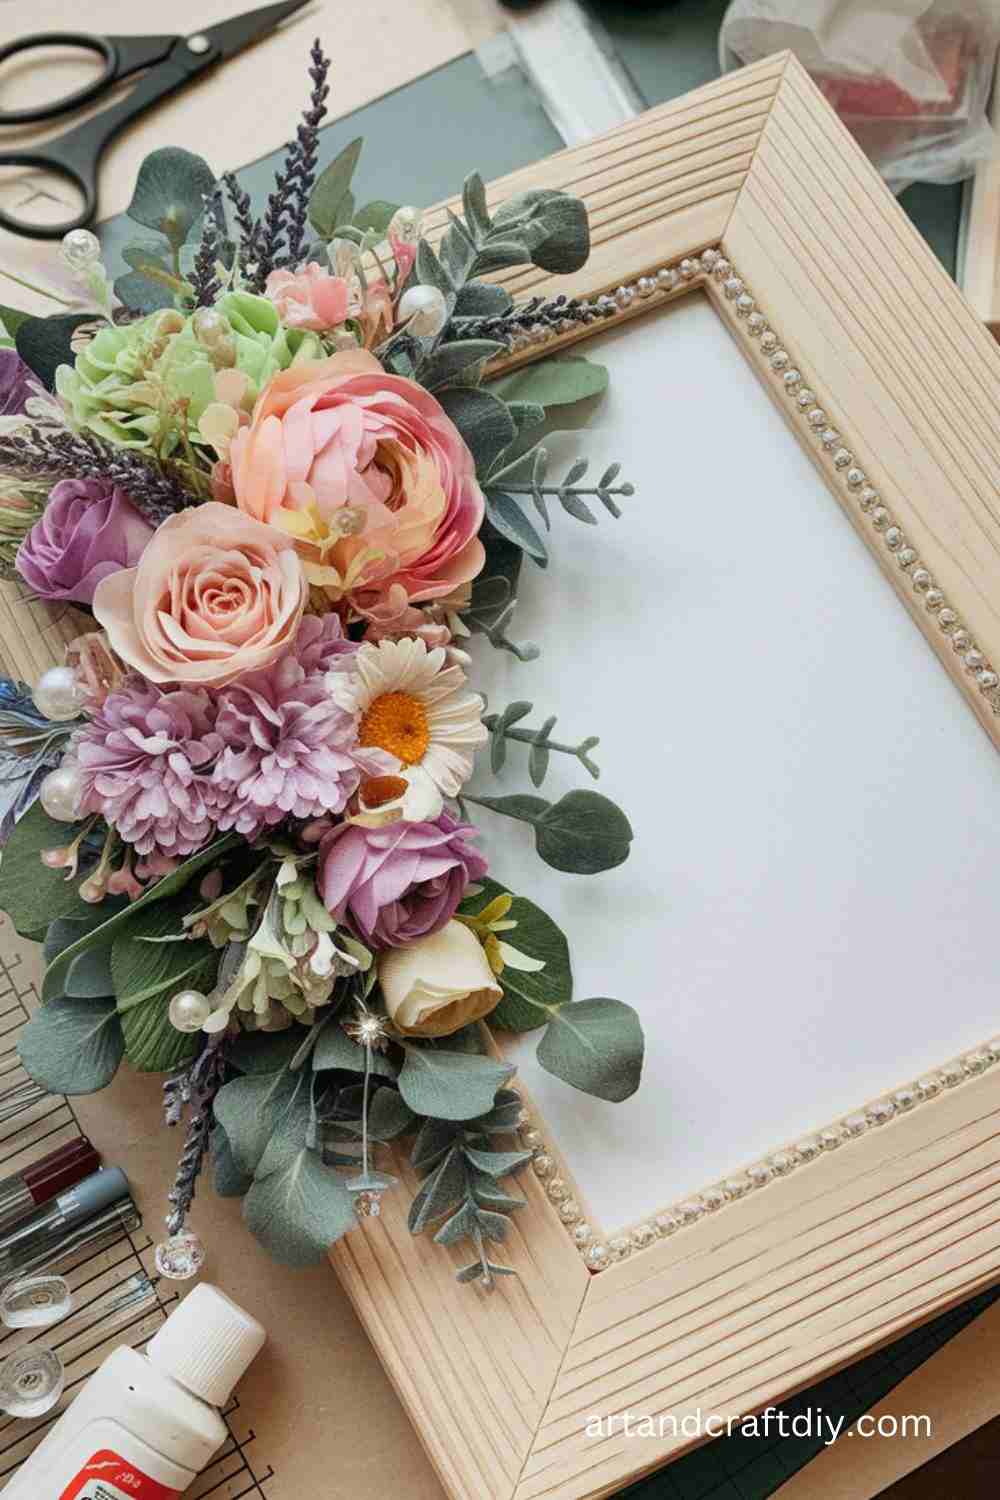
Materials Used:
- Wooden planks
- Saw
- Sandpaper
- Nails or wood glue
- Picture hanging hardware
Steps:
- Cut the wooden planks into pieces to create the frame’s borders.
- Sand the edges for a smooth finish.
- Arrange the planks in a rectangular shape and secure them with nails or wood glue.
- Attach picture hanging hardware to the back.
- Insert a photo and display your custom frame.
DIY Yarn Wall Hanging
Make a trendy and cozy yarn wall hanging for your home décor.
Materials Used:
- Yarn in various colors
- Wooden dowel
- Scissors
- Tape
Steps:
- Cut lengths of yarn to your desired size.
- Tie the yarn to a wooden dowel, creating layers or patterns.
- Arrange the yarn in a visually appealing design, alternating colors and textures.
- Trim the ends of the yarn to create an even finish.
- Hang the yarn wall hanging on your wall for a boho-chic touch.
DIY Salt Dough Ornaments
Salt dough ornaments are easy to make and can be personalized for any occasion.
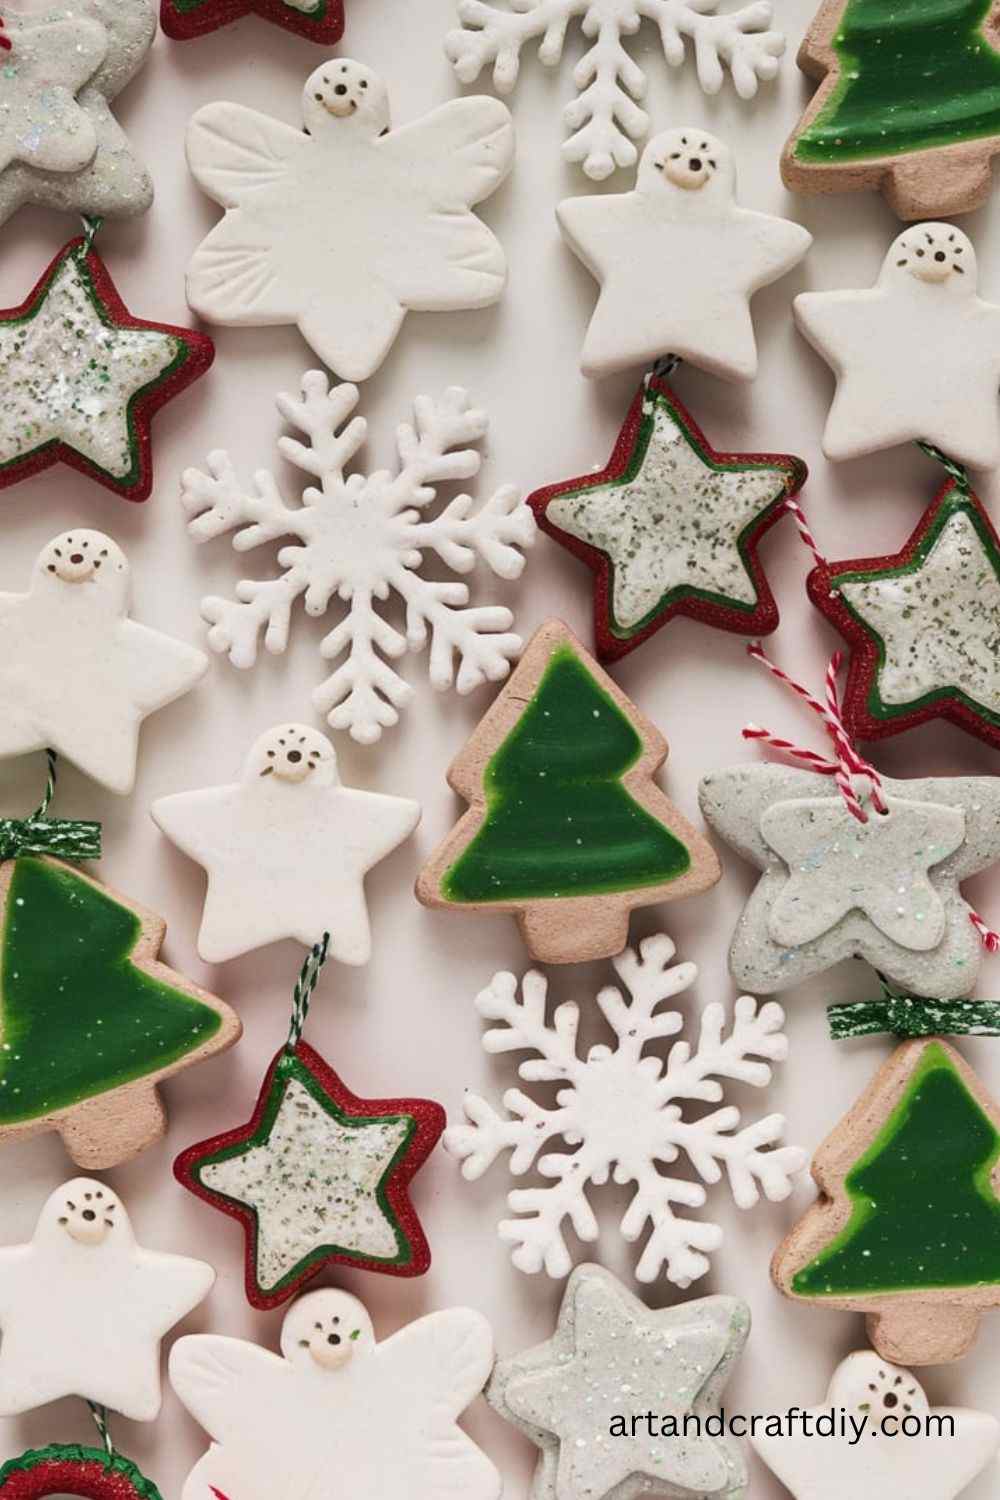
Materials Used:
- 1 cup flour
- 1/2 cup salt
- 1/4 cup water
- Cookie cutters (optional)
- Acrylic paint (optional)
Steps:
- Mix flour, salt, and water in a bowl until a dough forms.
- Roll the dough out on a flat surface and cut shapes using cookie cutters.
- Use a straw to make a hole at the top for hanging.
- Bake the ornaments in the oven at 250°F (120°C) for 2-3 hours, or until hardened.
- Once cooled, paint and decorate the ornaments as desired, and hang them with a ribbon.
DIY Beaded Bracelets
Create personalized beaded bracelets for yourself or as gifts.
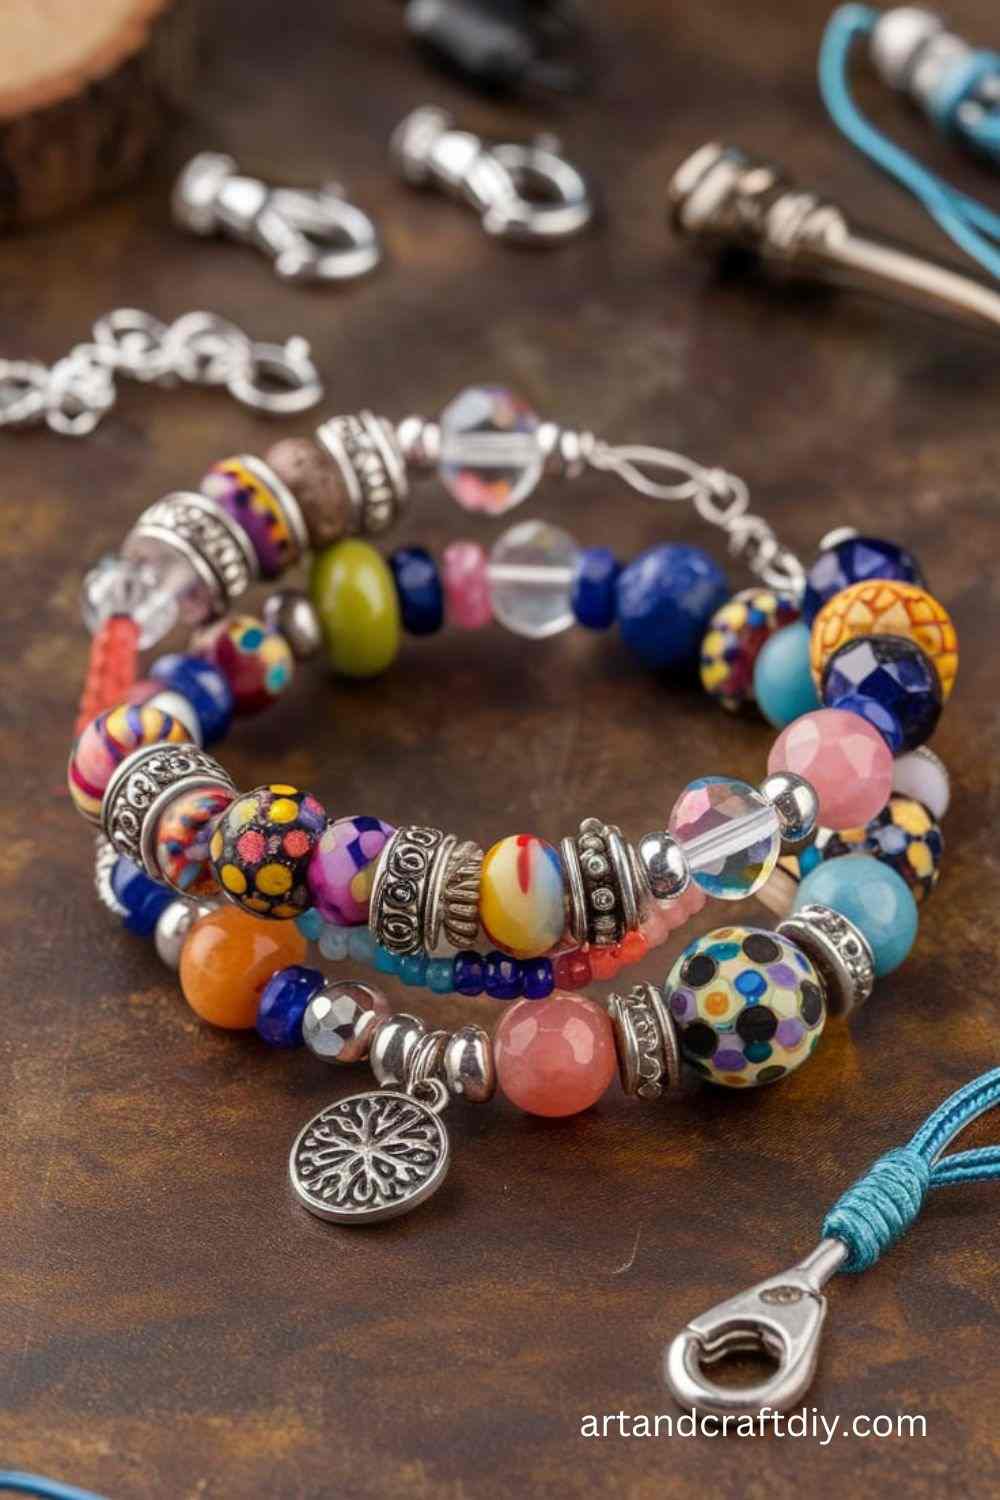
Materials Used:
- Beads of your choice
- Stretch cord or elastic thread
- Scissors
- Bead spacers (optional)
Steps:
- Cut a piece of stretch cord to the desired length.
- Thread beads onto the cord, creating a pattern or random design.
- Once the bracelet is the right length, tie the ends of the cord together in a secure knot.
- Trim any excess cord and add a bead spacer if desired.
- Wear your custom bracelet or gift it to a friend.
DIY Leaf Prints
Create beautiful leaf prints on fabric or paper for a nature-inspired craft project.
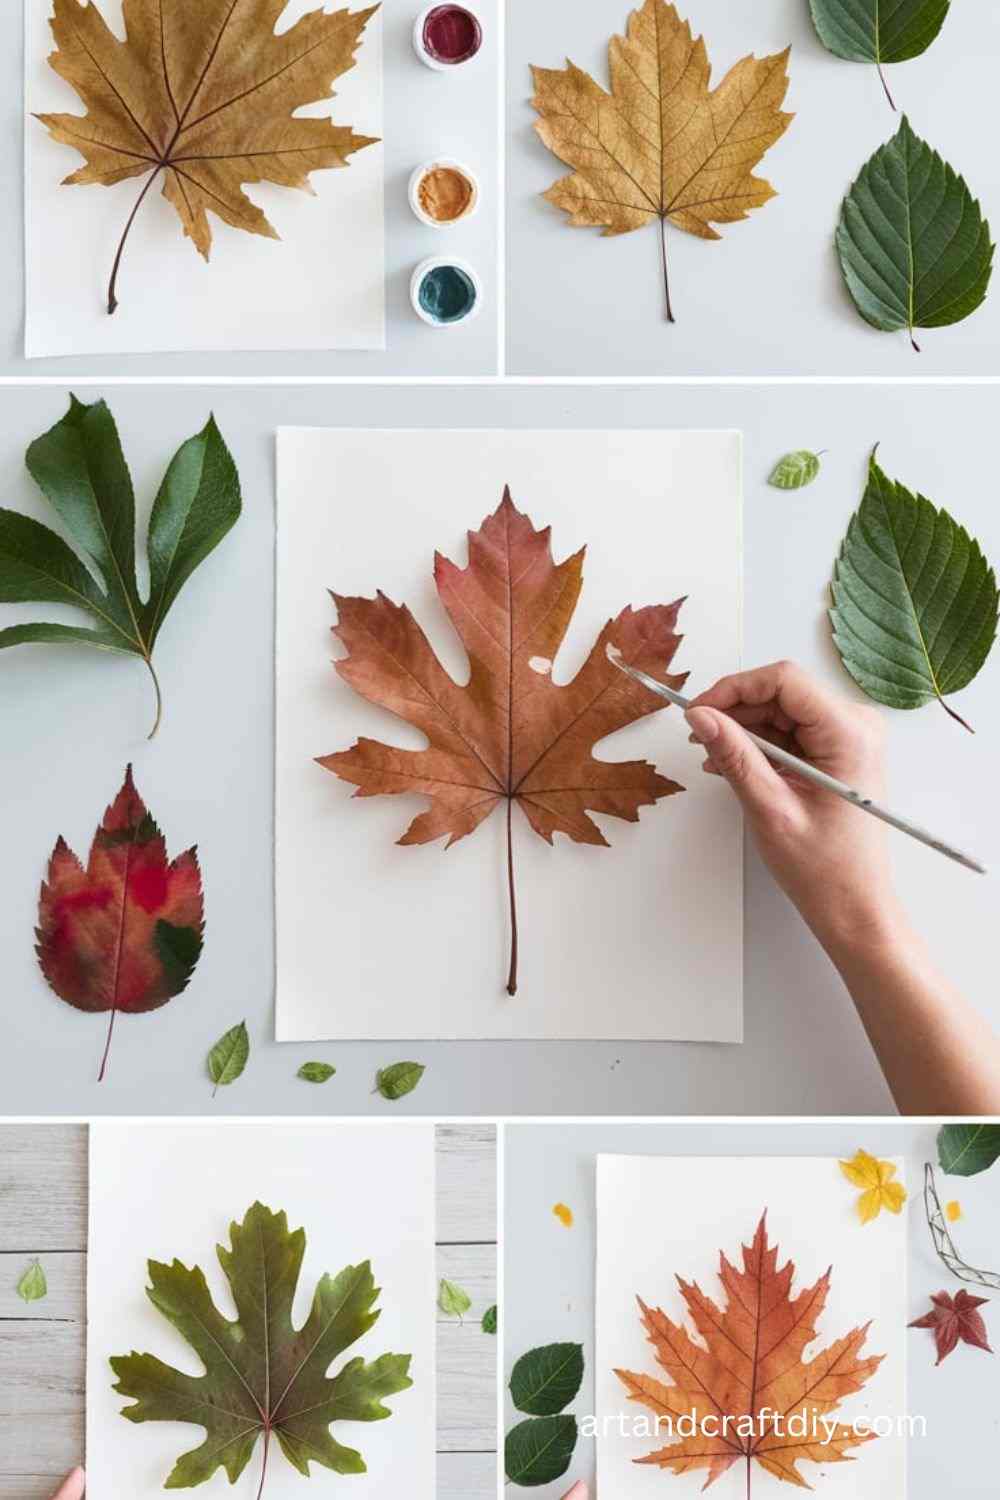
Materials Used:
- Fresh leaves
- Paint
- Paper or fabric
- Paintbrushes
Steps:
- Gather fresh leaves with interesting shapes and textures.
- Coat the underside of the leaf with paint using a paintbrush.
- Press the leaf onto paper or fabric, applying even pressure.
- Gently remove the leaf to reveal the print.
- Let the print dry completely before framing or using the fabric for another project.
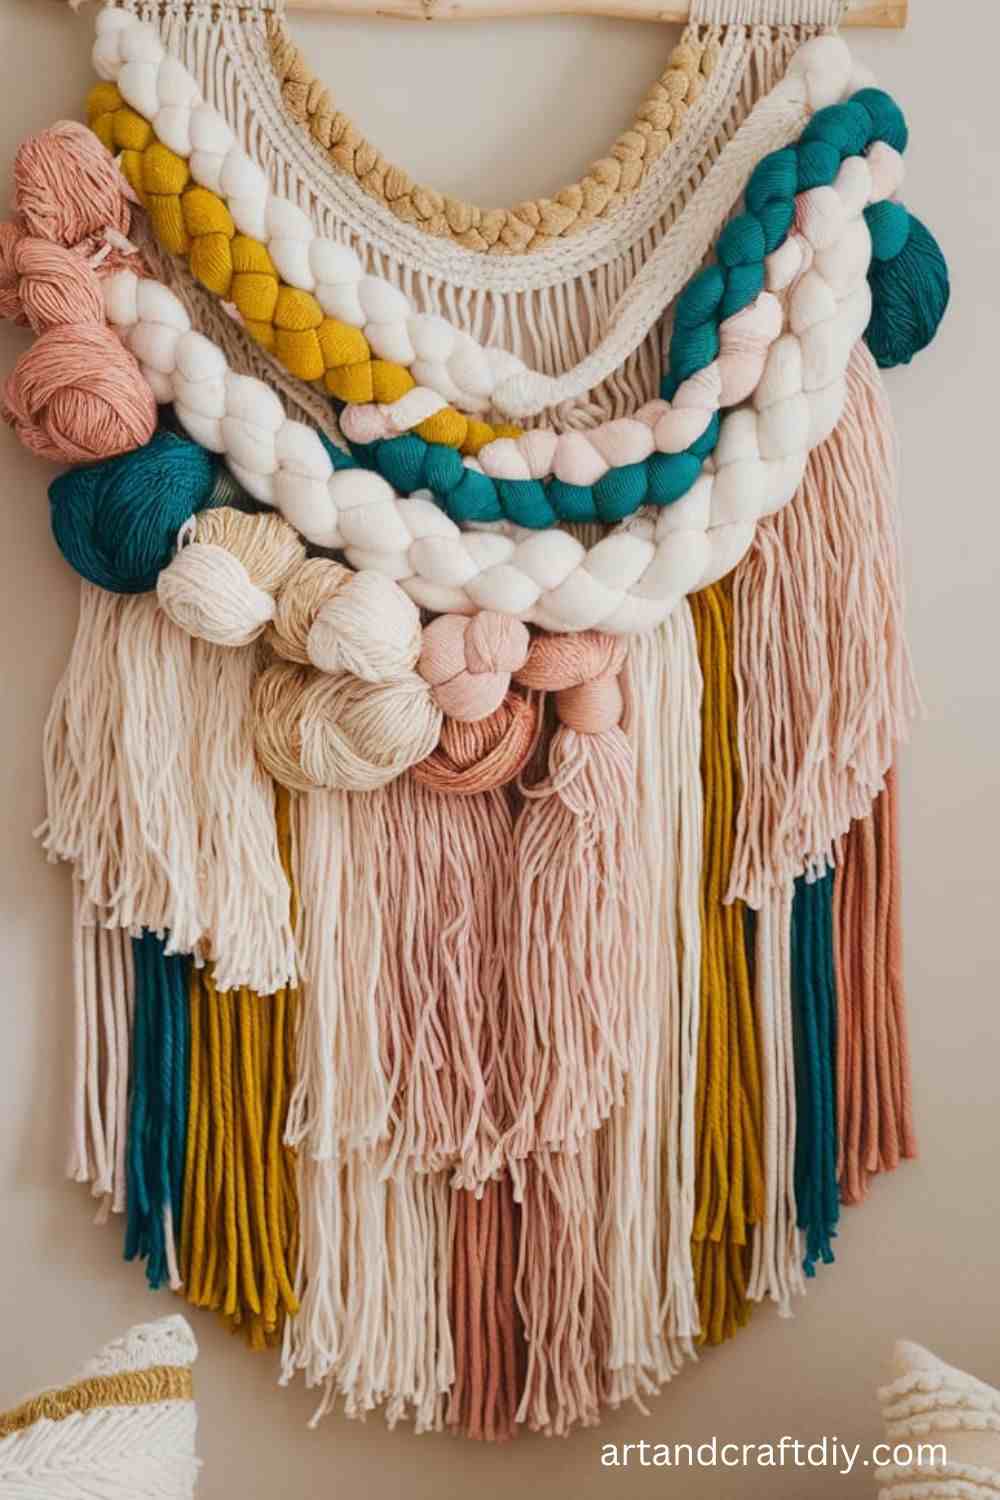
DIY Macramé Wall Hanging
Macramé is a beautiful knotting technique that allows you to make intricate wall hangings.
Materials Used:
- Macramé cord
- Wooden dowel or branch
- Scissors
Steps:
- Cut the macramé cord into several long pieces, ensuring they’re all equal in length.
- Attach the cords to a wooden dowel or branch using a lark’s head knot.
- Begin knotting the cords using various macramé knots like square knots, half knots, and spiral knots.
- Continue adding knots and patterns to create a beautiful design.
- Once finished, trim the bottom of the cords to your preferred length and hang the wall hanging.
DIY Wine Cork Coasters
Repurpose wine corks into chic coasters that are both functional and sustainable.
Materials Used:
- Wine corks
- Hot glue gun
- Craft knife
- Sandpaper
- Ribbon (optional)
Steps:
- Cut wine corks in half lengthwise with a craft knife.
- Arrange the cork halves in a circular or rectangular pattern.
- Glue the corks together using a hot glue gun.
- Sand the edges for a smooth finish.
- Wrap a decorative ribbon around the edges for added flair.
DIY Rope Basket
Create a sturdy rope basket for storage or decoration.
Materials Used:
- Cotton or jute rope
- Hot glue gun
- Scissors
- Cardboard (for the base)
Steps:
- Cut a circular piece of cardboard for the base.
- Begin coiling the rope tightly, gluing it onto the cardboard as you go.
- Once the base is complete, continue coiling and gluing the rope upward to form the walls of the basket.
- Finish by neatly trimming and securing the end of the rope.
DIY Terrarium in a Jar
Create a miniature garden inside a jar for a touch of greenery indoors.
Materials Used:
- Glass jar
- Small pebbles
- Activated charcoal
- Potting soil
- Small plants or succulents
Steps:
- Layer pebbles at the bottom of the jar for drainage.
- Add a layer of activated charcoal to prevent odors.
- Top with potting soil.
- Plant your chosen greenery and arrange them as desired.
DIY String Art
Craft intricate patterns using nails and string for unique wall décor.
Materials Used:
- Wooden board
- Nails
- Colored string or yarn
- Hammer
- Pencil
Steps:
- Draw a design or outline on the wooden board.
- Hammer nails along the outline, spacing them evenly.
- Tie one end of the string to a nail and begin weaving the string around the nails to fill the design.
- Secure the end of the string and trim any excess.
DIY No-Sew Tote Bag
Make a stylish tote bag without sewing a single stitch.
Materials Used:
- Fabric
- Fabric glue
- Scissors
- Handles (wooden or fabric)
Steps:
- Cut the fabric into two rectangles of equal size.
- Apply fabric glue along the edges and press the pieces together, leaving the top open.
- Attach handles using fabric glue.
- Let the glue dry completely before using your tote bag.
DIY Fabric Plant Hangers
Create a stylish and space-saving way to display plants using fabric.
Materials Used:
- Cotton or jute fabric
- Scissors
- Needle and thread (or fabric glue)
- Wooden ring
Steps:
- Cut the fabric into long strips of equal length.
- Fold the fabric strips in half and sew or glue the edges to secure them.
- Tie knots at the ends of the strips to form loops.
- Attach all the strips to a wooden ring by knotting them at equal intervals.
- Use the loops to hang your plants in a beautiful arrangement.
DIY Wooden Pallet Shelf
Repurpose an old wooden pallet into a rustic shelf for storage or display.
Materials Used:
- Wooden pallet
- Sandpaper
- Screws
- Drill
- Paint (optional)
Steps:
- Sand the wooden pallet to remove any rough spots and splinters.
- Paint the pallet in your desired color (optional).
- Drill holes in the back of the pallet for mounting.
- Attach the pallet to the wall using screws.
- Use the shelf for plants, books, or decorative items.
DIY Ribbon Wreath
Create a festive wreath made from colorful ribbons that can be displayed on doors or walls.
Materials Used:
- Wire wreath frame
- Ribbons in various colors and widths
- Scissors
- Hot glue gun
Steps:
- Cut ribbons into strips of equal length.
- Tie each ribbon around the wire wreath frame, securing it in place.
- Fill the frame with ribbons, alternating colors and textures for a layered effect.
- Use the hot glue gun to secure any loose ends.
- Hang the wreath on a door or wall for a fun and colorful accent..
DIY Ceramic Painted Mugs
Create custom ceramic mugs with your own designs, perfect for gifting or personal use.
Materials Used:
- Plain ceramic mugs
- Paint markers or ceramic paint
- Oven
Steps:
- Clean the surface of the ceramic mug thoroughly.
- Use ceramic paint or markers to design your mug. Be creative with patterns, quotes, or illustrations.
- Allow the paint to dry completely.
- Bake the mug in the oven at the temperature recommended by the paint’s instructions to set the design.
- Once cooled, your custom-painted mug is ready to use!
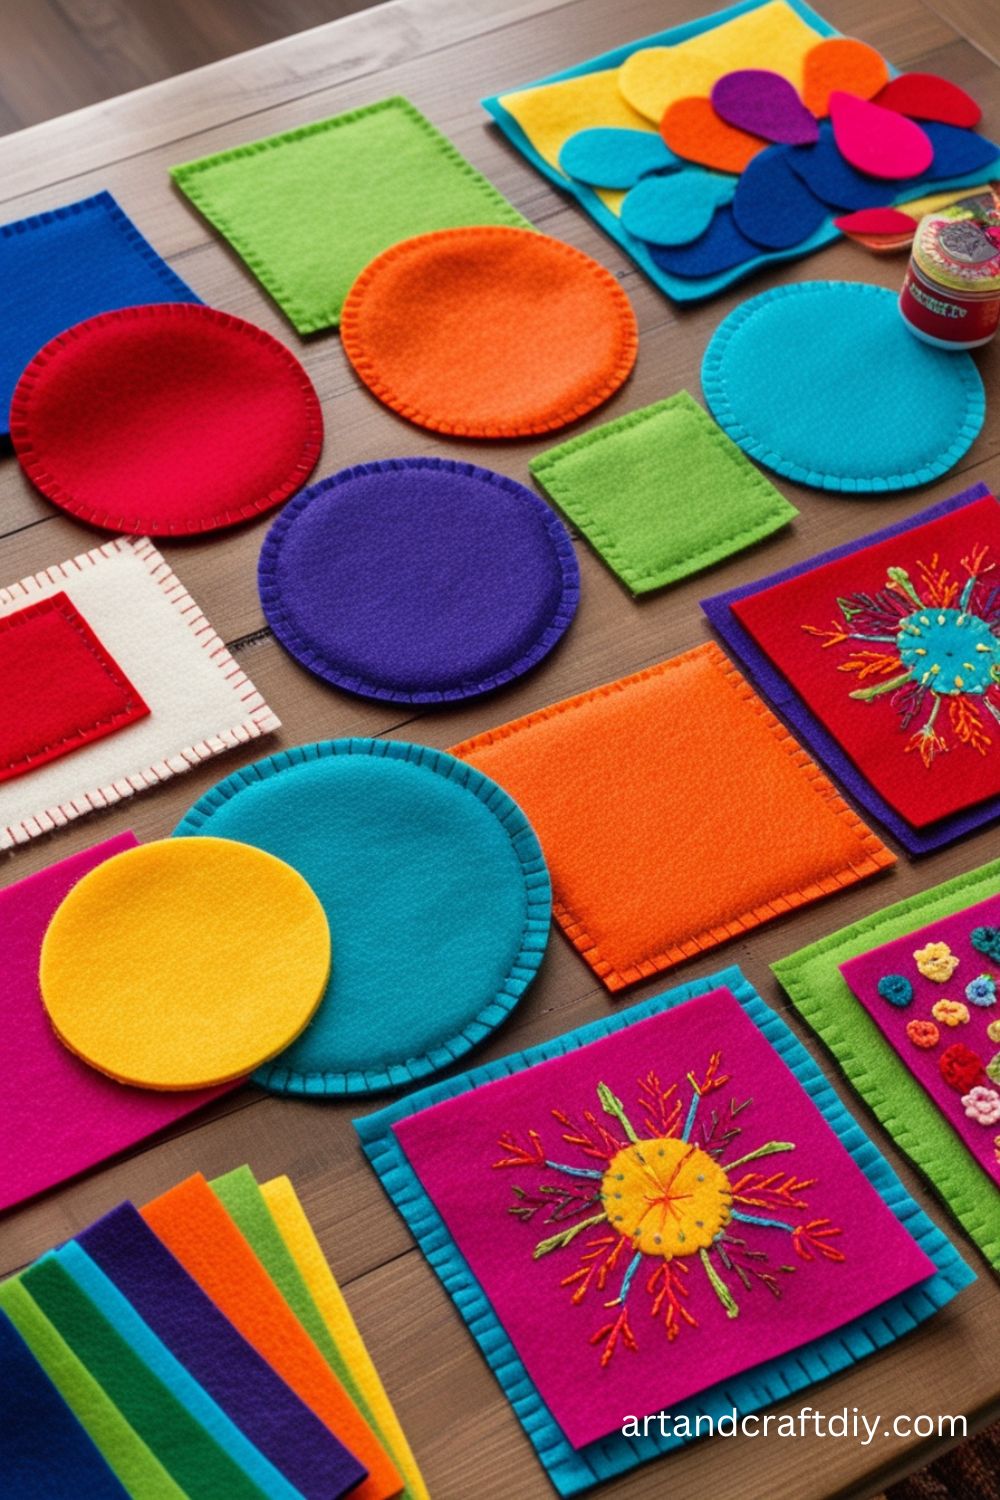
DIY Felt Succulent Garden
Create a felt succulent garden that looks real but doesn’t require any maintenance.
Materials Used:
- Felt in various colors
- Scissors
- Needle and thread
- Hot glue gun
- Small pot
Steps:
- Cut felt into petal shapes for each succulent.
- Sew the petals together, starting from the center and working outward, creating layers.
- Once the flowers are formed, glue them together to make the succulent shapes.
- Place the felt succulents in a small pot, arranging them as desired.
- Fill the pot with decorative stones or moss for a realistic look.
DIY Paper Mâché Bowls
Create unique and eco-friendly paper mâché bowls that can be used for decorative purposes or as storage.
Materials Used:
- Newspaper or tissue paper
- Flour
- Water
- Balloon (for shaping)
- Paint
Steps:
- Tear the newspaper or tissue paper into strips.
- Mix flour and water to create a paper mâché paste.
- Inflate the balloon and begin dipping the paper strips into the paste, layering them over the balloon.
- Continue layering until the bowl has sufficient thickness.
- Let the bowl dry completely. Once dry, pop the balloon and remove it from inside.
- Paint the exterior of the bowl to your liking.
DIY Glow-in-the-Dark Rocks
Make fun and decorative glow-in-the-dark rocks that can be used for outdoor decoration or as a nightlight.
Materials Used:
- Smooth rocks
- Glow-in-the-dark paint
- Paintbrushes
Steps:
- Clean and dry the rocks thoroughly.
- Paint the rocks with glow-in-the-dark paint in any pattern or design you choose.
- Allow the paint to dry completely before applying a second coat if necessary.
- Place the rocks outside where they can charge in the sunlight, and watch them glow at night.
DIY Scrapbook Pages
Design custom scrapbook pages to preserve memories in a creative and personal way.
Materials Used:
- Scrapbook album
- Patterned paper
- Photos
- Stickers, embellishments, and washi tape
- Glue or double-sided tape
Steps:
- Choose the photos you want to include on your scrapbook page.
- Cut and arrange the photos on a page of patterned paper.
- Add embellishments like stickers, washi tape, or die cuts to decorate the page.
- Secure everything in place using glue or double-sided tape.
- Add journaling or captions to document the memory.
Transfer photos onto wood, fabric, or other surfaces for a unique and rustic effect.
Materials Used:
- Laser-printed photo
- Mod Podge or transfer gel
- Wood, fabric, or canvas
- Water
Steps:
- Print your photo using a laser printer (inkjet prints won’t work for this method).
- Apply a thin layer of Mod Podge or transfer gel onto the surface you want to transfer the photo onto.
- Place the photo face-down onto the surface and press firmly.
- Let it dry for several hours, then wet the back of the photo and gently rub away the paper to reveal the image.
- Seal the transfer with more Mod Podge for protection.
DIY Pom-Pom Rug
Create a cozy and colorful rug by making pom-poms and stitching them together.
Materials Used:
- Yarn in various colors
- Scissors
- Needle and thread
Steps:
- Make pom-poms by wrapping yarn around your fingers and tying them in the center.
- Cut the loops and trim the pom-poms to a uniform size.
- Arrange the pom-poms in a design or pattern on the floor.
- Use a needle and thread to stitch the pom-poms together to form the rug.
- Once all pom-poms are sewn together, your soft and fluffy rug is ready!
DIY Fabric Scrap Quilt
Use fabric scraps to create a beautiful quilt that’s both functional and sentimental.
Materials Used:
- Fabric scraps
- Sewing machine or needle and thread
- Batting for the quilt’s padding
- Quilt backing fabric
Steps:
- Cut your fabric scraps into square or rectangular pieces.
- Arrange the pieces in a quilt pattern on the floor, ensuring the layout is symmetrical.
- Sew the fabric pieces together, one row at a time, until you have a large quilt top.
- Add the batting and quilt backing fabric, then sew the layers together.
- Trim any excess fabric, and you have your homemade quilt!
DIY Button Key Holder
Repurpose old buttons to create a unique and functional key holder for your home.
Materials Used:
- Wooden board
- Assorted buttons
- Hooks or knobs
- Drill
- Paint (optional)
Steps:
- Paint the wooden board if desired, to match your home décor.
- Drill small holes in the board where you’ll attach the buttons or hooks.
- Attach the buttons or knobs to the holes.
- Install hooks at the bottom of the board for hanging keys.
- Hang the board near the door for a functional and decorative key holder.
DIY Knitted Blanket
Make a cozy knitted blanket perfect for snuggling up during the colder months.
Materials Used:
- Knitting needles
- Thick yarn
Steps:
- Cast on enough stitches to create the desired width of your blanket.
- Knit in a basic stitch (like garter stitch) until the blanket reaches your desired length.
- Bind off the stitches when you’ve reached the end.
- Weave in the yarn ends and trim any excess.
- Enjoy your soft, handmade knitted blanket!
Crafting Techniques and Tips
Crafting is a wonderful way to express creativity, relax, and create something beautiful or useful. Whether you’re a beginner or a seasoned crafter, learning new techniques and honing your skills can elevate your projects. Here’s an introduction to some popular crafting techniques, along with tips and tricks to enhance your crafting experience.
1. Introduction to Various Crafting Techniques
- Decoupage: This involves decorating an object by gluing paper cut-outs onto it and then sealing the design with layers of varnish. It’s great for upcycling furniture, creating personalized gifts, or customizing home decor.
- Quilling: This technique uses thin strips of paper that are rolled, shaped, and glued together to create intricate designs. It’s commonly used for cards, scrapbooking, or wall art.
- Knitting: Knitting involves creating fabric by interlocking loops of yarn with needles. It’s a relaxing craft with endless possibilities, from scarves and sweaters to home decor items like pillows and blankets.
- Embroidery: Embroidery is the art of decorating fabric with thread or yarn using a needle. It adds texture and color to various fabric projects like clothing, cushions, and wall hangings.
- Crochet: Similar to knitting but using a hook to create loops of yarn, crochet is a versatile craft. You can make everything from garments to amigurumi (small, stuffed crochet creatures).
2. How-to Articles/Videos on Using Popular Tools and Equipment
- Decoupage Tools:
- Essential tools: Scissors, craft glue, paintbrushes, and varnish.
- Tip: Use Mod Podge for a smooth finish. When cutting out paper shapes, ensure precision for a clean edge.
- Quilling Tools:
- Essential tools: Quilling paper, quilling needle tool, glue, and tweezers.
- Tip: Use a slotted tool for more consistent, tighter rolls. A good quality glue is crucial for keeping your quilled shapes intact.
- Knitting Tools:
- Essential tools: Knitting needles (size depends on yarn), yarn, stitch markers, and a tapestry needle for finishing.
- Tip: Start with simple projects like scarves or dishcloths to learn the basics. Practice tension to keep stitches even.
- Embroidery Tools:
- Essential tools: Embroidery hoop, embroidery needles, floss, and fabric.
- Tip: Keep the fabric taut in the hoop for smooth stitching. Experiment with different stitches, such as satin stitch or French knots, for added texture.
- Crochet Tools:
- Essential tools: Crochet hooks (varied sizes), yarn, and stitch markers.
- Tip: Start with basic stitches like chain and single crochet. When working on larger projects, remember to count your stitches regularly to avoid mistakes.
3. Troubleshooting Common DIY Issues
- Uneven Paint:
- Causes: Overloading the brush, not stirring the paint thoroughly, or painting in humid conditions.
- Solution: Thin layers are better than thick ones. Allow each coat to dry completely before adding another. Use a high-quality brush for smoother application.
- Fabric Fraying:
- Causes: Cutting fabric without finishing the edges or using low-quality fabric.
- Solution: Use pinking shears or zigzag stitch to finish raw edges. For a cleaner look, apply fabric glue or Fray Check on raw edges.
- Lumpy Knitting or Crochet:
- Causes: Inconsistent tension or incorrect stitch techniques.
- Solution: Focus on creating even tension. Practice controlling the yarn to achieve uniformity in your work.
- Quilling Shapes Unraveling:
- Causes: Using too much glue or not waiting for glue to dry completely.
- Solution: Use a small amount of glue to avoid over-saturation, and give the glue time to set before moving to the next step.
FAQ
What types of products do you sell at the DIY Craft Warehouse?
We offer a wide variety of craft supplies, including but not limited to fabric, paint, beads, knitting yarn, scrapbooking materials, tools, home décor, and seasonal items. Whether you’re into knitting, sewing, painting, or scrapbooking, we have everything you need to bring your creative projects to life!
Do you offer online shopping?
Yes, we offer online shopping through our website. You can browse our extensive selection of craft supplies and have them delivered directly to your door. We also offer in-store pickup for your convenience.
Can I find eco-friendly or sustainable craft materials at your store?
Yes, we carry a selection of eco-friendly and sustainable materials, including recycled paper, biodegradable glitters, organic fabrics, and more. Look for the “Eco-Friendly” label on the product pages to find these items.
Do you offer DIY Craft Warehouse workshops or classes?
Yes! We offer a variety of DIY Craft Warehouse workshops and classes for all skill levels. Check our website or sign up for our newsletter to stay updated on upcoming events, or stop by the store for more information.

Hi, I’m Victoria, an art and craft teacher at Newark City Schools, where I have the joy of working with middle school students to help them explore their creativity and develop their artistic talents. I believe that art is a powerful way for students to express themselves, and I strive to make every lesson a fun, engaging, and inspiring experience.
I created this website to share the art and craft projects, techniques, and resources that I use in my classroom, hoping to inspire both educators and young artists alike. Whether you’re a teacher looking for new ideas or a student eager to try something new, I’m excited to provide creative tools and projects that anyone can enjoy.
When I’m not in the classroom, I love experimenting with different art forms and learning new crafting techniques. My goal is to help others discover the joy of making things with their hands, and I hope my website serves as a space for everyone to explore their creative potential.