
A few years ago, I was staring at this old wooden crate in my garage, thinking, “Should I toss it or… maybe do something fun with it?” Well, instead of throwing it out, I grabbed some paint, a bit of sandpaper, and before I knew it, I had this cute little rustic shelf that everyone kept asking me about. That’s when I realized how much joy DIY wood crafts can bring—not just the finished piece, but the whole process of creating something with your own hands.
I know, sometimes wood projects can feel intimidating (saws, nails, measuring… yikes), but trust me, you don’t need to be a carpenter to make something beautiful. In this article, I’m gonna share easy, beginner-friendly ideas that’ll spark your creativity, save you money, and maybe even surprise you with how good you are at crafting. Ready to dive into some sawdust and fun?
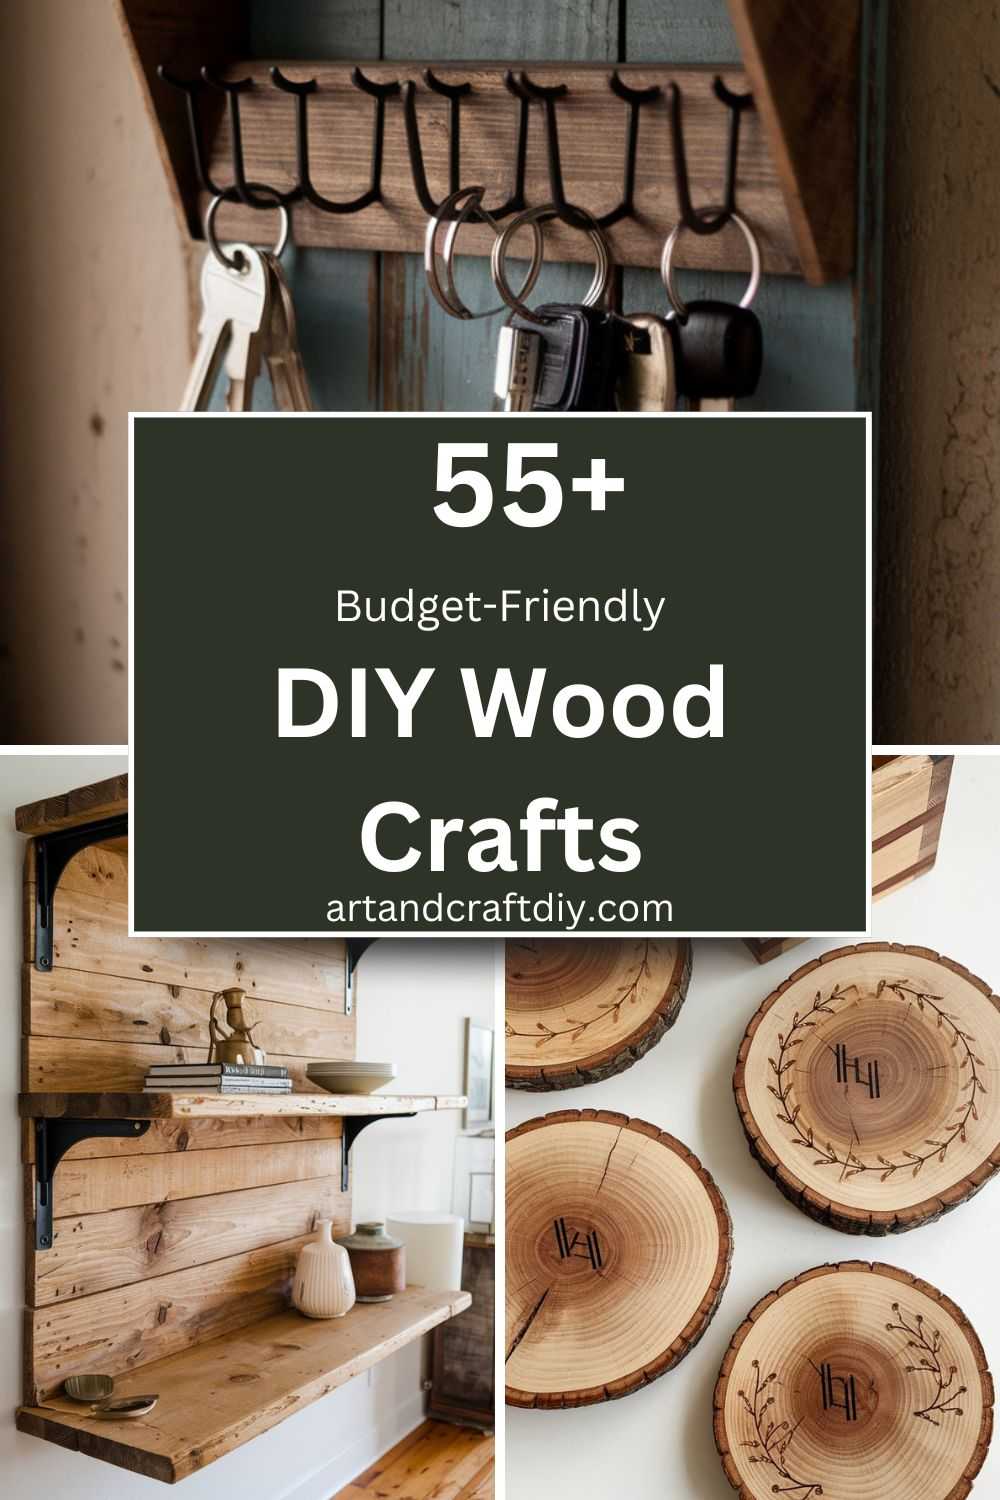
DIY Wood Crafts
DIY wood crafts involve creating unique and personalized items using wood as the primary material.
Wooden Picture Frame
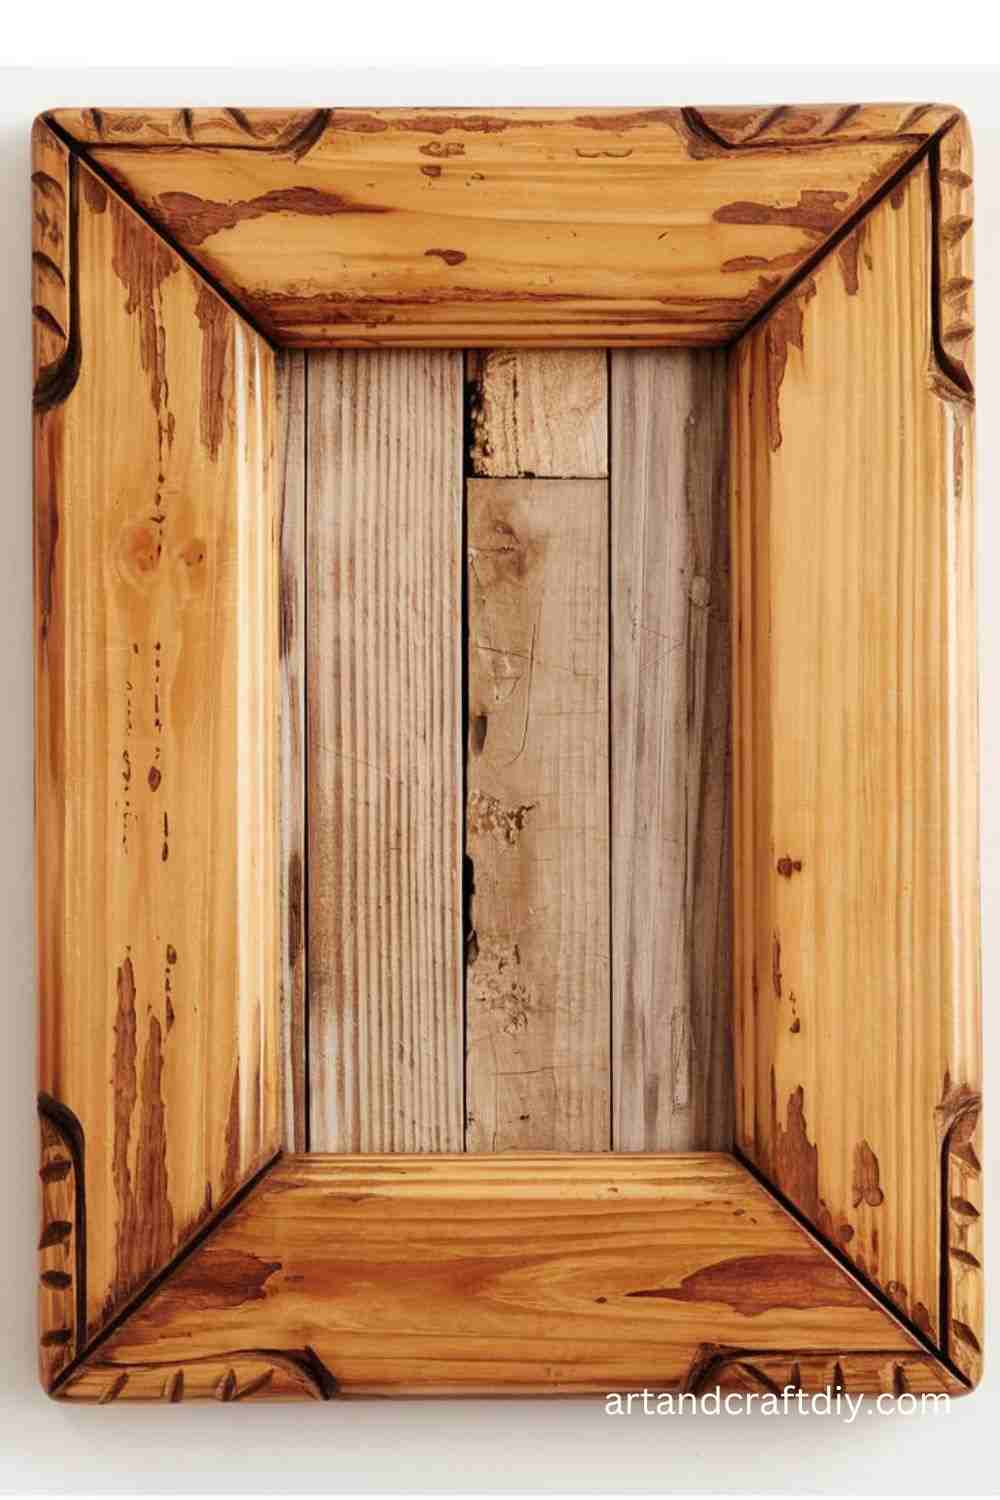
I’ll be honest, one of the first wooden crafts I ever tried was a picture frame, and it felt so special because I ended up putting in a family photo that still hangs in my living room. There’s something about crafting a frame with your own hands that makes the photo inside even more meaningful. I usually start with some basic wooden slats, nothing fancy, just straight cuts sanded smooth. Once you glue them together, you can leave them rustic or go wild with paint. Personally, I like a slightly distressed finish—it gives that cozy, vintage look that store-bought frames just don’t have.
To be fair, the fun part is decorating it. Sometimes I’ll stencil little flowers on the corners, or glue on tiny wooden beads to give it texture. If you’re like me and love switching things up, you can even stain it darker later. The best part? These frames make amazing gifts. I once made one for a friend’s wedding with their initials carved in—it was such a hit!
Wooden Coasters
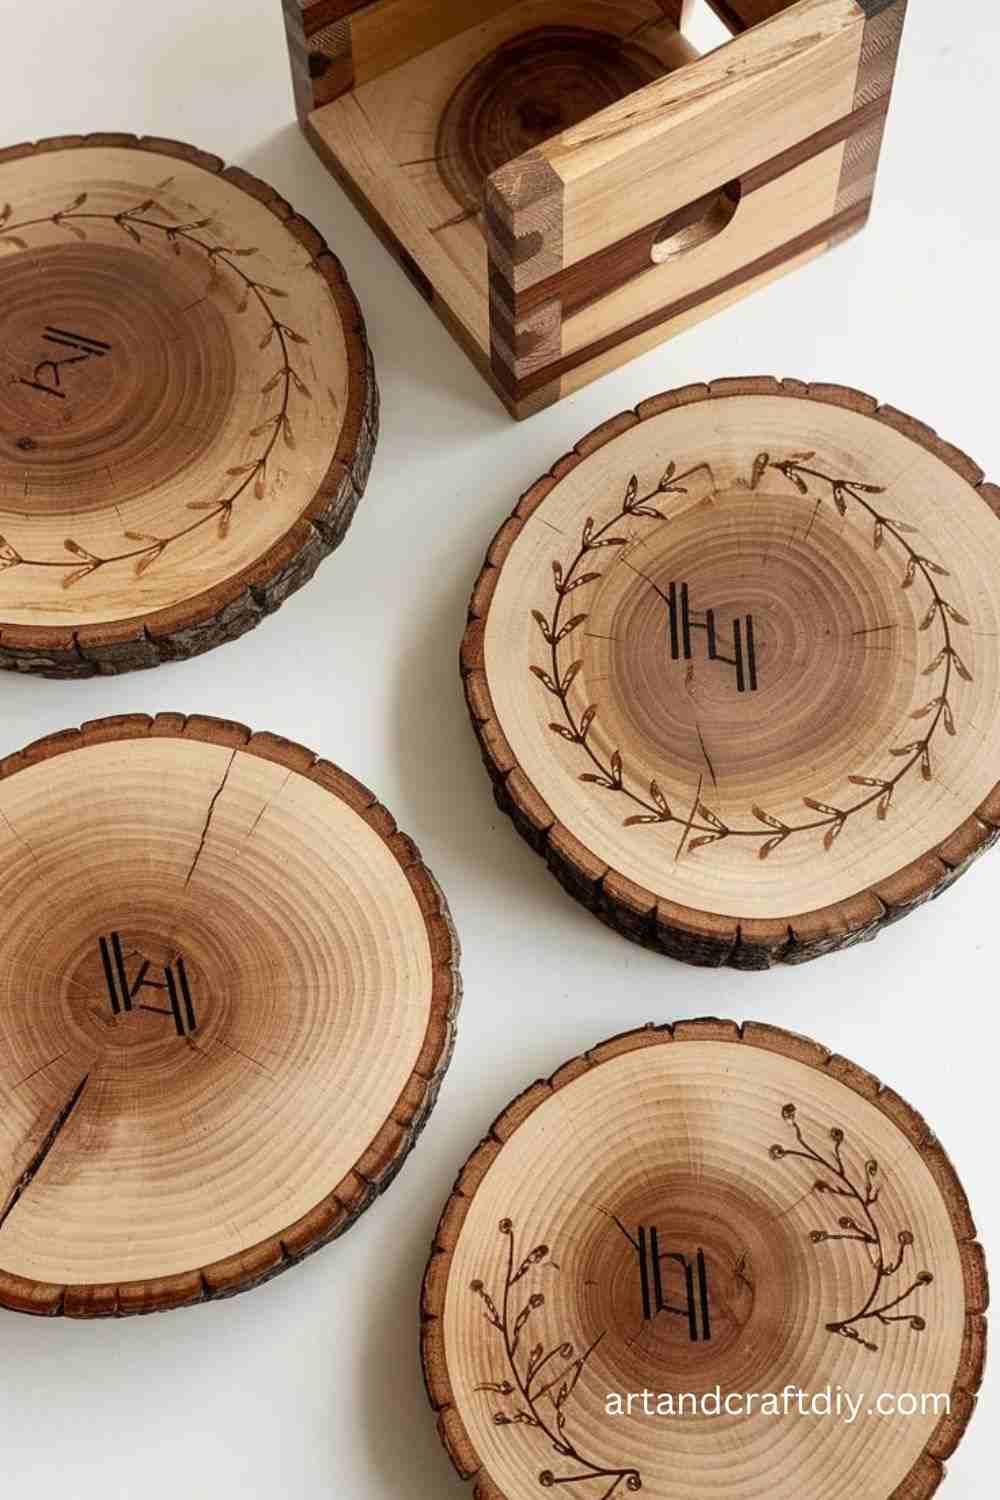
Wooden coasters are one of those crafts that look simple but always surprise you with how charming they turn out. I still remember making my first set out of leftover wood scraps. Honestly, I wasn’t expecting much, but when I sanded them down and added a coat of varnish, they looked like something you’d pick up at a boutique. The best part is, you can shape them however you like—round, square, even quirky hexagons if you’re feeling adventurous.
In my opinion, the real magic happens when you personalize them. I once burned little leaf patterns into mine using a wood-burning tool, and every guest who’s ever visited has commented on them. If you don’t have that tool, don’t stress—a simple coat of colorful paint or even a bit of washi tape sealed with varnish works wonders. And let’s be real, they’re not just decorative. They actually save my coffee table from those annoying rings, which is always a win.
Wooden Wall Hooks
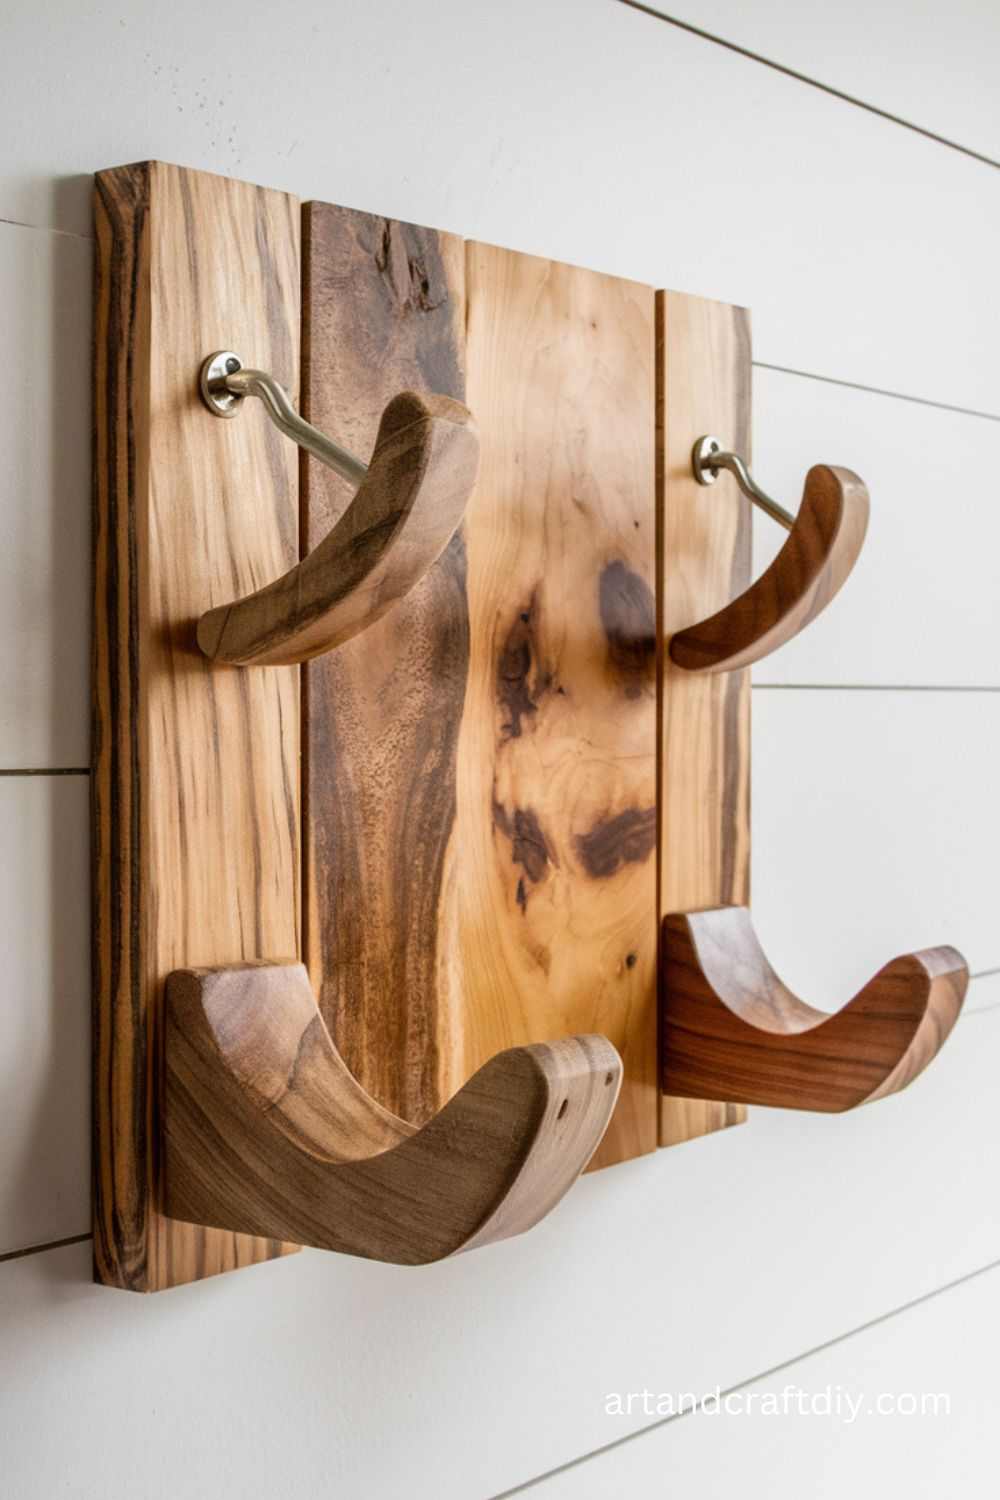
Now, wooden wall hooks are a craft I didn’t think I’d enjoy as much as I do. At first, I made them purely because I was tired of tossing my bags and jackets on the nearest chair. But after making a set, I realized they can be as stylish as they are useful. I usually start with a sturdy piece of wood as a base, then screw in simple pegs or even small, cut wooden branches. Yes, branches! They look so rustic and give that “cabin in the woods” vibe that I just love.
One time, I painted the base in a bright teal to match my entryway, and suddenly the whole space felt more welcoming. Honestly, wall hooks are one of those underrated crafts—you don’t think much of them until you see them up on your wall. Plus, they make everyday life easier. My keys, scarves, even my dog’s leash—everything has its place now. It’s such a small project, but it makes a big difference.
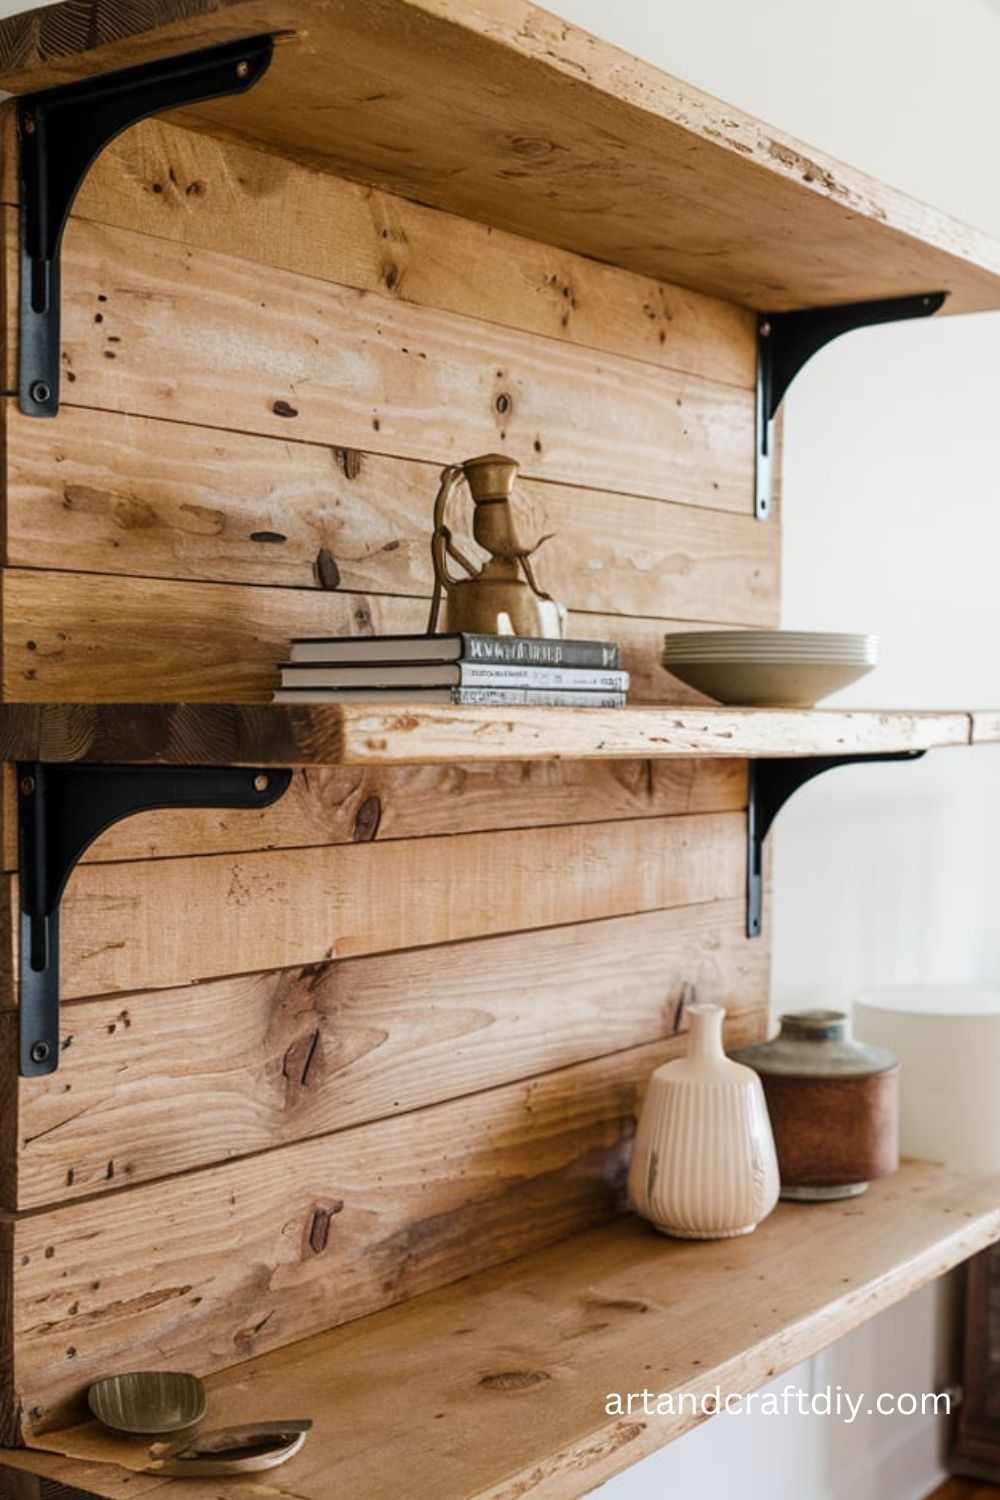
Wooden Shelf
Create a simple floating shelf for storage or decor with a wooden plank and brackets.
Materials used:
- Wooden plank
- Shelf brackets
- Screws
- Drill
Steps:
- Cut the wood plank to your desired shelf size.
- Sand the plank for a smooth surface.
- Stain or paint the wood if you want to add color.
- Attach the shelf brackets to the wall using screws.
- Place the wooden shelf on top of the brackets and secure it.
Wooden Flower Pot Stand
This project creates a wooden stand for holding your plant pots, ideal for an outdoor garden or indoor decor.
Materials used:
- Wooden slats or planks
- Screws
- Drill
- Sandpaper
- Wood stain or paint
Steps:
- Cut the wooden slats to the desired size for your flower pot stand.
- Sand the edges and surface of the wood.
- Assemble the frame by attaching the slats with screws.
- Paint or stain the stand as desired.
- Allow the stand to dry before placing your flower pots on it.
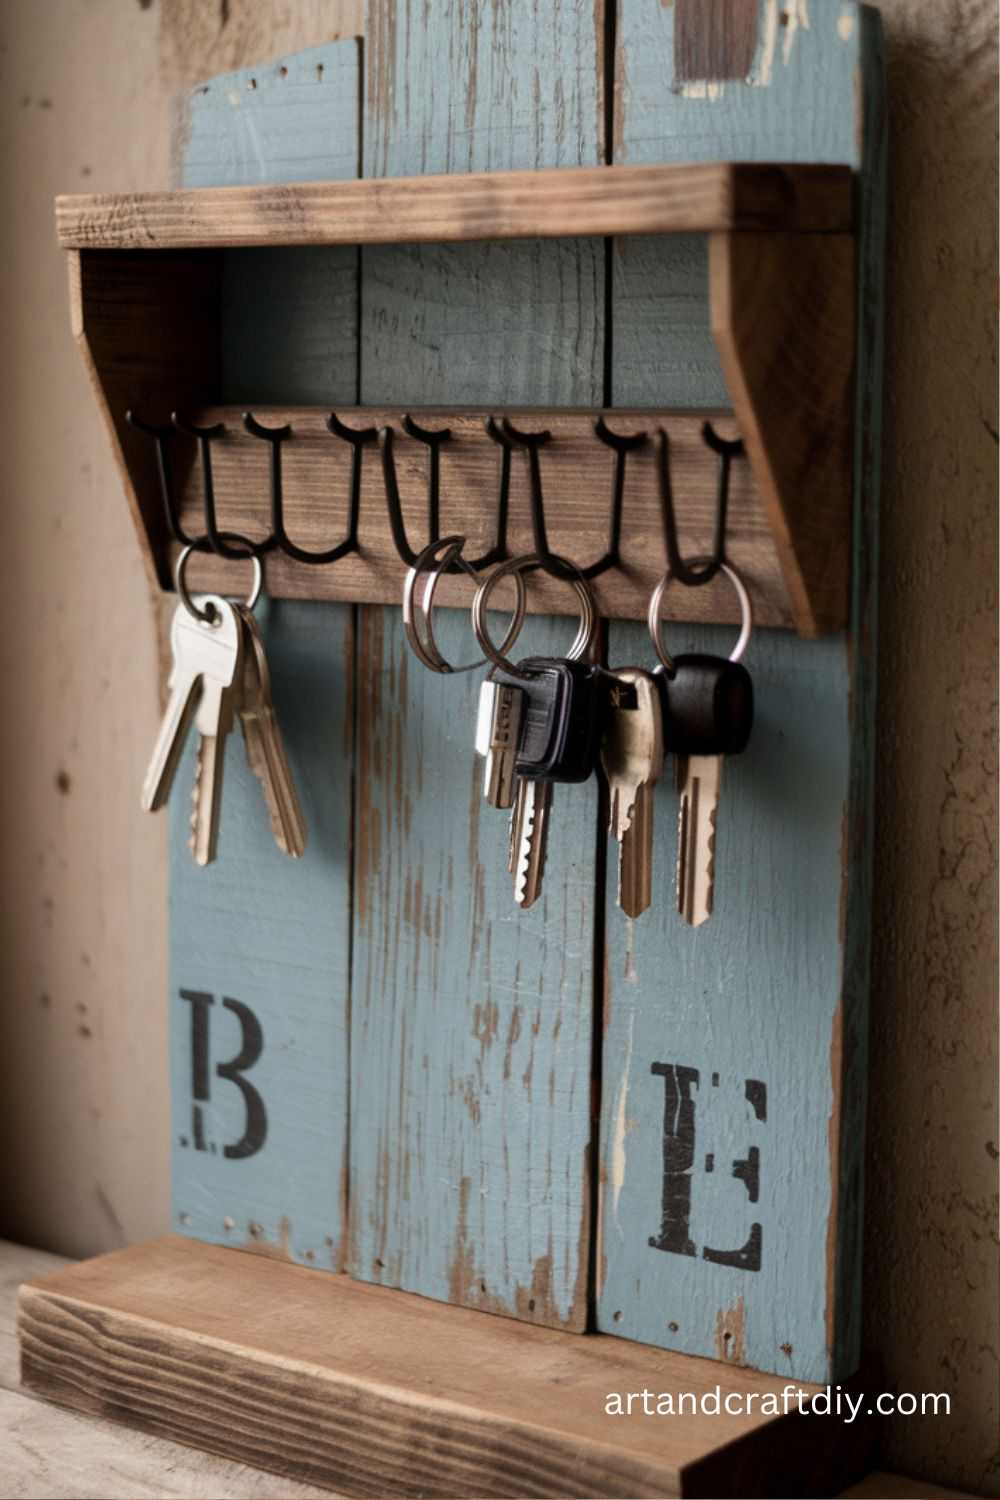
Wooden Key Holder
A wooden key holder can help you stay organized and reduce the chance of misplacing your keys.
Materials used:
- Small wooden board
- Hooks
- Nails
- Drill
- Paint or stain (optional)
Steps:
- Sand the wooden board to smooth any rough areas.
- Paint or stain the wood if you prefer a finished look.
- Measure and mark where to place the hooks on the board.
- Drill small holes for the hooks, then screw them in place.
- Attach a hanging mechanism to the back of the board.
- Hang the key holder by your door and use the hooks to hang your keys.
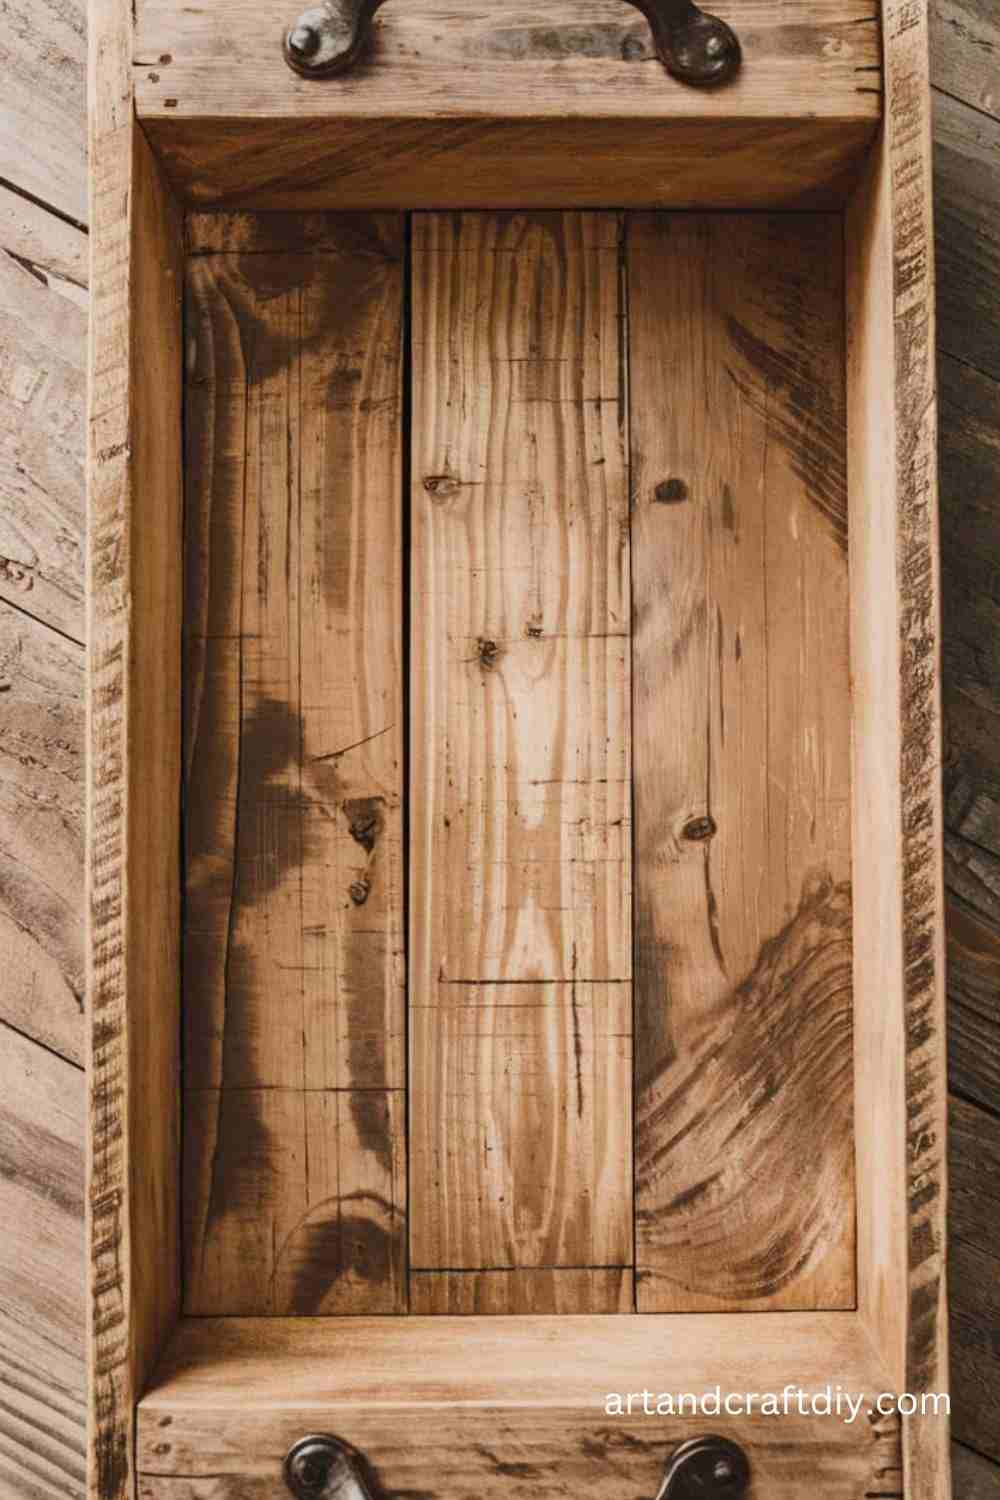
Wooden Tray
This DIY tray is both beautiful and useful for serving food or holding items in your living space.
Materials used:
- Wooden planks
- Saw
- Nails or screws
- Sandpaper
- Paint or stain (optional)
Steps:
- Cut the wooden planks to form the base and sides of your tray.
- Sand the planks to smooth any rough edges.
- Arrange the pieces in the shape of a tray and secure them with nails or screws.
- Paint or stain the tray if desired.
- Attach handles to the sides of the tray.
- Let the tray dry and use it to serve food or store small items.
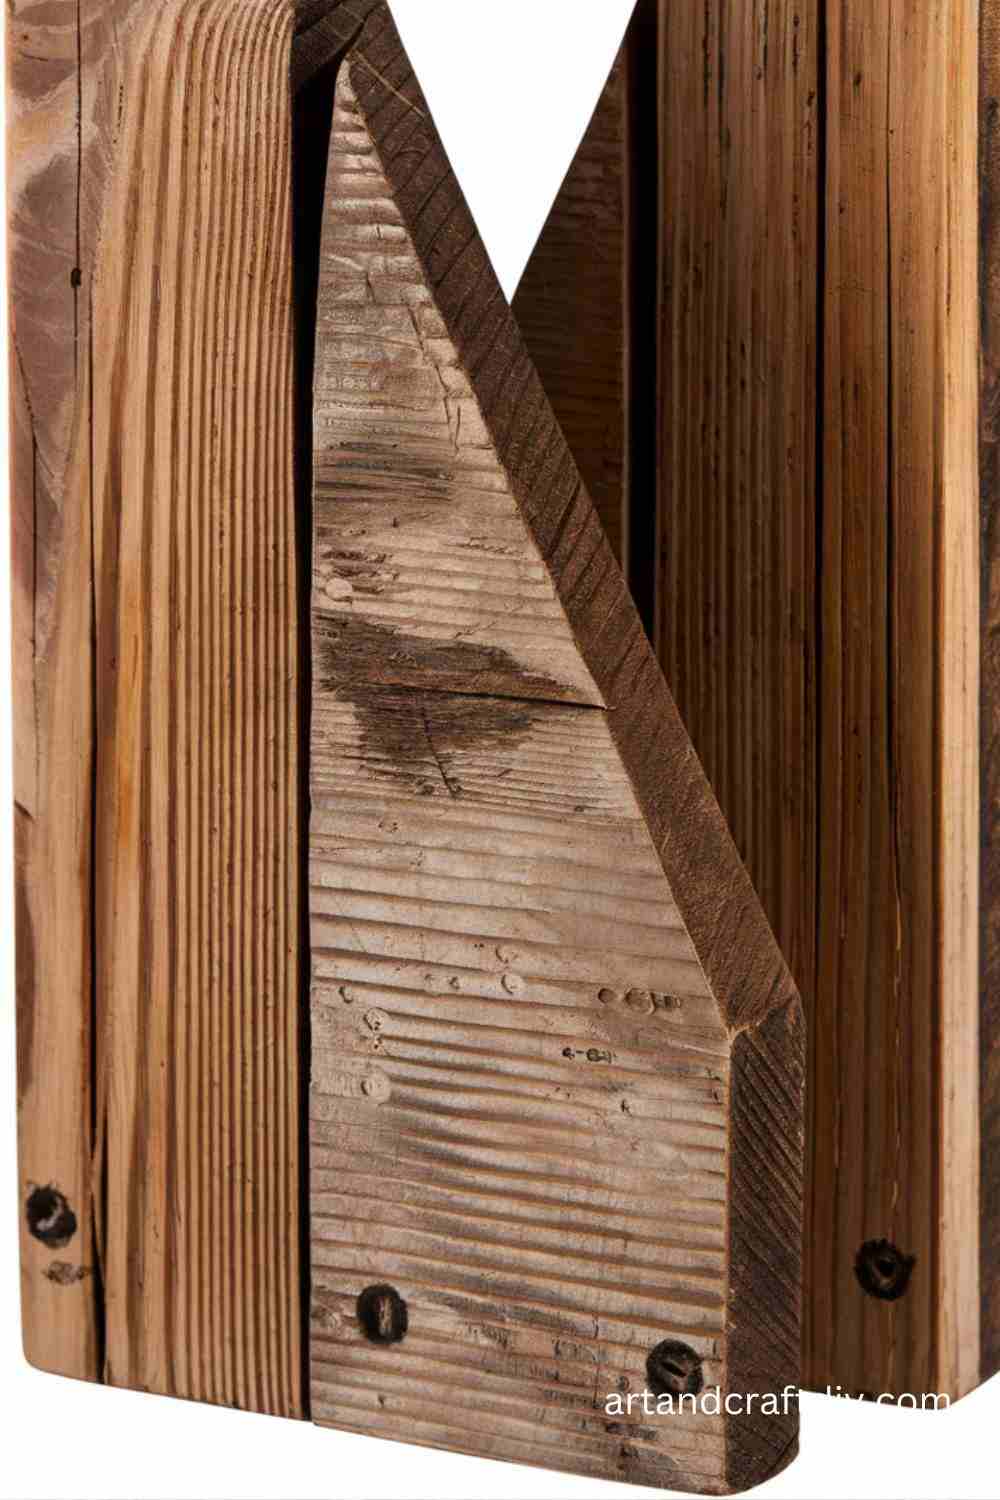
Wooden Bookends
Create stylish bookends from wood to help organize your books while adding a decorative touch to your shelves.
Materials used:
- Wooden blocks or planks
- Saw
- Sandpaper
- Paint or stain (optional)
Steps:
- Cut two pieces of wood into equal-sized blocks.
- Sand the blocks to make them smooth.
- Optionally, paint or stain the blocks for a personalized finish.
- Place them on the edges of your books to keep them upright.
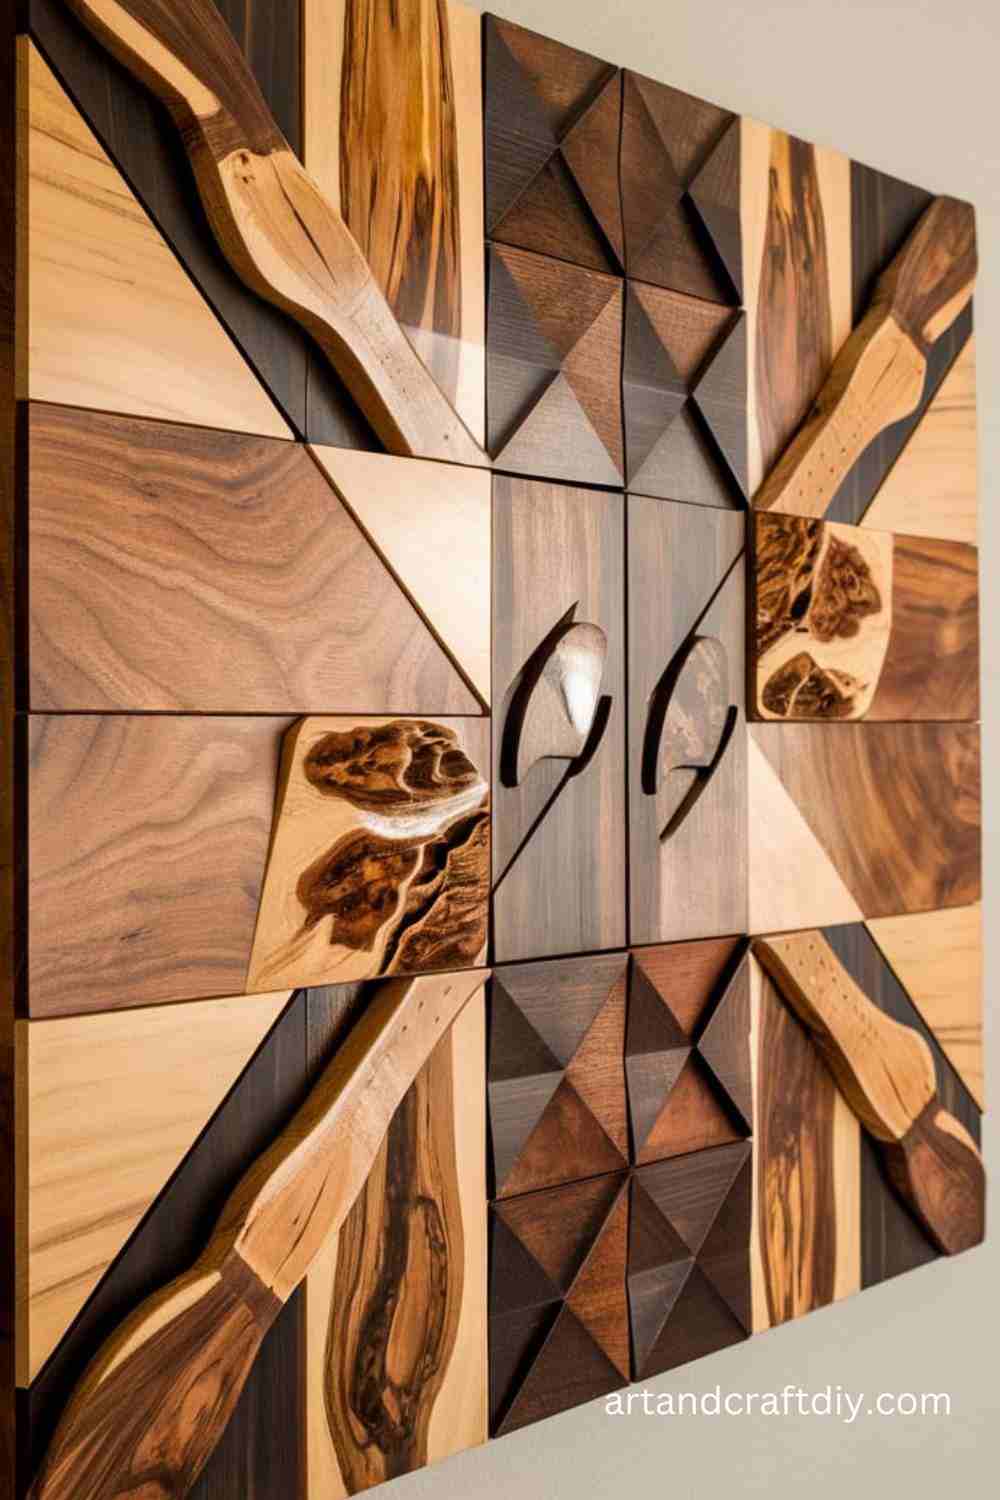
Wooden Wall Art
Add a personal touch to your home with DIY wooden wall art. You can create unique patterns or designs.
Materials used:
- Wooden slats or planks
- Saw
- Nails or screws
- Paint (optional)
- Sandpaper
Steps:
- Cut the wood pieces into the desired shape or pattern.
- Sand each piece to smooth the surfaces and edges.
- Paint or stain the pieces to add color if desired.
- Arrange the wood pieces on the wall and secure them with nails or screws.
- Enjoy your unique wooden wall art.
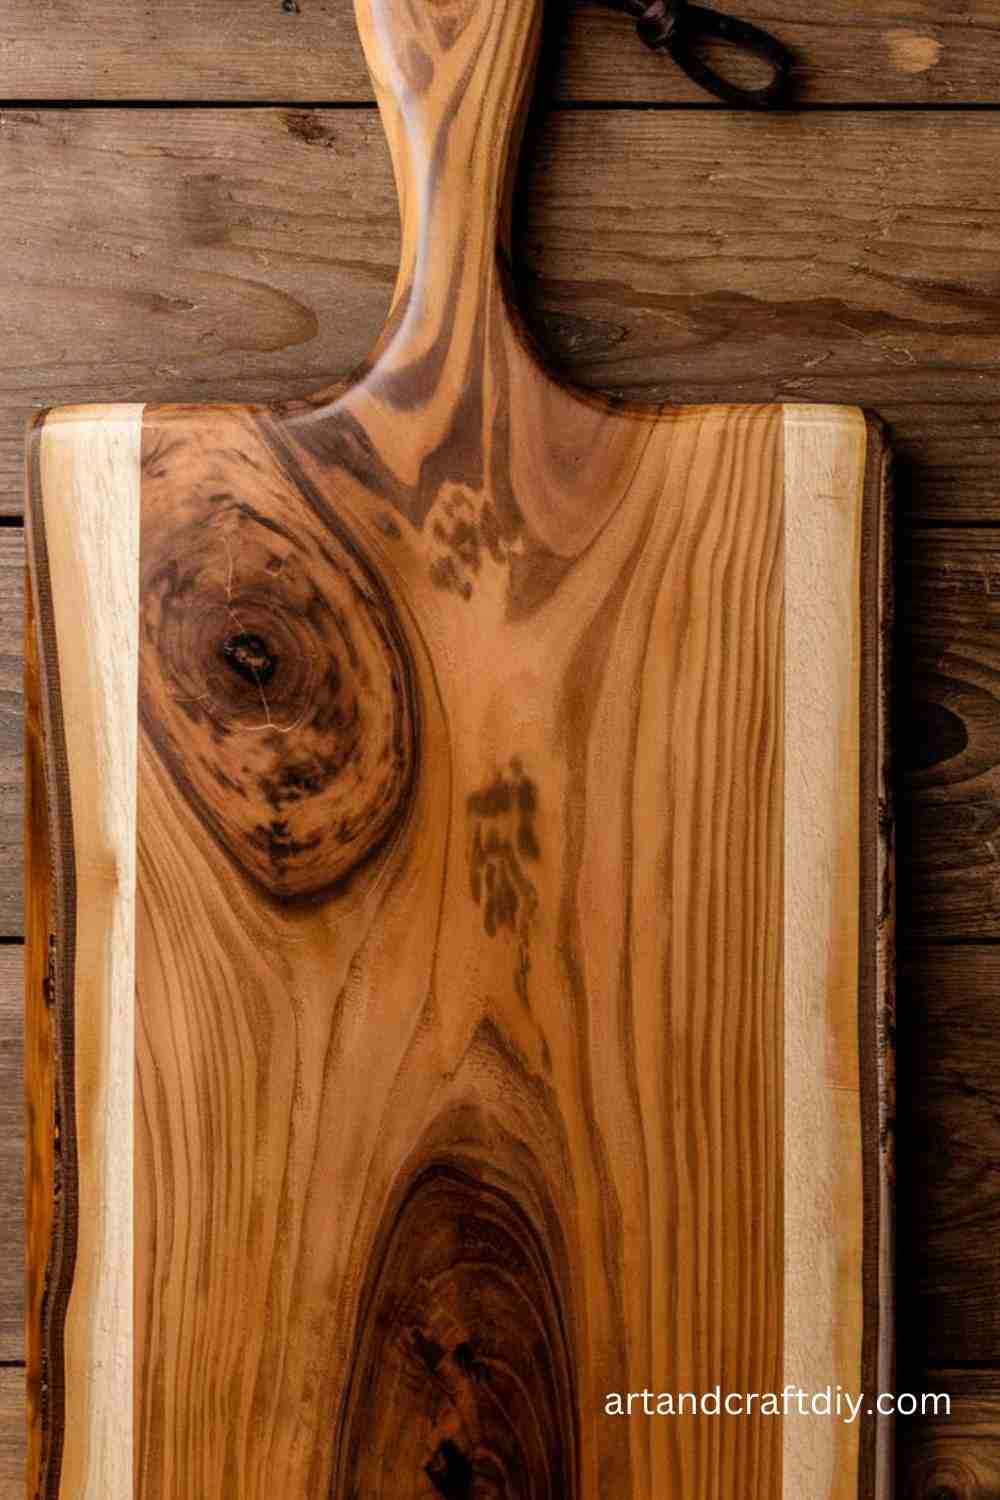
Wooden Serving Board
A wooden serving board makes for an elegant way to serve cheese, charcuterie, or snacks.
Materials used:
- Wooden plank
- Saw
- Sandpaper
- Wood stain or oil
- Handles (optional)
Steps:
- Cut the wooden plank into your desired serving board shape.
- Sand the edges and surface of the plank.
- Optionally, apply a wood stain or oil for a polished look.
- Attach handles on the sides (optional).
- Allow it to dry and use it for serving.
Wooden Candle Holder
Create a rustic candle holder to add warmth and ambiance to any room.
Materials used:
- Wooden block
- Drill
- Sandpaper
- Tea light candles or candle holders
- Paint or stain (optional)
Steps:
- Cut a wooden block to your desired size.
- Drill holes into the block to fit your candles.
- Sand the edges and surface smooth.
- Paint or stain the wood if desired.
- Place the candles in the holes and enjoy the glow.
Wooden Clock
A simple wooden clock can be a stylish addition to your home, and you can personalize it with your choice of design.
Materials used:
- Wooden circle or square
- Clock mechanism
- Numbers or markers
- Paint or stain (optional)
Steps:
- Cut a wooden circle or square for the clock base.
- Drill a hole in the center for the clock mechanism.
- Paint or stain the wood for a decorative finish.
- Attach the clock hands and mechanism.
- Add numbers or markers to indicate the time.
- Hang your clock on the wall.
Wooden Jewelry Holder
A jewelry holder can help you organize necklaces, rings, and earrings while adding a rustic look to your space.
Materials used:
- Wooden slats or sticks
- Small hooks
- Saw
- Drill
- Sandpaper
Steps:
- Cut a wooden plank for the base.
- Attach small hooks along the wood to hold necklaces.
- Sand all the pieces for a smooth finish.
- Paint or stain the wood for a personalized touch.
- Hang your jewelry on the hooks and enjoy a tidy space.
Wooden Coffee Table
This DIY wooden coffee table is a great way to add a functional and stylish centerpiece to your living room.
Materials used:
- Wooden planks
- Screws
- Saw
- Sandpaper
- Paint or stain
Steps:
- Cut the wooden planks to create the tabletop and legs.
- Sand the wood to smooth rough edges.
- Assemble the pieces using screws to form a sturdy coffee table.
- Paint or stain the table as desired.
- Let the table dry before placing it in your living room.
Wooden Wall Clock
Make a unique and personal wall clock using wood to complement your home decor.
Materials used:
- Wooden disc or square
- Clock mechanism
- Paint or stain
- Drill
Steps:
- Cut the wood into a round or square shape.
- Drill a hole in the center for the clock mechanism.
- Sand the edges for a smooth finish.
- Apply paint or stain to personalize the clock.
- Attach the clock hands and mechanism.
- Mount your clock on the wall.
Wooden Birdhouse
Build a cozy home for your feathered friends with a charming wooden birdhouse.
Materials used:
- Wooden planks
- Nails or screws
- Saw
- Drill
- Paint (optional)
Steps:
- Cut the wooden planks into pieces for the birdhouse’s walls, floor, and roof.
- Assemble the birdhouse by nailing or screwing the pieces together.
- Drill a small entrance hole for the birds.
- Sand the edges to smooth any rough spots.
- Paint the birdhouse to make it colorful and weatherproof.
- Hang it outside to attract birds.
Wooden Christmas Ornaments
Handmade wooden Christmas ornaments can be personalized for your holiday tree.
Materials used:
- Thin wooden discs
- Paint or markers
- Ribbon
- Saw (if needed)
Steps:
- Cut the wood into small disc shapes or purchase pre-cut discs.
- Sand the edges for a smooth finish.
- Paint or draw designs on the wood, such as snowflakes, trees, or stars.
- Attach a ribbon to the top for hanging.
- Place them on your Christmas tree.
Wooden Plant Stand
This plant stand can hold multiple pots, making it ideal for displaying your indoor plants.
Materials used:
- Wooden slats
- Screws
- Saw
- Sandpaper
- Wood stain or paint
Steps:
- Cut the wooden slats to create the stand frame.
- Sand all the edges and surfaces smooth.
- Assemble the pieces by attaching them with screws.
- Stain or paint the stand to match your home decor.
- Place your plants on the stand.
Wooden Wall Shelf with Hooks
Combine storage and decoration by creating a wooden shelf with built-in hooks.
Materials used:
- Wooden shelf
- Hooks
- Saw
- Drill
- Sandpaper
Steps:
- Cut the wood into a shelf size that fits your space.
- Sand the wood smooth and apply stain or paint if desired.
- Attach hooks underneath the shelf to hang small items.
- Mount the shelf on the wall using screws.
- Use the shelf for decor and the hooks for hanging items like keys.
Wooden Plant Ladder
A stylish wooden ladder can hold multiple plants, offering a vertical space-saving solution.
Materials used:
- Wooden planks
- Screws
- Saw
- Sandpaper
- Paint (optional)
Steps:
- Cut the planks into pieces for the ladder’s rungs and frame.
- Sand the edges and surfaces to smooth them.
- Assemble the frame by attaching the rungs with screws.
- Paint or stain the ladder for a polished look.
- Place the ladder against the wall and arrange your plants on it.
Wooden Mail Organizer
A wooden mail organizer helps keep your desk or entryway clutter-free.
Materials used:
- Wooden planks
- Hooks (optional)
- Saw
- Sandpaper
- Wood stain or paint
Steps:
- Cut the wooden planks to form a base, back, and sides.
- Sand the edges for a smooth finish.
- Assemble the organizer with screws.
- Add hooks underneath to hold keys or other small items.
- Stain or paint the organizer to match your space.
Wooden Window Frame Mirror
Turn an old window frame into a vintage-inspired mirror with some DIY skills.
Materials used:
- Wooden window frame
- Mirror
- Adhesive
- Saw (optional)
- Sandpaper
Steps:
- If using an old window frame, clean and sand it down.
- Cut a mirror to fit the window frame.
- Attach the mirror to the back of the frame using adhesive.
- Sand and paint the frame to your liking.
- Mount the mirror on the wall.
Wooden Serving Tray with Handles
Create a serving tray with built-in handles for serving food and drinks.
Materials used:
- Wooden plank
- Handles
- Screws
- Saw
- Sandpaper
Steps:
- Cut the wood to form the base of the tray.
- Sand the wood to smooth the surfaces.
- Attach handles on the sides of the tray.
- Stain or paint the wood if desired.
- Use the tray for serving food or drinks.
Wooden Step Stool
Make a simple wooden step stool for extra height in the kitchen or bathroom.
Materials used:
- Wooden planks
- Screws
- Saw
- Sandpaper
Steps:
- Cut the planks to form the stool’s base and steps.
- Sand the edges to make them smooth.
- Assemble the pieces with screws to create the stool.
- Optionally, paint or stain the stool.
- Use it for reaching high shelves or for extra seating.
Wooden Bird Feeder
A DIY wooden bird feeder will attract birds to your yard, especially in the winter.
Materials used:
- Wooden planks
- Nails or screws
- Saw
- Drill
- Birdseed
Steps:
- Cut the wooden planks to create the bird feeder’s base and walls.
- Assemble the pieces with screws or nails to form the feeder.
- Drill holes for hanging the feeder.
- Fill the feeder with birdseed.
- Hang the bird feeder outside and watch the birds come.
Wooden Towel Rack
A wooden towel rack is both practical and decorative, ideal for the bathroom or kitchen.
Materials used:
- Wooden board
- Towel hooks
- Saw
- Sandpaper
Steps:
- Cut the wooden board to your desired towel rack size.
- Sand the edges for a smooth finish.
- Attach hooks to the board to hold towels.
- Stain or paint the wood to match your bathroom decor.
- Mount the rack on the wall.
Wooden Pegboard
Create a custom pegboard to organize your tools, jewelry, or craft supplies.
Materials used:
- Wooden board
- Pegboard hooks
- Drill
- Saw
- Sandpaper
Steps:
- Cut the wooden board to fit your space.
- Sand the edges and surface smooth.
- Drill holes evenly across the board for the pegboard hooks.
- Attach hooks to the board to hold items.
- Mount the pegboard on the wall for storage and organization.
Wooden Spoon Rest
Make a charming spoon rest for your kitchen using wood.
Materials used:
- Wooden block
- Saw
- Sandpaper
- Paint or stain (optional)
Steps:
- Cut the wood into a rectangle or oval shape.
- Sand the wood smooth.
- Optionally, paint or stain the wood to your liking.
- Use it to rest your spoons while cooking.
Wooden Phone Stand
This phone stand will keep your device handy and upright on your desk.
Materials used:
- Wooden block
- Saw
- Sandpaper
- Drill
Steps:
- Cut a wooden block to your desired size.
- Sand the edges for a smooth finish.
- Drill a hole in the wood for your phone to rest in.
- Optionally, paint or stain the wood.
- Place your phone on the stand for easy viewing.
Wooden Plant Hanger
A wooden plant hanger can display your plants beautifully while adding character to your space.
Materials used:
- Wooden planks
- Rope or twine
- Saw
- Drill
- Sandpaper
Steps:
- Cut the wooden planks to the desired length.
- Sand the wood smooth.
- Drill holes at the top of the planks for hanging.
- Attach rope or twine to the holes for a hanging plant holder.
- Hang your plants in decorative pots
Tips for Success in Woodworking Projects
Woodworking can be an incredibly rewarding and creative hobby, but achieving professional results requires a combination of skill, attention to detail, and the right techniques. Whether you’re a beginner or an experienced woodworker, applying best practices is essential for success. Here are some essential tips to help you create beautiful and durable wood projects:
1. Importance of Measuring Accurately
Accurate measurements are the foundation of every woodworking project. Even the most experienced woodworkers know that precision is key to ensuring that parts fit together correctly and the final product looks professional.
- Use a reliable measuring tool: A tape measure or ruler is essential, but consider investing in a caliper for more precision.
- Double-check measurements: Always measure twice and cut once. This simple mantra can help you avoid costly mistakes.
- Mark your cuts clearly: Use a pencil to mark measurements on the wood clearly and consistently, avoiding confusion later in the process.
2. How to Safely Cut and Sand Wood
Cutting and sanding are the most common woodworking tasks, but they can also be the most dangerous if not done properly. Taking safety precautions and using the right tools will make these tasks easier and safer.
- Wear safety gear: Always wear safety glasses, hearing protection, and a dust mask to protect yourself from debris and noise.
- Use sharp, quality blades: A dull saw or sandpaper can cause uneven cuts and increase the risk of accidents. Always use well-maintained, sharp tools.
- Follow proper cutting techniques: When using a saw, ensure you’re cutting in the right direction, and always use a guide to keep your cuts straight. For sanders, move steadily in long strokes to avoid uneven surfaces.
3. Proper Use of Wood Glue and Fasteners
Wood glue and fasteners, such as screws, nails, and brackets, are essential for joining pieces of wood. Properly applying these materials ensures a strong, long-lasting bond.
- Use the right wood glue: Different types of wood glue work better for different projects. For example, PVA glue is ideal for indoor furniture, while waterproof glues are essential for outdoor projects.
- Clamp for best results: When using wood glue, clamp the pieces together until the glue dries. This ensures a strong bond and prevents gaps.
- Choose the right fasteners: Screws and nails come in various sizes and materials. Use screws for a stronger hold and nails for faster, lighter construction.
FAQ
What are the basic tools needed for DIY wood crafts?
To get started with DIY wood crafts, you’ll need basic tools such as a saw (hand or power), a hammer, nails, a drill, measuring tape, a level, sandpaper, wood glue, clamps, and paint or stain for finishing.
How do I choose the right wood for DIY Wood Crafts?
The best wood for your project depends on its purpose. Softwoods like pine, cedar, and fir are easier to work with and cost less, making them great for beginners. Hardwoods like oak, maple, or walnut are durable but may be more challenging to cut and finish.
Can I make DIY Wood Crafts without using power tools?
Yes, many DIY Wood Crafts can be completed using only hand tools. A hand saw, hammer, and manual drills or screwdrivers are sufficient for smaller projects like picture frames, shelves, or simple furniture.
What safety precautions should I take while working with wood?
Always wear safety glasses and hearing protection when using power tools. Ensure your workspace is well-ventilated if you’re using paint or stain. Keep tools sharp, and always cut away from your body. Use clamps to secure wood while cutting or drilling.

Hi, I’m Victoria, an art and craft teacher at Newark City Schools, where I have the joy of working with middle school students to help them explore their creativity and develop their artistic talents. I believe that art is a powerful way for students to express themselves, and I strive to make every lesson a fun, engaging, and inspiring experience.
I created this website to share the art and craft projects, techniques, and resources that I use in my classroom, hoping to inspire both educators and young artists alike. Whether you’re a teacher looking for new ideas or a student eager to try something new, I’m excited to provide creative tools and projects that anyone can enjoy.
When I’m not in the classroom, I love experimenting with different art forms and learning new crafting techniques. My goal is to help others discover the joy of making things with their hands, and I hope my website serves as a space for everyone to explore their creative potential.