
Last autumn, I remember sitting at the kitchen table with my niece, paintbrushes everywhere, and a pile of crunchy leaves we’d collected earlier that morning. She dipped her brush into bright orange paint, looked up at me, and said, “This is more fun than cartoons.” And honestly? She was right. There’s just something magical about autumn painting ideas for kids—it’s messy, colorful, and somehow calming all at once. If you’ve ever struggled to keep little ones entertained when the weather turns chilly, I get it. The days feel shorter, the energy’s all over the place, and sometimes you just need an easy project that sparks joy without a ton of prep. That’s where these creative, kid-friendly painting ideas come in. We’ll talk about using leaves, pumpkins, even fingers (yes, finger painting is still a hit). By the end, you’ll have plenty of fun, simple ways to turn fall afternoons into little bursts of art and memory-making.
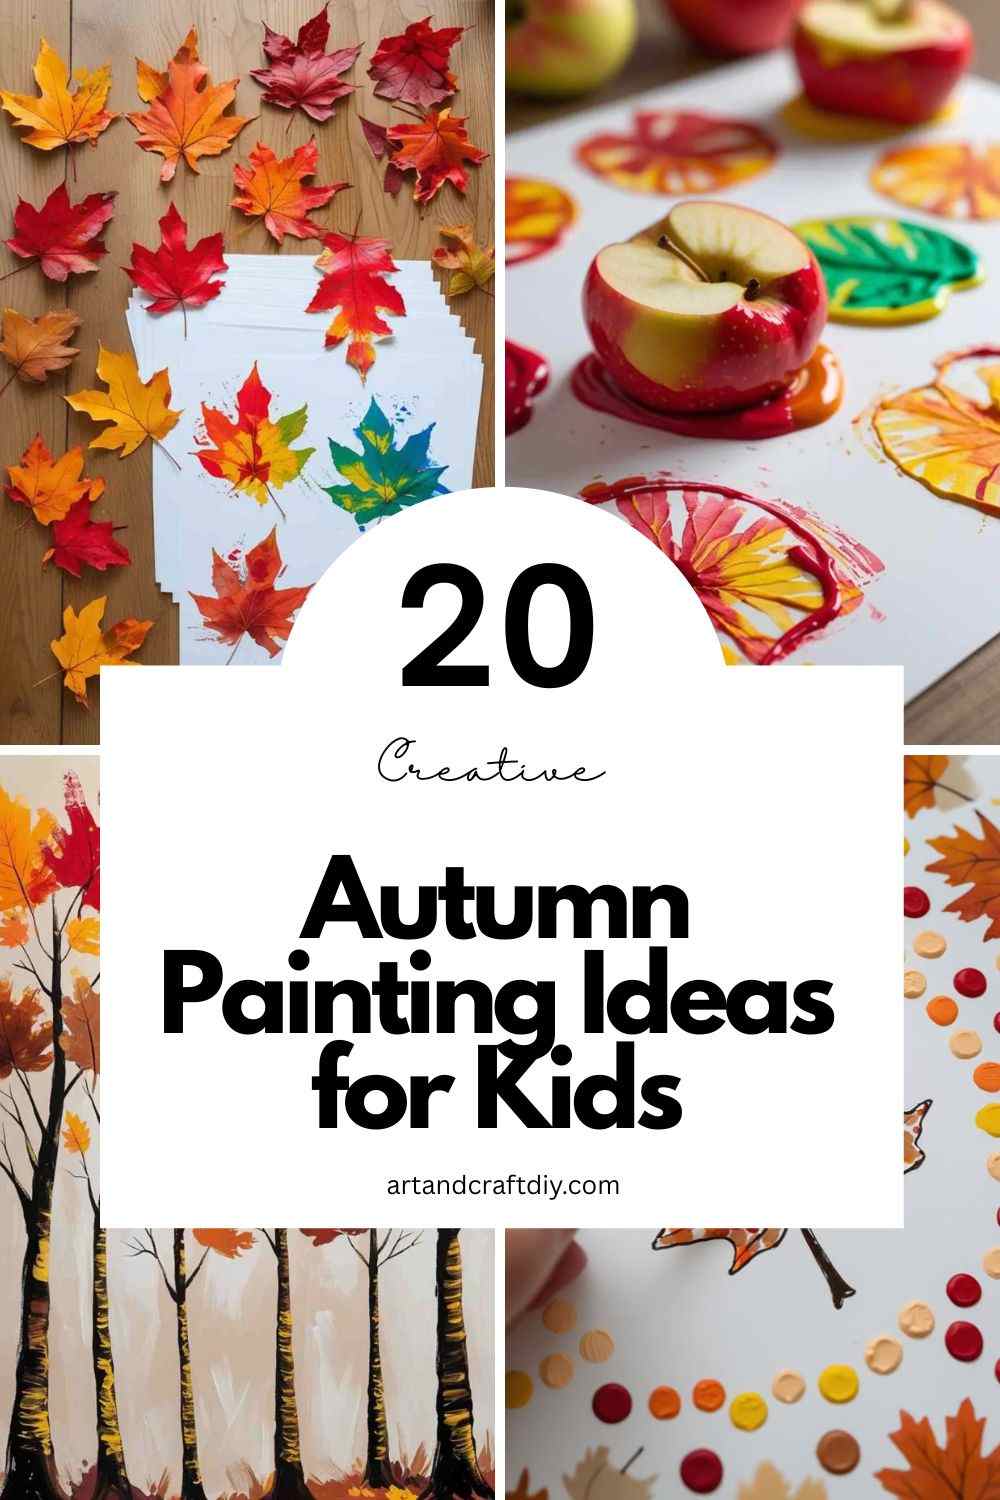
Autumn Painting Ideas for Kids
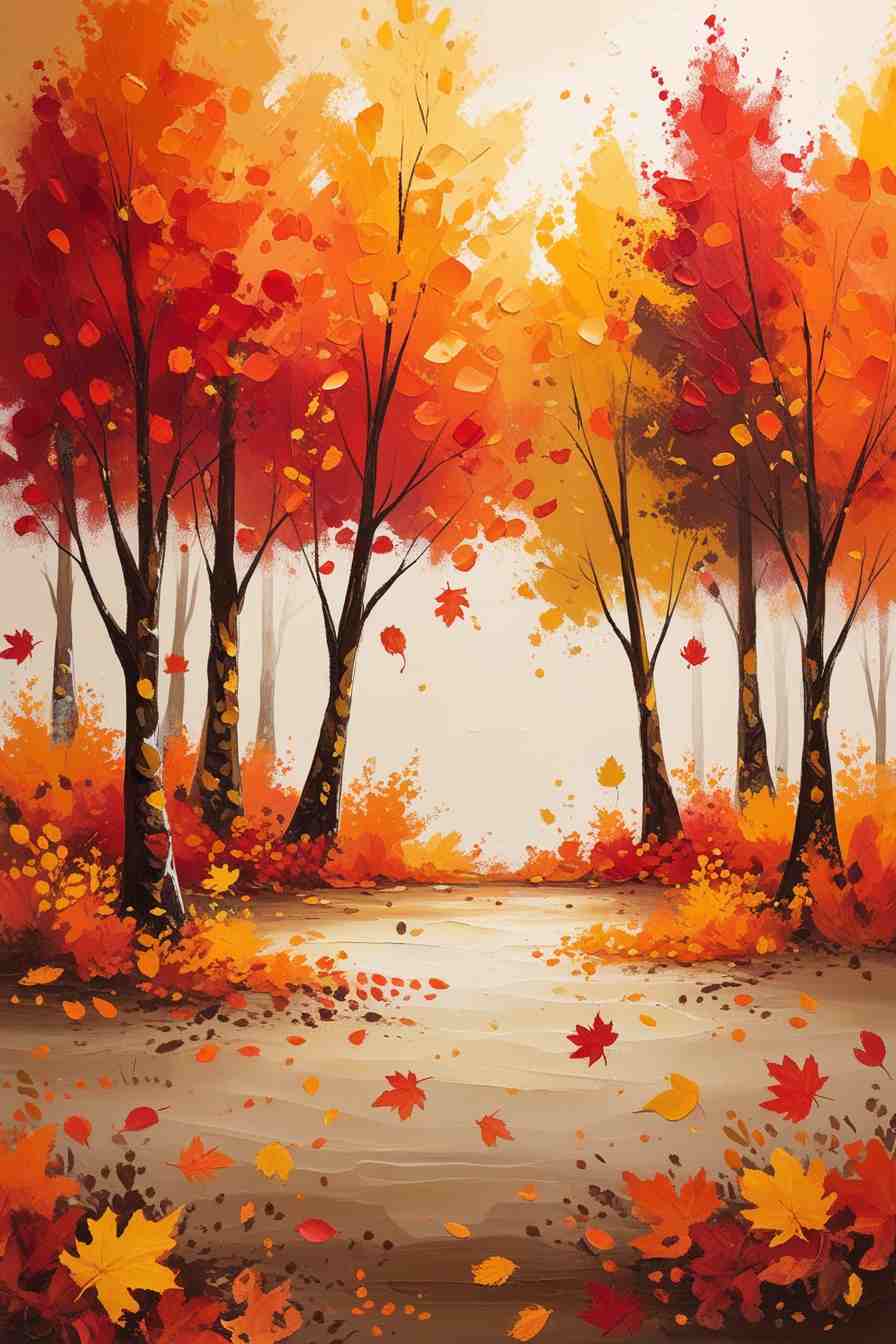
Autumn Painting Ideas for Kids are a fun way to explore art using fall’s beautiful colors and nature. These activities inspire creativity and help children enjoy sensory play with leaves, pumpkins, and more.
Leaf Stamping with Paint
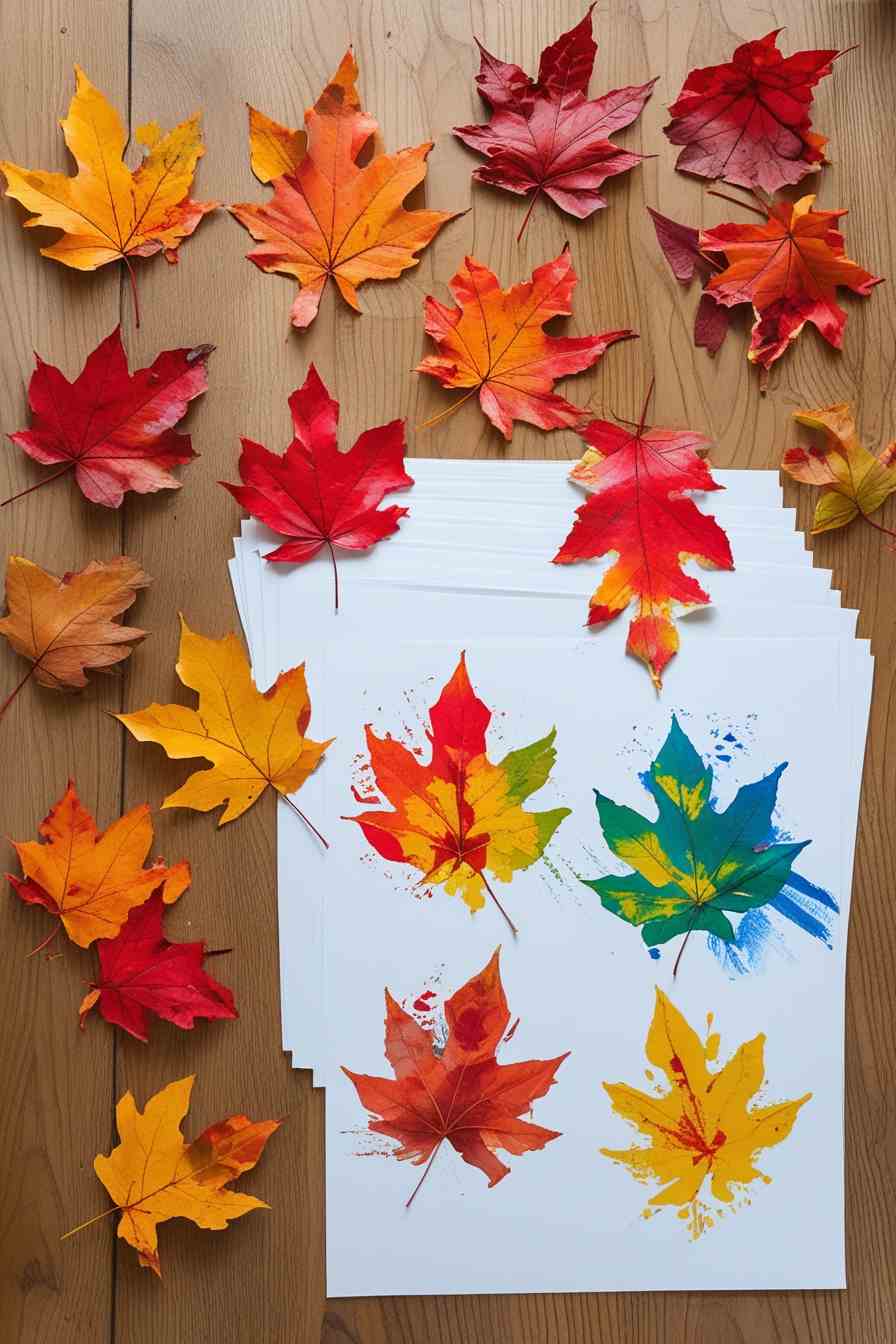
One of the simplest but honestly most magical autumn crafts I’ve ever done with kids is leaf stamping. There’s something about running outside, scooping up those crunchy, colorful leaves, and then bringing them inside to turn into art. I still remember the first time I tried it with my niece—she came back with arms full of leaves, way more than we needed, but her excitement was so contagious I didn’t stop her. The funny part? She insisted every single leaf had a “special pattern” that we had to try. And you know what? She was kind of right.
To do this, I just set out a few washable paints, paper plates for palettes, and some sturdy white paper. Kids love brushing paint on the leaves and pressing them down like stamps. The best part is when they lift the leaf and see those little veins and shapes left behind—it feels like a mini science experiment and art project rolled into one. In my opinion, it’s one of those activities where even the “oops” moments turn out looking beautiful.
-
Collect different shapes and sizes of leaves from outside.
-
Use fall-colored paints like red, orange, yellow, and brown.
-
Lightly press the leaves in paint to avoid messy blobs.
-
Gently press the leaf onto the paper and peel it off to see the print.
-
Make a pattern or collage with different leaf prints.
Pumpkin Patch Painting
Now, pumpkin patch painting has been my go-to autumn activity for years. And no, I don’t mean painting on pumpkins (though that’s fun too), I mean painting your own little pumpkin patch on paper. What I love about this is that it gives kids the freedom to play with shades of orange, green, and even a bit of brown without worrying about “staying inside the lines.” I once set this up for a rainy-day playdate, and the kids ended up making what they called “pumpkin families”—some big, some tiny, all with funny faces. It cracked me up, but also showed how painting gives them room to invent their own stories.
The trick, in my experience, is to let kids mix their own oranges by blending red and yellow. They feel like little scientists when the color shifts. And adding curly green vines is always a hit—it’s those little swirls that make the whole painting come alive. If you put a bunch of these side by side, you honestly feel like you’re looking at a cheerful pumpkin patch. It’s messy, sure, but it’s the kind of mess worth having.

-
Use round sponge brushes or cut potatoes for pumpkin shapes.
-
Mix shades of orange for a realistic look.
-
Add details like stems and curly vines using thin brushes.
-
Let kids paint other patch items like hay bales or scarecrows.
-
Display their work as part of fall decor.
Apple Print Painting
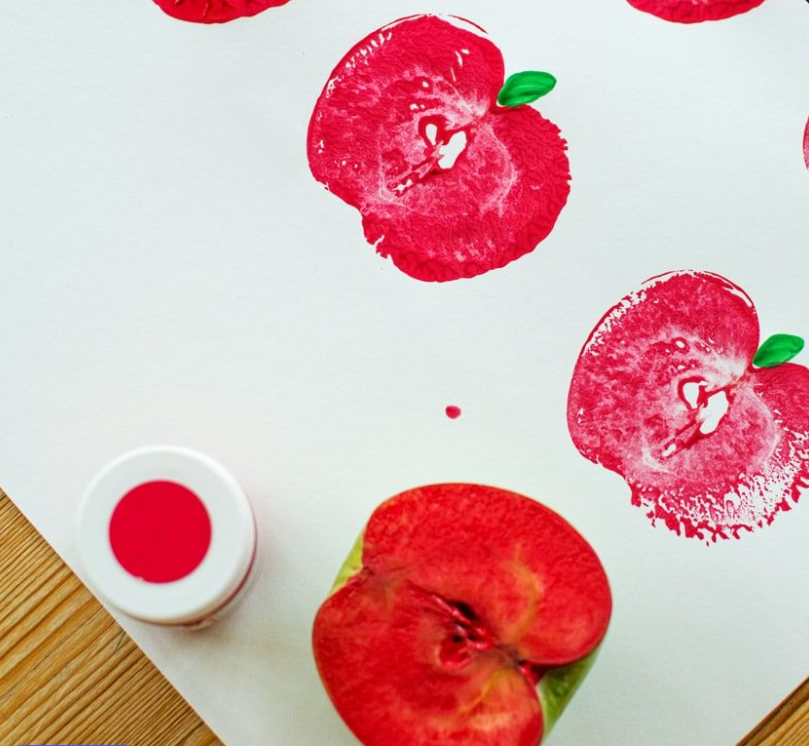
Apple print painting is another favorite, and it always reminds me of the first autumn I tried it in a classroom setting. The kids were so excited about cutting apples in half and dipping them in paint, but to be fair, I underestimated just how many times they’d want to repeat it. We went through an entire bag of apples that day—no regrets though, because the artwork turned out amazing. The little apple shapes stamped across paper almost looked like patterns for fabric.
What I’ve found works best is slicing apples in half (both top to bottom and across the middle so you get that star shape with the seeds). Kids love the surprise of the seed star—like a secret design hiding inside. Then you just dip the apple into paint and press it onto paper. It’s so satisfying. Sometimes we’d turn them into apples, sometimes into flowers, and sometimes just abstract patterns. In my opinion, it’s one of those crafts that never really gets old, no matter how many times you try it.
-
Cut apples in half and pat them dry with a towel.
-
Stick a fork in the back for easy gripping.
-
Use washable paint to keep it kid-friendly.
-
Create patterns or a basket of painted apples.
-
Add leaves or stems with a paintbrush.
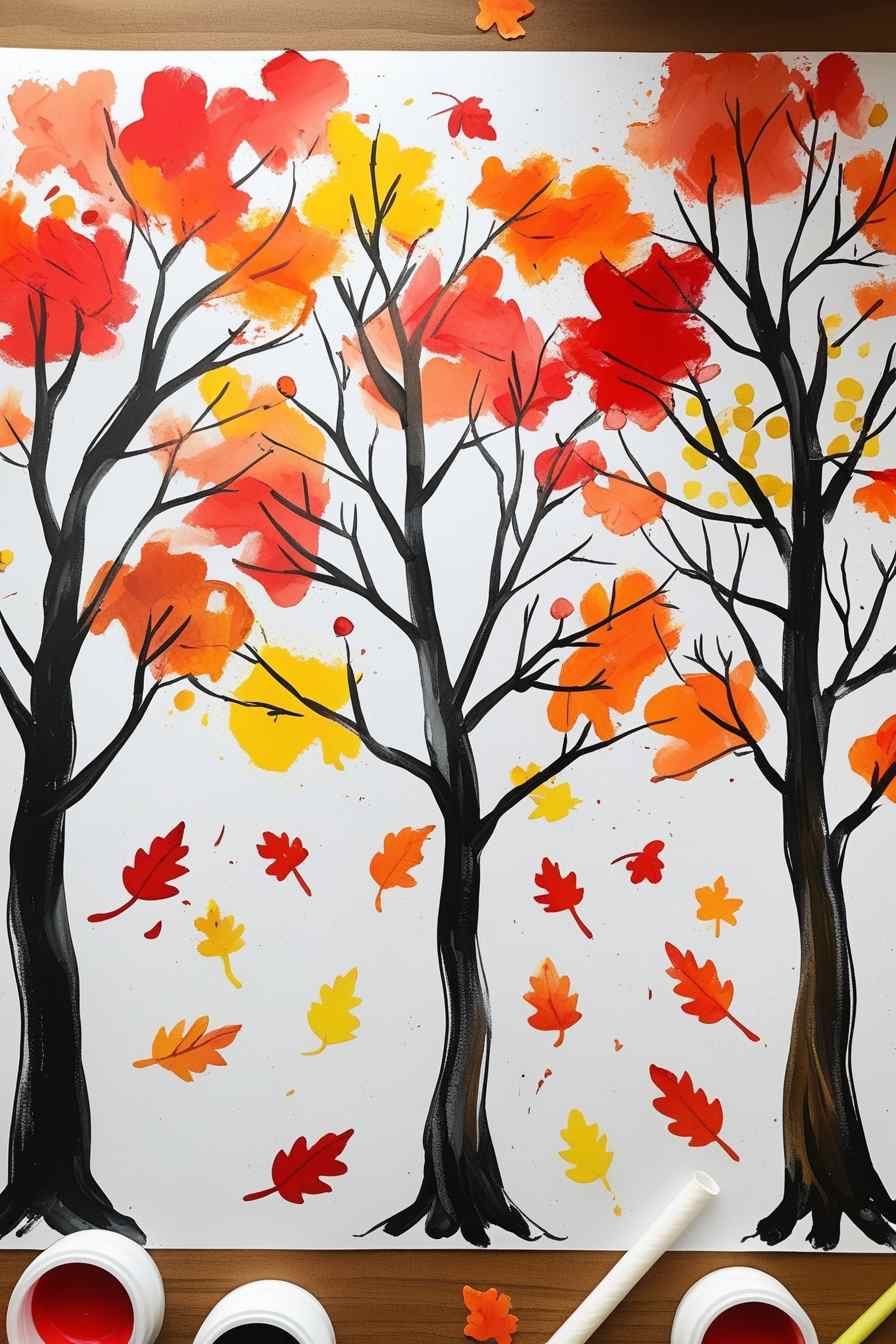
Finger Painted Fall Trees
Finger painting is messy but fun! Kids can paint fall trees using just their hands and fingers. The tree trunk can be painted with a brush, while the leaves are added with colorful fingerprints. This lets kids explore textures and colors up close.
-
Use brown paint to make the tree trunk and branches.
-
Dip fingers in red, orange, yellow, and gold for leaves.
-
Layer the colors for a full tree effect.
-
Try finger painting a windy or rainy fall day too.
-
Hang them as a fall tree wall gallery.
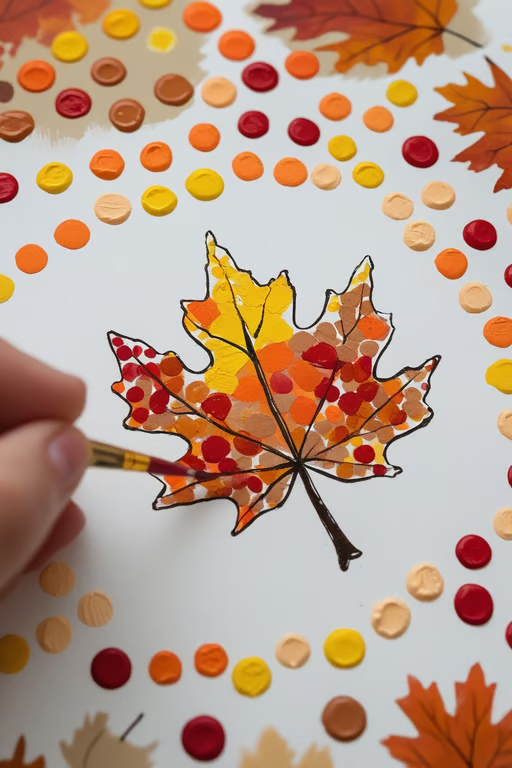
Q-tip Dot Painting Leaves
Dot painting with Q-tips helps kids improve hand control while creating detailed fall leaves. They can outline a leaf shape and fill it with dots in autumn colors. It’s peaceful, focused, and fun!
-
Draw or trace a leaf shape on thick paper.
-
Use Q-tips to make colorful dot patterns.
-
Pick 3–4 fall colors for variety.
-
Encourage pattern making like stripes or spirals.
-
Let the paint dry fully before hanging.
Sponge Dab Foliage Art
Sponge painting creates a soft, dabbed effect perfect for fall trees or landscapes. Kids can dab sponges in paint to create leaves, ground cover, or a sky. It’s a forgiving technique and works for all ages.
-
Cut sponges into small shapes or leaf patterns.
-
Dab lightly to avoid smearing the paint.
-
Use a paper plate as a paint palette.
-
Layer colors to make trees look fuller.
-
Try dabbing white paint for fog or morning mist.
Pinecone Painting
Pinecones are a fun natural tool for painting. Kids can roll them in paint or use them as brushes. The texture makes cool patterns, and the activity feels very hands-on. It’s a great way to use nature in art.
-
Collect pinecones during a nature walk.
-
Use a tray to contain the mess.
-
Roll pinecones through paint and across paper.
-
Use them as stamps or paint them entirely.
-
Try metallic paints for a sparkly fall look.
Acorn Cap Painting
Acorn caps can be used as mini stamps or dipped and rolled to make circular shapes. Kids enjoy the small size and the texture it gives to art. This painting idea also teaches about different fall seeds and nuts.
-
Clean and dry the acorn caps first.
-
Dip them in fall colors and stamp gently on paper.
-
Make patterns or group them into tree shapes.
-
Add glitter glue for sparkle.
-
Talk about how acorns grow into oak trees.
Blow Painting Autumn Trees
Using a straw to blow paint creates fun and unexpected shapes! Kids can create tree branches or falling leaves by blowing paint across the paper. It’s playful and full of surprises.
-
Use watered-down paint for easier blowing.
-
Place small paint drops before blowing.
-
Blow gently in different directions for branch-like shapes.
-
Add a painted trunk after the branches dry.
-
Use warm fall colors for a seasonal look.
Twig Brush Painting
Turn twigs into natural paintbrushes! Just tie a bunch of grass or leaves to one end and dip it in paint. It adds texture and makes painting extra fun. Kids love using tools they made themselves.
-
Gather small twigs and natural materials like grass or leaves.
-
Tie the ends with string or rubber bands to make a brush.
-
Dip the brush into paint and drag it across paper.
-
Try layering colors with different twig types.
-
Use twigs to create bark textures or leaf patterns.
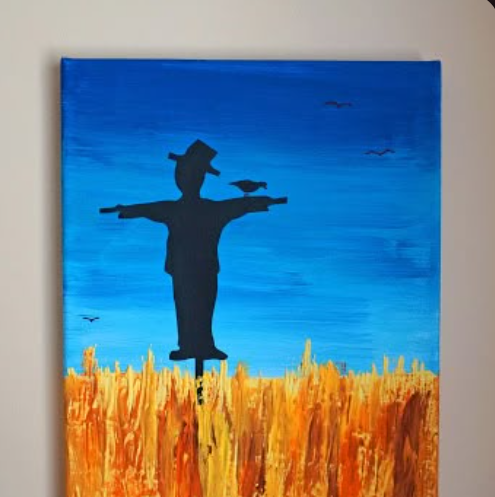
Scarecrow Silhouette Art
Scarecrows are a big part of fall! Kids can paint a colorful sunset background and add a black scarecrow silhouette over it. It’s a great way to learn contrast and shading.
-
Paint a sunset using warm colors like red, orange, and yellow.
-
Let the background dry before adding the scarecrow.
-
Use black paint or cut-out paper for the silhouette.
-
Add details like a hat or crows.
-
Display as spooky or friendly art.
Pumpkin Face Painting
Instead of carving real pumpkins, kids can paint silly or spooky faces on paper pumpkins. This is perfect for younger children and a safe alternative to carving. It also lets them design many different faces.
-
Draw or print pumpkin outlines to paint on.
-
Use black paint for eyes, mouth, and nose.
-
Add extra decorations like glitter or sequins.
-
Let kids come up with funny or scary faces.
-
Make a pumpkin face banner for the wall.
Fall Sky and Tree Silhouettes
This painting focuses on the beauty of bare trees against a fall sky. Kids paint a glowing sunset or twilight background, then add black tree silhouettes for contrast. It’s great for practicing patience and detail.
-
Use watercolor or acrylic for the sky.
-
Blend colors like orange, pink, purple, and blue.
-
Wait until the sky dries completely.
-
Paint or draw tree branches in black.
-
Add birds, leaves, or stars if desired.
Corn Painting with Bubble Wrap
Use bubble wrap to mimic the texture of corn kernels! It’s a fun sensory activity that gives great results. Kids can make painted corn cobs to decorate the classroom or home.
-
Cut bubble wrap into corn shapes or rectangles.
-
Paint the bubble side and press onto paper.
-
Add a green husk with paint or paper.
-
Use yellow, orange, and red for the kernels.
-
Try layering prints for fuller cobs.
Painted Fall Wreath
Kids can create a fall wreath on paper by painting leaves, acorns, and berries in a circular pattern. This project makes beautiful seasonal artwork for doors or walls. It teaches pattern, repetition, and symmetry.
-
Draw a large circle on paper or cardboard as a base.
-
Paint individual fall items and arrange them around the circle.
-
Use stamps, brushes, or fingers to add texture.
-
Add a bow or name tag in the center.
-
Hang it up as a festive fall decoration.
Displaying Their Art
After kids have finished their beautiful Autumn Painting Ideas, it’s time to show them off! Displaying their artwork not only boosts their confidence but also makes the season feel more festive. Whether at home or in the classroom, there are many simple and fun ways to showcase fall-themed creations. You can even turn their paintings into thoughtful gifts for friends and family.
-
Use simple frames or clipboards to hang art on walls — it makes the paintings feel special and important.
-
Create a fall-themed gallery in a hallway, classroom, or on a bulletin board using leaf garlands or paper pumpkins for decoration.
-
Hang artwork with clothespins and string across a wall or window for a cozy, seasonal display.
-
Turn paintings into greeting cards or bookmarks to gift to loved ones during autumn festivals or Thanksgiving.
-
Laminate or protect favorite pieces to reuse them as table decorations, placemats, or classroom posters.
-
Group similar art together — like leaf stamps, tree paintings, or pumpkin art — to create themed sections in your gallery.
FAQ
What age group are these autumn painting ideas best for?
These ideas are suitable for kids of all ages, from toddlers to elementary school children. Some projects can be simplified for younger kids or made more detailed for older ones.
What materials do I need for Autumn Painting Ideas for Kids?
Basic supplies include washable paints (tempera or acrylic), paintbrushes, paper or canvas, and natural items like leaves, pinecones, and twigs. You can also use sponges, Q-tips, and straws for special techniques.
How can I keep the painting area clean?
Use aprons or old clothes for kids, cover tables with newspaper or plastic sheets, and have wet wipes or a damp cloth handy for quick clean-ups.
Can these painting ideas be done indoors and outdoors?
Yes! Many of these projects work well both indoors and outdoors. Outdoor painting can be less messy and offers easy access to natural materials.

Hi, I’m Victoria, an art and craft teacher at Newark City Schools, where I have the joy of working with middle school students to help them explore their creativity and develop their artistic talents. I believe that art is a powerful way for students to express themselves, and I strive to make every lesson a fun, engaging, and inspiring experience.
I created this website to share the art and craft projects, techniques, and resources that I use in my classroom, hoping to inspire both educators and young artists alike. Whether you’re a teacher looking for new ideas or a student eager to try something new, I’m excited to provide creative tools and projects that anyone can enjoy.
When I’m not in the classroom, I love experimenting with different art forms and learning new crafting techniques. My goal is to help others discover the joy of making things with their hands, and I hope my website serves as a space for everyone to explore their creative potential.