
Cardboard crafting is a versatile and engaging activity that appeals to people of all ages, offering a wide range of creative possibilities. This type of crafting is not only accessible and affordable but also promotes creativity and imagination, making it a great choice for everyone, from young children to adults. As an eco-friendly and sustainable material, cardboard allows individuals to explore crafting while being mindful of the environment. It’s easy to handle, safe for kids with proper adult supervision, and provides a rewarding challenge for adults, allowing them to create intricate designs and projects. Whether for fun, education, or artistic expression, cardboard crafting brings out the best in crafters of all skill levels.
Cardboard crafting offers a unique blend of simplicity and complexity that makes it perfect for a wide range of age groups and skill levels. For children, it provides an excellent outlet for hands-on learning and development, helping them improve fine motor skills, spatial awareness, and problem-solving abilities. As they cut, fold, and glue, they also build their ability to follow instructions, think critically, and engage in imaginative play. Plus, it’s a great way to bond with family or friends as they work together to create fun projects like cardboard toys, games, or decorations.
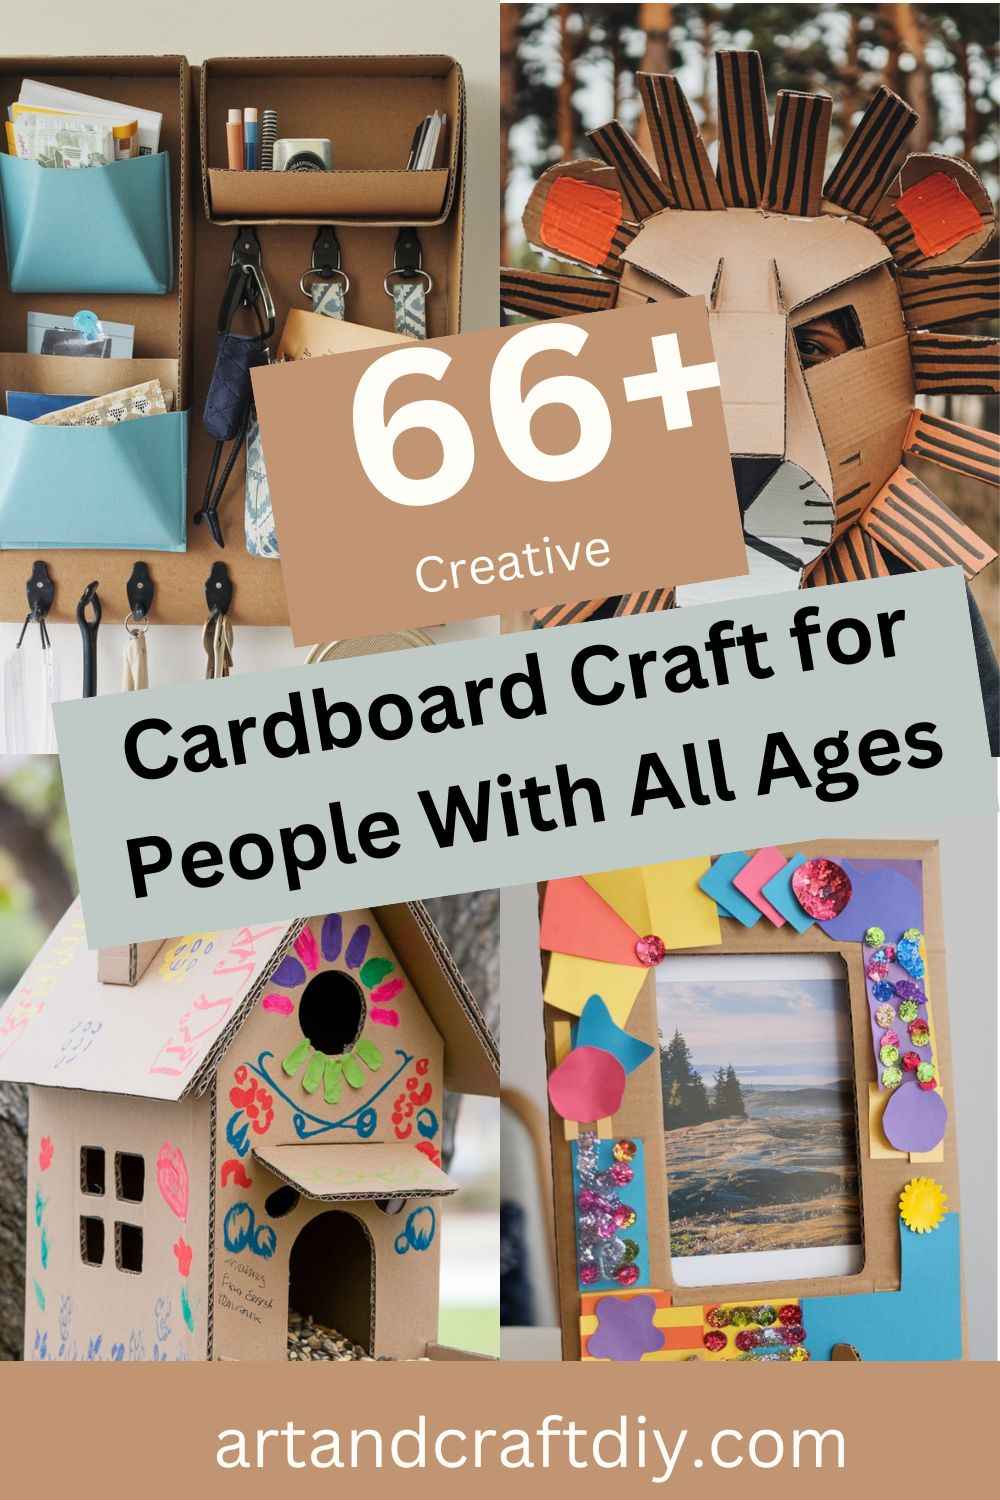
Cardboard Craft for People With All Ages
Cardboard Craft for People With All Ages is a fun and creative activity that involves using cardboard to create various projects, from simple decorations to intricate sculptures. It’s an accessible hobby for people of all ages, as cardboard is inexpensive, easy to work with, and widely available. Whether you’re a child making a toy, a teen creating an art piece, or an adult building practical items or artwork, cardboard craft offers endless possibilities. It encourages imagination, fine motor skills, and problem-solving, making it a great way to express creativity and engage in hands-on activities.
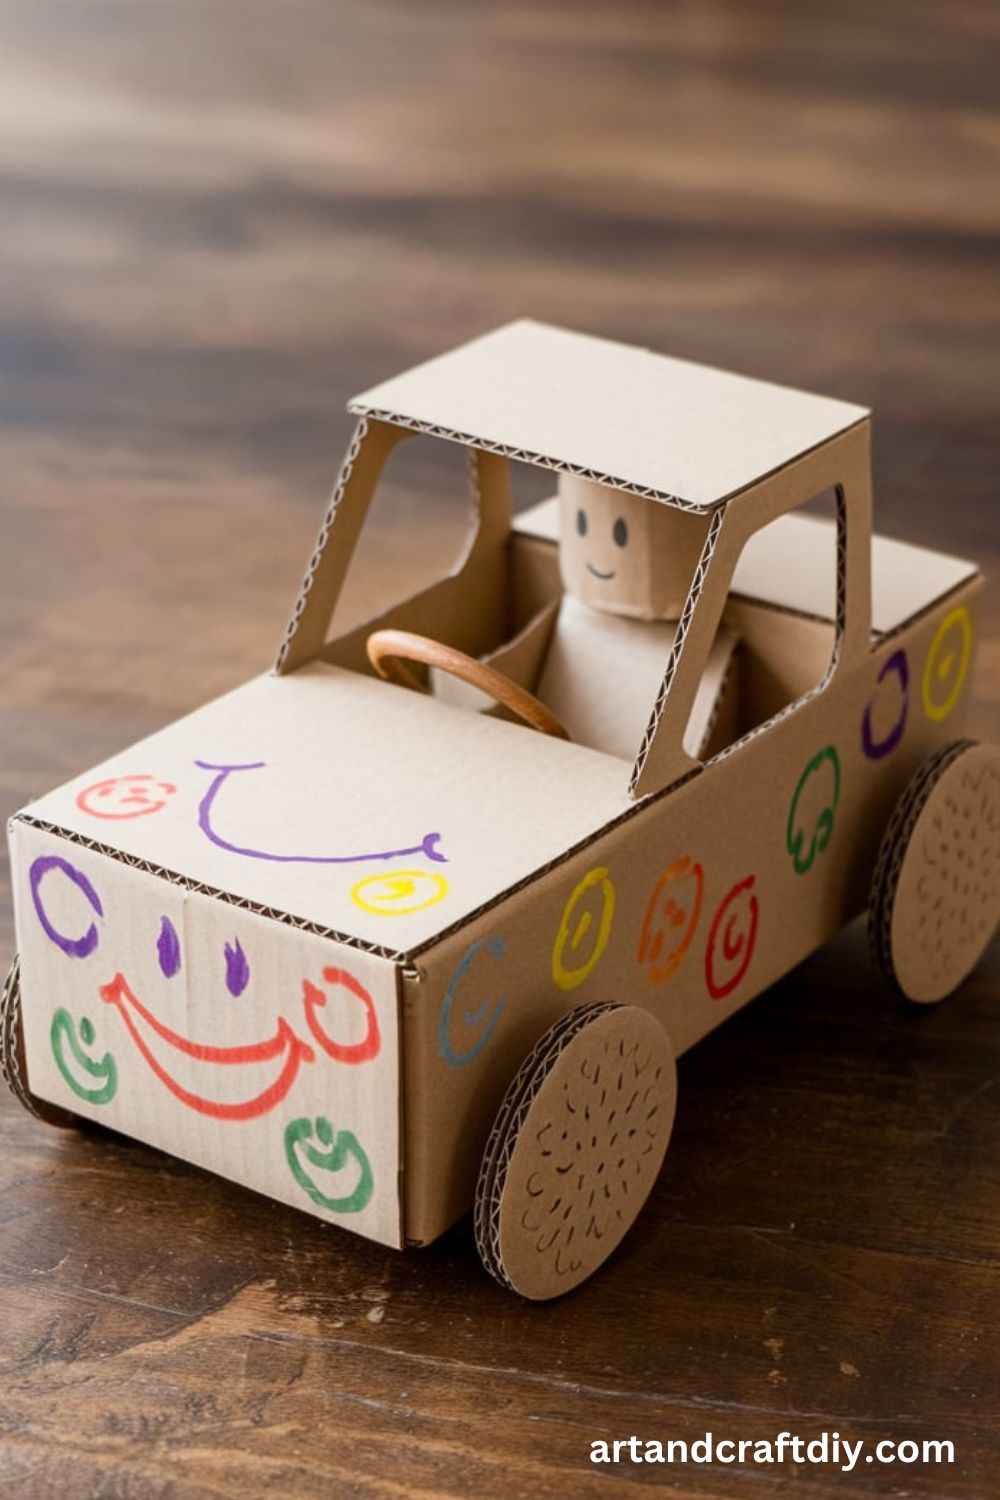
Cardboard Toy Car
This is a fun and easy craft for children and adults alike. You can create a simple cardboard toy car using materials you likely already have around the house.
Materials:
- Cardboard
- Scissors
- Glue or tape
- Markers, crayons, or paint
- Bottle caps (for wheels)
Steps:
- Cut out two rectangular pieces of cardboard for the body of the car.
- Cut out smaller rectangular pieces for the wheels.
- Attach the wheels (bottle caps) to the sides of the body using glue or tape.
- Decorate the car with colors and patterns using markers or paint.
- Allow it to dry before playing with it.
Cardboard Jewelry Box
A cardboard jewelry box is a perfect storage solution. It’s a creative way to keep your jewelry organized while making something special.
Materials:
- Cardboard
- Ruler
- Scissors
- Glue
- Decorative paper (optional)
- Ribbon or string
Steps:
- Cut out four pieces of cardboard to form the sides and bottom of the box.
- Cut out a lid that fits snugly on top.
- Glue the sides together to form the box, then attach the lid.
- Optionally, decorate the box with decorative paper or paint.
- Add a ribbon or string for extra decoration.
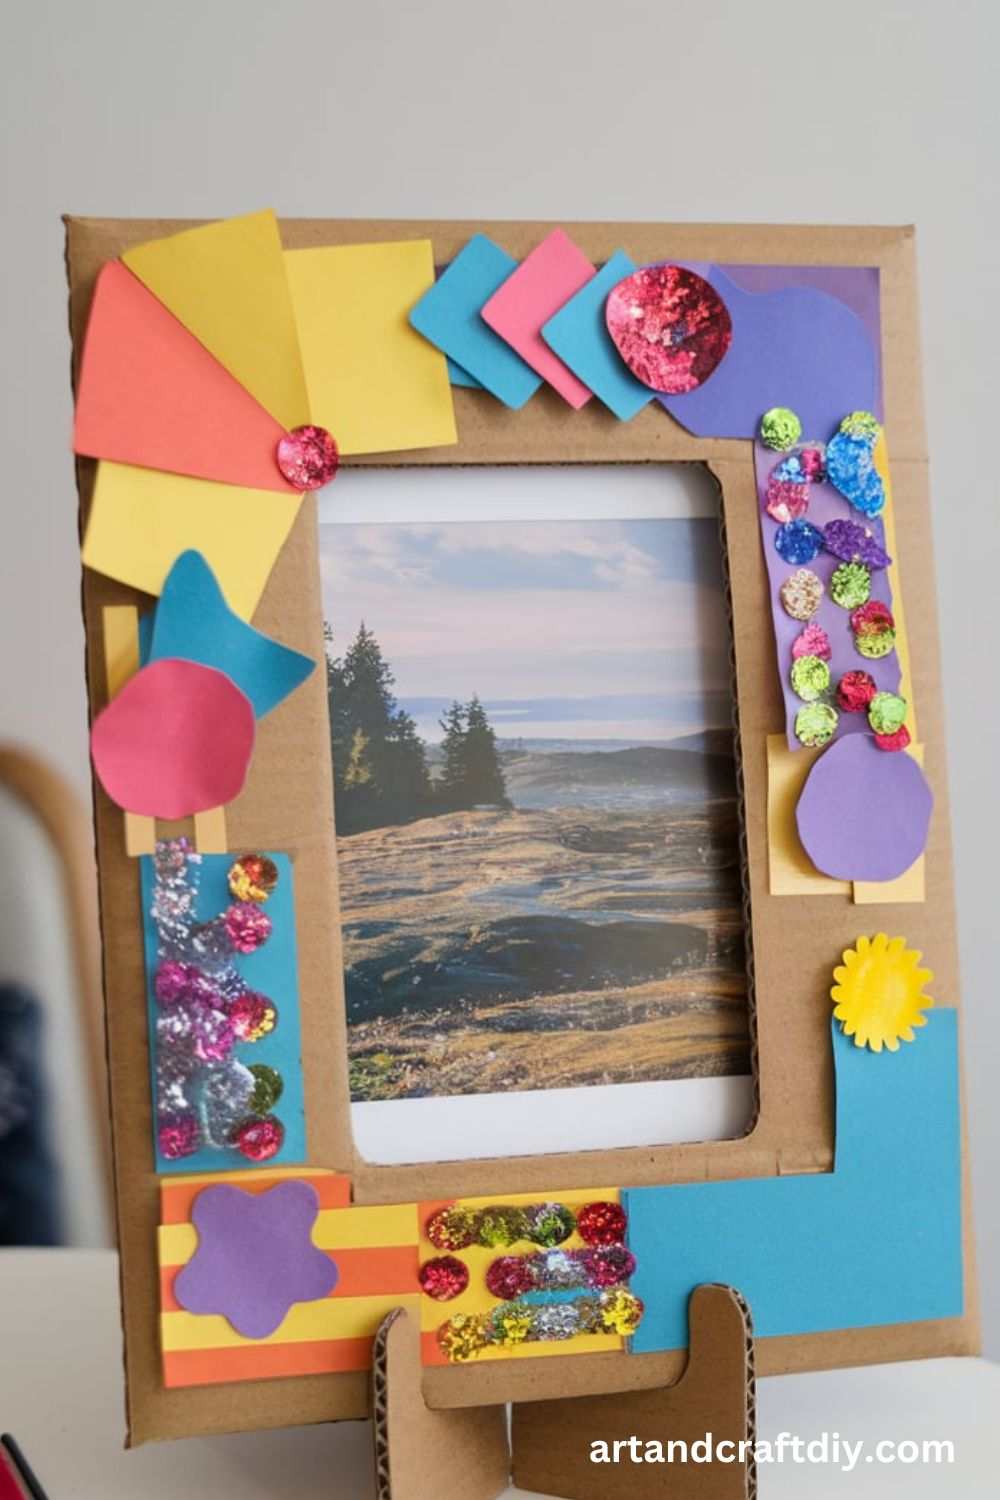
Cardboard Picture Frame
Make a personalized picture frame from cardboard! It’s an easy project that can add a personal touch to your photos.
Materials:
- Cardboard
- Scissors
- Glue
- Decorations (buttons, beads, glitter)
Steps:
- Cut out a rectangular piece of cardboard for the frame.
- Use another piece to cut out the inner rectangle for the photo space.
- Decorate the outer part of the frame with buttons, beads, or glitter.
- Attach the photo to the back and mount it with glue or tape.
- Display your frame!
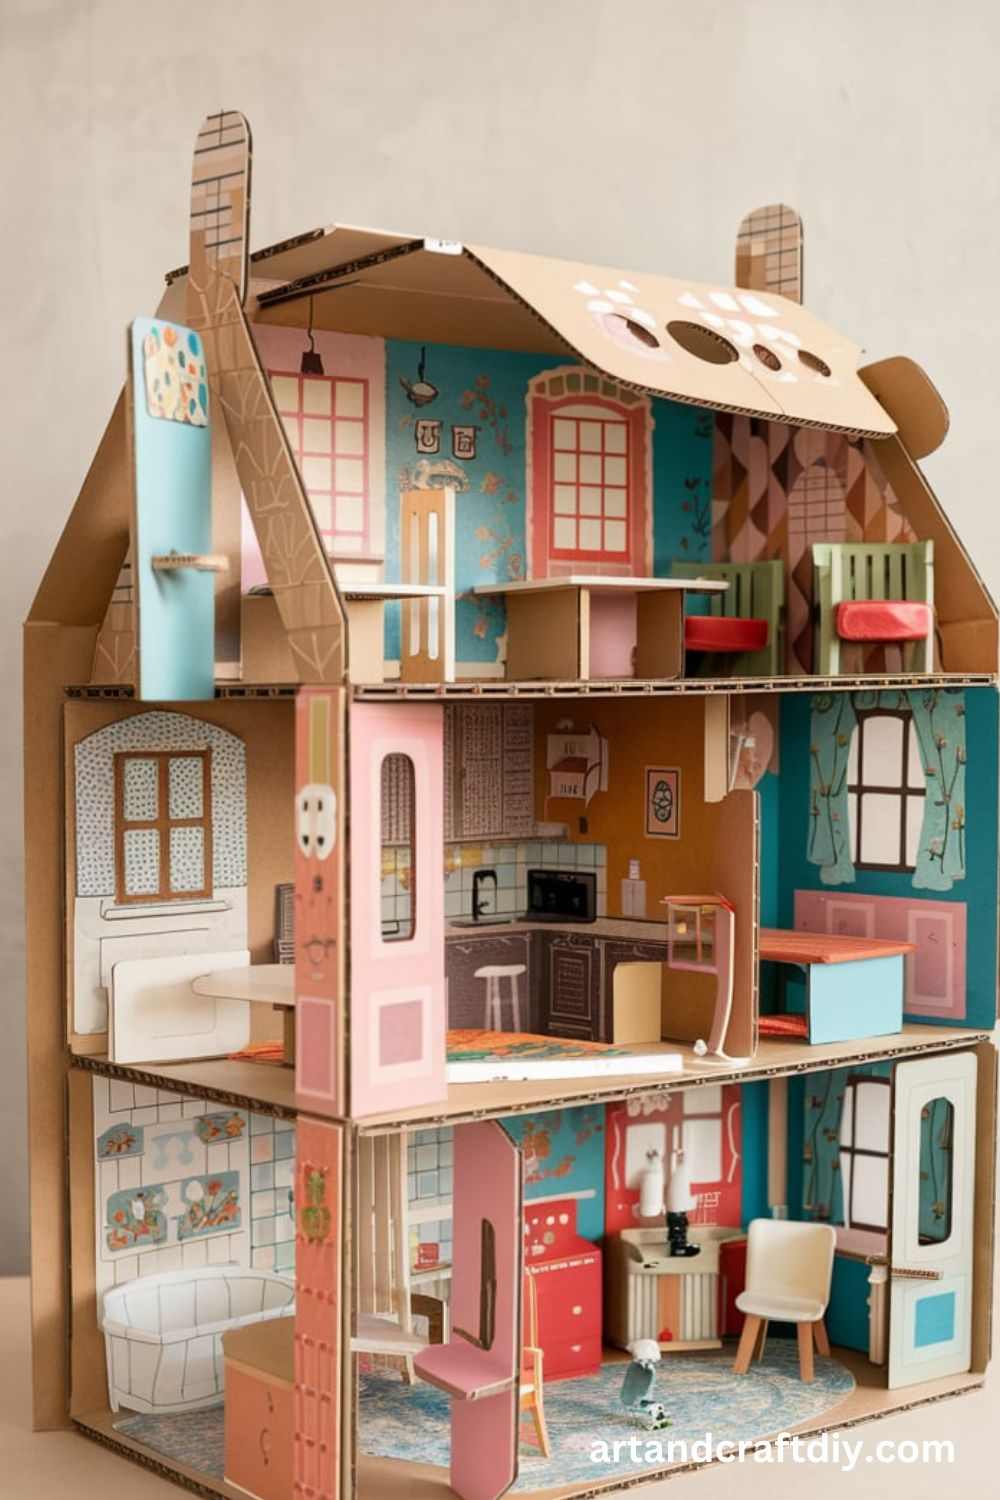
Cardboard Dollhouse
This cardboard dollhouse is a fantastic project for both kids and adults who love crafting miniature items.
Materials:
- Cardboard
- Scissors
- Glue
- Paint
- Decorative items (fabric scraps, markers, stickers)
Steps:
- Cut out several cardboard pieces to form the walls, floor, and roof of the dollhouse.
- Glue the walls together, creating rooms.
- Paint the interior and exterior, adding details such as windows and doors.
- Decorate the interior with fabric scraps for furniture and use markers or stickers for extra design.
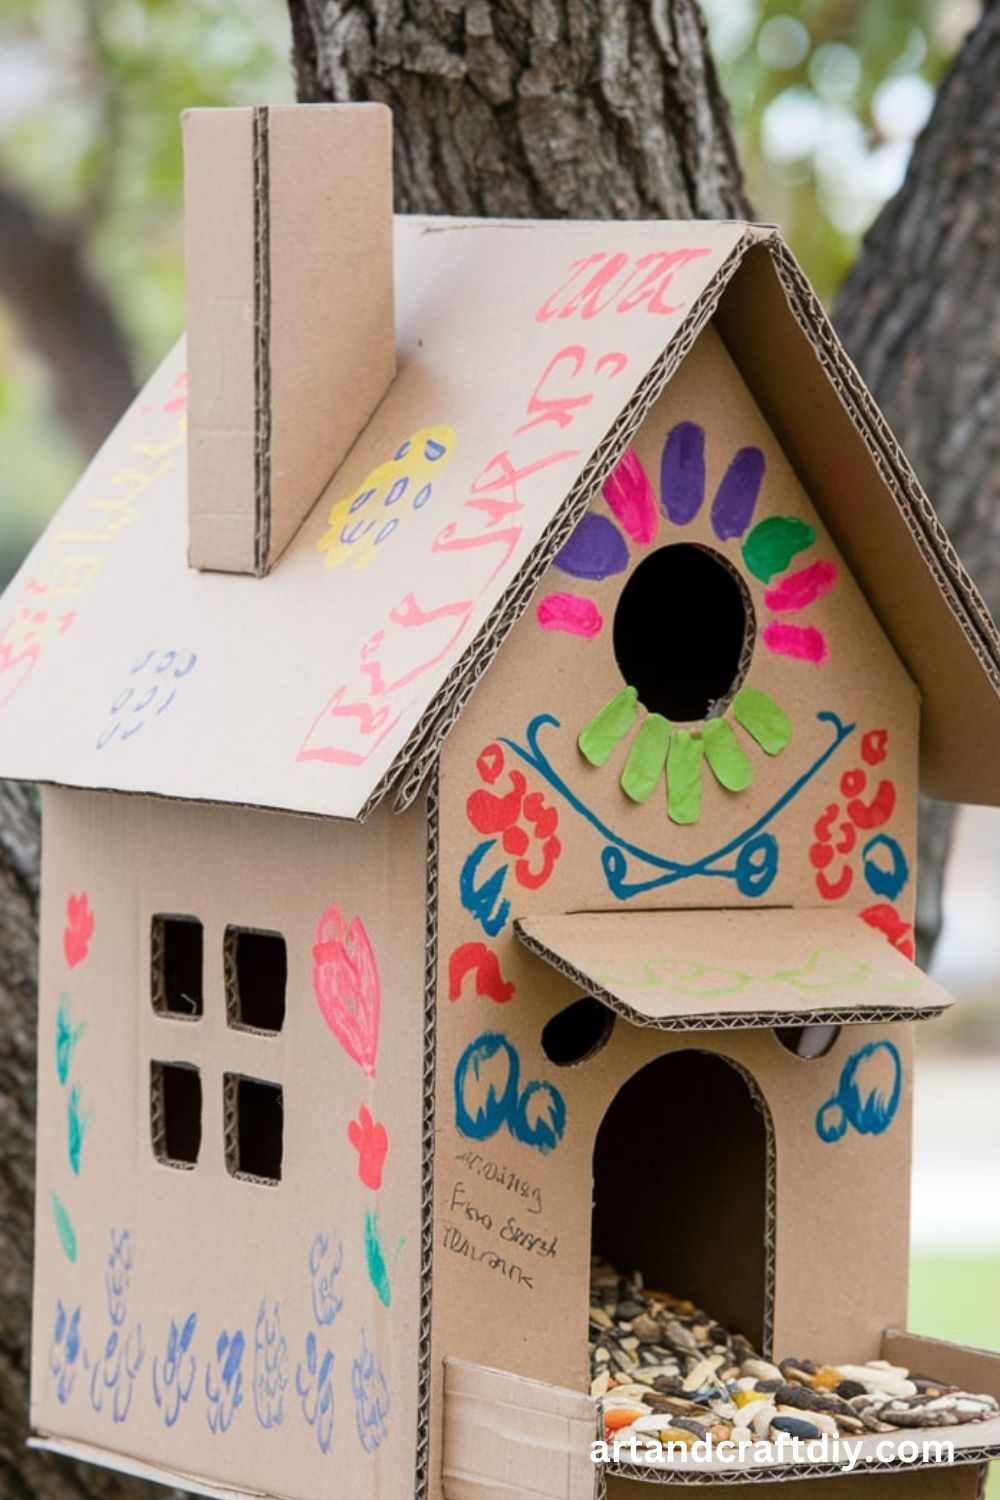
Cardboard Bird Feeder
A simple bird feeder made from cardboard will provide food for local birds and can be placed in your garden or balcony.
Materials:
- Cardboard
- Scissors
- Peanut butter or lard
- Birdseed
- String or ribbon
Steps:
- Cut a piece of cardboard into the desired shape for the feeder.
- Spread a layer of peanut butter or lard on the cardboard.
- Roll the coated cardboard in birdseed.
- Attach a string or ribbon for hanging.
- Hang the feeder outside and watch the birds come!
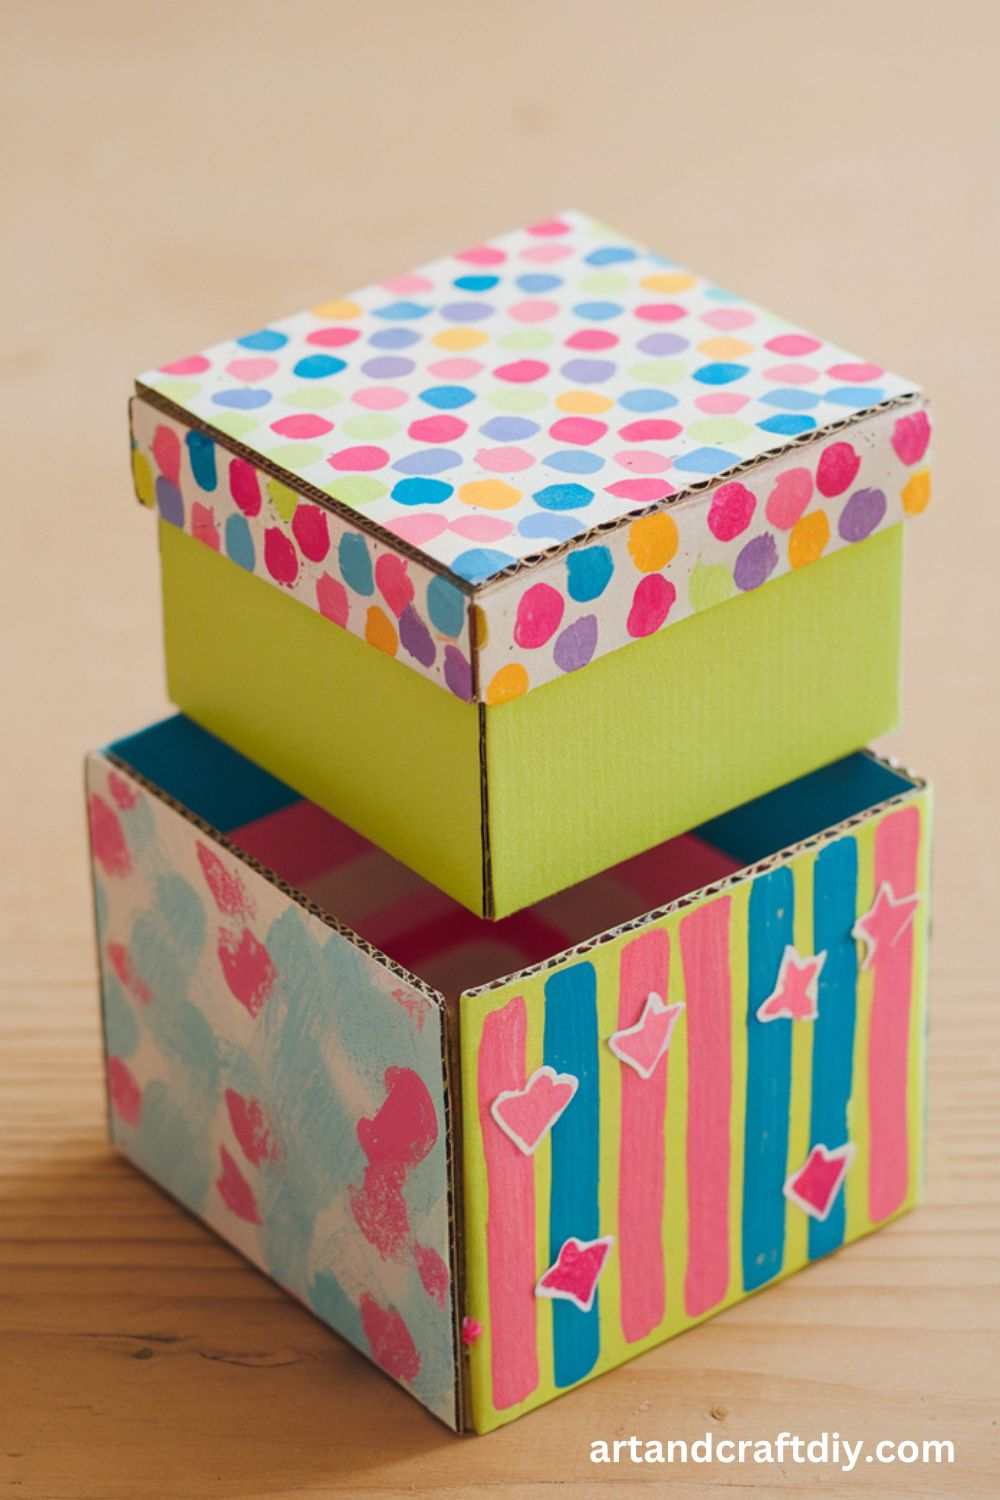
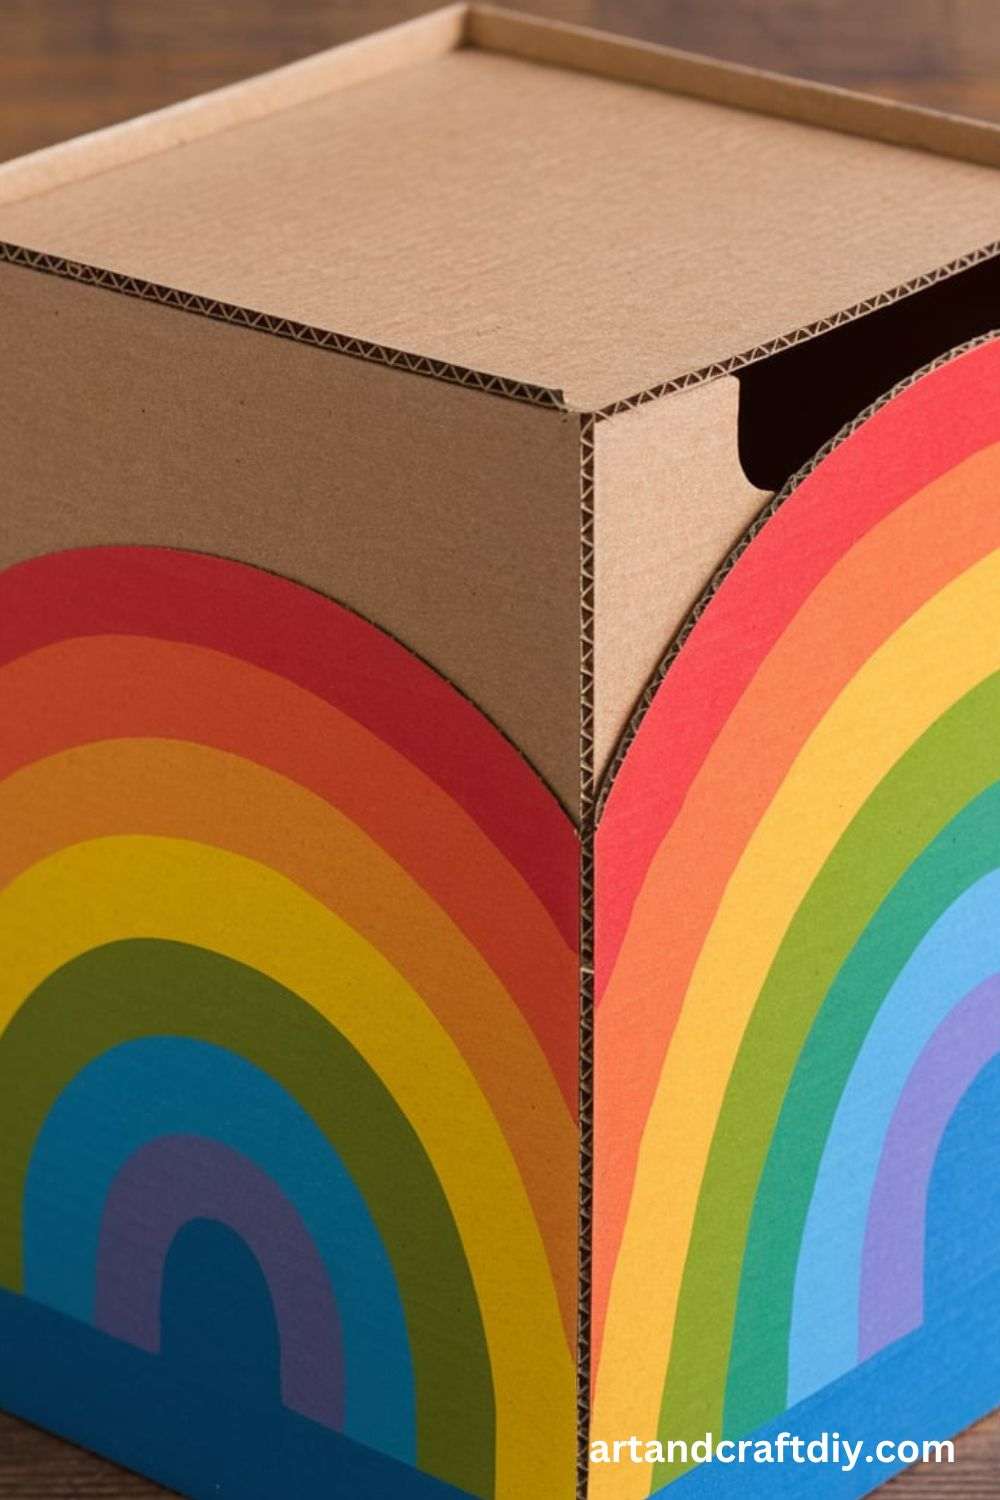
Cardboard Storage Boxes
Create small storage boxes from cardboard to organize your home or workspace in a sustainable and creative way.
Materials:
- Cardboard
- Scissors
- Tape or glue
- Decorative paper or paint
Steps:
- Cut the cardboard into pieces to form the sides, bottom, and top of the box.
- Assemble the sides and bottom by gluing or taping them together.
- Decorate the outside of the box with paper, fabric, or paint.
- Let it dry and start using your new storage box.
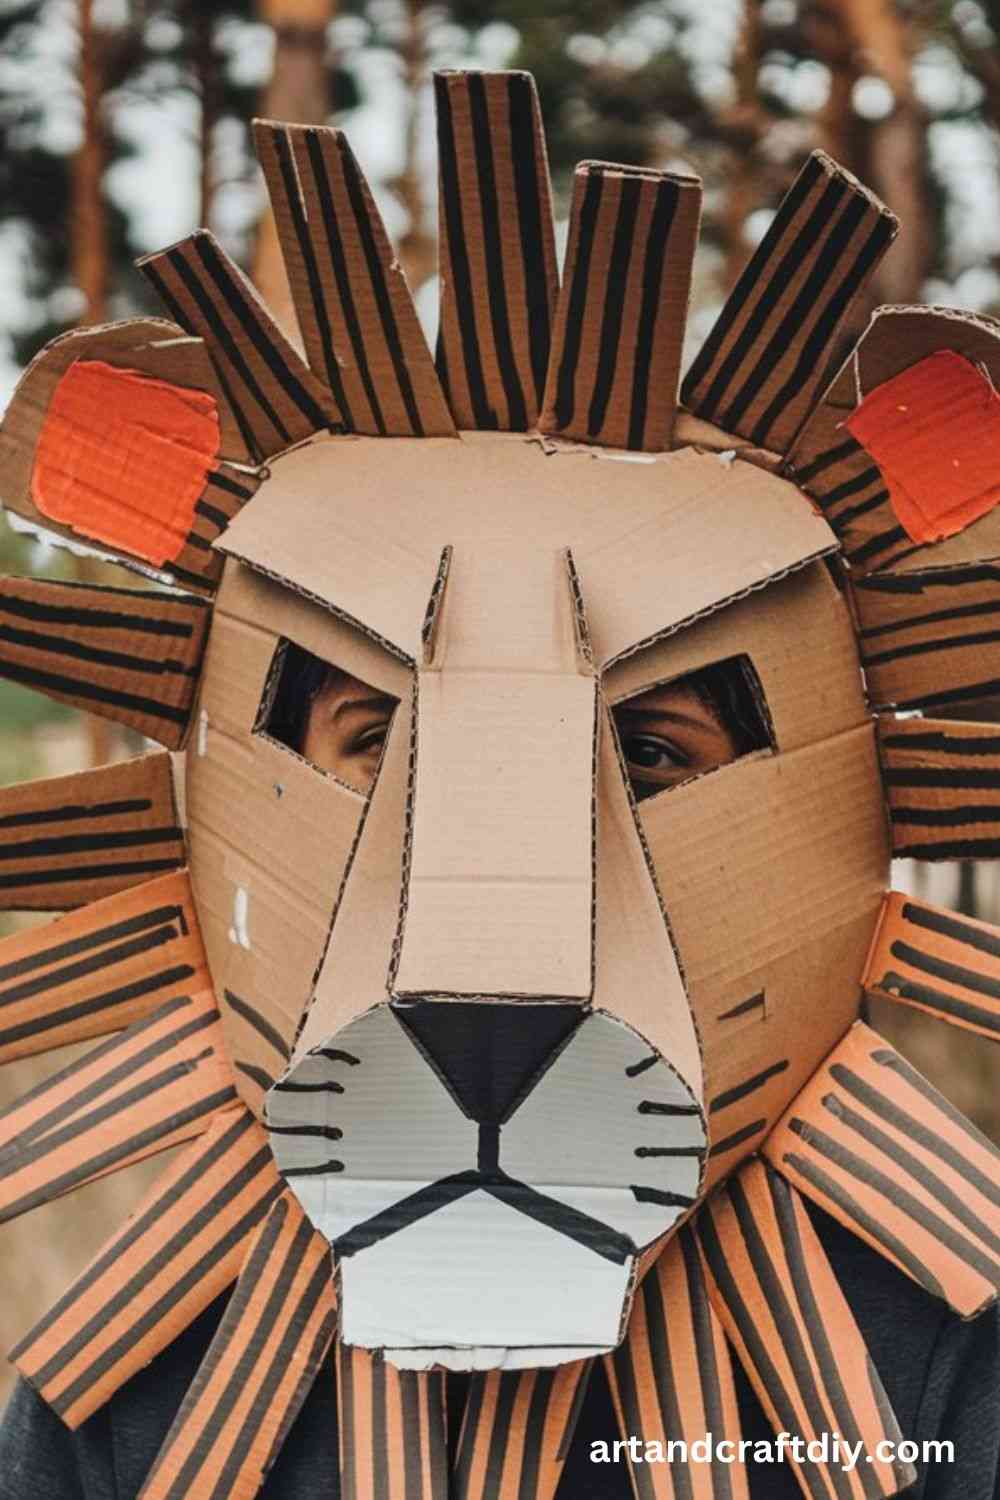
Cardboard Animal Masks
Crafting cardboard animal masks is a fun and creative way for kids to engage in imaginative play.
Materials:
- Cardboard
- Scissors
- Glue
- Paint or markers
- Elastic or string
Steps:
- Cut the cardboard into the shape of the animal’s face.
- Add features like ears, eyes, and a nose.
- Decorate the mask with paint or markers.
- Attach elastic or string on the sides to wear the mask.
- Put it on and have fun pretending to be your favorite animal!
Cardboard Wall Organizer
This cardboard wall organizer is perfect for keeping papers, pens, and other office supplies in place.

Materials:
- Cardboard
- Scissors
- Glue
- Ruler
- Decorative paper (optional)
Steps:
- Cut cardboard into several rectangles of varying sizes to make compartments.
- Glue the pieces together, creating a structure that can be hung on the wall.
- Optionally, cover the organizer with decorative paper.
- Mount the organizer on the wall and start storing your items!
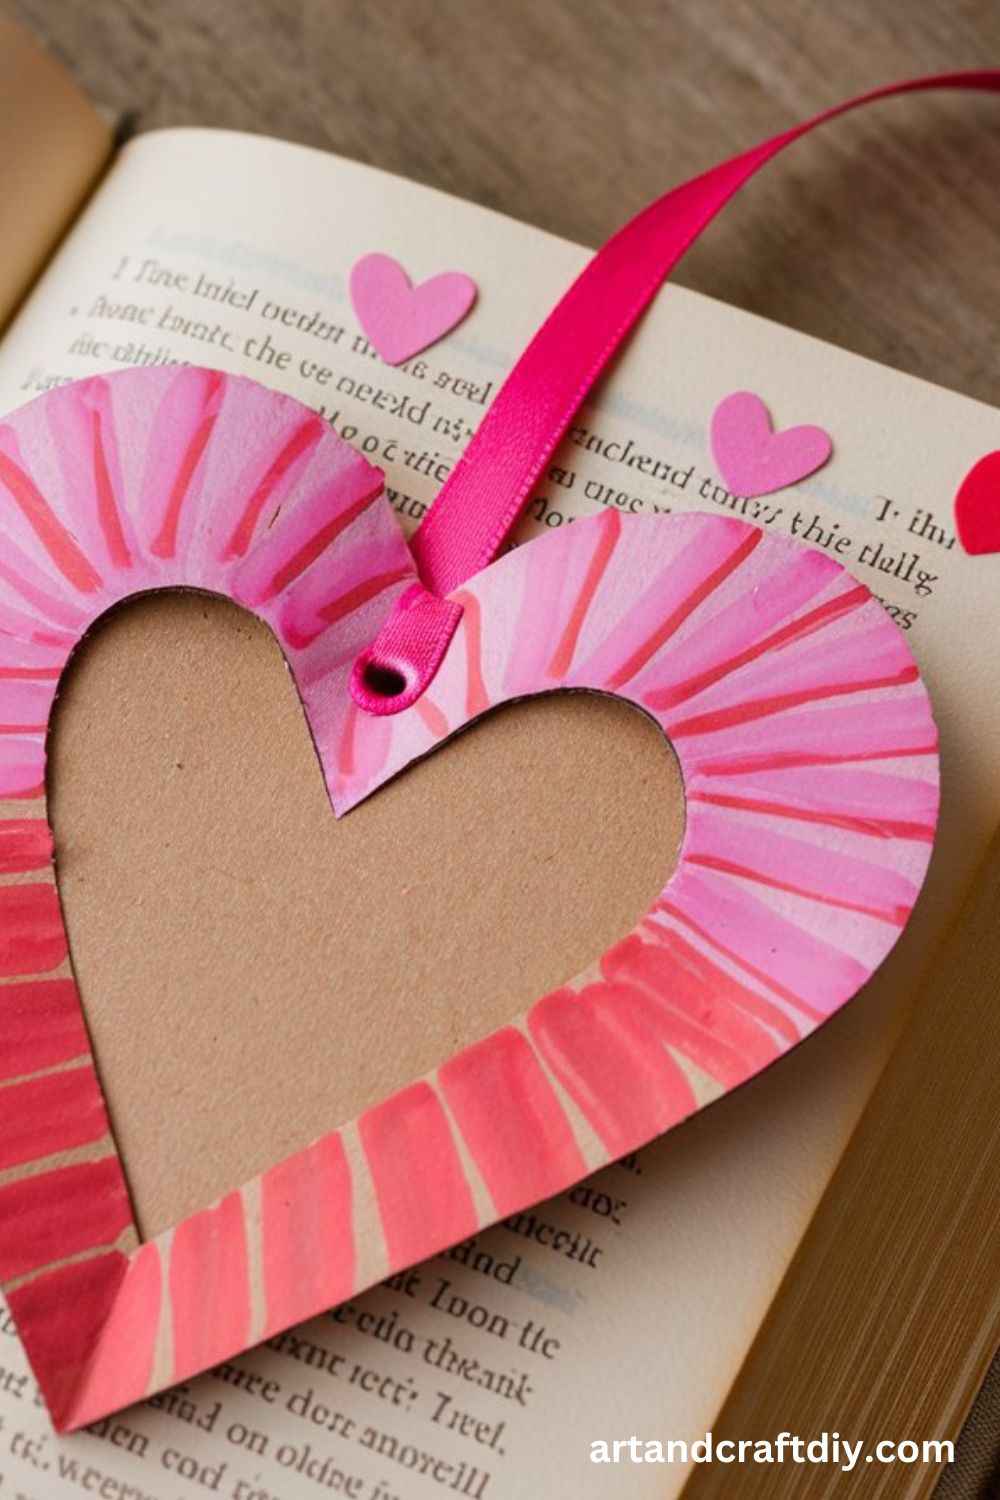
Cardboard Bookmark
A simple and easy craft to keep your place in your favorite books. You can create a cardboard bookmark that’s both functional and fun.
Materials:
- Cardboard
- Scissors
- Markers or paint
- Stickers (optional)
Steps:
- Cut a long rectangular piece of cardboard for the bookmark.
- Decorate the bookmark with markers, paint, or stickers.
- Let it dry, and then use it to mark your page in your book.
Cardboard Coasters
Protect your furniture from drink rings by making coasters out of cardboard. These are simple to make and can be personalized.
Materials:
- Cardboard
- Scissors
- Paint or markers
- Clear coat spray (optional)
Steps:
- Cut out several circular or square shapes from the cardboard.
- Decorate the coasters with paint or markers.
- Allow them to dry and then optionally spray them with a clear coat to protect the design.
- Use them to place your cups or mugs.
Cardboard Bookends
Keep your books upright and organized by making a set of sturdy cardboard bookends.
Materials:
- Cardboard
- Scissors
- Glue
- Paint
Steps:
- Cut out two large rectangular pieces of cardboard for the base of the bookends.
- Cut additional pieces to create the support arms.
- Glue everything together to form the bookends.
- Paint or decorate them as desired.
- Place your bookends on your bookshelf.
Cardboard Flower Vase
This project allows you to create a unique cardboard vase to hold fresh or artificial flowers.
Materials:
- Cardboard
- Scissors
- Glue
- Paint
Steps:
- Cut strips of cardboard and roll them into a cylindrical shape for the vase.
- Glue the ends of the strips together.
- Decorate the vase with paint.
- Let it dry before adding flowers to it.
Cardboard Pencil Holder
Keep your desk tidy with a simple cardboard pencil holder that you can make in just a few steps.
Materials:
- Cardboard
- Scissors
- Glue
- Decorative paper (optional)
Steps:
- Cut a piece of cardboard into a square or rectangular shape.
- Fold the edges up to form a box shape.
- Glue the edges together to hold the box.
- Optionally, cover the pencil holder with decorative paper.
- Use it to organize your pens and pencils.
Cardboard Playhouse
A larger project that’s fun for kids to assemble and play with, this cardboard playhouse is like a mini house made just for them.
Materials:
- Large cardboard boxes
- Scissors
- Glue
- Markers or paint
Steps:
- Use large cardboard boxes to form the walls and roof of the playhouse.
- Cut out windows and a door.
- Decorate the exterior and interior with paint or markers.
- Set it up and enjoy hours of imaginative play!
Cardboard Robot
Kids can have fun crafting their very own cardboard robot using simple materials and a lot of imagination.
Materials:
- Cardboard
- Scissors
- Glue
- Paint
- Aluminum foil or tin foil
Steps:
- Cut pieces of cardboard to form the robot’s body, arms, and legs.
- Assemble the parts with glue.
- Cover the robot with aluminum foil or paint it to add metallic effects.
- Decorate the robot with buttons, stickers, or eyes.
- Display your creation!
Cardboard Castle
Build a grand cardboard castle for hours of imaginative play. You can make it as big or small as you like!
Materials:
- Large cardboard boxes
- Scissors
- Glue
- Paint or markers
- Decorative materials (optional)
Steps:
- Cut large cardboard pieces into shapes to create towers and walls.
- Assemble the cardboard pieces to form the castle.
- Decorate the castle with paint or markers, adding windows, flags, and other details.
- Play pretend as royalty in your new cardboard castle!
Cardboard Telephone
This vintage-inspired craft lets you make a pretend telephone out of cardboard, which kids can use for pretend play.
Materials:
- Cardboard
- Scissors
- Glue
- Paint
- String (for the receiver)
Steps:
- Cut two cardboard circles to form the phone’s body and receiver.
- Glue the pieces together, creating the shape of the telephone.
- Attach a string to the receiver.
- Paint the phone with your choice of colors and designs.
Cardboard Marble Run
Create a fun marble run from cardboard that will entertain kids for hours as they watch marbles race through twists and turns.
Materials:
- Cardboard
- Scissors
- Glue
- Marbles
Steps:
- Cut cardboard strips to create tracks.
- Arrange the tracks in a fun layout, gluing the edges together.
- Place marbles at the top and let them roll through the run.
- Test different designs to see which one works best!
Cardboard Snowman
A cardboard snowman is an adorable winter craft that’s fun to make and decorate.
Materials:
- Cardboard
- Scissors
- Glue
- Cotton balls or white paint
- Buttons or colored paper for the face
Steps:
- Cut out three circular shapes from cardboard to form the body of the snowman.
- Stack and glue the circles together.
- Decorate the snowman with cotton balls for snow, and add buttons for the face and body.
- Let it dry and place it on display.
Cardboard Guitar
Make your own cardboard guitar and strum along with your favorite tunes. It’s a fun, musical project for all ages.
Materials:
- Cardboard
- Scissors
- Glue
- Rubber bands
- Paint
Steps:
- Cut out the shape of a guitar body and a neck.
- Attach the neck to the body using glue.
- Stretch rubber bands over the body to create strings.
- Paint or decorate the guitar.
- Play your cardboard guitar and have fun!
Cardboard Dragon
Craft a fierce cardboard dragon and let it take flight in your imagination.
Materials:
- Cardboard
- Scissors
- Glue
- Paint
- Decorative paper (optional)
Steps:
- Cut out the body, wings, and head from cardboard.
- Assemble the body and glue the parts together.
- Decorate the dragon with paint or cover it with colorful paper.
- Add eyes and other features for extra flair.
Cardboard Pirate Ship
A cardboard pirate ship is a perfect project for kids who love adventure and pirates.
Materials:
- Large cardboard boxes
- Scissors
- Glue
- Paint
- Markers
Steps:
- Use large cardboard boxes to create the shape of the ship.
- Add a mast using a long cardboard tube or dowel.
- Paint the ship and decorate it with pirate symbols.
- Pretend to sail the high seas on your new pirate ship!
Cardboard Luggage
Craft your own cardboard suitcase or luggage for pretend play or as a gift box for special occasions.
Materials:
- Cardboard
- Scissors
- Glue
- Paint
- Stickers or labels
Steps:
- Cut cardboard to form the sides and bottom of the luggage.
- Attach the pieces together to create a box shape.
- Decorate the exterior with paint, stickers, or labels to make it look like real luggage.
- Use it for storage or pretend travel play!
Cardboard Puzzles
Create your own cardboard puzzle with your favorite designs or images, making it a personalized game.
Materials:
- Cardboard
- Scissors
- Glue
- Picture or image (optional)
Steps:
- Cut a piece of cardboard into the shape of a puzzle.
- Decorate the cardboard with a picture or image (optional).
- Cut the cardboard into puzzle pieces.
- Reassemble the pieces to complete your custom puzzle.
Cardboard Tunnel
Build a cardboard tunnel for kids to crawl through or as a part of an obstacle course.
Materials:
- Cardboard boxes
- Scissors
- Glue
Steps:
- Cut the boxes open to create a large, open-ended tunnel.
- Secure the pieces together to form the tunnel shape.
- Decorate the tunnel with paint or markers.
- Crawl through the tunnel and enjoy!
Cardboard Hot Air Balloon
Craft a whimsical cardboard hot air balloon and watch it float in your imagination.
Materials:
- Cardboard
- Glue
- Paint
- String or ribbon
Steps:
- Cut out the shape of the balloon from cardboard.
- Glue it to a cardboard base to create the basket.
- Paint and decorate the balloon and basket.
- Attach string or ribbon to the basket for extra flair.
Cardboard Table and Chairs
Make your own miniature table and chairs using cardboard, perfect for dolls or small action figures.
Materials:
- Cardboard
- Scissors
- Glue
- Paint
Steps:
- Cut cardboard into pieces to form the legs, seat, and tabletop of the table.
- Assemble the pieces and glue them together.
- Create matching chairs with similar steps.
- Paint or decorate the set for extra fun.
Cardboard Pencil Case
Create a functional and stylish pencil case out of cardboard to store your school supplies.
Materials:
- Cardboard
- Scissors
- Glue
- Paint or fabric
Steps:
- Cut a piece of cardboard into the shape of a pencil case.
- Fold the sides and glue them together.
- Decorate the pencil case with paint or fabric.
- Use it to store your pencils and pens.
Cardboard Kite
Build a fun cardboard kite to fly in the wind on a sunny day.
Materials:
- Cardboard
- Scissors
- Glue
- String
- Paint
Steps:
- Cut the cardboard into the shape of a kite.
- Attach a string to the bottom.
- Decorate the kite with paint.
- Take it outside and enjoy flying your new creation!
Cardboard Halloween Decorations
Make your own spooky Halloween decorations using cardboard and your creativity.
Materials:
- Cardboard
- Scissors
- Paint
- Markers
- Stickers
Steps:
- Cut out spooky shapes like bats, ghosts, or pumpkins from cardboard.
- Paint or decorate them with markers and stickers.
- Hang them around your home or yard for Halloween fun.
Eco-Friendly Practices in Cardboard Craft for People With All Ages
Cardboard Craft for People With All Ages not only allows you to unleash your creativity but also offers an opportunity to contribute to environmental sustainability. By incorporating eco-friendly practices into your projects, you can reduce waste and promote recycling and upcycling. Here’s a breakdown of how to make your cardboard crafting more sustainable:
Recycling & Upcycling Cardboard:
- Reuse Old Boxes and Packaging: Instead of discarding cardboard boxes, recycle them into fun and functional craft projects. Flatten them and store for future use, reducing the need to buy new materials.
- Upcycle Packaging Materials: Collect packaging materials such as bubble wrap or cardboard dividers to create unique textures or embellishments for your projects.
- Create DIY Storage Solutions: Turn old cardboard into drawer organizers, storage boxes, or even office supplies, offering a second life to otherwise discarded materials.
Teaching Sustainability Through Crafting:
- Incorporate Eco-Friendly Education: Share the importance of reusing and recycling with younger crafters, teaching them how their creations can make a positive environmental impact.
- Foster Sustainable Habits: Encourage others to repurpose cardboard in their crafting by showcasing how items such as cereal boxes and packaging can turn into works of art.
Creating Minimal Waste:
- Plan Projects Efficiently: Measure and plan your craft carefully to reduce unnecessary cutting and waste. Using every inch of cardboard will minimize leftovers.
- Repurpose Scraps for Smaller Projects: Keep small cardboard scraps for crafting smaller items like bookmarks, tags, or decorative elements. This minimizes leftover material while still being creative.
Group Projects & Family Crafting: Creating Together
Crafting is a wonderful way to bring people of all ages together, combining creativity, teamwork, and bonding. Whether working with kids, teens, adults, or seniors, crafting can be a fun and meaningful experience that nurtures intergenerational relationships. Here are some ideas for crafting as a group, focusing on projects that unite families, classrooms, and communities:
Activities for Families to Work on as a Team
- Family Tree Craft: Work together to create a family tree that highlights ancestry, stories, and connections. This project allows multiple generations to bond over memories and creativity, while also learning more about their heritage.
- Large Mural or Collage: Collaborate on a giant mural or collage that represents each family member’s unique contributions, interests, or family values. This project fosters communication, teamwork, and shared vision.
- Handprint Art: Use handprints from everyone in the family to create a meaningful piece of art—whether it’s a flower, tree, or abstract design, handprints symbolize unity and togetherness.
Community and Classroom Projects
- Large Cardboard Art Installations: Schools or community groups can engage in creating massive art installations using recycled cardboard. Whether designing sculptures, backdrops, or murals, these projects encourage group effort and can be displayed at events, exhibitions, or fairs.
- Cardboard Charity Drives: Crafting can be used as a way to give back to the community. Families, classrooms, or community groups can create cardboard crafts for charity drives, such as donation boxes or toys for kids in need. This can be a fun and fulfilling way to teach the value of kindness and community service.
- Collaborative Storytelling via Craft: Work together on a visual storytelling project that includes illustrations or objects made from cardboard. This is perfect for classrooms or community events to engage people of all ages in a creative, interactive experience.
FAQ
What is Cardboard Craft for People With All Ages?
Cardboard Craft for People With All Ages involves using cardboard as a material to create various art projects, ranging from simple toys to intricate sculptures. It is an accessible, sustainable, and creative way to make things for all skill levels.
What age group is cardboard crafting suitable for?
Cardboard crafting is suitable for people of all ages, from young children who can engage in basic projects to adults and seniors who enjoy more complex designs. It’s a fun activity that adapts to different abilities and creativity levels.
What materials do I need for Cardboard Craft for People With All Ages?
You’ll need basic supplies like cardboard (from old boxes), scissors, glue, tape, markers, paint, and any other craft materials like fabric, buttons, or stickers. More advanced crafts might require additional tools like craft knives or hot glue guns.
Is Cardboard Craft for People With All Ages safe for children?
Yes, but children should always be supervised, especially when using sharp tools like scissors or craft knives. For younger kids, it’s best to stick with age-appropriate projects that involve simple cutting and gluing.

Hi, I’m Victoria, an art and craft teacher at Newark City Schools, where I have the joy of working with middle school students to help them explore their creativity and develop their artistic talents. I believe that art is a powerful way for students to express themselves, and I strive to make every lesson a fun, engaging, and inspiring experience.
I created this website to share the art and craft projects, techniques, and resources that I use in my classroom, hoping to inspire both educators and young artists alike. Whether you’re a teacher looking for new ideas or a student eager to try something new, I’m excited to provide creative tools and projects that anyone can enjoy.
When I’m not in the classroom, I love experimenting with different art forms and learning new crafting techniques. My goal is to help others discover the joy of making things with their hands, and I hope my website serves as a space for everyone to explore their creative potential.