
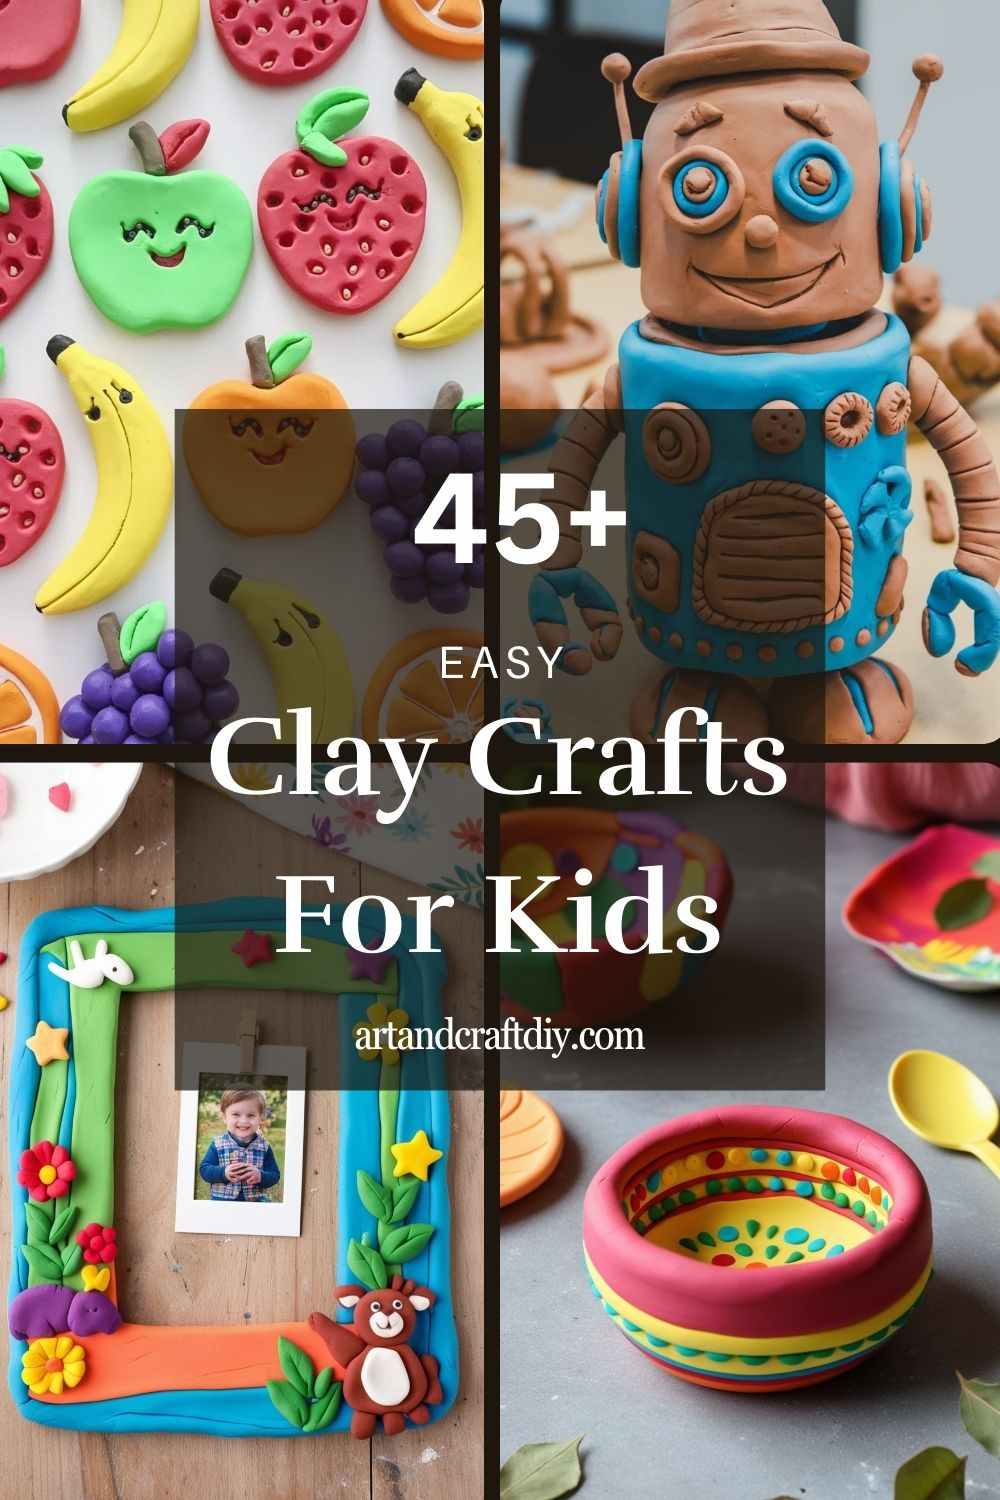
Clay Crafts For Kids
Clay Crafts for Kids are delightful activities that allow children to explore their creativity and imagination by shaping clay into various designs and objects.
Animal Figurines
One of the first things I ever made with clay was a tiny lion that looked more like a potato with ears, but my younger self thought it was a masterpiece. Honestly, animal figurines are such a fun starting point for kids because they can go as simple or as detailed as they like. I’ve seen kids roll out a few basic shapes—a ball for the head, a cylinder for the body—and suddenly they’ve got a puppy. That joy of seeing something take shape is priceless.
I usually let kids pick their favorite animals and encourage them to exaggerate features. A panda with giant round eyes or a cat with oversized whiskers always gets giggles. To be fair, they don’t need to look perfect—it’s more about imagination than accuracy. Once they’re dry, a quick paint job with acrylics brings them to life, and kids get so proud of their little zoo.
Clay Mushrooms
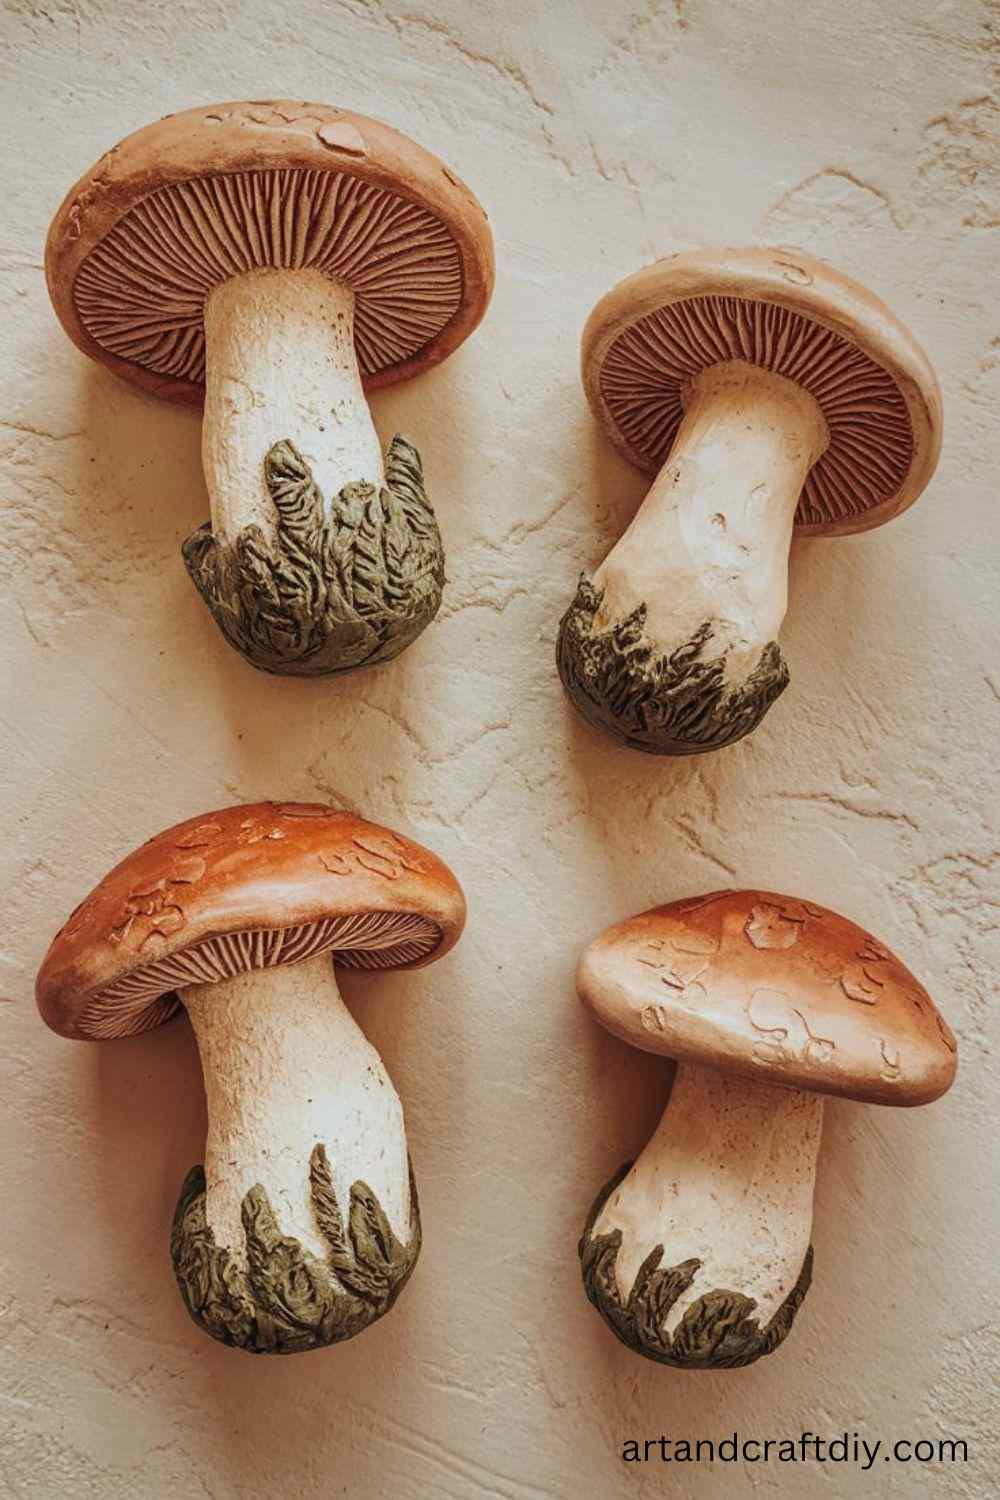
Clay mushrooms always remind me of the time I tried making a fairy garden with my niece. We shaped tiny mushrooms in all sizes, and she insisted they looked “magical” even though some toppled over like lopsided umbrellas. What I love is how forgiving this craft is—you just make a little stalk, press a cap on top, and suddenly you’ve got a mushroom.
Kids can play with color here. Classic red-and-white spotted mushrooms look whimsical, but I’ve also seen bright blue or even rainbow caps that look like something from a storybook. In my opinion, mushrooms are a great way to introduce kids to mixing clay shapes. They’re sturdy, fun to decorate, and small enough to make a bunch in one sitting. Pop them in plant pots or line them up on a shelf—it’s always a hit project.
Clay Bowls
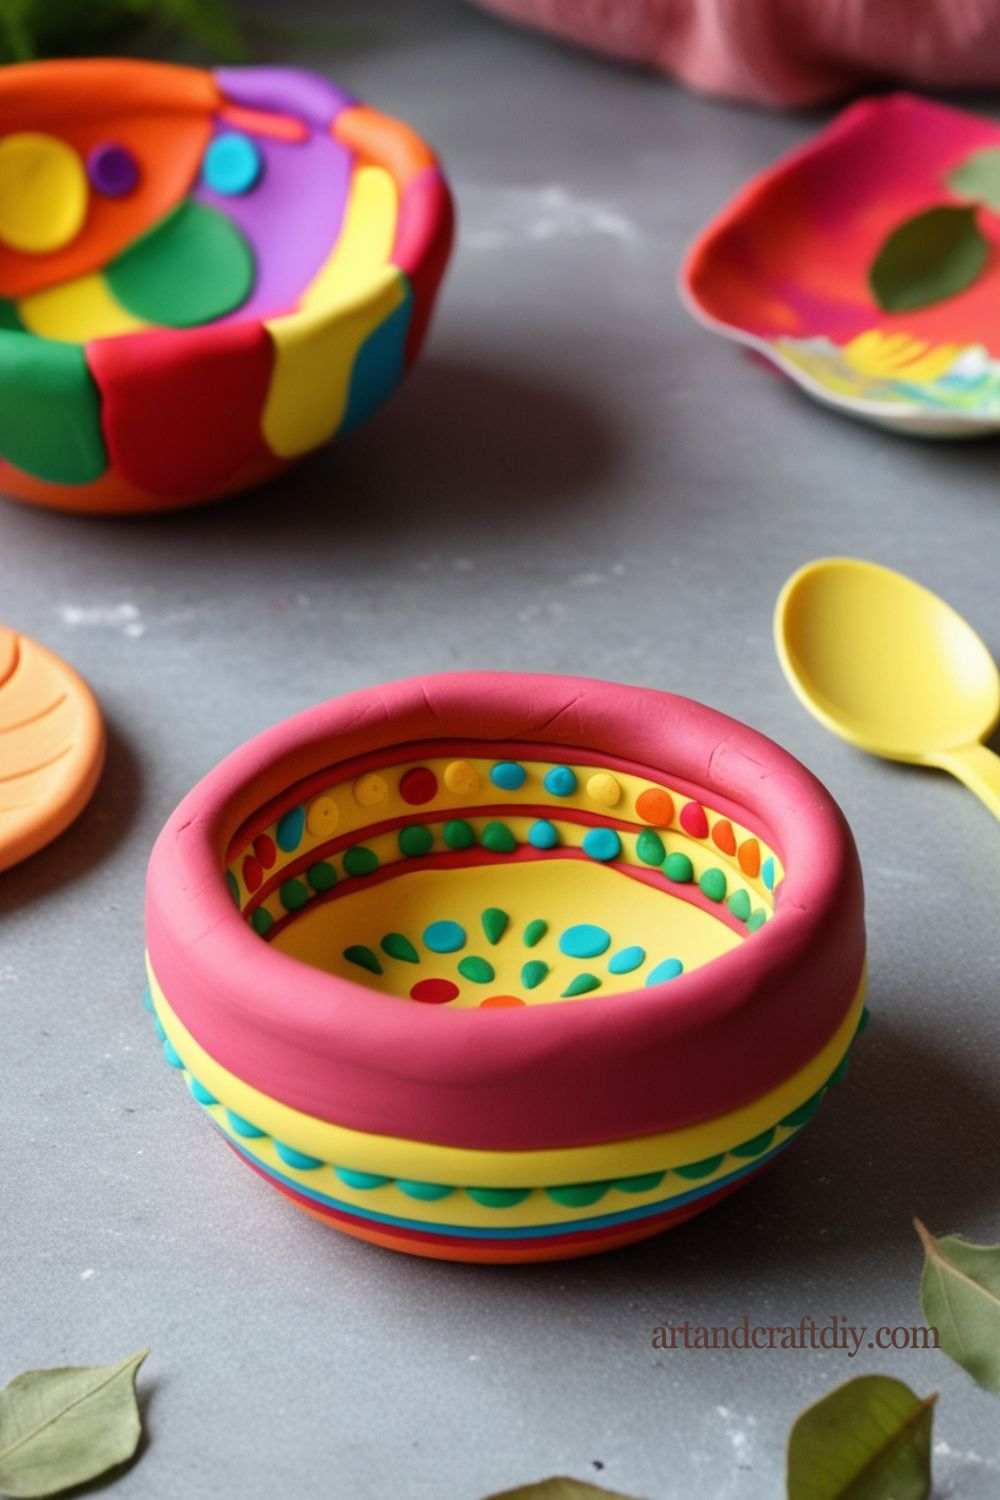
The first clay bowl I ever made with kids turned out so wobbly that it wouldn’t even hold a marble, but you know what? The kids thought it was “abstract art.” Clay bowls are a classic craft because they let kids create something useful without needing fancy tools. I usually roll out a slab and let them press it over an upside-down cup or bowl to get the shape.
Once it’s dry, painting and sealing it is the fun part. Kids love adding patterns, dots, or even glitter. I’ve found that even if the bowl isn’t perfect, it becomes a treasure dish for trinkets, beads, or little toys. Honestly, there’s something really satisfying about seeing kids place their handmade bowl on their bedside table—it gives them that sense of “I made this, and it’s mine.
Clay Keychains
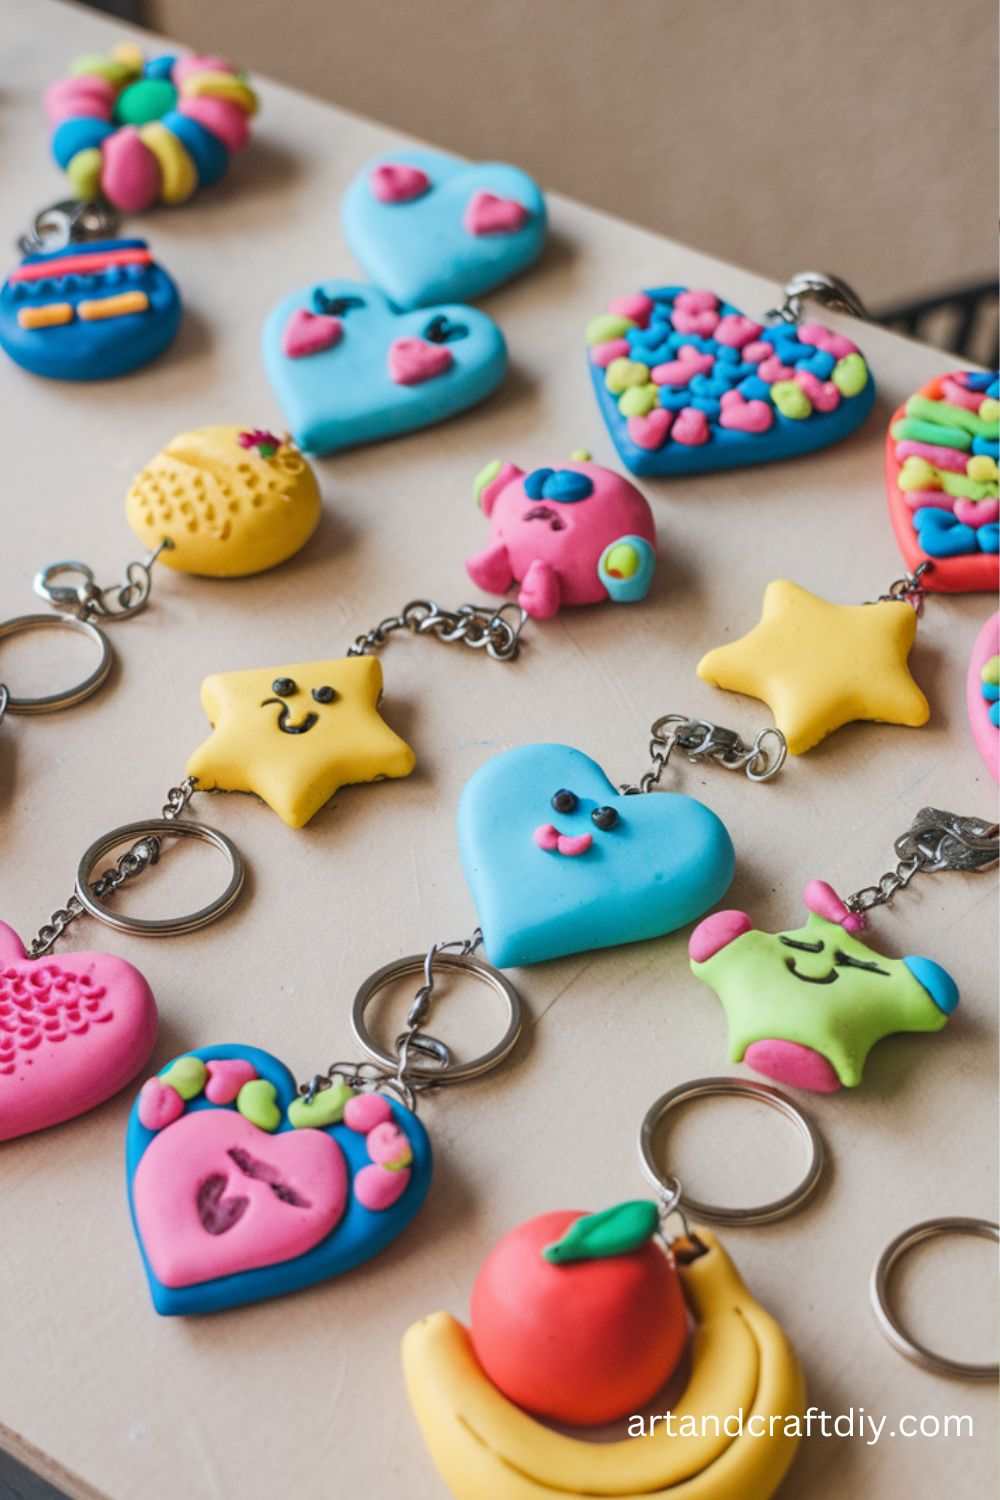
Clay keychains are a big favorite in my workshops because they’re small, easy, and super customizable. I remember a student once made a tiny pizza slice keychain, and he carried it everywhere—it was hilarious but also adorable. The trick is to keep them lightweight, so they don’t break or feel bulky.
Kids can roll out flat shapes with cookie cutters—hearts, stars, or initials are always popular. After baking or drying, you just attach a jump ring and chain, and boom, instant accessory. To be fair, these make amazing little gifts too. I’ve had kids proudly hand them to parents, and the parents always look more touched than if they’d bought something fancy. There’s just a charm in carrying a handmade piece around.
Clay Coasters
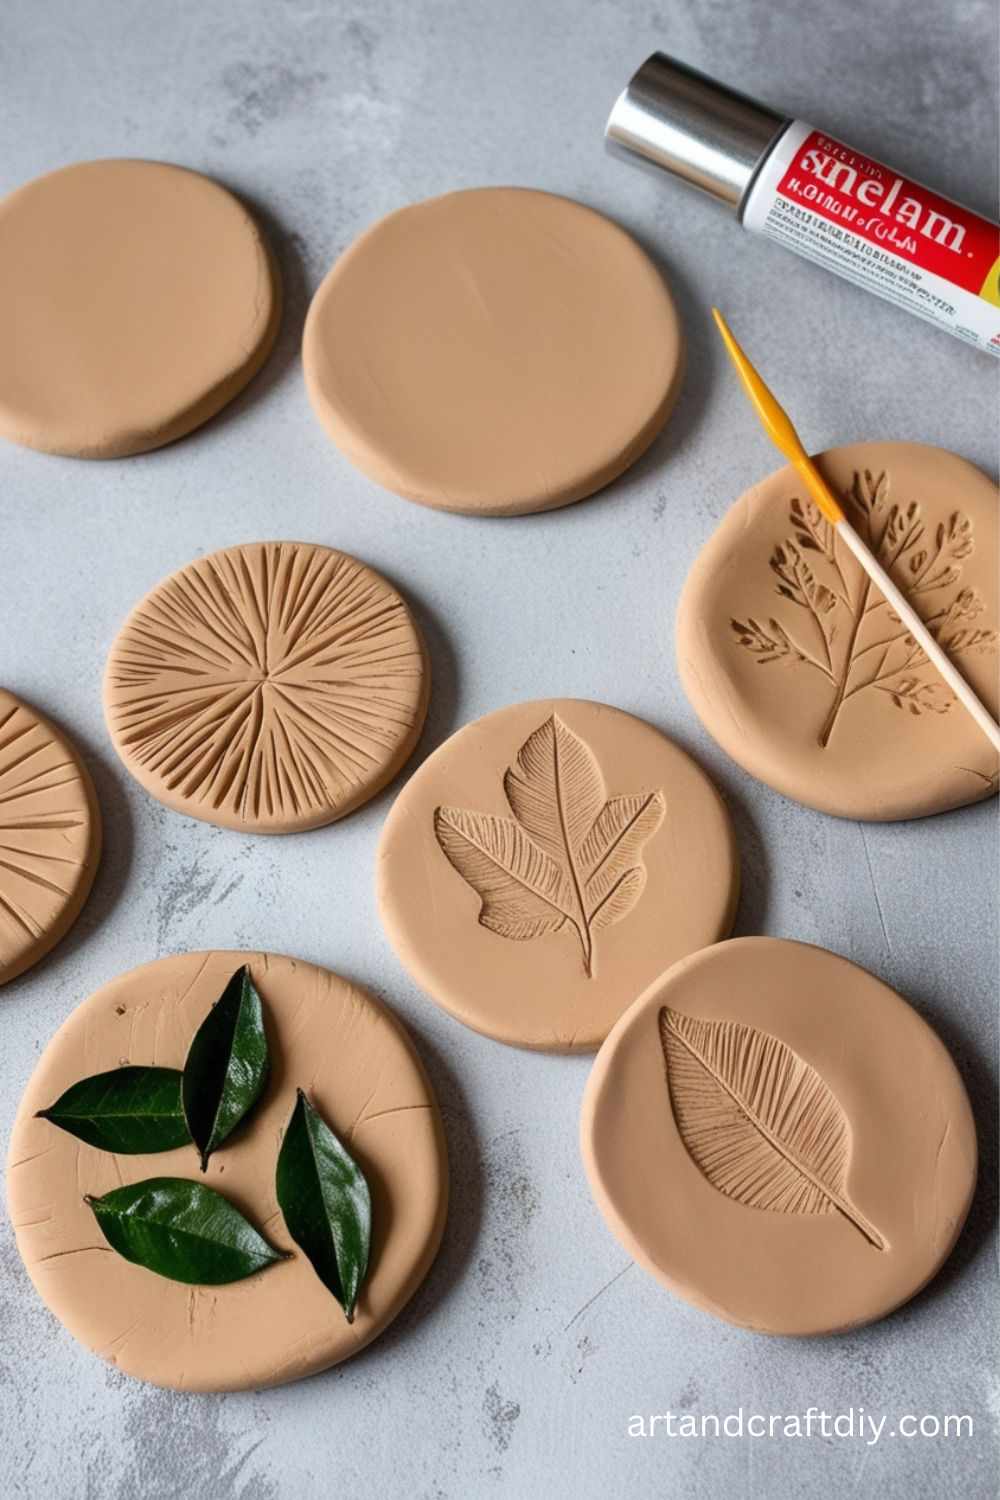
Clay coasters might not sound exciting to kids at first, but once they realize they can decorate them however they want, it becomes an art project. I once had a group make a full set of mismatched coasters—one had swirls, another had smiley faces, and one even had a handprint. They looked chaotic but in the best way.
I like using air-dry clay for this because it keeps the process simple. Roll it flat, cut out circles or squares, and let kids press in textures with leaves, fabric, or stamps. Once painted and sealed, these are actually functional, which makes kids feel like they’ve made something important. In my opinion, it’s a sneaky way to get them excited about “grown-up crafts.
Clay Flowers

Clay flowers were one of my personal struggles at first. My petals either cracked or looked like blobs. But once I slowed down and let the kids try their own styles, I realized they often turned out better than mine. Kids don’t worry about symmetry, and that’s the charm.
They can roll tiny balls, flatten them, and layer them around a center to form petals. Some kids love sticking them on stems made of wire, while others just make flat flower magnets. Honestly, nothing beats painting them in bright colors—sunflowers, roses, or even fantasy neon flowers. They look so cheerful when finished, and kids often want to gift them right away.
Fruit Magnets

I’ll never forget when a little girl made a banana magnet and stuck it proudly on her fridge—it was so crooked, but she told me it was “the best banana in the world.” Fruit magnets are fun because they’re instantly recognizable shapes and colors. Kids love how quick they are to make.
You just shape the fruit, flatten it a little, and attach a magnet at the back once it’s dry. Apples, strawberries, and watermelons are always popular. To be fair, these are the kind of crafts that make parents smile every time they see them on the fridge door. They’re simple, bright, and practical, which is a rare combo in kids’ crafts.
Clay Earrings
Now, I’ll admit clay earrings are slightly more advanced, but even kids can make them with some supervision. I once had a group of older kids make donut earrings, complete with tiny sprinkles, and they turned out so cute that I was tempted to wear them myself.
The key is keeping them small and light. Once shaped and baked, adding earring hooks is easy. Kids feel so proud when they realize they’ve actually made wearable jewelry. Honestly, I’ve found this craft to be a confidence booster, especially for tweens—they love showing off something fashionable they made with their own hands.
Clay Photo Frames
Clay photo frames have such a personal touch. I still have one that a student made for me years ago—it’s lumpy, painted in wild colors, and has a few gems stuck on, but it’s so full of character. Kids can roll out strips of clay and attach them around a cardboard base, or just press designs directly onto a simple wooden frame.
They love adding details like flowers, stars, or initials. Once painted, these frames really pop, and inserting a family photo makes them extra special. In my opinion, it’s one of the best gifts a child can make because it’s both handmade and sentimental.
Clay Robots
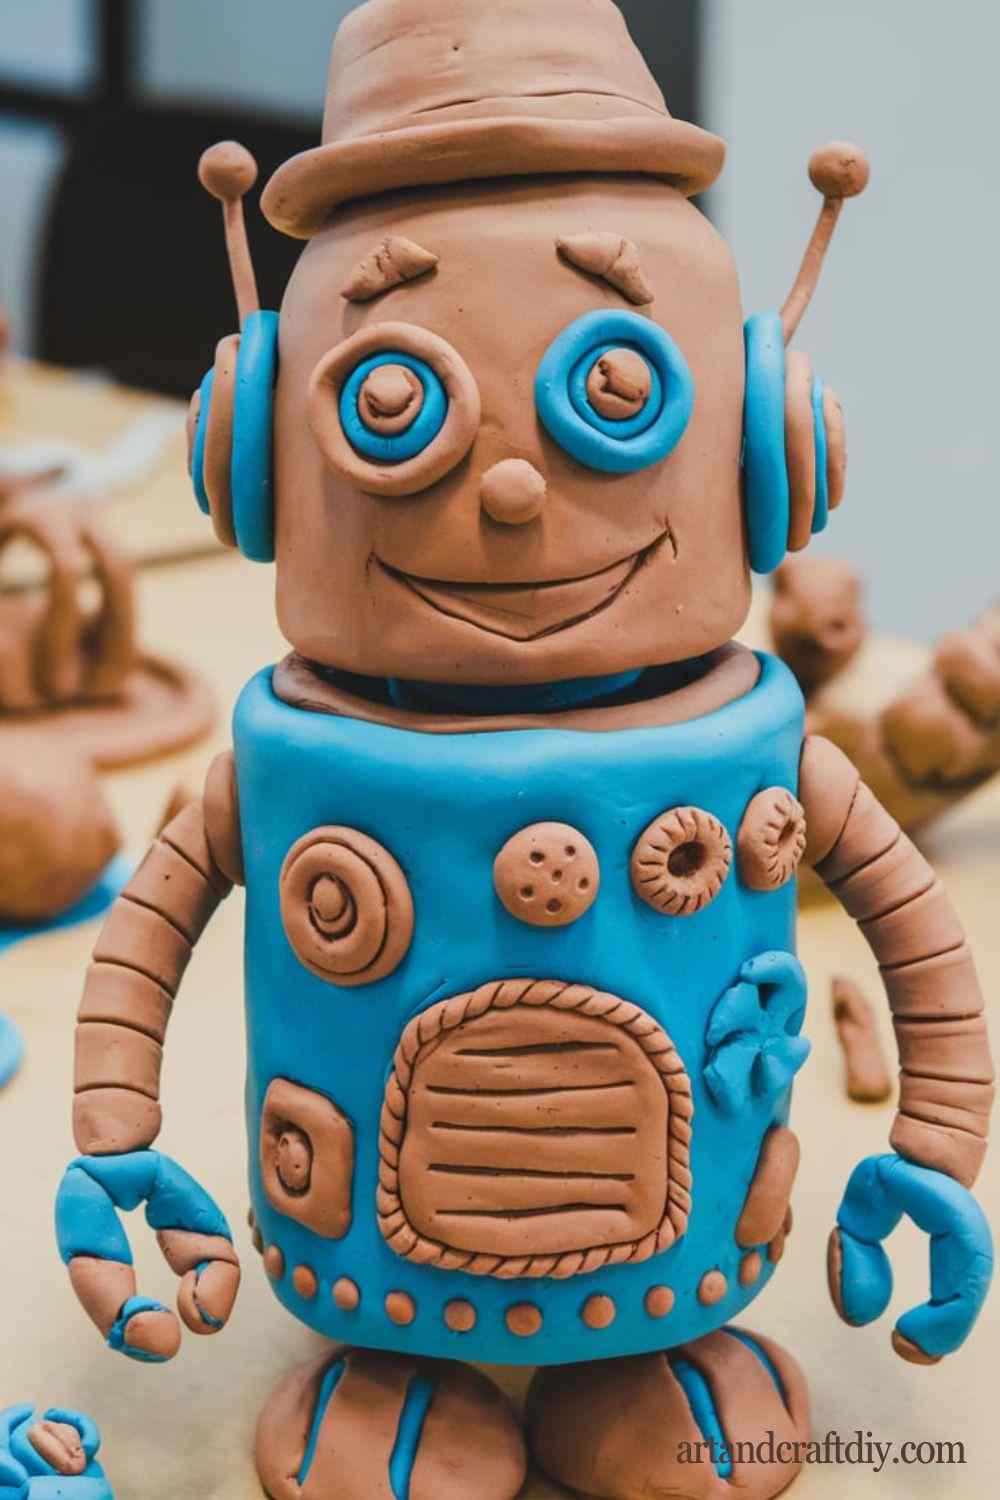
Clay robots always get kids excited because they can go totally wild with design. I once saw a robot with six arms and antennas that looked like spaghetti—it was ridiculous, but the child who made it thought it was genius. That’s the beauty of it: no rules, just imagination.
Kids usually start with a boxy body, add cylinders for arms and legs, and then decorate with buttons or gears pressed into the clay. I encourage them to think about “what their robot does.” Some make cleaners, others make dancing robots. To be fair, these always spark the funniest conversations, and kids beam with pride when their robot stands up on its own.
Pencil Toppers
Kids can jazz up their school supplies with custom clay pencil toppers.
Materials:
- Polymer or air-dry clay
- Paint (optional)
Steps:
- Sculpt small shapes or characters from clay.
- Create a hole at the base that fits snugly onto a pencil.
- Let it dry or bake it.
- Paint or decorate the toppers.
Miniature Clay Food
Kids can recreate their favorite snacks in mini clay versions.
Materials:
- Polymer or air-dry clay
- Paint and brushes
- Varnish (optional)
Steps:
- Sculpt small items like pizzas, cupcakes, or burgers from clay.
- Add fine details like toppings or frosting using smaller clay pieces.
- Let it dry or bake.
- Paint the details for added realism, and varnish if needed.
Clay Candle Holders
Create custom candle holders that can brighten any space.
Materials:
- Air-dry clay
- Rolling pin
- Paints and varnish
Steps:
- Roll out a slab of clay and cut out a circular or square base.
- Form a cylinder to hold the candle and attach it to the base.
- Smooth the edges and let it dry.
- Paint and seal the candle holder.
Clay Snails
Simple yet adorable, snails are great for beginners.
Materials:
- Air-dry or polymer clay
- Paint (optional)
Steps:
- Roll a piece of clay into a log for the body.
- Create a spiral shape for the shell and attach it to the body.
- Add small eyes and antennae with thin clay pieces.
- Let it dry or bake, and paint if desired.
Clay Cactus Plants
Make cute and low-maintenance “plants” for decoration.
Materials:
- Green polymer or air-dry clay
- Small pots or containers
- Paint and brushes
Steps:
- Shape clay into cactus forms like round or elongated shapes.
- Add tiny clay pieces or paint for spines.
- Place the cactus in a small pot and let it dry.
Clay Picture Ornaments
Turn kids’ artwork into ornaments for display.
Materials:
- Air-dry clay
- Rolling pin
- Paint and brushes
Steps:
- Roll out the clay and cut shapes like circles, stars, or hearts.
- Add kids’ drawings by pressing designs into the soft clay.
- Make a hole at the top for hanging.
- Let it dry, then paint and attach a ribbon.
Clay Fish
Kids can craft colorful fish to decorate walls or as toys.
Materials:
- Air-dry or polymer clay
- Paint and brushes
Steps:
- Shape clay into a flat fish outline.
- Add fins, tails, and eyes with small clay pieces.
- Let it dry or bake, then paint in vibrant colors.
Clay Hearts for Gifting
Perfect for Valentine’s Day or just sharing love!
Materials:
- Air-dry clay
- Heart-shaped cookie cutter
- Paint and varnish
Steps:
- Roll out clay and cut heart shapes using the cutter.
- Add textured patterns with tools or stamps.
- Let it dry, paint, and seal with varnish.
Mini Clay Houses
Build a whimsical miniature village.
Materials:
- Air-dry or polymer clay
- Paint and brushes
Steps:
- Shape small blocks for the base of the houses.
- Add triangular roofs and windows using tiny clay pieces.
- Let them dry or bake, then paint in fun colors.
Clay Leaf Bowls
Inspired by nature, these bowls make beautiful decor.
Materials:
- Air-dry clay
- Real leaves
- Rolling pin
- Paint and varnish
Steps:
- Roll out the clay and press a real leaf onto it to imprint the texture.
- Cut out the leaf shape and mold it into a bowl by curving the edges.
- Let it dry, then paint and varnish.
Clay Dinosaur Models
Perfect for young dino enthusiasts!
Materials:
- Air-dry or polymer clay
- Paint and brushes
Steps:
- Shape clay into dinosaur parts like the body, legs, and head.
- Assemble the pieces and smooth the edges.
- Add details like spikes or plates.
- Let it dry or bake, then paint.
Clay Sea Creatures
Explore the ocean by making clay sea creatures like turtles, starfish, or whales.
Materials:
- Air-dry or polymer clay
- Paint
Steps:
- Mold creatures like a turtle’s shell, a starfish’s arms, or a whale’s body.
- Add tiny details using clay tools or by pressing objects like shells for texture.
- Let them dry, then paint.
Clay Treasure Boxes
Create personalized boxes to hold small treasures.
Materials:
- Air-dry clay
- Paint and varnish
Steps:
- Shape the base and lid of the box separately.
- Decorate the lid with patterns or small clay pieces.
- Let the box dry, then paint and varnish.
Handprint Plaques
Create memorable keepsakes by capturing kids’ handprints in clay.
Materials:
- Air-dry clay
- Rolling pin
- Paint and brushes
- String or ribbon (optional)
Steps:
- Roll out the clay to about 1/2 inch thickness.
- Press the child’s hand firmly into the clay.
- Smooth the edges and add any decorations around the handprint.
- Make a hole at the top if you want to hang the plaque.
- Let it dry, then paint and decorate.
Clay Monsters
Let kids’ imaginations run wild by creating funny or spooky clay monsters.
Materials:
- Colored polymer or air-dry clay
- Googly eyes
- Pipe cleaners and beads (optional)
Steps:
- Mold the base of the monster by shaping the clay into a ball or oval.
- Add details like arms, legs, or horns using smaller pieces of clay.
- Stick on googly eyes or sculpt them from clay.
- Add accessories like pipe cleaner arms or bead buttons.
- Let the monster dry or bake it if using polymer clay.
Tips for Encouraging Creativity in Kids
- Letting Kids Experiment with Colors and Shapes
Allow children to explore different colors and shapes freely. This fosters their ability to experiment and develop their own aesthetic sense. - Using Story Prompts for Themed Crafts
Provide story prompts like “Make a clay character for your favorite story” to inspire children to combine imagination and crafting skills in a fun and engaging way. - Hosting Clay Craft Playdates or Workshops
Organize playdates or workshops centered around clay crafts. This not only encourages creativity through tactile exploration but also promotes collaboration and social learning.
Safety Tips for Kids: Ensuring a Safe Environment at Home and Outdoors
As a parent or caregiver, ensuring the safety of children is always a top priority. Children are naturally curious, energetic, and constantly exploring their surroundings, which makes it essential to create a safe environment. This includes using child-friendly materials, supervising their activities, and making clean-up easier. Here are some practical safety tips to help you protect your little ones:
1. Choosing Non-Toxic, Kid-Friendly Materials
- Opt for Non-Toxic Products: When selecting toys, furniture, or household items, make sure they are free from harmful chemicals such as BPA, phthalates, and lead. Look for certifications like “CE” or “ASTM” to ensure the products meet safety standards.
- Eco-Friendly and Safe Paints: For decorating kids’ rooms or furniture, use low-VOC (volatile organic compounds) paints or natural alternatives like chalk paints, which are safer and less likely to emit harmful fumes.
- Soft, Safe Fabrics: Choose soft, non-toxic fabrics for bedding, clothes, and toys. Organic cotton and hypoallergenic materials are ideal for sensitive skin.
2. Supervision Guidelines for Younger Children
- Constant Supervision for Toddlers and Infants: Younger children, particularly those under 3, need constant supervision when playing, eating, or exploring. They can easily get into dangerous situations, so keep them within arm’s reach, especially near water or sharp objects.
- Age-Appropriate Toys: Ensure toys and activities are suitable for your child’s age to avoid choking hazards. For example, small parts should be kept away from babies and toddlers.
- Designated Play Areas: Set up safe, child-friendly zones where kids can play freely, away from potentially hazardous areas like kitchens, stairs, or sharp corners.
3. Tips for Cleaning Up Easily
- Organized Storage: Use bins, baskets, and shelves to store toys and materials, making them easier to access and clean up after use. Label storage containers by category (e.g., “building blocks,” “soft toys”) to encourage kids to clean up themselves.
- Use Non-Toxic Cleaners: When cleaning around children, use eco-friendly and non-toxic cleaning products to avoid exposure to chemicals. Natural cleaners like vinegar, baking soda, or diluted lemon juice are safe and effective.
- Easy-to-Clean Surfaces: Choose furniture and flooring that are easy to wipe down and resistant to spills and stains. Vinyl or wipeable mats are great for messy play or craft activities.
By following these safety tips, you can ensure your home or outdoor environment is safe, fun, and nurturing for children.
FAQ
What is Clay Crafts For Kids?
Clay crafting for kids involves using soft, malleable materials like modeling clay to create various shapes, sculptures, and designs. It helps children develop their creativity, fine motor skills, and hand-eye coordination through hands-on activities.
What types of clay are safe for kids?
The safest types of clay for children are non-toxic, air-dry clay, or oven-bake clay. Brands such as Play-Doh, Crayola, and Sculpey offer clays that are specifically designed for children and are safe to use.
What age is appropriate for clay crafts?
Children as young as 2 years old can start working with clay, with adult supervision, using soft clays like Play-Doh. Older kids, from 5 years and up, can work with more advanced modeling clays like air-dry or oven-bake clay to create more detailed crafts.
How do you make clay crafts at home?
To make clay crafts at home, you need basic supplies like modeling clay, sculpting tools, and some creativity! Simple projects include making shapes, animals, or ornaments. Kids can use tools like rolling pins, cookie cutters, or their hands to shape the clay into fun objects.
What are some easy Clay Crafts For Kids ?
Some easy clay craft ideas include:
- Simple animal shapes like turtles, cats, or dinosaurs
- Clay flowers or fruit
- Clay keychains or pendants
- Fun figurines like people, robots, or fairies
How can Clay Crafts For Kids help in child development?
Clay Crafts For Kids promote creativity, problem-solving, and fine motor skills. Children learn to manipulate materials, improve hand strength, and practice patience as they complete their projects. It also fosters imaginative thinking and spatial awareness.

Hi, I’m Victoria, an art and craft teacher at Newark City Schools, where I have the joy of working with middle school students to help them explore their creativity and develop their artistic talents. I believe that art is a powerful way for students to express themselves, and I strive to make every lesson a fun, engaging, and inspiring experience.
I created this website to share the art and craft projects, techniques, and resources that I use in my classroom, hoping to inspire both educators and young artists alike. Whether you’re a teacher looking for new ideas or a student eager to try something new, I’m excited to provide creative tools and projects that anyone can enjoy.
When I’m not in the classroom, I love experimenting with different art forms and learning new crafting techniques. My goal is to help others discover the joy of making things with their hands, and I hope my website serves as a space for everyone to explore their creative potential.