
The other day, I was cleaning out a drawer and found a messy pile of old colored paper—half-crumpled sheets, scraps from gift wrap, even a few paper bags. My first thought? This is junk. But then I remembered those rainy afternoons when my kids were younger, and how a simple stack of paper could keep them busy (and surprisingly creative) for hours. Honestly, isn’t it funny how kids don’t need fancy supplies? Give them paper, a pair of scissors, maybe some glue, and suddenly you’ve got a whole world of crafts for kids with paper right at your kitchen table. And let’s be real—sometimes you just need an activity that’s cheap, easy, and keeps little hands occupied without a ton of prep. That’s exactly what we’ll dive into here. I’ll share fun, simple ideas that spark creativity and bring a little calm (and joy) into your day.
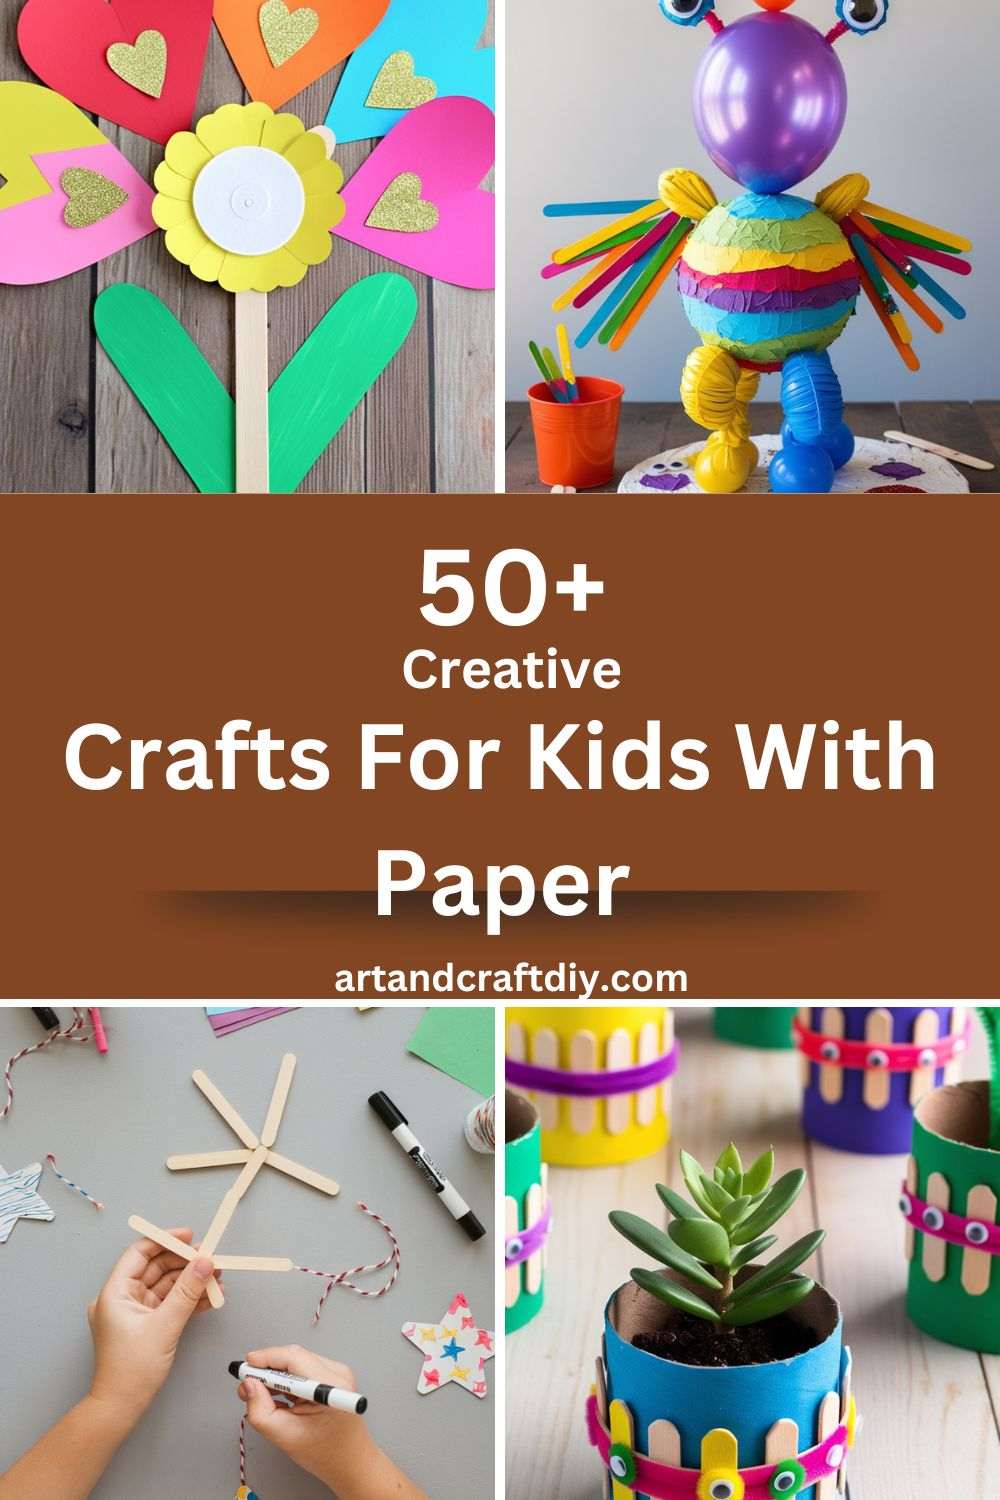
Crafts For Kids With Paper
Crafts For Kids With Paper are a fun and creative way for children to explore their imagination and develop fine motor skills.
Paper Plate Animals
I still remember the first time I handed a stack of plain paper plates to a bunch of kids and said, “Alright, let’s make animals.” Their faces lit up like I had just handed them gold. Honestly, the joy is in how simple this craft is. Give them some markers, a bit of paint, glue, and scraps of construction paper, and suddenly a plate turns into a lion, a bunny, or even a crazy-looking dragon if they feel like it. To be fair, half the fun is in how imperfect they turn out—sometimes a cat looks more like a porcupine, but the kids are so proud of it anyway.
What I’ve found is that this activity works wonders when you let go of control and just let their imaginations run wild. One little boy once glued five ears on his “dog” and insisted it was a superhero animal. And you know what? It was adorable. That’s the charm of paper plate animals—they don’t have to be right, they just have to be fun.
Paper Bag Puppets
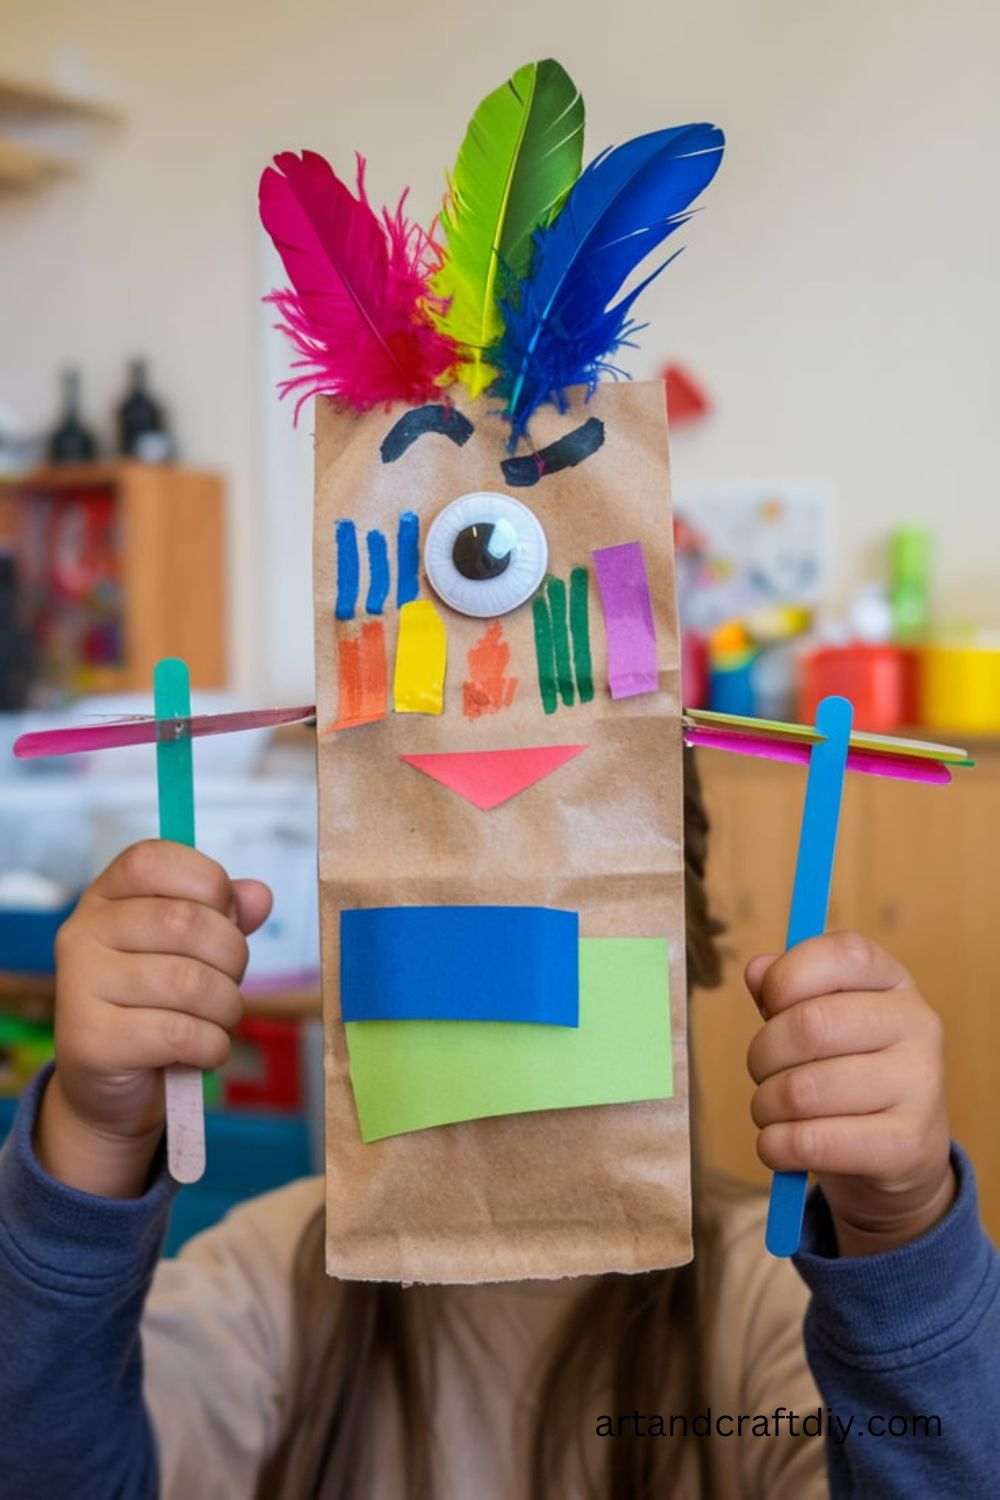
Oh, paper bag puppets bring back so many memories. When I was younger, my mom would save every spare brown lunch bag, and we’d turn them into characters—clowns, monsters, princesses, you name it. Kids today still get the same thrill. In my opinion, it’s not just about making a puppet, it’s about the stories that follow. After the glue dries and the googly eyes stick, suddenly there’s a whole theater show happening in your living room. And honestly, those silly puppet voices kids come up with? Pure magic.
I’ve seen shy kids come out of their shell through this craft. One little girl I worked with made a puppet with pink yarn hair and called her “Miss Rainbow.” That puppet did all the talking while she giggled behind it. It’s more than crafting—it’s storytelling, role play, and creativity bundled together in one brown paper bag. Simple, but unforgettable.
Paper Roll Planters

Now this one might sound a bit odd at first—planters made out of toilet paper rolls. But hear me out. They’re genius for little hands and beginner gardeners. I’ve always thought it’s such a clever way to reuse something we’d usually toss. You cut the roll, fold in the bottom, and suddenly you’ve got a mini pot perfect for planting seeds. Kids love the idea that something so ordinary can actually grow into a flower or even a tomato plant if you’re patient enough.
To be fair, I’ve had my fair share of messy soil spills with this craft. Kids get really excited when they’re scooping dirt, and sometimes it ends up everywhere but inside the roll. But honestly, that’s half the fun. What I love most is watching their faces weeks later when they see the first little green sprout poke through. It’s like their craft has come alive. And that moment is priceless
Paper Cup Wind Spinners
Make colorful wind spinners from paper cups for a fun outdoor craft activity.
Materials Needed:
- Paper cups
- Markers/paints
- Pipe cleaners or straws
- Scissors
Steps:
- Decorate the outside of a paper cup with colors or patterns.
- Poke a hole in the bottom of the cup and insert a pipe cleaner or straw for spinning.
- Hang it outside or near a fan to watch it spin.
Paper Star Garland
Create a beautiful garland of paper stars to decorate a room or a festive space.
Materials Needed:
- Colored paper
- Scissors
- String or yarn
- Glue or tape
Steps:
- Cut out star shapes from colored paper.
- Use glue or tape to attach the stars to a string or yarn.
- Hang the garland in your room or for a special occasion.
Paper Snowflakes
Cut out intricate paper snowflakes for winter decoration.

Materials Needed:
- White paper
- Scissors
- Markers (optional for decorating)
Steps:
- Fold a square piece of paper into a triangle.
- Fold again to form a smaller triangle, then cut small shapes along the edges.
- Unfold the paper to reveal your snowflake.
Paper Lanterns
These colorful paper lanterns are perfect for decorating for festivals or special occasions.
Materials Needed:
- Colored paper
- Scissors
- Glue or tape
- String (optional)
Steps:
- Cut the paper into a strip, then cut fringe along one long side.
- Roll the paper into a tube and glue the ends together.
- Optional: Add a string to hang the lantern, or place a small LED light inside.
Paper Mâché Balloons
Make fun paper mâché projects with balloons as a base, perfect for party decorations.
Materials Needed:
- Balloons
- Newspaper strips
- Flour, water (for paste)
- Paint (optional)
Steps:
- Inflate a balloon to the desired size.
- Dip newspaper strips into a flour-water paste and layer them over the balloon.
- Once dry, pop the balloon and decorate the paper mâché with paint or other supplies.
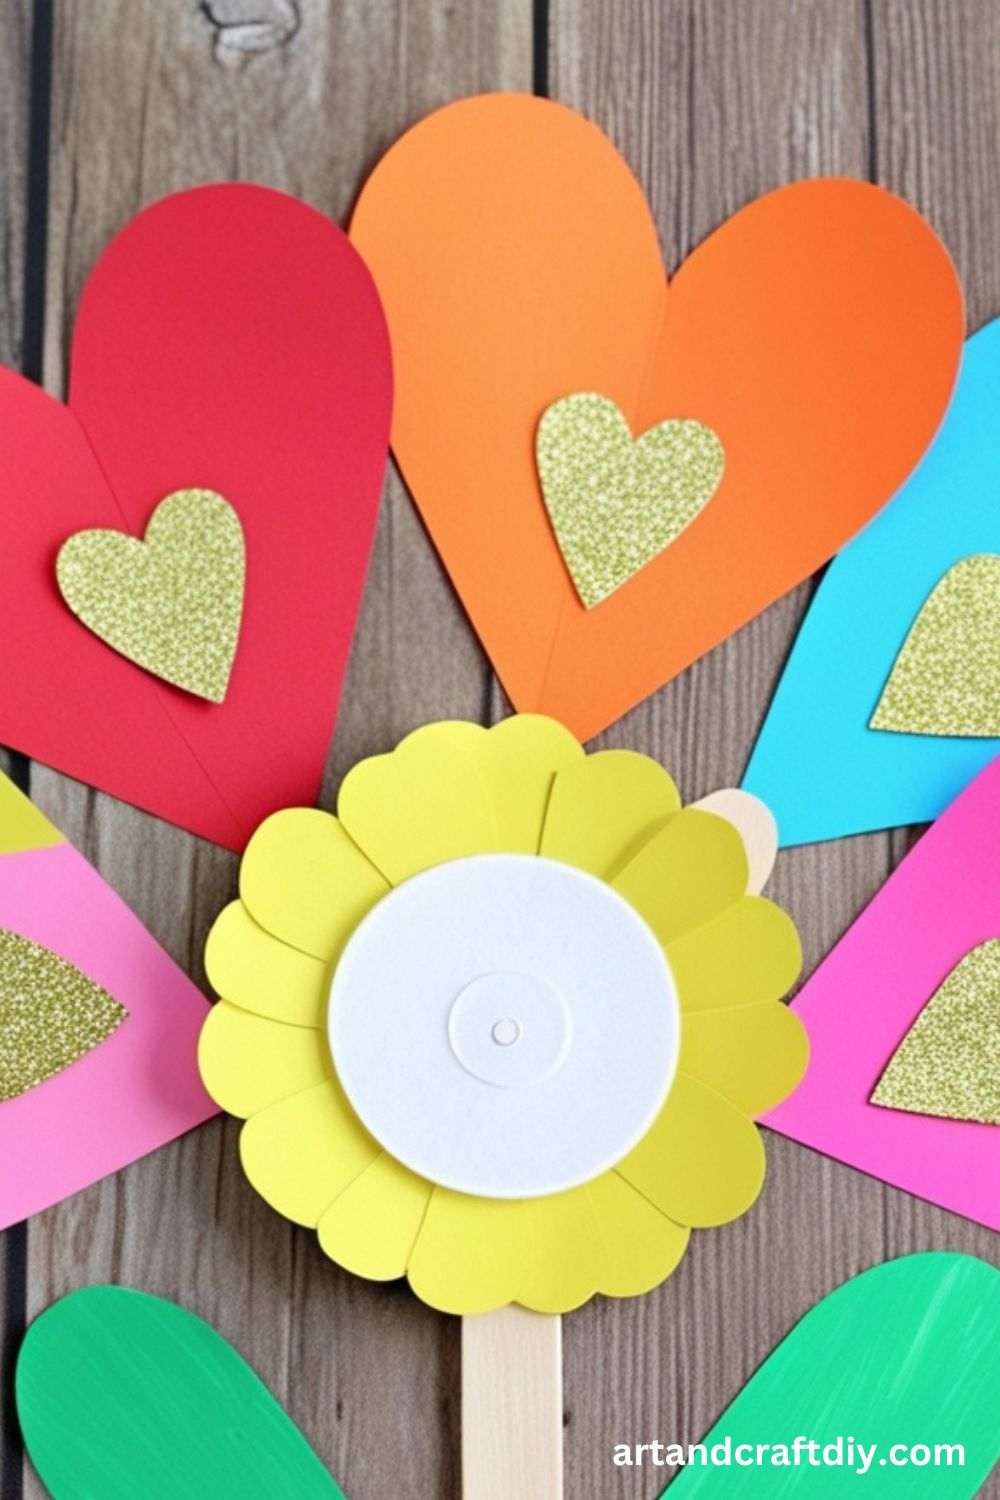
Paper Heart Flowers
Make heart-shaped flowers from paper to gift or decorate.
Materials Needed:
- Colored paper
- Scissors
- Glue
- Sticks or straws for stems
Steps:
- Cut out several heart shapes from paper.
- Fold the hearts in half, then glue them in layers to form a flower shape.
- Attach a stick or straw as the stem and your flower is ready!
Paper Boat
A classic paper boat that floats on water, perfect for playing in the bathtub or a small pool.

Materials Needed:
- A square piece of paper
- Water source (bathtub, pool)
Steps:
- Fold the paper in half diagonally.
- Fold the top corners down to meet at the center.
- Open up the paper and fold up the bottom of the paper to form a boat.
- Test the boat in water to see it float.
Origami Animals
Introduce kids to the art of origami with simple animal creations.
Materials Needed:
- Square sheets of paper
Steps:
- Choose an animal design and follow an easy step-by-step origami guide.
- Use folding techniques to form animals like cranes, frogs, or dogs.
Paper Butterfly
Make a colorful paper butterfly using a folding technique.
Materials Needed:
- Colored paper
- Scissors
- Glue
- Pipe cleaner
Steps:
- Cut the paper into a square shape.
- Fold the paper in half both vertically and horizontally.
- Cut the paper into a butterfly shape and fold the wings.
- Twist a pipe cleaner to form an antenna and glue it to the center.
Paper Straw Stars
Create star-shaped decorations using paper straws for a patriotic or festive display.
Materials Needed:
- Paper straws
- Scissors
- Glue
- Glitter (optional)
Steps:
- Cut the paper straws into different lengths.
- Arrange them into a star shape and glue them together.
- Decorate the star with glitter for a sparkly touch.
Paper Circle Garland
A simple yet colorful paper circle garland that adds charm to any space.
Materials Needed:
- Colored paper
- Scissors
- Glue or tape
- String or thread
Steps:
- Cut the paper into small circles.
- Glue the circles onto a string, spacing them evenly.
- Hang the garland in your home or classroom.
Paper Fish Mobiles
Create a colorful mobile of paper fish for a beach or ocean-themed room.
Materials Needed:
- Colored paper
- Scissors
- Glue
- Thread or string
Steps:
- Cut out fish shapes from colored paper.
- Attach the fish to strings or thread.
- Hang the strings from a hanger or frame to create a mobile.
Paper Cookie Craft
Make pretend cookies using paper and enjoy a pretend baking session!
Materials Needed:
- Brown paper (for cookie base)
- Colored paper (for sprinkles or toppings)
- Scissors
- Glue
Steps:
- Cut out circle shapes from brown paper to form cookie bases.
- Cut small shapes from colored paper to create sprinkles or decorations.
- Glue the decorations onto the cookies.
Paper Fish Art
Create a fun and vibrant fish using paper, perfect for an ocean theme.
Materials Needed:
- Construction paper
- Scissors
- Glue
- Markers or crayons
Steps:
- Cut a fish shape out of construction paper.
- Use markers or crayons to add details like scales, fins, and eyes.
- Decorate with extra paper elements, such as bubbles or seaweed.
Paper Caterpillar
A simple and cute craft that teaches counting as you create each body segment.
Materials Needed:
- Colored paper
- Scissors
- Glue
- Googly eyes (optional)
Steps:
- Cut colored paper into small circles.
- Glue them together to form the caterpillar’s body.
- Add googly eyes and a mouth for extra personality.
Paper Snowman
Create a fun snowman that can be hung as decoration during winter.
Materials Needed:
- White paper
- Scissors
- Glue
- Construction paper (for scarf, hat, etc.)
- Markers
Steps:
- Cut three circles of different sizes from white paper and stack them.
- Decorate the snowman with a hat, scarf, and facial features.
- Use markers to add arms or buttons.
Paper Rocket
Blast off into space with a fun paper rocket craft!
Materials Needed:
- Construction paper
- Glue
- Scissors
- Markers
Steps:
- Roll a piece of construction paper into a cone shape to create the rocket body.
- Cut out fins and glue them to the base of the rocket.
- Decorate the rocket with colors and patterns using markers.
Paper Puzzle
Make a simple paper puzzle that can be solved and reassembled multiple times.
Materials Needed:
- Stiff paper or cardboard
- Scissors
- Markers or crayons
Steps:
- Draw a picture or design on a stiff piece of paper.
- Cut the paper into various puzzle pieces.
- Scramble the pieces and put them back together like a traditional puzzle.
Paper Christmas Tree
Create a festive paper Christmas tree for holiday decoration.
Materials Needed:
- Green paper
- Scissors
- Glue or tape
- Decorative items (stickers, glitter, beads)
Steps:
- Cut out triangles from green paper to form the layers of the tree.
- Stack the layers from largest to smallest to create a tree shape.
- Decorate the tree with glitter, stickers, or beads.
Paper Birds
Craft simple paper birds that can be hung or used in nature projects.
Materials Needed:
- Construction paper
- Scissors
- Glue
- Markers or crayons
Steps:
- Cut out a bird shape from construction paper.
- Decorate the bird with features like feathers and a beak.
- Use glue to add details, or hang the bird as a mobile.
Paper Crown
Design and wear your own paper crown for pretend play.
Materials Needed:
- Colored paper
- Scissors
- Glue or tape
- Decorative materials (stickers, jewels)
Steps:
- Cut a strip of colored paper to fit around your head.
- Decorate the crown with jewels, stickers, or drawings.
- Glue the ends together to form a circular crown.
Paper Ice Cream Cone
Create an ice cream cone using paper, perfect for a pretend ice cream parlor.
Materials Needed:
- Construction paper
- Scissors
- Glue
- Crayons or markers
Steps:
- Cut a triangle from brown paper for the cone.
- Cut a circle or oval for the ice cream scoop and decorate with fun colors.
- Attach the scoop on top of the cone and add any desired toppings like sprinkles.
Paper Handprint Tree
A handprint tree is a beautiful craft where kids use their hands to make leaves.
Materials Needed:
- Colored paper
- Scissors
- Glue
- Markers (optional)
Steps:
- Trace your child’s hand on green paper, then cut out the handprints.
- Arrange them as the tree’s leaves and glue them onto a brown tree trunk.
- Add optional details like fruit or flowers using markers.
Paper Pinwheels
Make a colorful pinwheel that twirls in the wind.
Materials Needed:
- Square paper
- Scissors
- Push pin
- Stick or straw
Steps:
- Cut the corners of the square paper towards the center, but don’t cut all the way.
- Fold each corner to the center and secure with a push pin.
- Attach the pinwheel to a stick or straw, and watch it spin in the wind
Tips for Success in Paper Crafts
Crafts For Kids With Paper is a fun and rewarding hobby that allows you to create everything from simple greeting cards to intricate scrapbooks and home decor pieces. Whether you’re a beginner or an experienced crafter, the following tips will help you elevate your paper crafting skills and make your projects even more enjoyable.
1. Safety Tips When Using Scissors and Glue
- Use child-safe scissors if you’re crafting with children or if you’re new to using cutting tools.
- Always cut away from your body and keep your fingers away from the blade to avoid accidental cuts.
- For precision cutting, use craft knives or scissors with pointed tips, but always cut on a cutting mat to protect your work surface.
- When using glue, opt for a fine-tip glue bottle to prevent excess glue from spilling onto your paper. Also, always use glue in a well-ventilated area to avoid inhaling fumes from strong adhesives.
- Store all sharp objects, like scissors and knives, safely out of reach of children or pets.
2. Encouraging Creativity and Personalization in Projects
- Don’t be afraid to experiment with different materials. Beyond paper, try adding embellishments such as buttons, ribbons, or fabric to give your projects a unique touch.
- Personalize your paper crafts by incorporating your favorite colors, patterns, or themes that reflect your personality and style.
- Use stamps, stencils, and die cuts to create custom designs and add flair to your projects. You can even design your own stamps or stencils if you’re feeling adventurous.
- Incorporate your own hand lettering or drawings. This adds a special, one-of-a-kind element to any card, scrapbook page, or decorative piece.
3. How to Turn Mistakes into Opportunities for Improvement
- Embrace imperfections: Mistakes can add character to your project. For example, a smudge or slight tear can be incorporated into the design as a creative feature.
- Adapt and cover mistakes: If you cut a piece of paper wrong or make a glue mess, don’t worry. Consider covering the mistake with a decorative embellishment, such as a flower, sticker, or a stamped image.
- Repurpose and rethink: If something doesn’t go as planned, think about how you can adjust your design. A miscut edge could become part of a distressed or vintage look, and excess glue can be wiped off before it sets.
- Learn from your mistakes: Every mistake offers a chance to improve. Take note of what went wrong, so you can refine your techniques and make fewer errors in the future.
By following these tips, you’ll not only improve your paper crafting skills but also make the process more enjoyable and creative. Whether you’re crafting for fun or creating personalized gifts, let your imagination run wild, and remember, every project is a learning opportunity!
Creative Paper Play Ideas
Paper is a versatile material that can spark creativity in many ways. Whether you’re looking for fun activities for kids or crafting inspiration for a DIY project, paper provides endless possibilities for imaginative play. Here are a few creative paper play ideas to inspire your next crafting session!
1. Paper Masks
Creating masks from paper is an exciting way to bring characters to life for dress-up or role-play activities. Here’s how you can make your own fun and unique masks:
- Materials Needed: Construction paper, scissors, glue, elastic bands, markers/crayons, and decorations (feathers, sequins, etc.).
- Instructions:
- Cut a piece of paper into a mask shape that fits comfortably on your face.
- Cut out holes for the eyes, and decorate the mask with fun colors and textures.
- Add an elastic band or string to the sides so you can wear it.
- Use the mask for dress-up, playtime, or themed parties.
- Ideas for Customization: Create animal faces, superhero masks, or mythical creatures for different play scenarios.
2. Paper Jewelry
Transform paper into wearable art by crafting beads, necklaces, and bracelets. Paper jewelry is a great way to express your style with a personal touch.
- Materials Needed: Colored paper, scissors, glue, string or elastic cord, beads or buttons (optional).
- Instructions:
- Cut strips of colored paper and roll them tightly to form beads. Secure the ends with glue.
- String the beads onto a piece of elastic cord or thread to create a necklace or bracelet.
- For added flair, combine paper beads with real beads, buttons, or other decorative elements.
- Wear your creations or gift them to friends and family!
- Ideas for Customization: Experiment with different shapes, sizes, and colors for varied styles. Try creating paper flowers or shapes for added charm.
3. Paper Costumes
If you’re looking to get creative for a party or school play, paper costumes are a fantastic DIY option. These costumes can be simple or elaborate, depending on your design.
- Materials Needed: Large sheets of paper (butcher paper, construction paper, or recycled paper), glue, tape, scissors, and markers or paint.
- Instructions:
- Choose a theme (animals, superheroes, historical figures) and sketch out your design on a large piece of paper.
- Cut and assemble the paper pieces into wearable items such as skirts, capes, or hats.
- Decorate the costume using markers, paint, or additional paper cutouts.
- Secure the pieces using glue or tape and add straps or ties to ensure the costume fits.
- Ideas for Customization: Make a robot suit with metallic paper, a fairy dress with flower petals, or a pirate outfit using printed designs on paper. For larger costumes, think about paper mache for added volume.
These creative paper play ideas not only encourage crafting skills but also provide endless hours of fun and imagination. So gather some paper and start crafting your next masterpiece!
FAQ
What are some fun Crafts For Kids With Paper?
There are lots of fun Crafts For Kids With Paper, such as making paper animals, paper flowers, paper airplanes, or creating simple greeting cards. You can also try making paper chains, paper masks, or paper boats that float on water.
How can I make paper animals?
To make paper animals, you can start by cutting out shapes from colored paper, such as circles, triangles, and ovals. You can then glue or tape the pieces together to form animals like cats, dogs, or elephants. Add eyes, ears, and noses with markers or googly eyes to complete the look!
What supplies do I need for Crafts For Kids With Paper?
For most paper crafts, you’ll need basic supplies like colored paper, scissors, glue, tape, and markers. You can also use items like stickers, googly eyes, or buttons for decoration, depending on the project.
Can I make paper crafts without glue or scissors?
Yes! Some paper crafts, like paper folding (origami) or paper weaving, don’t require glue or scissors. You can simply fold or interlace paper strips to create beautiful designs or objects.

Hi, I’m Victoria, an art and craft teacher at Newark City Schools, where I have the joy of working with middle school students to help them explore their creativity and develop their artistic talents. I believe that art is a powerful way for students to express themselves, and I strive to make every lesson a fun, engaging, and inspiring experience.
I created this website to share the art and craft projects, techniques, and resources that I use in my classroom, hoping to inspire both educators and young artists alike. Whether you’re a teacher looking for new ideas or a student eager to try something new, I’m excited to provide creative tools and projects that anyone can enjoy.
When I’m not in the classroom, I love experimenting with different art forms and learning new crafting techniques. My goal is to help others discover the joy of making things with their hands, and I hope my website serves as a space for everyone to explore their creative potential.