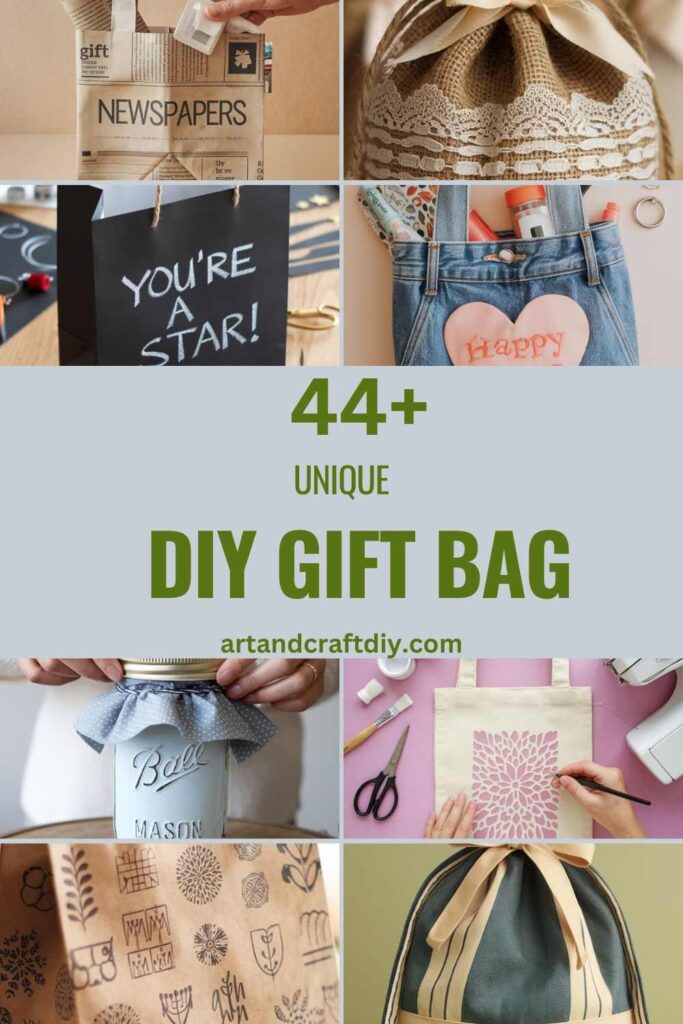
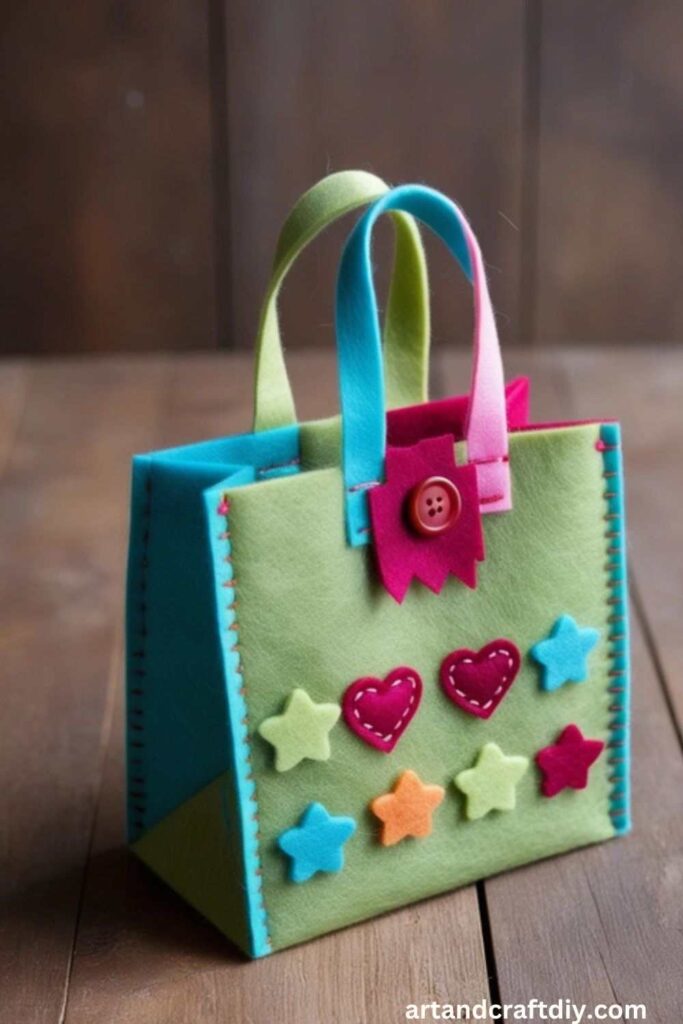
Gift-giving is an art that becomes even more meaningful with personal touches. Adding a unique flair to your presents shows thoughtfulness and care, making the recipient feel truly special. One creative way to achieve this is through DIY Gift Bag, which allow you to customize the presentation to suit the occasion and the recipient’s preferences. Beyond aesthetics, creating your own gift bags is a fulfilling activity that enhances the joy of giving.
When you personalize a gift, it communicates effort, love, and attention to detail. A handmade gift bag, tailored with colors, patterns, or designs that resonate with the recipient, adds an extra layer of charm. It transforms a simple gift into a memorable gesture, emphasizing the sentiment behind the present.
DIY Gift Bag
A DIY Gift Bag is a personalized, handmade bag crafted to package gifts creatively and thoughtfully. It’s an excellent alternative to store-bought options, allowing you to customize the design, size, and materials to match the occasion or recipient’s personality. Made from materials like paper, fabric, or recycled items, DIY Gift Bag are cost-effective, environmentally friendly, and add a personal touch that enhances the gifting experience. Perfect for birthdays, holidays, or special events, they showcase your creativity and care.
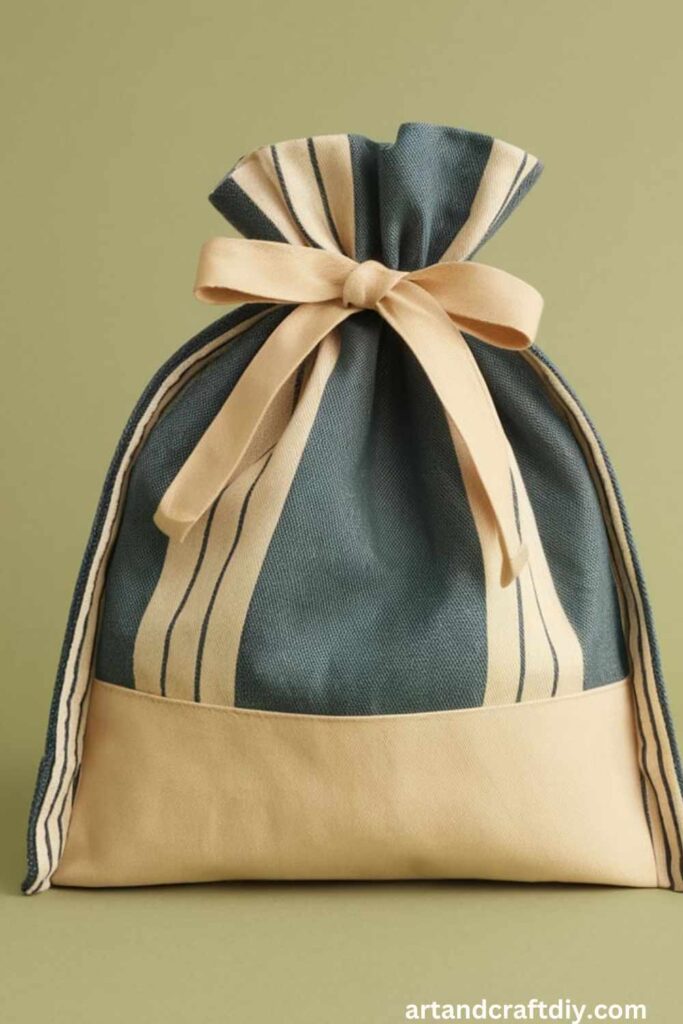
Fabric Drawstring Gift Bag
A reusable and eco-friendly option, fabric drawstring gift bags are perfect for wrapping small to medium-sized gifts like jewelry, candles, or toiletries.
Materials Needed
- Fabric (cotton or linen works best)
- Scissors
- Sewing machine or needle and thread
- Ribbon or cord
- Measuring tape
Steps
- Measure and cut two identical rectangles of fabric, ensuring they are slightly larger than the size of the gift.
- Place the fabric pieces together with the patterned sides facing inwards.
- Sew along three sides, leaving the top open.
- Fold the top edges down about 1 inch and sew to create a casing for the drawstring.
- Turn the bag right side out and thread the ribbon or cord through the casing.
- Tie the drawstring to secure your gift.
Brown Paper Gift Bag with Stamped Designs
A classic and rustic option, this bag is versatile and perfect for any occasion.
Materials Needed
- Brown kraft paper
- Scissors
- Glue or tape
- Rubber stamps and ink pad
- String or ribbon
Steps
- Cut the kraft paper into a rectangular shape.
- Fold the paper into a bag shape by bringing the sides together and gluing or taping them.
- Fold the bottom edges to create a flat base and secure it with glue or tape.
- Use rubber stamps to decorate the bag with patterns or messages.
- Punch two holes at the top and thread the string or ribbon through to close the bag.
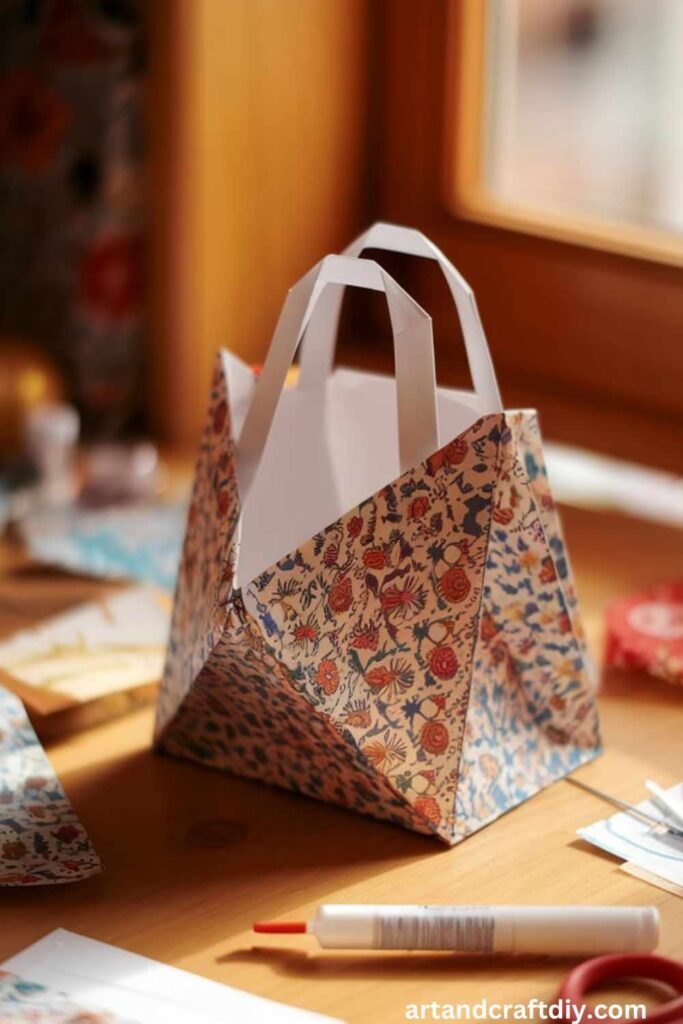
Origami Gift Bag
Origami gift bags are lightweight and elegant, perfect for small gifts like candies or jewelry.
Materials Needed
- Decorative paper (origami paper or wrapping paper)
- Ruler
- Double-sided tape
Steps
- Start with a square piece of paper.
- Fold the paper in half diagonally and then unfold.
- Fold two opposite edges toward the center crease to create a kite shape.
- Fold the bottom up to create the base of the bag. Secure it with double-sided tape.
- Open the bag and adjust the folds to form the bag shape.
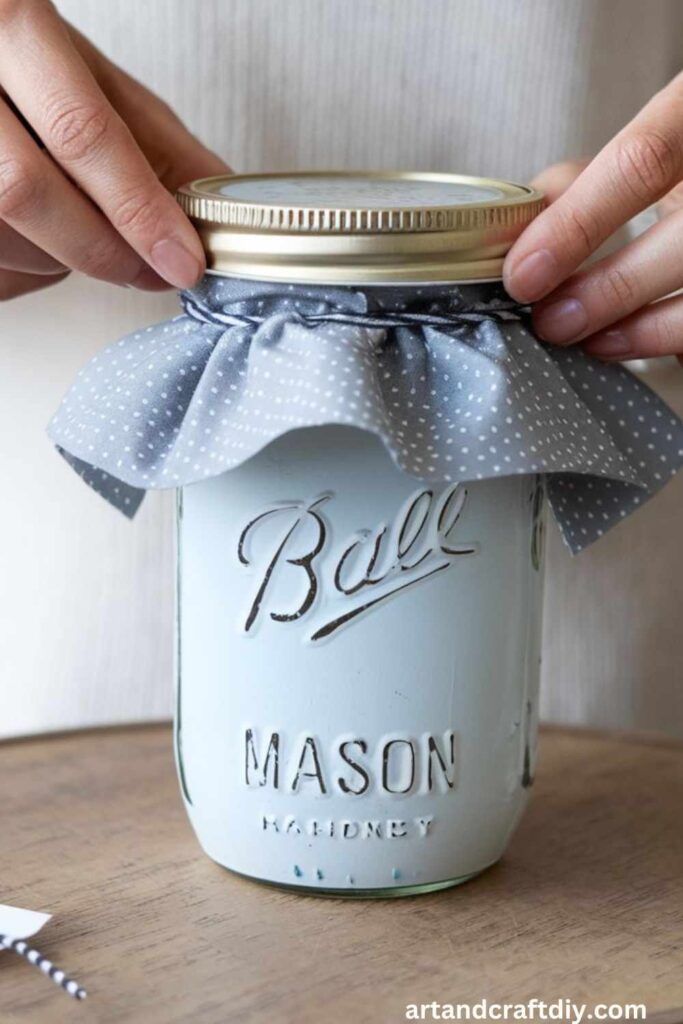
Mason Jar Gift Bag
Combine a mason jar and a simple paper bag for a rustic and reusable gift wrap.
Materials Needed
- Mason jar
- Brown paper bag
- Ribbon or twine
- Decorative stickers or stamps
Steps
- Place your gift inside the mason jar and close the lid.
- Cut the bottom off a paper bag and slide it over the mason jar.
- Decorate the paper bag with stickers or stamps.
- Secure the top with ribbon or twine and tie a bow.
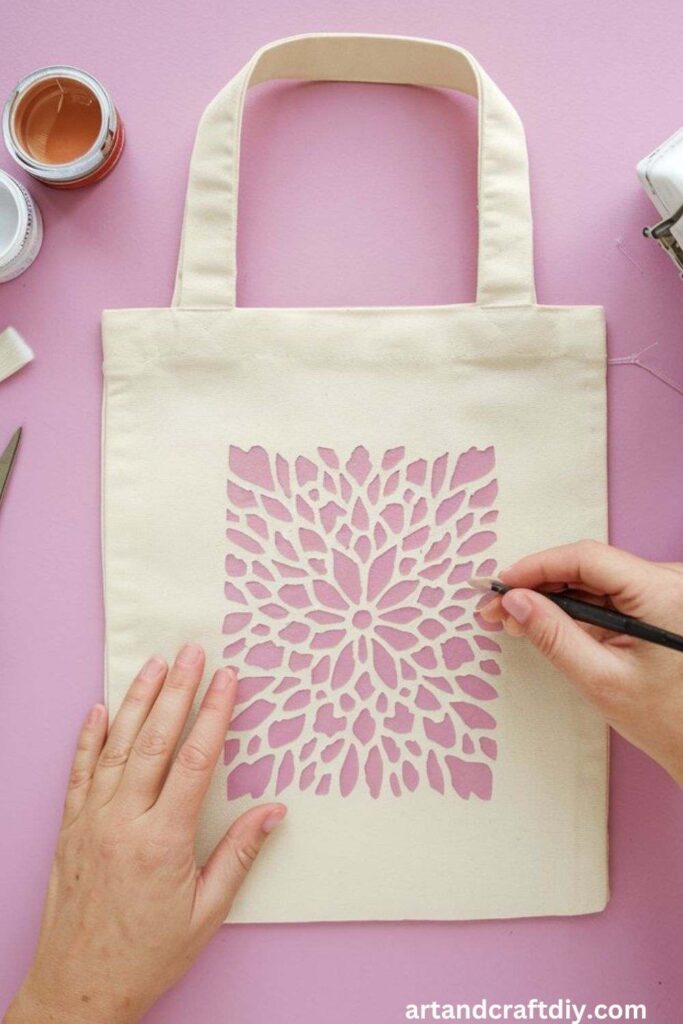
Stenciled Fabric Gift Bag
Add a personal touch to a plain fabric bag with stencils and fabric paint.
Materials Needed
- Plain fabric bag
- Fabric paint
- Stencils
- Sponge or brush
Steps
- Place the stencil on the fabric bag and secure it with tape.
- Dip the sponge or brush into the fabric paint and dab it over the stencil.
- Remove the stencil carefully and let the paint dry.
- Repeat the process to create patterns or designs as desired.
Burlap Gift Bag with Lace
This rustic and charming bag is perfect for weddings or vintage-themed events.
Materials Needed
- Burlap fabric
- Lace trim
- Needle and thread
- Ribbon
Steps
- Cut a rectangular piece of burlap fabric.
- Fold it in half and sew along the sides, leaving the top open.
- Sew or glue the lace trim around the top edge of the bag.
- Place the gift inside and tie the bag closed with a ribbon.
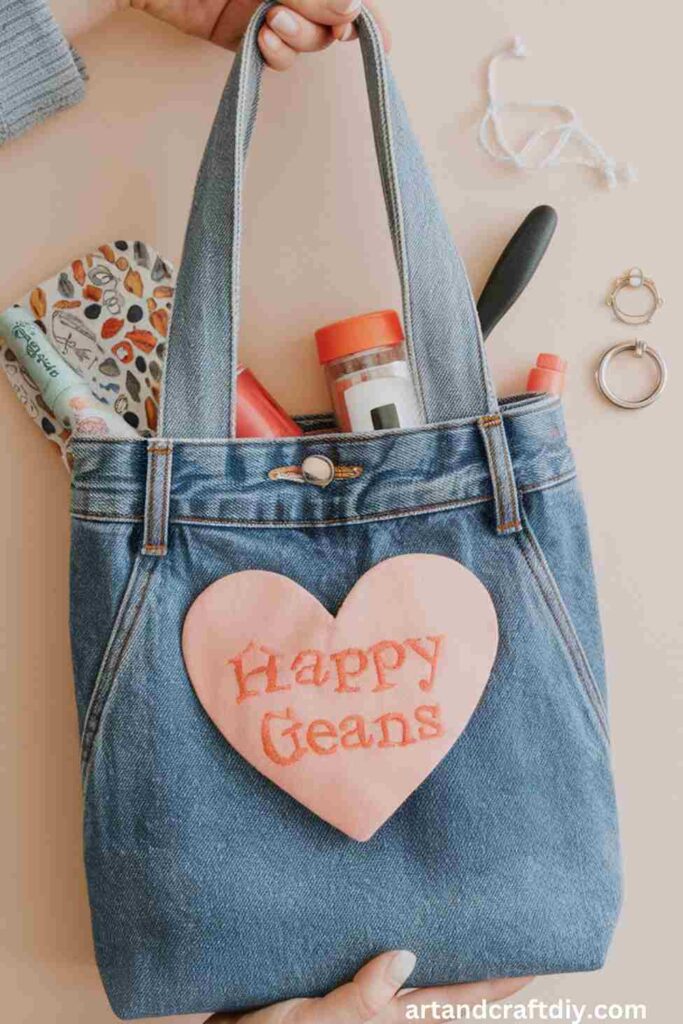
Upcycled Denim Gift Bag
Give old jeans a new purpose by turning them into gift bags.
Materials Needed
- Old denim jeans
- Scissors
- Needle and thread or sewing machine
- Decorative buttons or patches
Steps
- Cut a section of the denim leg to the desired size.
- Turn it inside out and sew along the bottom edge.
- Turn the bag right side out and add decorative buttons or patches.
- Place your gift inside and fold over the top edge to close.
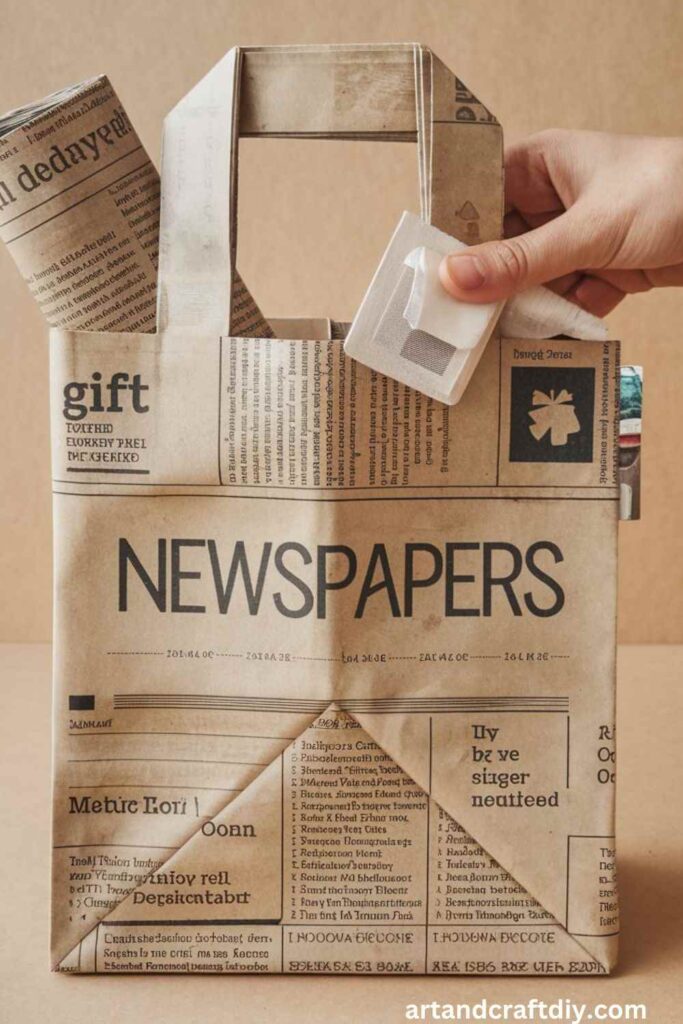
Newspaper Gift Bag
Eco-friendly and stylish, newspaper gift bags are a great way to recycle.
Materials Needed
- Newspaper sheets
- Glue or tape
- Ribbon or string
Steps
- Fold the newspaper sheet in half to form a rectangle.
- Glue or tape the sides together to create a tube.
- Fold the bottom edges to create a flat base and secure it with glue or tape.
- Punch two holes at the top and thread ribbon or string through to close the bag.
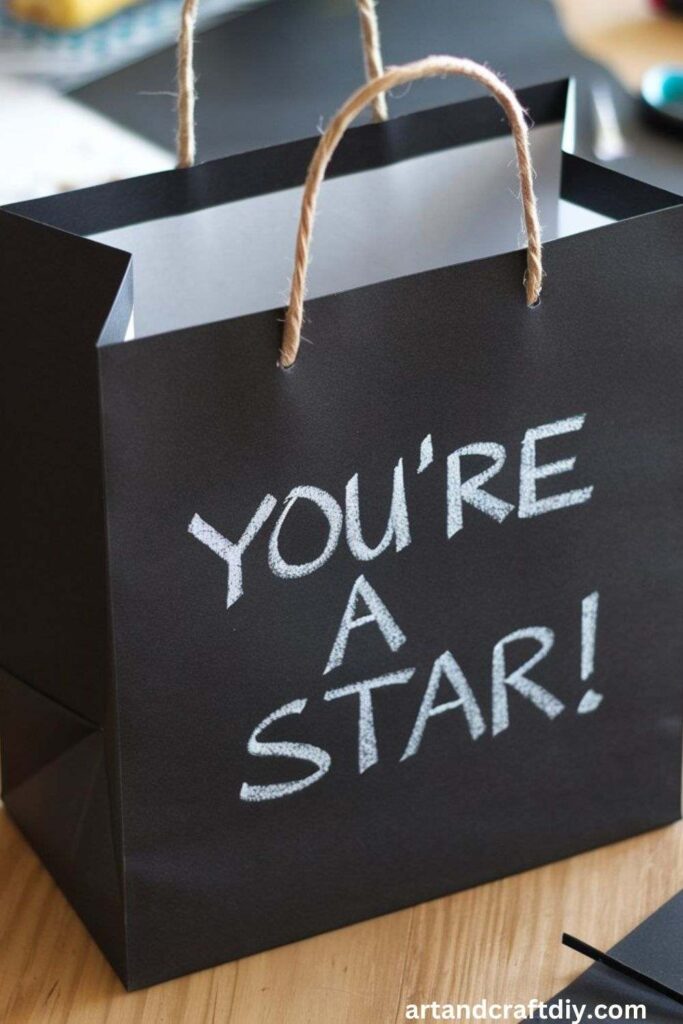
Chalkboard Paper Gift Bag
A trendy option, chalkboard paper gift bags can be customized with messages or drawings.
Materials Needed
- Chalkboard paper
- Scissors
- Glue or tape
- Chalk or chalk markers
Steps
- Cut the chalkboard paper into a rectangular shape.
- Fold it into a bag shape and secure the sides with glue or tape.
- Fold the bottom edges to create a flat base.
- Use chalk or chalk markers to write messages or draw designs on the bag.
Felt Gift Bag
Soft and colorful, felt gift bags are perfect for small gifts and party favors.
Materials Needed
- Felt sheets
- Scissors
- Needle and thread
- Buttons or beads
Steps
- Cut two identical pieces of felt to the desired size.
- Sew the pieces together along three sides, leaving the top open.
- Decorate the bag with buttons or beads.
- Place the gift inside and sew or tie the top to close.
Kraft Paper Stamped Gift Bag
Kraft paper bags are a blank canvas for your creativity. This idea allows you to design gift bags with personalized stamped patterns.
Materials Used:
- Kraft paper bags
- Rubber stamps
- Ink pads in various colors
- Ribbon or twine
Steps to Make:
- Lay your kraft paper bag on a flat surface.
- Select your rubber stamps and ink colors.
- Press the stamp onto the ink pad and ensure it’s evenly coated.
- Press the stamp firmly onto the bag, repeating as needed to create your pattern.
- Let the ink dry completely.
- Add a ribbon or twine bow to the handle for a polished touch.
Washi Tape Gift Bag
Washi tape allows you to add colorful and decorative designs to plain gift bags with ease.
Materials Used:
- Plain paper bags (white or kraft)
- Washi tape in various patterns
- Scissors
Steps to Make:
- Choose a design or pattern you’d like to create.
- Cut strips of washi tape and place them on the bag in your chosen pattern, such as stripes, zigzags, or a random collage.
- Smooth the tape down to avoid bubbles or lifting edges.
- Trim any excess tape hanging over the edges.
Chalkboard Gift Bag
Chalkboard paint transforms a bag into a writable surface, allowing you to add custom messages.
Materials Used:
- Kraft paper bag
- Chalkboard paint
- Paintbrush
- Chalk or chalk markers
Steps to Make:
- Apply a layer of chalkboard paint to the front of the bag using a paintbrush.
- Let it dry completely, then add a second coat for opacity.
- Once dry, use chalk or chalk markers to write your message or draw designs.
- Erase and redo designs as desired.
Hand-Painted Gift Bag
Show off your artistic skills with hand-painted designs on your gift bags.
Materials Used:
- Plain paper bags
- Acrylic paints
- Paintbrushes
- Stencils (optional)
Steps to Make:
- Sketch your design lightly on the bag if needed.
- Paint your design onto the bag using acrylic paints.
- Use stencils for consistent shapes or patterns.
- Let the paint dry completely before using the bag.
Fabric Scraps Gift Bag
Repurpose fabric scraps to create a textured and eco-friendly gift bag.
Materials Used:
- Plain paper or fabric bags
- Fabric scraps
- Hot glue gun or fabric glue
- Scissors
Steps to Make:
- Cut fabric scraps into shapes or patterns, such as hearts, stars, or geometric designs.
- Arrange the pieces on the bag to form your desired layout.
- Glue each piece onto the bag and let it dry.
Nature-Inspired Gift Bag
Bring the outdoors to your gift bags with leaves, flowers, and other natural elements.
Materials Used:
- Plain paper bags
- Pressed leaves or flowers
- Mod Podge or craft glue
- Paintbrush
Steps to Make:
- Arrange pressed leaves or flowers on the bag to plan your design.
- Use Mod Podge or glue to attach the items to the bag.
- Apply a thin layer of Mod Podge over the top to seal them.
- Allow it to dry completely before use.
Button Embellished Gift Bag
Old buttons can add charm and color to a plain gift bag.
Materials Used:
- Paper or fabric bags
- Assorted buttons
- Needle and thread or hot glue
Steps to Make:
- Select buttons in different sizes and colors.
- Plan your design, such as a floral pattern or geometric arrangement.
- Sew or glue the buttons onto the bag.
- Let the glue dry if used.
Ribbon Handle Upgrade
Transform basic paper bags by upgrading their handles with colorful ribbons.
Materials Used:
- Paper bags with handles
- Satin or grosgrain ribbon
- Scissors
- Glue or tape
Steps to Make:
- Remove the original handles from the bag.
- Cut ribbon to the desired length for handles.
- Attach the ribbon to the bag using glue or tape.
- Add decorative bows or knots to the ribbon for extra flair.
Embroidered Paper Gift Bag
Combine embroidery with paper crafting for a one-of-a-kind gift bag.
Materials Used:
- Thick paper bags
- Embroidery needle
- Embroidery thread
- Pencil
Steps to Make:
- Draw your design lightly on the bag.
- Use the needle to punch holes along the design.
- Thread the needle and begin embroidering through the holes.
- Tie off the thread and trim excess.
DIY Printed Fabric Gift Bag
Use custom-printed fabric to create reusable and stylish gift bags.
Materials Used:
- Fabric with printed designs
- Sewing machine or needle and thread
- Ribbon or drawstring
Steps to Make:
- Cut the fabric into a rectangle.
- Fold it in half with the design facing inward.
- Sew the sides and bottom to create a pouch.
- Turn the bag right side out and add a drawstring or ribbon at the top.
Versatility and personalization benefits of DIY gift bags.
DIY gift bags offer an ideal way to express creativity, add a personal touch, and ensure that the recipient feels special. Not only do they allow for endless customization options, but they also enable you to craft a unique experience tailored to the individual’s preferences. The versatility and personalization benefits of DIY gift bags make them an excellent choice for any occasion.
Benefits of DIY Gift Bags:
- Tailored to Individual Preferences:
- You can personalize the design, colors, and contents to match the recipient’s personality, making the gift feel thoughtful and unique.
- Endless Customization Options:
- From materials and textures to the way the bag is shaped and decorated, DIY gift bags give you the freedom to experiment with different styles, themes, and creative ideas.
- Cost-Effective:
- DIY gift bags can be made from affordable materials, often utilizing items you already have at home. This allows you to create something beautiful without breaking the bank.
- Perfect for Any Occasion:
- Whether it’s a birthday, holiday, wedding, or just a small token of appreciation, DIY gift bags can be tailored to fit any theme or celebration, making them suitable for all types of events.
- Environmentally Friendly:
- By using recycled materials or natural elements, DIY gift bags are a sustainable option that reduces waste and promotes eco-conscious gifting.
Where to Use DIY Gift Bags
DIY gift bags are a creative and personalized way to wrap presents for any occasion. They allow you to add a personal touch, making the gift-giving experience even more memorable. Whether you’re celebrating a milestone or showing appreciation, DIY gift bags can be tailored to suit any theme or event. Here are some great ideas on where and how to use them:
1. Birthdays
- DIY gift bags add a unique and personal flair to birthday presents.
- Customize with the birthday person’s favorite colors, themes, or even their name.
- Perfect for party guests, especially when filled with party favors.
2. Holidays
- Whether it’s Christmas, Halloween, Easter, or any other holiday, DIY gift bags can be decorated to reflect the festive spirit.
- Add holiday-themed embellishments, such as ribbons, stickers, or stamps, for an extra touch.
- Great for family, friends, or coworkers.
3. Weddings
- DIY gift bags are an elegant choice for wedding favors, filled with little tokens of appreciation for guests.
- Use materials that match the wedding theme, such as lace, burlap, or satin ribbons.
- Can also be used for bridal shower or engagement party gifts.
4. Party Favors
- Perfect for small parties and gatherings.
- Fill with themed treats, trinkets, or small toys for a memorable party favor.
- Personalize each bag with a message or the guest’s name for an added touch.
FAQ
What materials do I need to make a DIY gift bag?
To create your own gift bag, you’ll need materials such as sturdy paper (like kraft paper), scissors, glue or double-sided tape, ribbons or twine, markers or paint for decoration, and a hole puncher for handles.
Can I use fabric to make a DIY gift bag?
Yes! Fabric can be a great alternative to paper for creating reusable gift bags. You can use fabric such as cotton or felt, and you may need a sewing machine or fabric glue to secure the edges.
How do I create handles for my DIY gift bag?
You can make handles using ribbon, twine, or even strips of paper. Simply use a hole puncher to make holes at the top of the gift bag and thread your chosen material through.
What kind of decorations can I add to the gift bag?
Decorations can range from simple hand-drawn designs, stamped images, or painted patterns, to embellishments like stickers, glitter, or small embellishments. The sky’s the limit for personalizing your bag!

Hi, I’m Victoria, an art and craft teacher at Newark City Schools, where I have the joy of working with middle school students to help them explore their creativity and develop their artistic talents. I believe that art is a powerful way for students to express themselves, and I strive to make every lesson a fun, engaging, and inspiring experience.
I created this website to share the art and craft projects, techniques, and resources that I use in my classroom, hoping to inspire both educators and young artists alike. Whether you’re a teacher looking for new ideas or a student eager to try something new, I’m excited to provide creative tools and projects that anyone can enjoy.
When I’m not in the classroom, I love experimenting with different art forms and learning new crafting techniques. My goal is to help others discover the joy of making things with their hands, and I hope my website serves as a space for everyone to explore their creative potential.

