
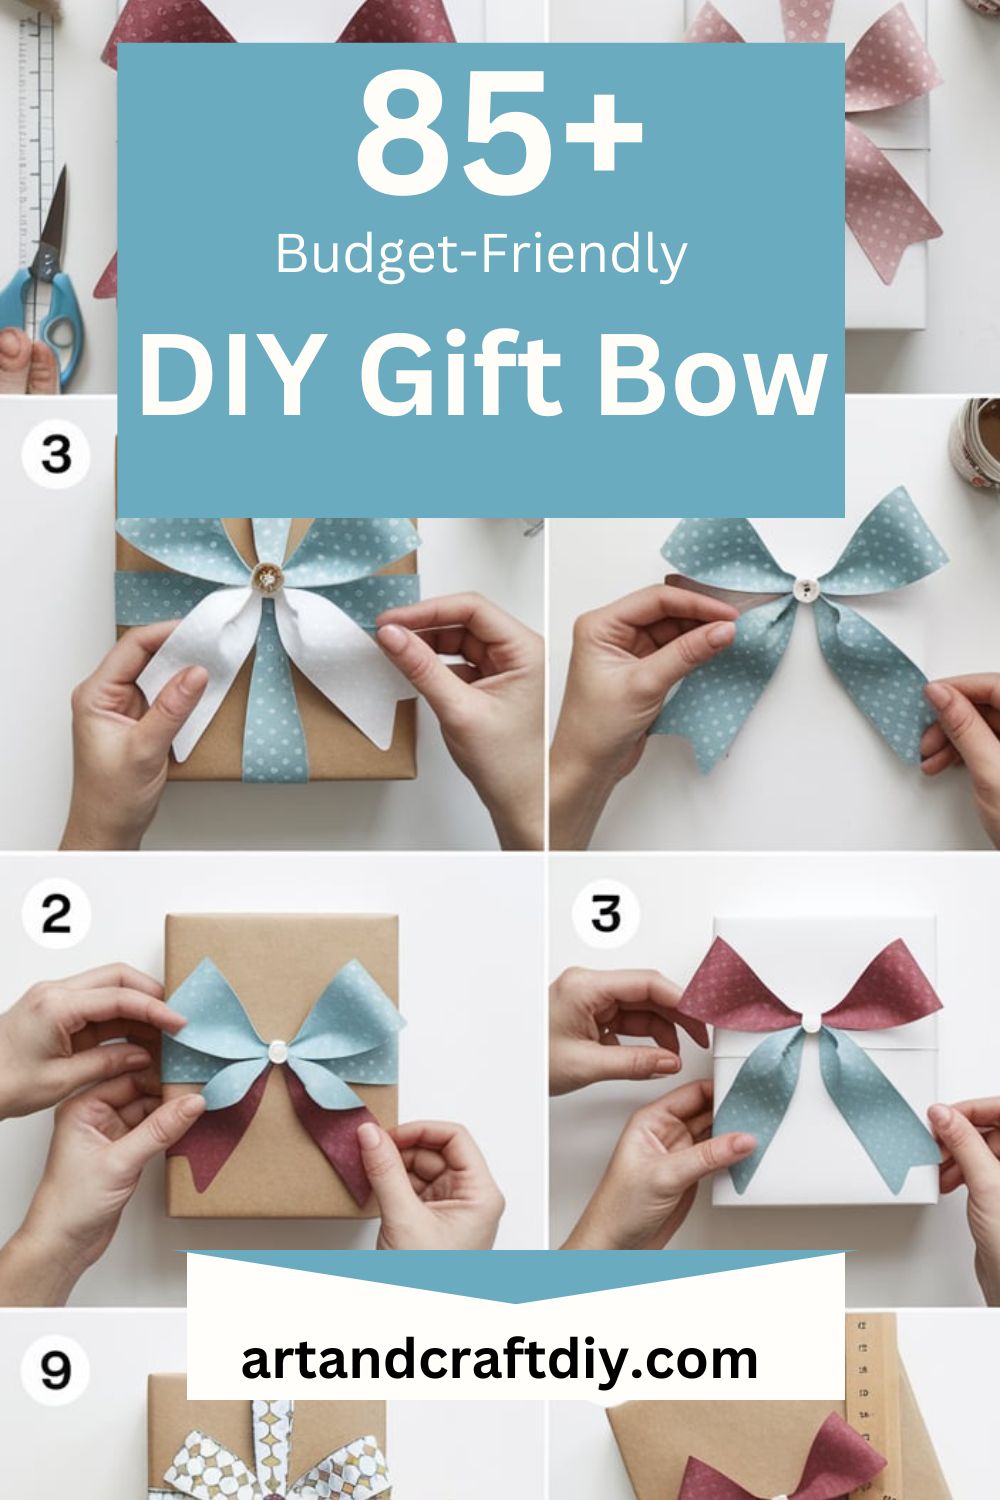
Gift wrapping is more than just a way to present a gift; it’s a thoughtful gesture that shows care and attention to detail. A beautifully wrapped gift instantly enhances the excitement and anticipation of receiving a present. One of the key elements that elevate a gift’s appearance is the bow. Making your own DIY Gift Bow is not only cost-effective, but it also allows you to add a personal touch, making each gift unique. Plus, creating bows can be a fun DIY project, perfect for getting creative and putting your own spin on a simple idea. There are many different types of DIY Gift Bow you can craft, from the classic ribbon bow to more intricate designs, giving you endless options to make your gifts stand out.
Creating your own gift bows is a rewarding experience that brings out your inner artist. Whether you’re looking to match a specific theme, color scheme, or simply add a more personal touch to your gifts, making your own bows gives you the freedom to express creativity. Unlike store-bought bows, which can sometimes feel generic or overpriced, DIY bows can be tailored to fit any occasion, whether it’s a birthday, wedding, or holiday. You can experiment with different materials, like satin, burlap, or even paper, to create a bow that complements the wrapping paper and overall aesthetic of your gift.
DIY Gift Bow
A DIY gift bow is a handmade decorative accessory often used to embellish presents, adding a personal and creative touch. Instead of buying pre-made bows, you can create your own using a variety of materials, such as ribbon, paper, or fabric. Making a DIY Gift Bow allows you to customize the size, color, and style to match the recipient’s taste or the theme of the gift. It’s a simple and fun craft that can elevate the presentation of any gift, making it feel extra special and thoughtful.
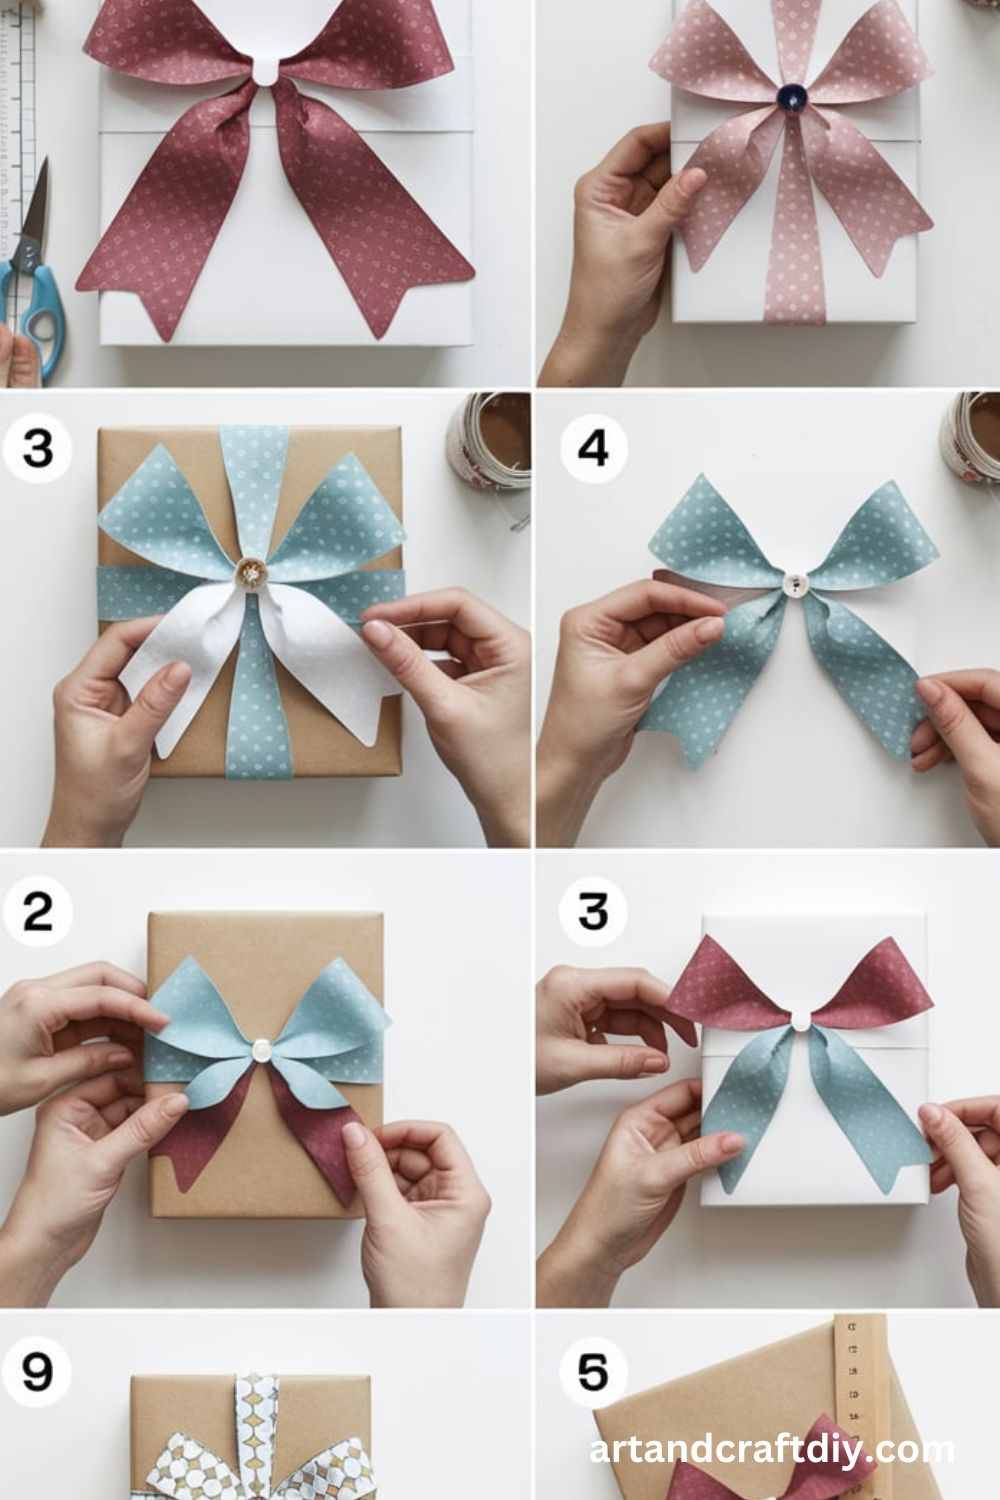
Ribbon Bow
This classic gift bow is easy to make and adds a beautiful touch to any present. You can customize it with different colored ribbons to match the occasion.

Materials Used:
- Satin or grosgrain ribbon
- Scissors
- Hot glue gun or double-sided tape
Steps:
- Cut the ribbon into 6-8 strips, each around 6-8 inches long.
- Fold each strip into a loop and pinch the center.
- Secure the loops with hot glue or tape.
- Stack the loops together to form a layered bow.
- Add a smaller loop in the center to complete the bow.
Paper Bow
A stylish, eco-friendly bow made from colorful paper. This bow is perfect for small gifts and adds a creative, personal touch.
Materials Used:
- Colored paper
- Scissors
- Glue or tape
Steps:
- Cut the paper into strips of varying lengths (around 3-6 inches).
- Fold each strip into loops and glue them in a circular shape to create a layered effect.
- Roll a small strip of paper to form a center loop.
- Attach the center loop to the middle of the layered bow.
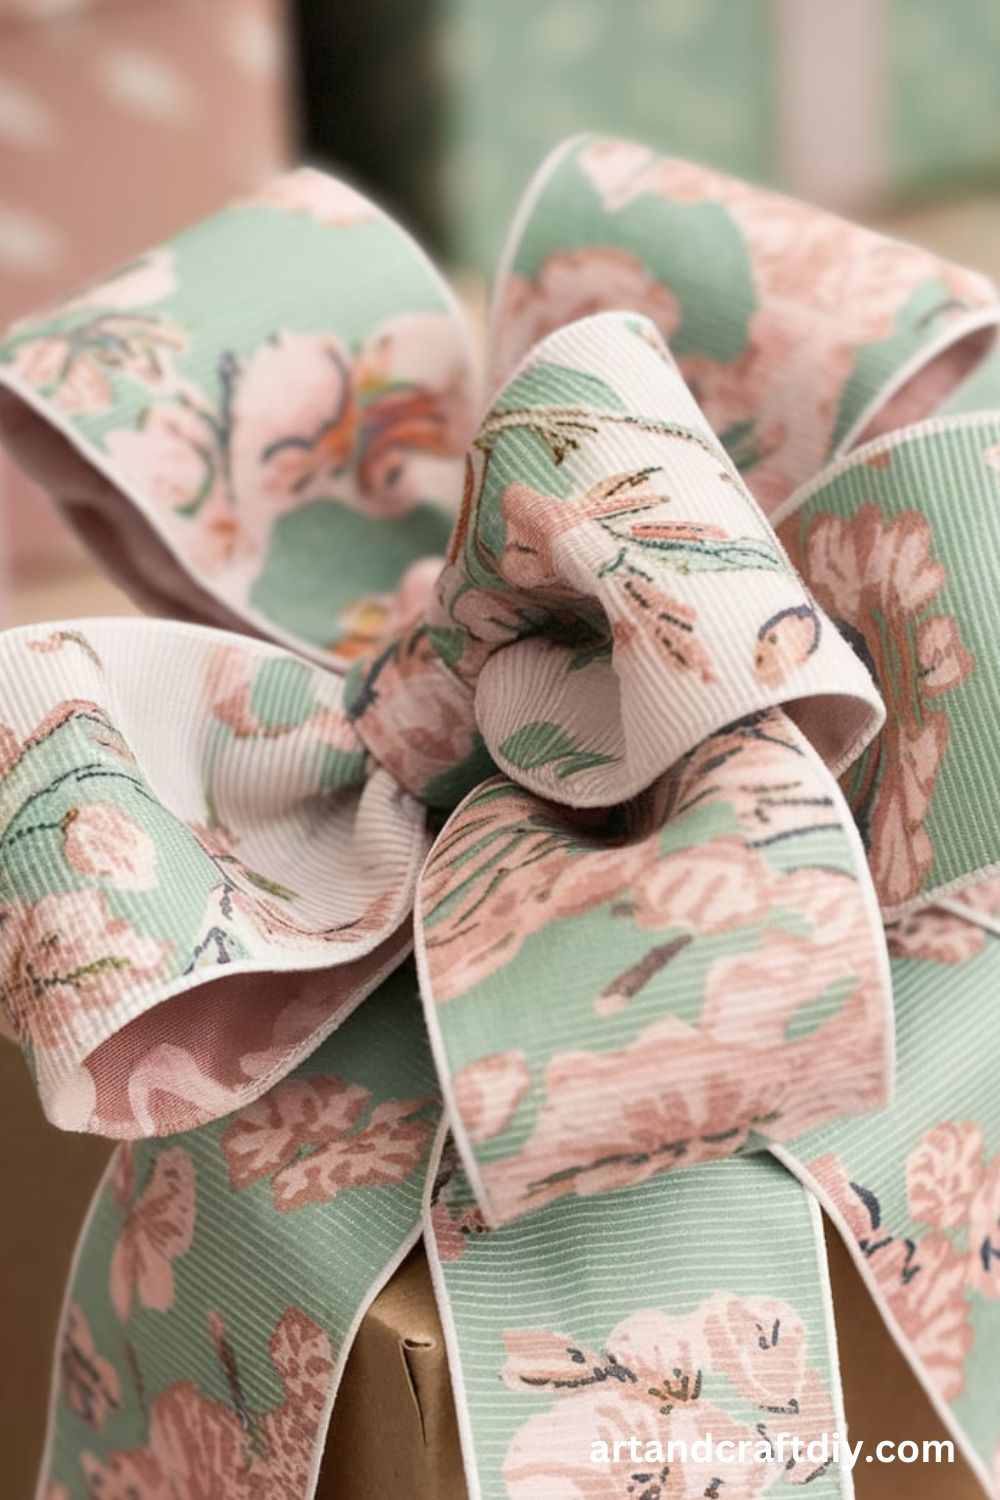
Fabric Bow
Fabric bows are a great option for adding texture and richness to your gift wrapping. Choose a fabric that matches the theme of the gift.
Materials Used:
- Fabric of your choice
- Scissors
- Needle and thread or glue gun
Steps:
- Cut a piece of fabric into a rectangular shape (6-10 inches long).
- Fold the fabric into a loop, and stitch or glue the ends together.
- Pinch the center of the loop to form a bow shape.
- Secure the center with thread or hot glue.
- Attach a small piece of fabric around the center to complete the bow.
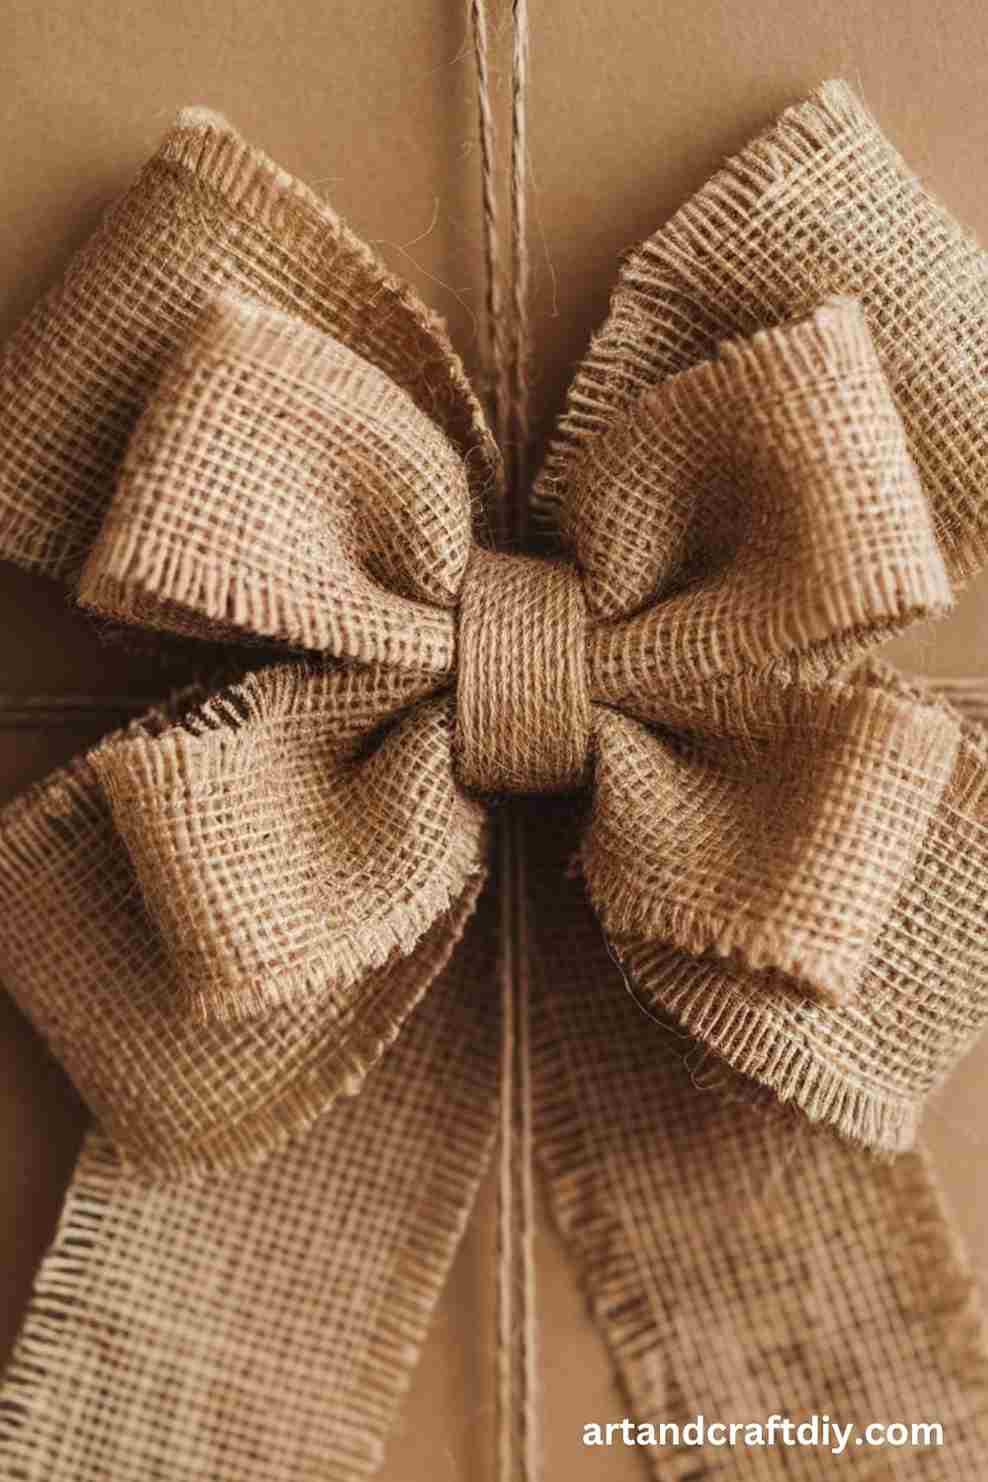
Burlap Bow
A rustic and charming bow made from burlap. It adds a natural, earthy feel to gifts, especially for outdoor-themed or country-style presents.
Materials Used:
- Burlap fabric
- Scissors
- Hot glue gun or needle and thread
Steps:
- Cut a piece of burlap into a long strip (around 12 inches).
- Fold the ends of the burlap inward to create a loop.
- Pinch the center to form a bow and secure it with hot glue or stitch it.
- Optionally, tie a smaller piece of burlap around the center for a rustic touch.
Twine Bow
This simple bow adds a minimalist, handmade look to your gift. It’s ideal for rustic or farmhouse-style wrapping.
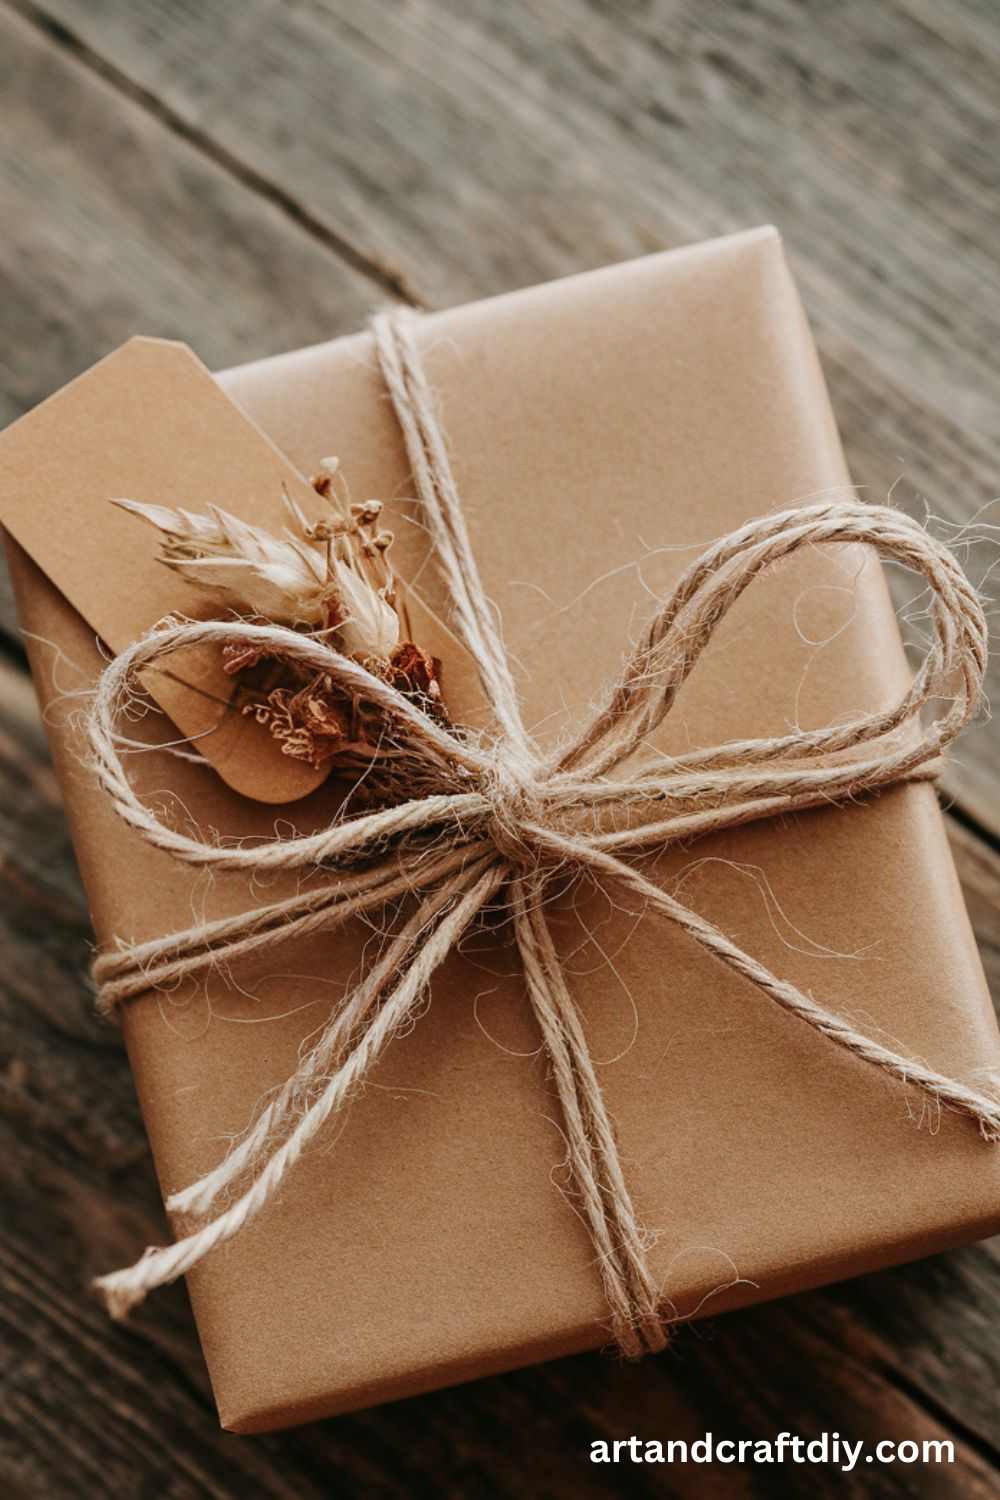
Materials Used:
- Twine or jute string
- Scissors
- Hot glue gun
Steps:
- Cut a long piece of twine (around 18-24 inches).
- Tie the twine into a bow shape.
- Trim the ends to your desired length.
- Attach the bow to the gift with a dab of hot glue.
Pom-Pom Bow
A fun and fluffy bow made from yarn pom-poms. This is a great way to add a playful, textured touch to your gift wrapping.
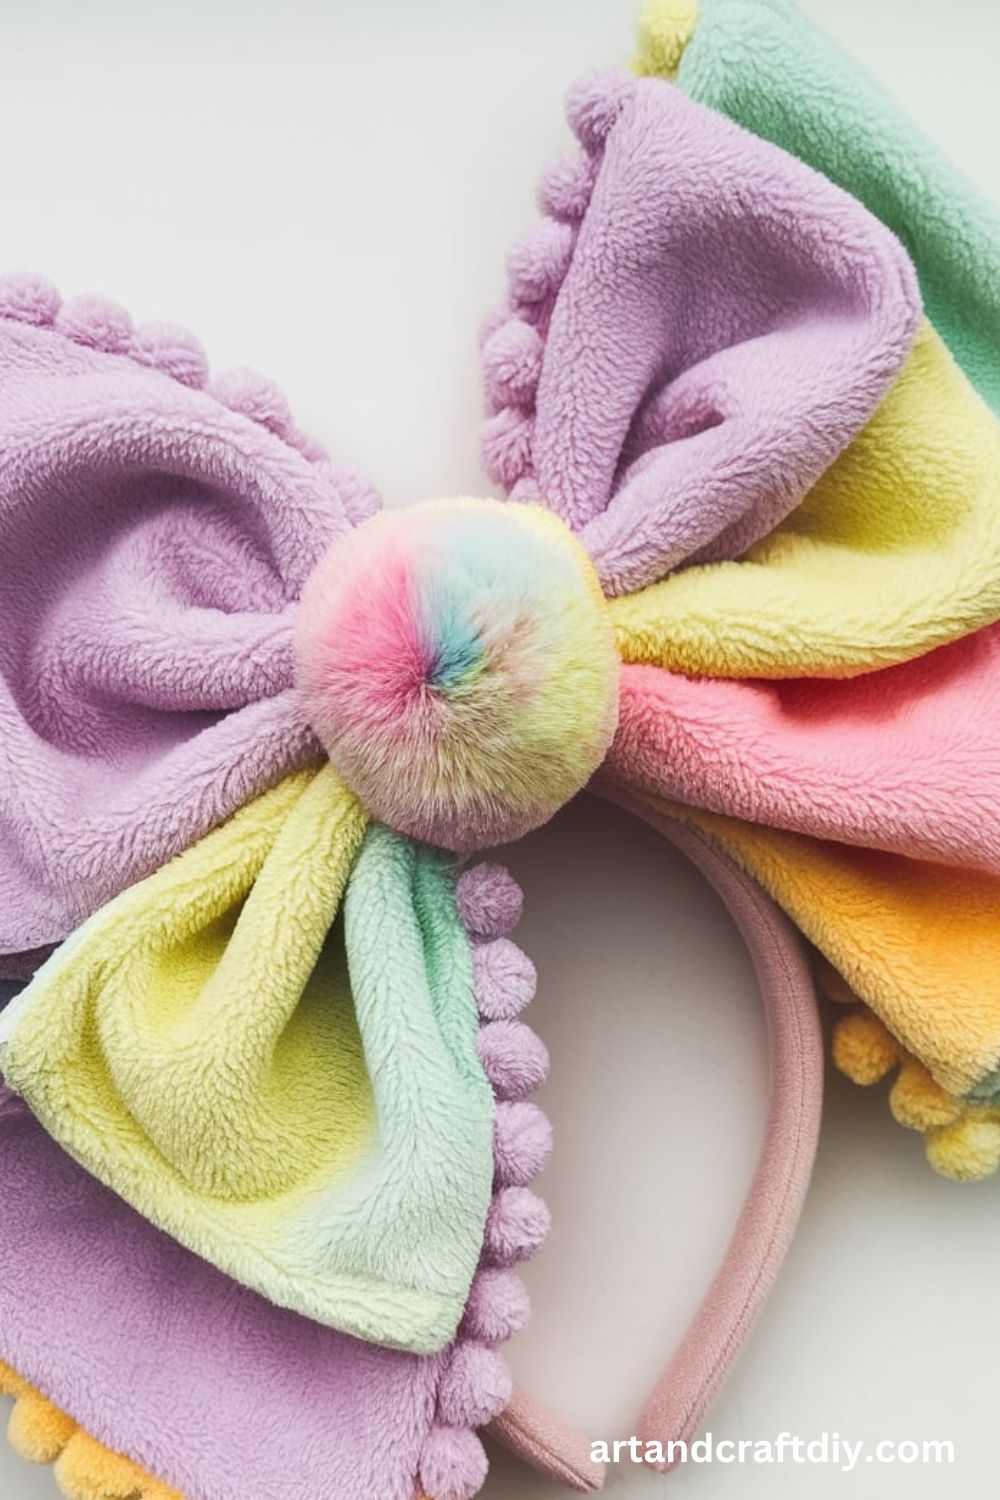
Materials Used:
- Yarn
- Scissors
- Hot glue gun
- Cardboard (for pom-pom size)
Steps:
- Wrap yarn around a piece of cardboard to create a pom-pom.
- Tie the center of the pom-pom tightly and cut the loops.
- Make several small pom-poms in different sizes.
- Glue the pom-poms together in a layered formation to create the bow.
Felt Bow
Create a soft and cute bow using felt, which is perfect for adding a cozy vibe to a gift. This bow works well for kids’ presents or winter-themed gifts.
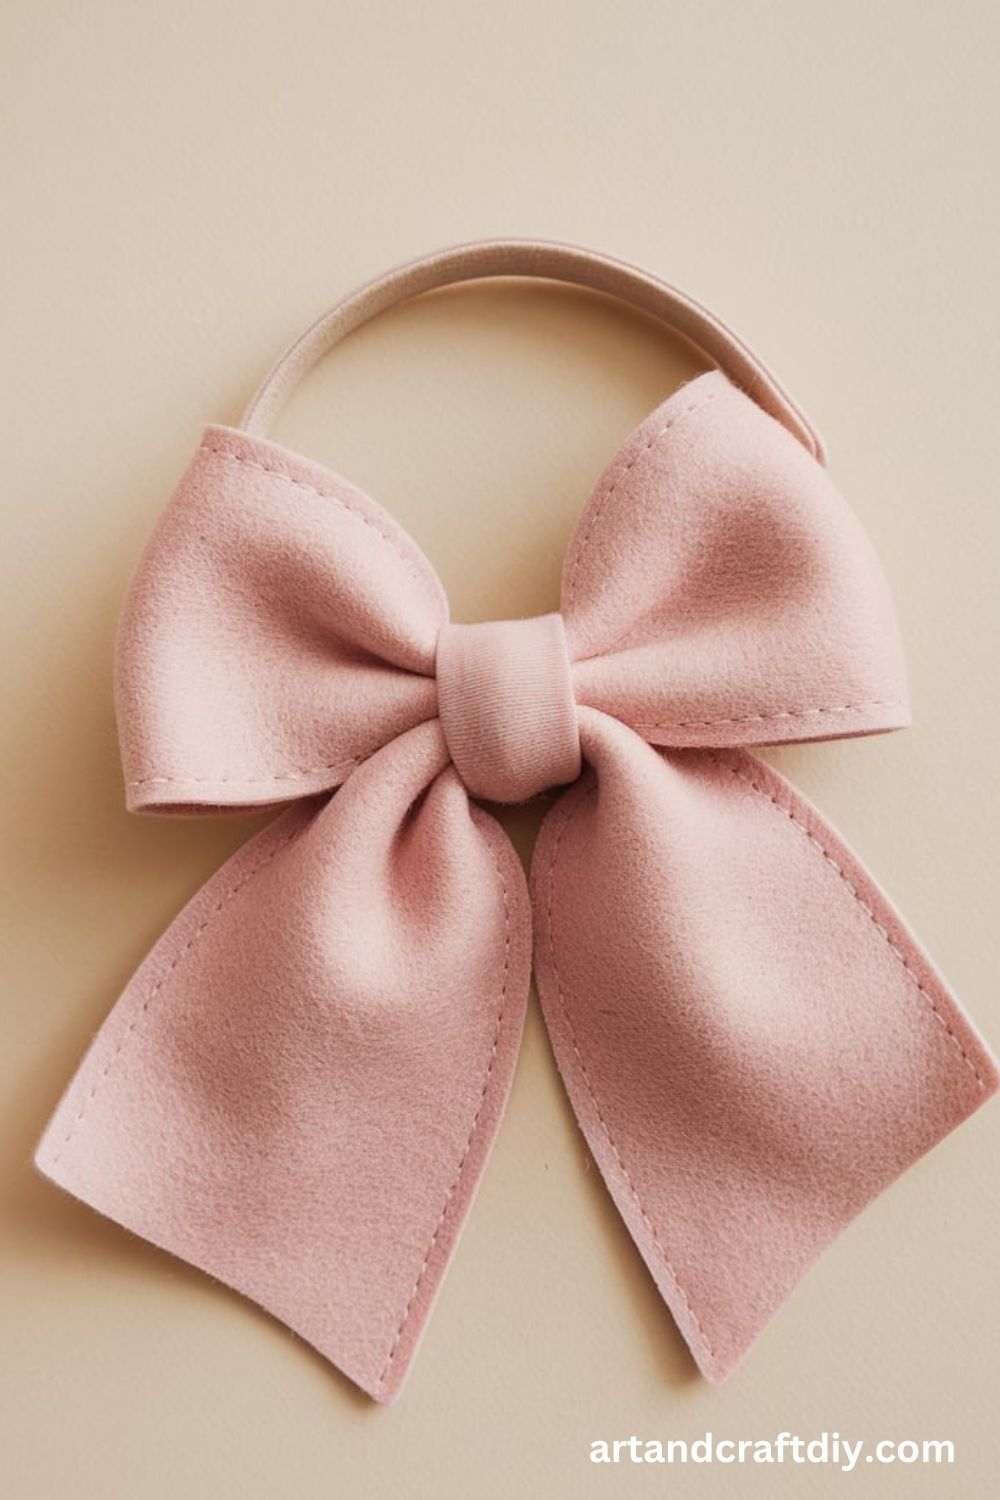
Materials Used:
- Felt fabric
- Scissors
- Needle and thread or hot glue gun
Steps:
- Cut a strip of felt (around 6-8 inches long).
- Fold the strip into a loop and secure the ends with glue or stitch them together.
- Pinch the center to form a bow shape and secure with hot glue or thread.
- Add a small piece of felt around the center to finish the look.
Newspaper Bow
Repurpose old newspapers into a chic, environmentally-friendly bow. This is a great way to give your gift wrapping a vintage or creative flair.

Materials Used:
- Old newspapers
- Scissors
- Glue or tape
Steps:
- Cut the newspaper into strips.
- Fold each strip into a loop to form a circle.
- Layer the loops to create a bow shape and glue or tape the ends.
- Add a small piece of newspaper at the center to complete the bow.
Lace Bow
A delicate and elegant bow made from lace. This bow adds a feminine touch to your gift wrapping, perfect for weddings, birthdays, or anniversaries.
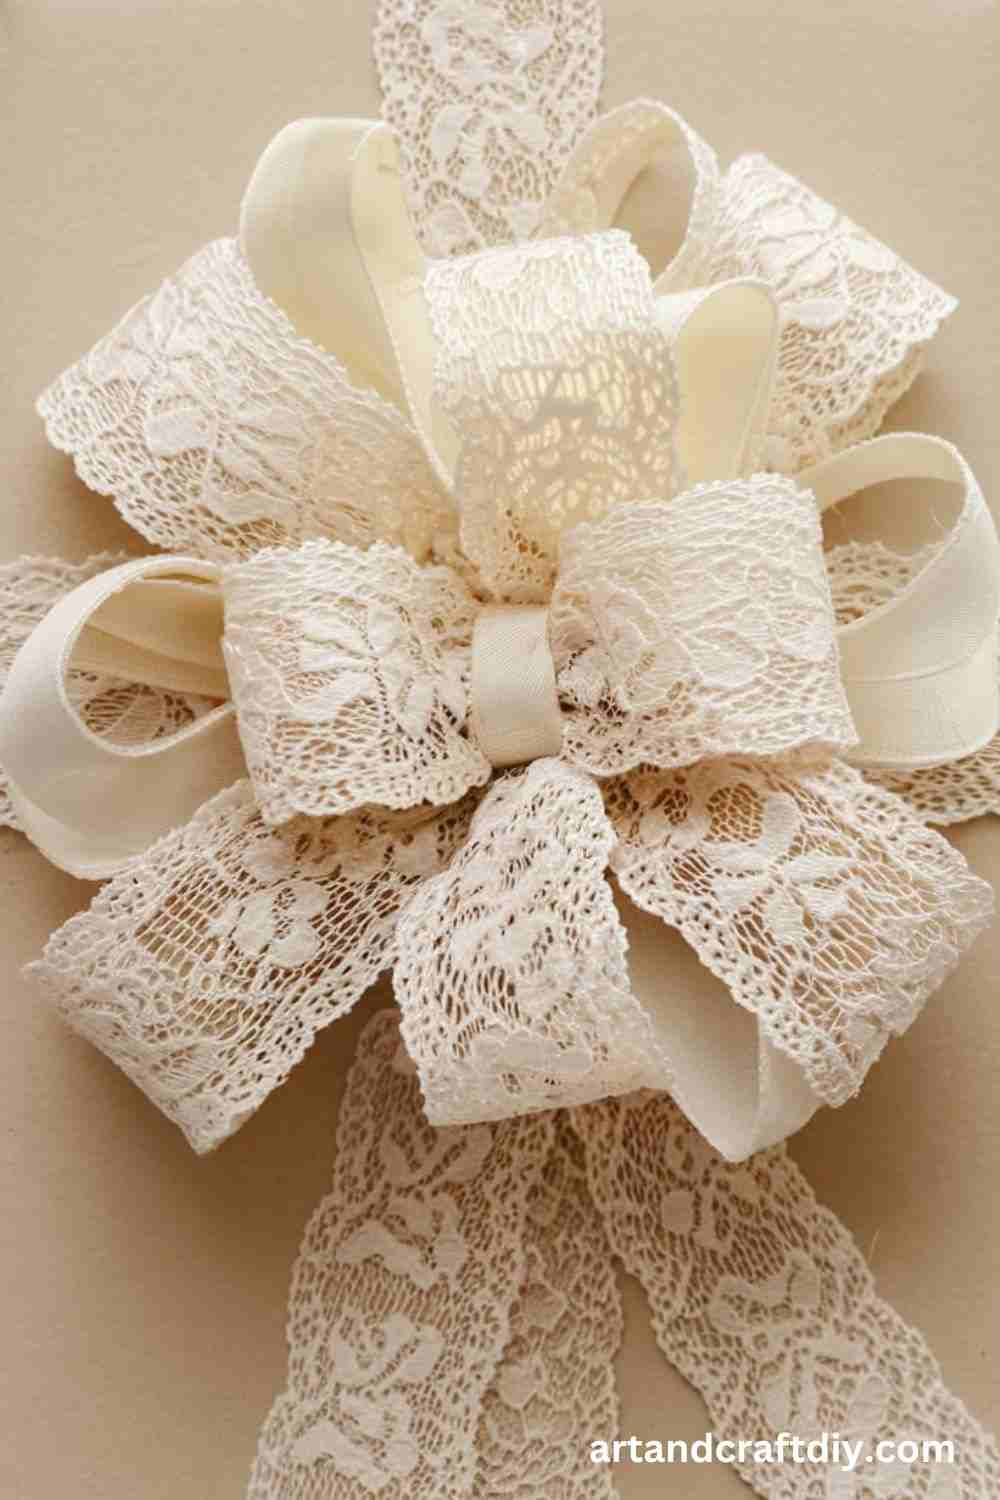
Materials Used:
- Lace trim
- Scissors
- Needle and thread or hot glue gun
Steps:
- Cut a strip of lace (about 8-10 inches long).
- Create a loop by folding the lace and securing the ends with glue or stitching.
- Pinch the center to form a bow and secure it with a needle and thread.
- Attach the bow to your gift.
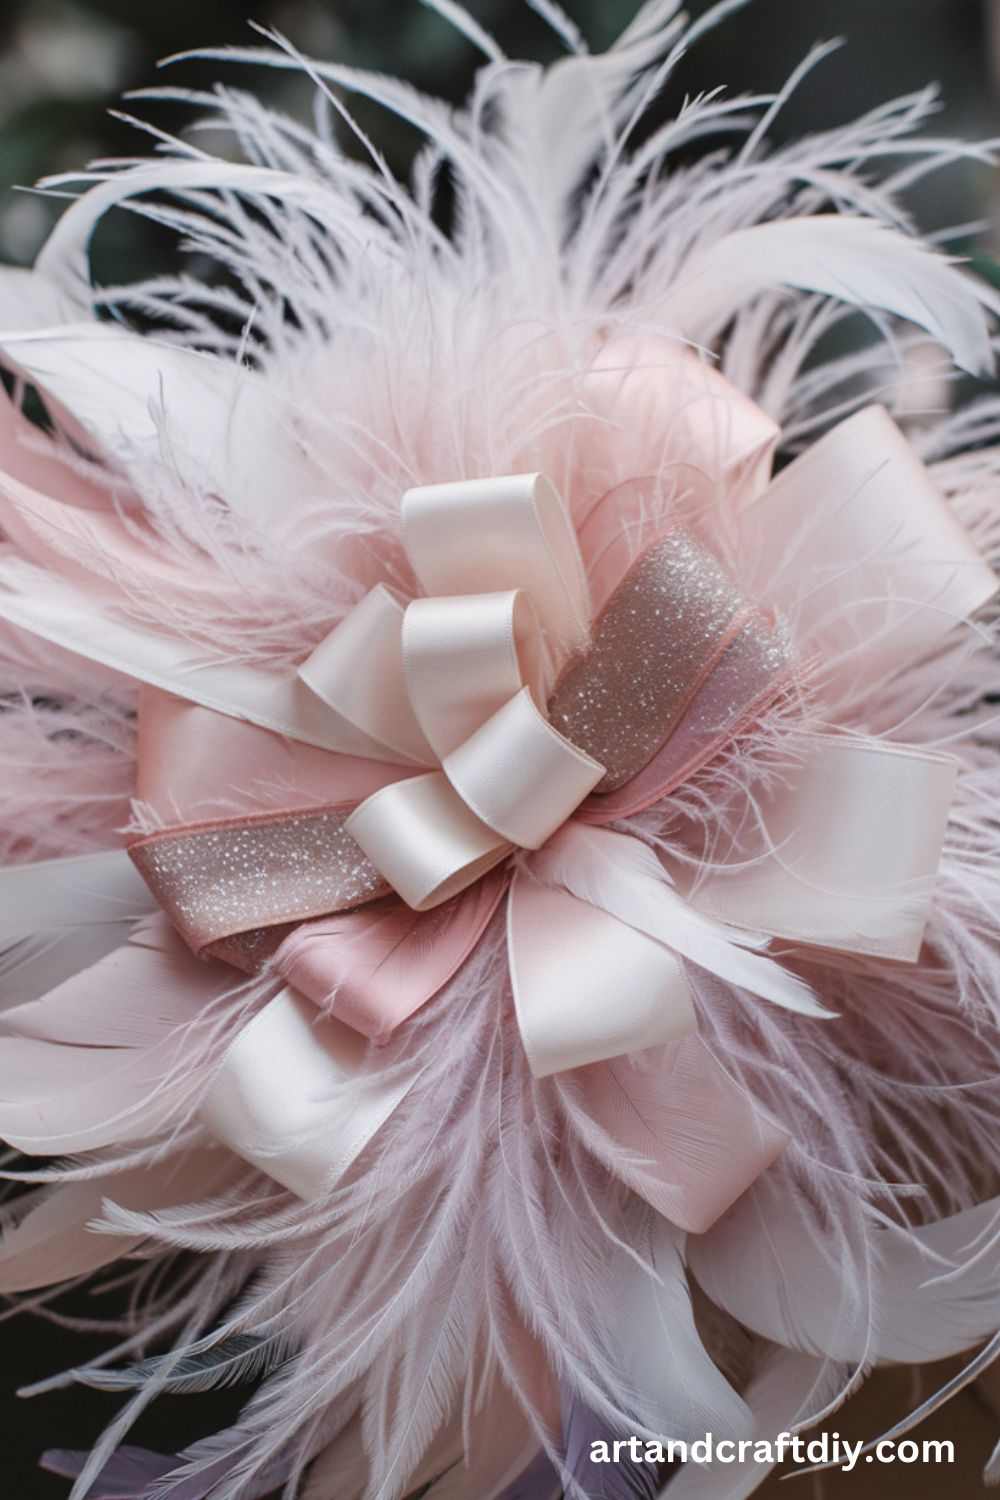
Feather Bow
For a more dramatic and fancy bow, use feathers. This works well for special occasions like New Year’s or high-end gifting.
Materials Used:
- Feathers
- Hot glue gun
- Ribbon or string
Steps:
- Cut a piece of ribbon to your desired length.
- Arrange feathers in a fan shape.
- Glue the feathers onto the ribbon, layering them for a fuller look.
- Tie the ribbon around your gift.
Button Bow
A quirky and unique bow made from buttons. This is perfect for a crafty touch and works great for gifts with a handmade theme.
Materials Used:
- Buttons (variety of sizes)
- Ribbon or string
- Needle and thread
Steps:
- Cut a piece of ribbon or string to the desired length.
- Arrange buttons in a bow shape.
- Sew the buttons together with needle and thread.
- Attach the button bow to your gift using glue or thread.
Metallic Bow
Create a bow that shimmers and shines with metallic ribbon. This is perfect for holidays or any special occasion.
Materials Used:
- Metallic ribbon
- Scissors
- Hot glue gun
Steps:
- Cut a length of metallic ribbon (around 12 inches).
- Create loops with the ribbon, making sure the ends overlap.
- Pinch the center to form a bow shape and secure with glue.
- Attach the bow to your gift.
Tulle Bow
Tulle is light and airy, making it a perfect material for a soft, delicate bow that adds a whimsical look.
Materials Used:
- Tulle fabric
- Scissors
- Hot glue gun or needle and thread
Steps:
- Cut a strip of tulle (about 10-12 inches long).
- Fold the tulle into loops and secure the center.
- Pinch the center to form the bow shape and secure it.
- Attach the bow to the gift with glue.
Organza Bow
Organza fabric gives a bow a smooth and sheer look, perfect for adding elegance to your gift wrapping.
Materials Used:
- Organza ribbon
- Scissors
- Needle and thread or glue
Steps:
- Cut a strip of organza ribbon (about 12 inches long).
- Fold the ribbon into loops, pinching the center to form a bow.
- Secure the bow with thread or glue.
- Attach the bow to your gift.
Zipper Bow
A fun and functional bow made from a zipper! This bow gives your gift a unique, industrial feel.
Materials Used:
- Zipper (can be from an old garment)
- Scissors
- Needle and thread or hot glue gun
Steps:
- Cut the zipper from the garment.
- Form the zipper into a bow shape.
- Secure the bow with needle and thread or glue.
- Attach the bow to the gift.
Pinecone Bow
This rustic bow incorporates natural pinecones for a festive, nature-inspired look.
Materials Used:
- Pinecones
- Twine or ribbon
- Hot glue gun
Steps:
- Select a small pinecone for the center of the bow.
- Arrange twine or ribbon around the pinecone to form a bow.
- Secure the pinecone and ribbon together with hot glue.
- Attach the bow to your gift.
Wooden Bead Bow
Use wooden beads for a sophisticated, minimalist bow. The beads add texture and a natural feel.
Materials Used:
- Wooden beads
- Twine or string
- Hot glue gun
Steps:
- String wooden beads onto twine or string.
- Form the string into a loop and secure with hot glue.
- Tie the ends of the twine to form a bow shape.
- Attach the bow to the gift.
String and Button Bow
This bow combines the texture of string with the charm of buttons, creating a handmade, crafty look.
Materials Used:
- String or twine
- Buttons
- Glue gun
Steps:
- Create a loop with the string.
- Attach buttons to the string, forming a bow shape.
- Secure the ends of the string with glue.
- Attach the bow to the gift.
Floral Bow
Perfect for spring or summer occasions, a floral bow made from artificial flowers will brighten any gift.
Materials Used:
- Artificial flowers (small)
- Ribbon or string
- Hot glue gun
Steps:
- Cut the stems off the artificial flowers.
- Arrange the flowers into a bow shape.
- Attach the flowers together with hot glue.
- Secure the bow to the gift with ribbon or string.
Clothespin Bow
A fun and quirky bow made from wooden clothespins, great for rustic or handmade-themed gifts.
Materials Used:
- Wooden clothespins
- Paint (optional)
- Glue gun
Steps:
- Paint the clothespins if you want to add some color.
- Arrange the clothespins to form a bow shape.
- Glue the clothespins together.
- Attach the bow to the gift.
Leaf Bow
Use fresh or artificial leaves for an earthy, botanical touch. This bow works great for nature-themed gifts.
Materials Used:
- Leaves (real or artificial)
- Twine or string
- Hot glue gun
Steps:
- Arrange the leaves in a bow shape.
- Secure the leaves with twine or string.
- Attach the bow to the gift with glue.
Glitter Bow
For a glamorous gift wrap, create a glittery bow that will sparkle under any light.
Materials Used:
- Glittery ribbon or glitter
- Hot glue gun
Steps:
- Cut a strip of glittery ribbon.
- Fold the ribbon into a bow shape and secure it with hot glue.
- If using loose glitter, apply glue to the ribbon and sprinkle glitter over it.
- Attach the bow to the gift.
Chocolate Bow
For chocolate lovers, this edible bow can add a sweet touch to your gift.
Materials Used:
- Chocolate (melted)
- Wax paper
- Scissors
Steps:
- Melt the chocolate and spread it on wax paper.
- Allow it to cool slightly and cut into strips.
- Form the strips into loops and arrange them in a bow shape.
- Let the chocolate set, then attach the bow to the gift.
Balloon Bow
This is a fun bow option, especially for kids’ gifts or party favors.
Materials Used:
- Small balloons
- Ribbon or string
- Glue gun
Steps:
- Inflate several small balloons.
- Arrange them in a bow shape.
- Secure the balloons together with string.
- Attach the balloon bow to the gift.
Craft Paper Bow
This easy bow is perfect for kids to make, using basic craft paper and glue.
Materials Used:
- Craft paper (colored or plain)
- Scissors
- Glue stick
Steps:
- Cut the craft paper into strips.
- Fold the strips into loops and secure them in the center with glue.
- Layer the loops to form a bow shape.
- Attach the bow to the gift.
Tassel Bow
Add a fun twist to your bow with tassels! This bow is great for adding flair to gifts for any occasion.
Materials Used:
- Embroidery floss or yarn
- Scissors
- Ribbon
Steps:
- Cut several strands of yarn or embroidery floss.
- Tie them together at one end.
- Fold the strands into a loop to create a tassel.
- Tie the tassel around the center of the bow with ribbon.
Newspaper Rolled Bow
For a quirky, vintage look, make a bow from rolled-up strips of newspaper.
Materials Used:
- Newspaper
- Scissors
- Glue gun
Steps:
- Cut newspaper into strips.
- Roll the strips tightly into small tubes.
- Arrange the tubes in a circular pattern to form a bow shape.
- Secure with glue and attach to the gift.
Felt Flower Bow
Create a bow in the shape of a flower, made entirely from felt.
Materials Used:
- Felt fabric
- Scissors
- Hot glue gun
Steps:
- Cut felt into petal shapes.
- Glue the petals together in a circular pattern.
- Add a small circle of felt for the center.
- Attach the flower-shaped bow to your gift.
Beaded Wire Bow
This bow features beads on wire, creating an elegant and whimsical effect.
Materials Used:
- Beaded wire
- Scissors
- Glue gun
Steps:
- Cut the beaded wire into a length of about 12 inches.
- Form loops with the wire to create a bow shape.
- Twist the ends together to secure the shape.
- Attach the beaded wire bow to the gift.
Washi Tape Bow
Create a bow from colorful washi tape for a simple, fun option that adds a bit of flair.
Materials Used:
- Washi tape
- Scissors
Steps:
- Cut strips of washi tape.
- Form loops with the tape, pressing down the edges.
- Layer the loops into a bow shape.
- Secure the center with more washi tape.
Troubleshooting Tips for Creating Perfect Bows
Creating beautiful bows can sometimes be a tricky task, especially when you’re aiming for perfection. Whether you’re working with ribbon, fabric, or string, there are a few common mistakes that often pop up. Here’s a quick guide to troubleshooting these issues, along with tips on how to adjust the bow size to make sure your creation looks just right.
Common Mistakes and How to Avoid Them:
- Uneven Loops
Cause: One of the most frequent mistakes is creating loops that aren’t equal in size, leading to an unbalanced look.
Solution: Measure your ribbon before cutting and make sure to fold both sides evenly. Use pins or clips to hold loops in place until you tie them off. - Unraveling Ribbon
Cause: Ribbon edges can unravel easily, especially with synthetic materials.
Solution: Use a dab of fabric glue on the edges or a lighter to carefully seal the ends of the ribbon. Alternatively, you can also use pinking shears to prevent fraying. - Too Tight or Too Loose Knots
Cause: If the knot at the center is too tight, it can distort the bow; if it’s too loose, the bow may fall apart.
Solution: Practice with varying tightness until you find the right balance. Tighten the knot just enough to secure the bow, but not so much that it distorts the shape. - Wrong Ribbon Width or Material
Cause: Sometimes, choosing the wrong width or material for your project can make the bow look awkward.
Solution: Make sure to select a ribbon width and material that suit the project. For example, wider ribbon works best for large bows, while thinner ribbon is ideal for more delicate ones.
Decorative Touches and Customization Ideas for Gift Wrapping
Gift wrapping is an art, and adding decorative touches or personalizing your wrapping can elevate it into something truly special. Whether it’s for a birthday, holiday, or wedding, these creative embellishments make a gift feel even more thoughtful. Here are some ideas to help you customize your gift wrap and make it stand out:
- Adding Embellishments:
- Incorporate buttons, beads, or glitter to give your gift wrap some texture and sparkle. These can be glued onto the ribbon, corners, or scattered across the wrapping paper for a fun, festive feel.
- Personalizing with Fabric Paint:
- Use fabric paint to add custom designs or messages. You can hand-paint a special name, holiday motif, or unique pattern directly onto the wrapping paper or ribbon.
- Small Charms and Accessories:
- Attach small charms, such as a cute keychain, a tiny ornament, or a personalized tag, to the bow or ribbon. This adds a personal touch that will make the recipient feel extra special.
- Matching to the Theme:
- Tailor the bow or wrapping decorations to match the occasion. For example, use red and green tones for Christmas, pastel colors for a baby shower, or elegant gold and white accents for weddings. Matching your decorations to the event’s theme ties everything together beautifully.
FAQ
What materials do I need to make a DIY gift bow?
To create a simple DIY Gift Bow, you will need:
- Ribbon or fabric strips
- Scissors
- A hot glue gun or double-sided tape (optional)
- A stapler or string (optional for securing)
Can I use any kind of ribbon for a DIY Gift Bow?
Yes, you can use various types of ribbon, such as satin, grosgrain, organza, or even fabric strips. The type of ribbon you choose will affect the look of the bow. For a fuller bow, use wider ribbons.
How do I make a simple DIY Gift Bow?
- Cut a piece of ribbon about 12-18 inches long.
- Make loops by folding the ribbon in a figure-eight shape.
- Secure the center with glue, tape, or a stapler.
- Optional: Add smaller ribbon pieces or embellishments in the center to complete the bow.
Can I add embellishments to the DIY gift bow?
Absolutely! You can add buttons, beads, small flowers, or even glitter to give your bow a personalized touch.

Hi, I’m Victoria, an art and craft teacher at Newark City Schools, where I have the joy of working with middle school students to help them explore their creativity and develop their artistic talents. I believe that art is a powerful way for students to express themselves, and I strive to make every lesson a fun, engaging, and inspiring experience.
I created this website to share the art and craft projects, techniques, and resources that I use in my classroom, hoping to inspire both educators and young artists alike. Whether you’re a teacher looking for new ideas or a student eager to try something new, I’m excited to provide creative tools and projects that anyone can enjoy.
When I’m not in the classroom, I love experimenting with different art forms and learning new crafting techniques. My goal is to help others discover the joy of making things with their hands, and I hope my website serves as a space for everyone to explore their creative potential.