
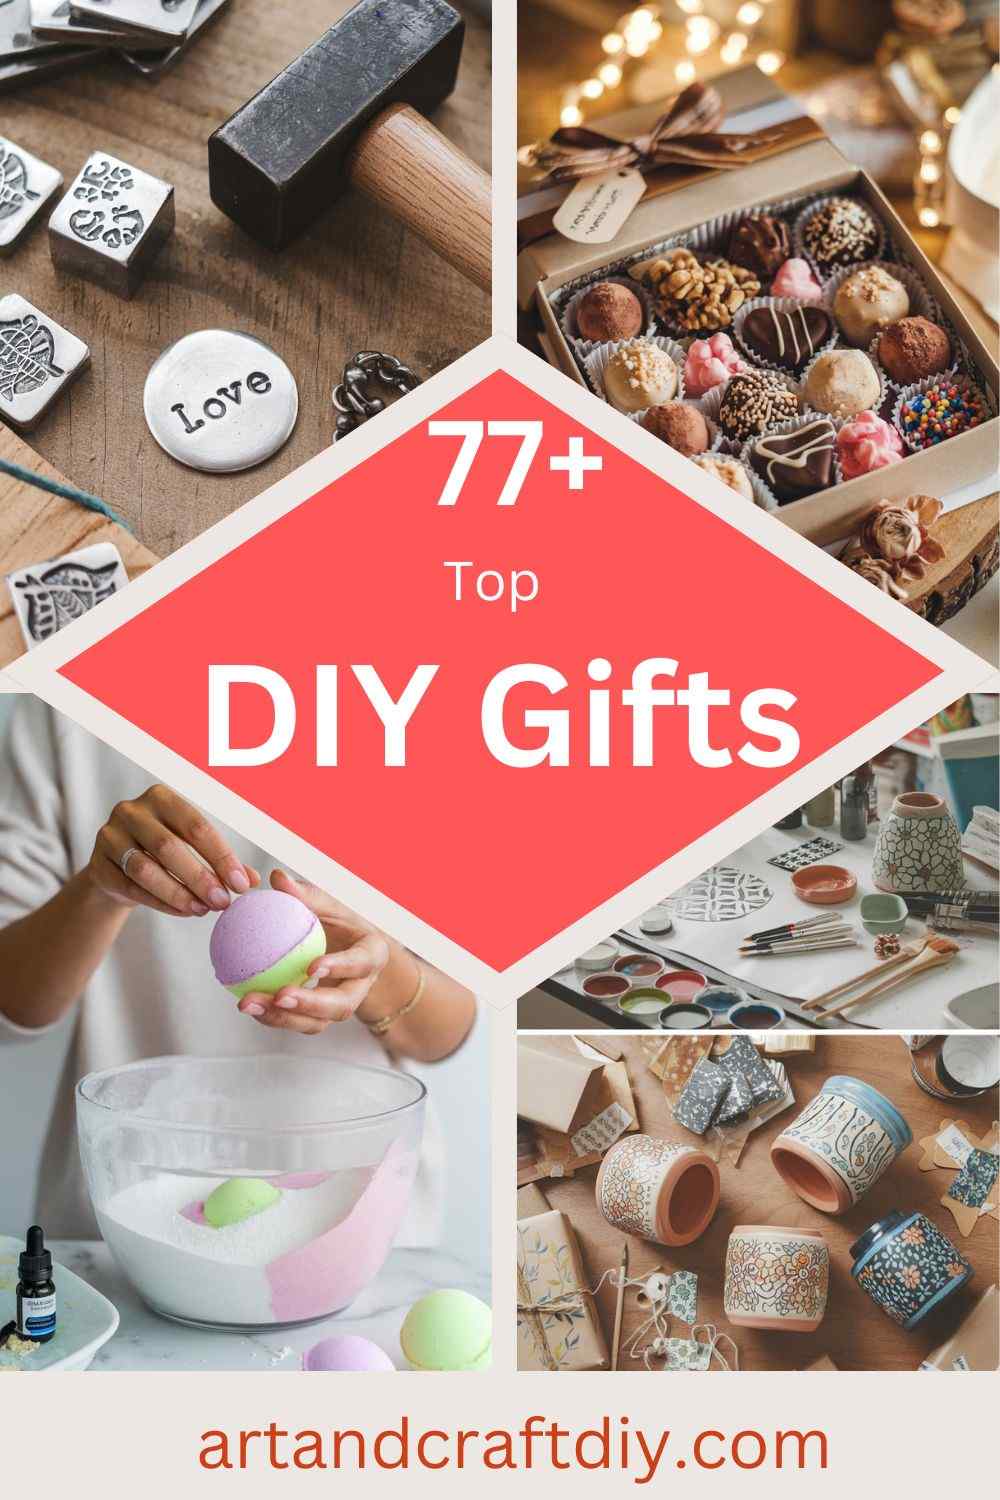
Last year, right before the holidays, I found myself standing in a crowded store, clutching some random candle I didn’t even like, thinking, “Wow… this doesn’t feel special at all.” Ever been there? You want to show someone you care, but the shelves just scream “generic gift.” That’s when I started leaning into DIY gifts—and honestly, it changed everything. There’s just something about giving (and receiving) something homemade that feels more thoughtful, you know? Even if it’s a little imperfect, it’s real, and people love that. Plus, let’s be honest, store-bought stuff gets pricey fast. I figured, why not put my time and creativity into something meaningful instead of swiping my card on autopilot? If you’ve ever felt stuck or uninspired while shopping, I get it. Stick with me, because I’m gonna share some simple, heartfelt ideas that’ll make your gifts unforgettable—without the stress.
DIY Gifts
Handmade Scented Candles Art
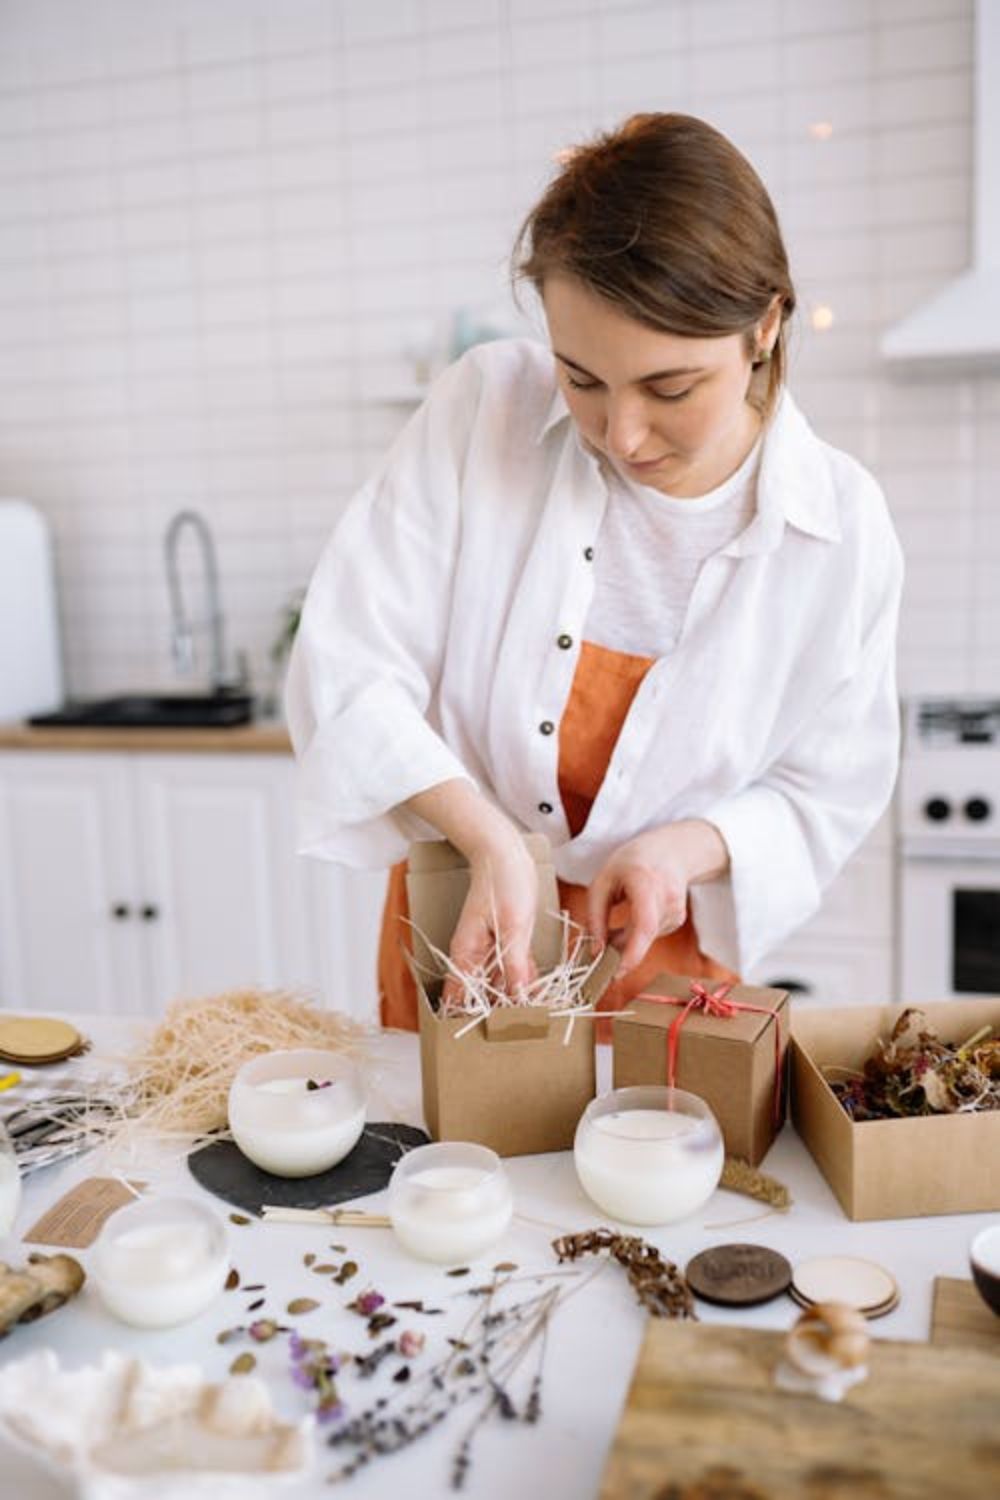
I’ve always believed that candles make one of the most heartfelt gifts, especially when they’re handmade. The first time I tried making scented candles, I messed up the wax ratio and ended up with something that looked like melted cheese—but hey, practice makes perfect, right? These days, I’ve got the hang of it. All you really need is some good-quality wax (soy wax works beautifully), a wick, a container you love, and a few drops of essential oils. Personally, lavender and vanilla are my go-to scents because they feel cozy and timeless.
The fun part, in my opinion, is customizing them. Sometimes I add a bit of color dye to match a friend’s personality, or even sprinkle dried rose petals on top for a pretty finish. To be fair, it’s not the fastest DIY—you’ve got to let the wax cool slowly—but the wait is worth it. Whenever I gift these, people often light them right away, and I can’t lie, seeing their faces glow in that soft light makes me feel like the effort really paid off.
DIY Personalized Photo Frame
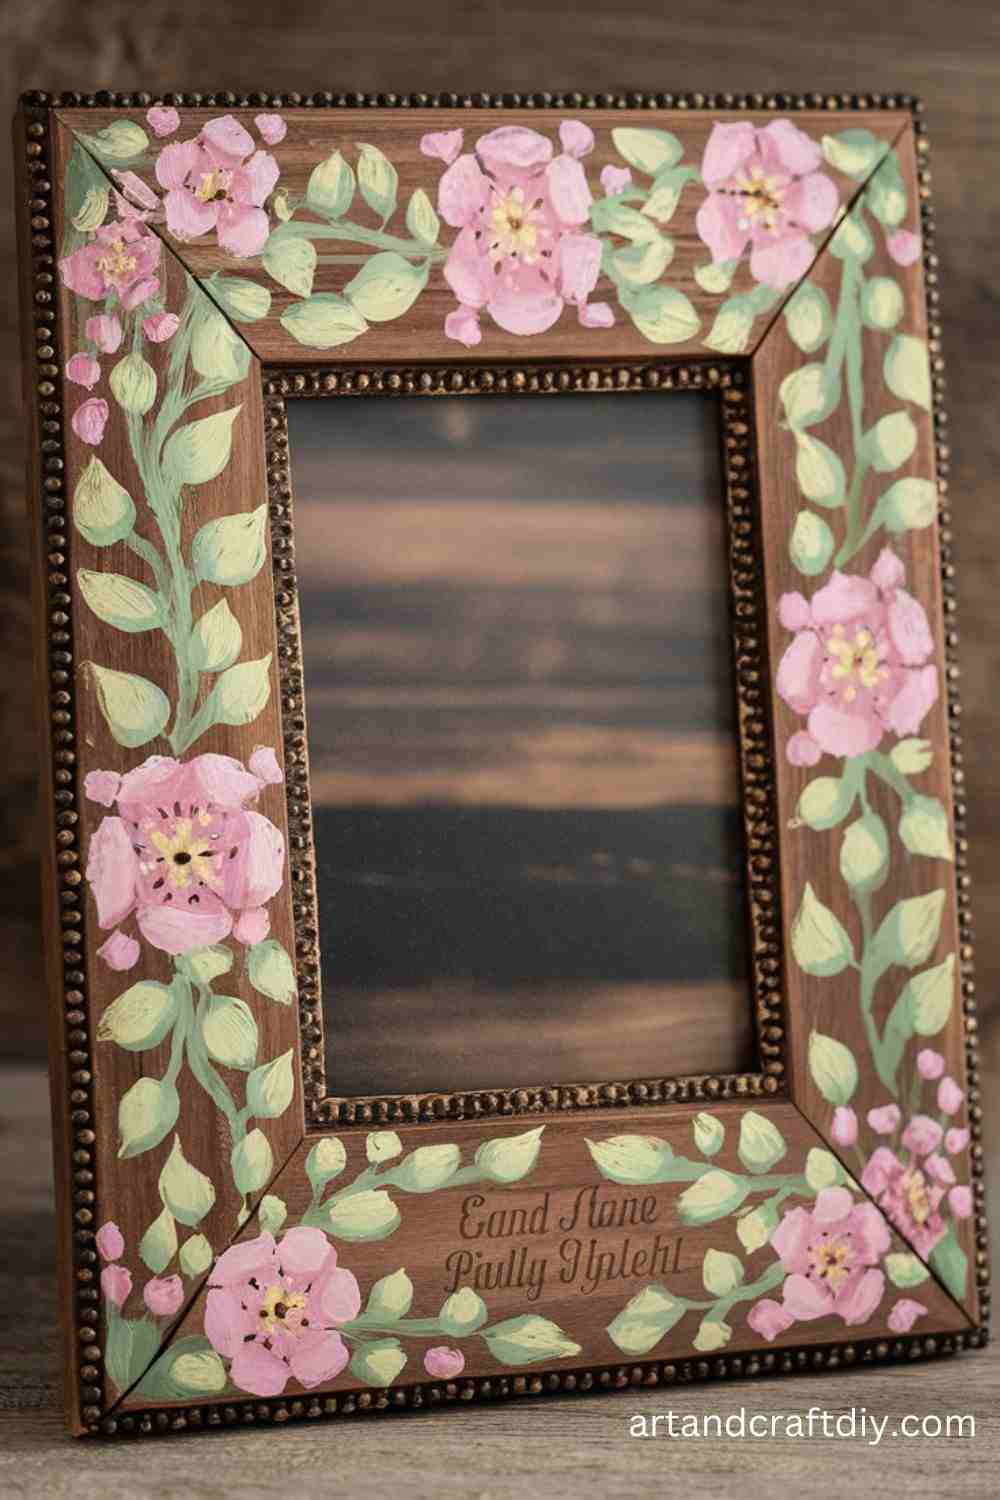
Now, this one always feels extra special because it’s so personal. I once made a photo frame for my best friend’s birthday using bits of driftwood I’d collected from a beach trip. Honestly, she loved it more than the fancy store-bought gift I gave her alongside it. That’s the charm—when someone sees you put in real thought and effort, the gift instantly carries more meaning.
You don’t need to be a pro crafter for this. A simple wooden frame, some paint, maybe a hot glue gun, and a handful of embellishments like buttons, shells, or even fabric scraps can turn into something beautiful. I’ve found that writing little inside jokes or dates with a paint marker on the frame makes it even better. It’s messy, sure, but when your friend or family member sees their favorite photo inside a frame you designed, they’ll know it came straight from the heart.
Knitted Scarf
I’ll be honest—knitting tested my patience when I first tried it. My stitches were too tight, my yarn kept tangling, and I nearly gave up. But once I got the rhythm, it became kind of therapeutic. The first scarf I ever gifted was this slightly uneven, bright-red piece for my mom. She still wears it every winter, even though I swear I can see the mistakes from a mile away. That’s the thing about handmade scarves—they carry love stitched into every row.
If you’ve never knitted before, start with thick yarn and big needles. It’s faster, less frustrating, and the results come together quicker. In my opinion, you don’t need to make it fancy; even a simple garter stitch looks beautiful when wrapped around someone’s shoulders. And honestly, when the person hugs you back while wearing it, you’ll realize it wasn’t just a scarf—it was a memory you created with your own hands.
Hand-Painted Flower Pots
A hand-painted flower pot can add a personal touch to any plant lover’s collection. Customize it with patterns or colors that reflect the recipient’s personality or home decor.
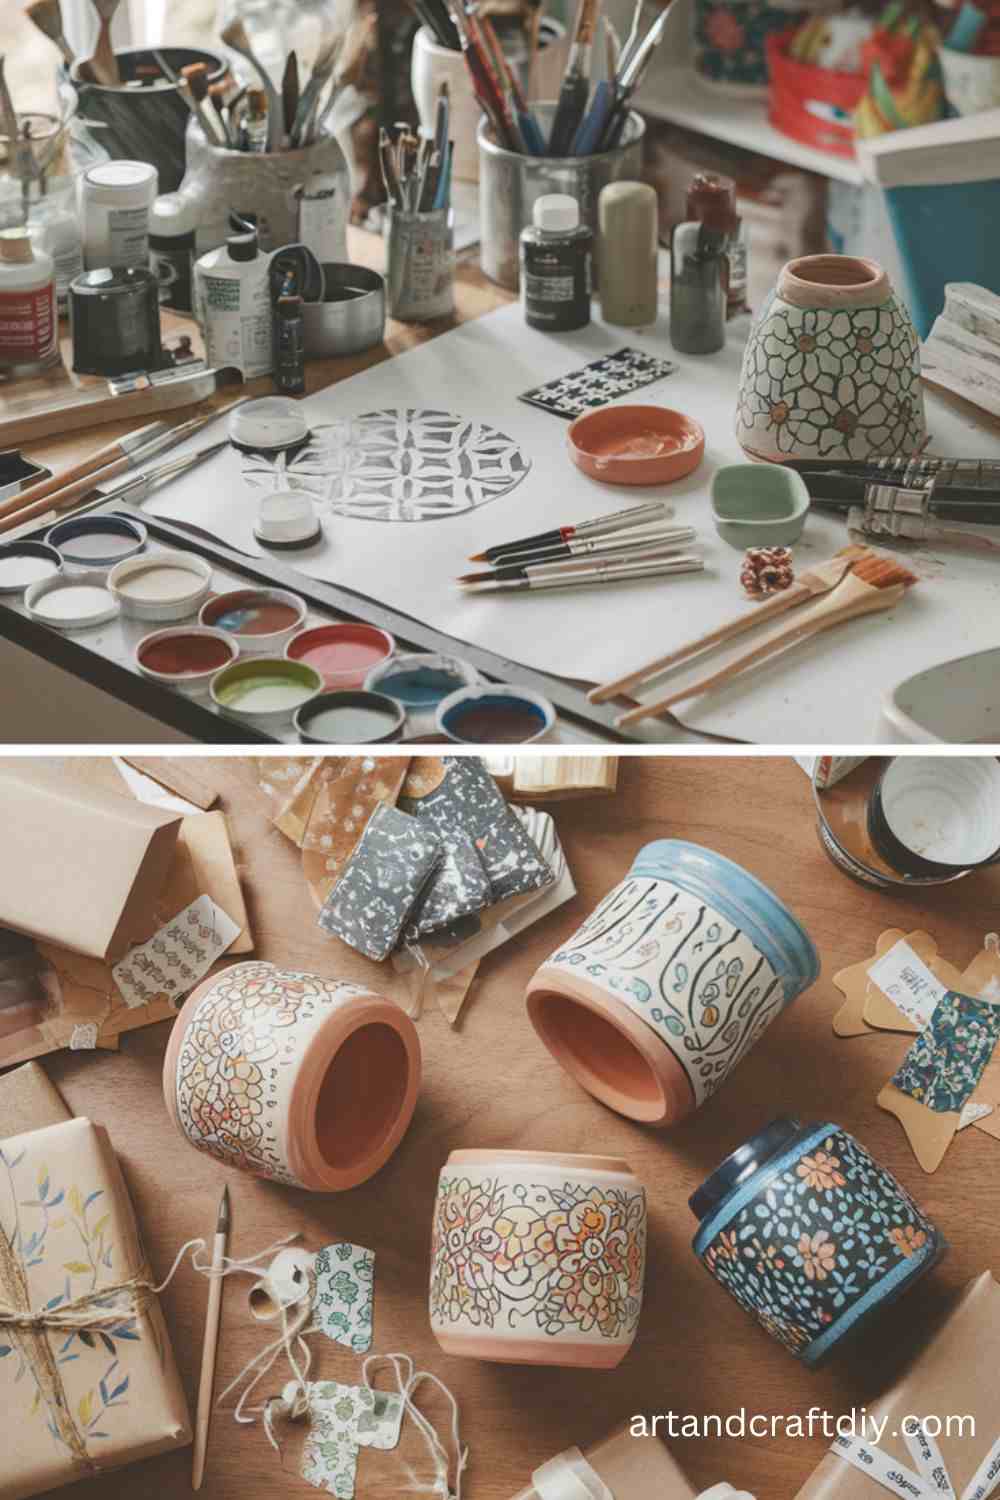
Materials Used:
- Clay flower pots
- Acrylic paint
- Paintbrushes
- Clear sealant
Steps:
- Clean the flower pot and let it dry completely.
- Use acrylic paint to create your design, whether it’s a geometric pattern, florals, or abstract art.
- Once the paint is dry, apply a clear sealant to protect the paint and make the pot weather-resistant.
- Add a small plant inside for a complete gift.
Customized Tote Bag Design
A tote bag is both practical and fashionable. A customized tote bag with a personal design can be a functional gift that the recipient can use daily.
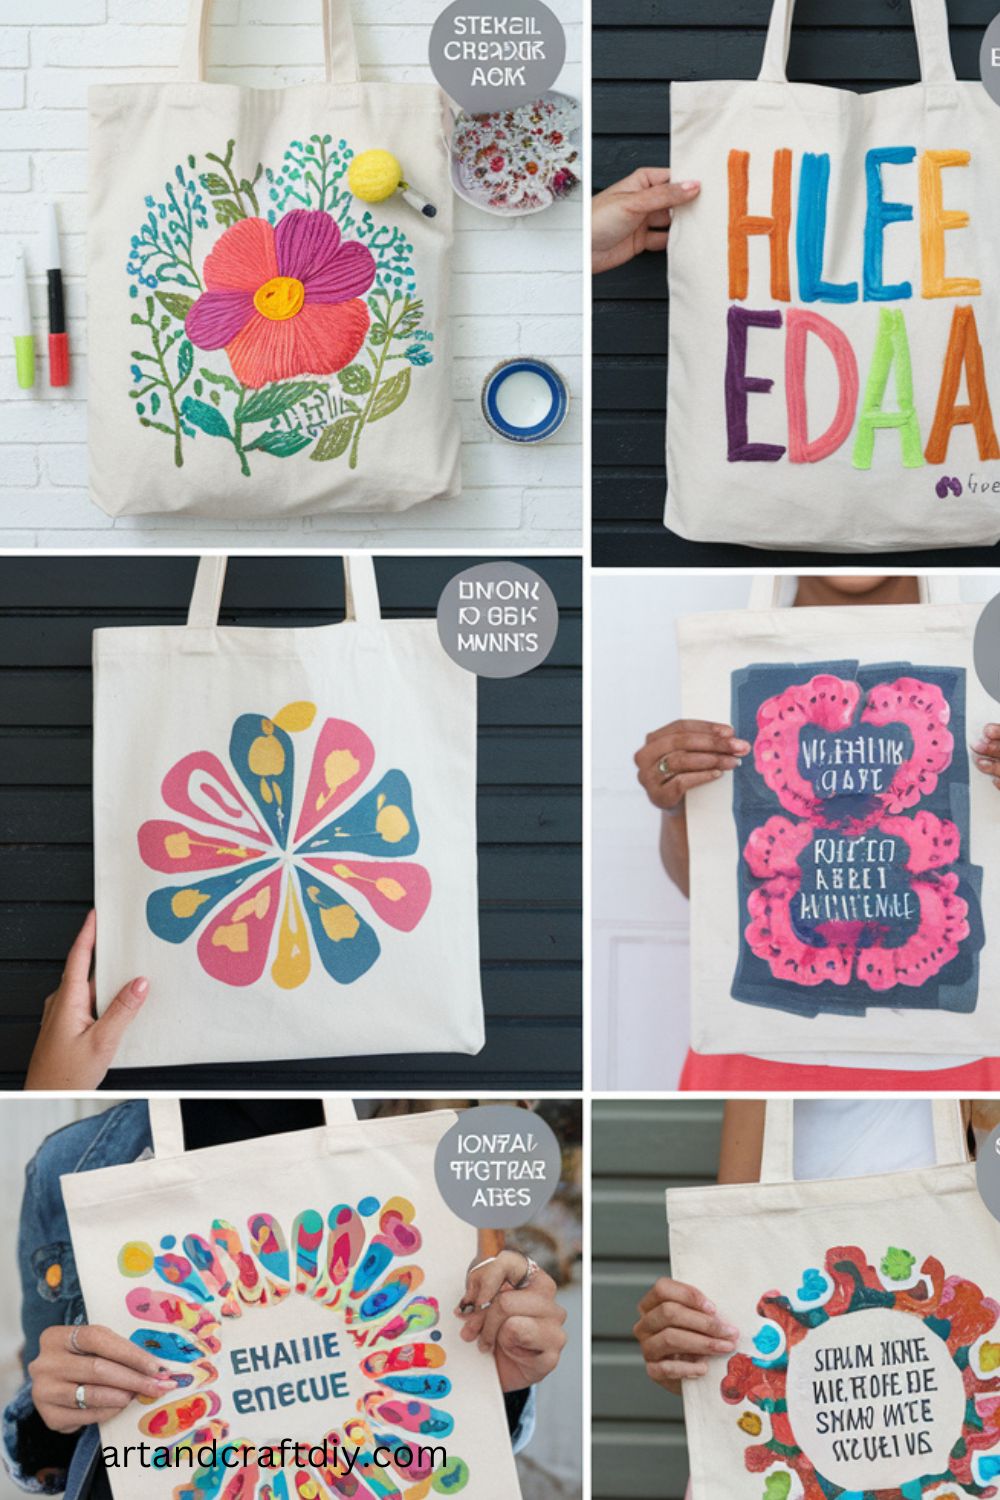
Materials Used:
- Plain canvas tote bag
- Fabric markers or fabric paint
- Stencils (optional)
Steps:
- Lay the tote bag flat on a surface and sketch out your design lightly with a pencil.
- Using fabric markers or paint, carefully color in your design.
- Let the bag dry for 24 hours, and heat-set the design with an iron to make it permanent.
- Optional: Add embellishments like patches or beads for extra flair.
Handmade Bath Bombs
Bath bombs are a relaxing and luxurious DIY gift that’s easy to customize. You can create bath bombs in different scents, colors, and shapes.
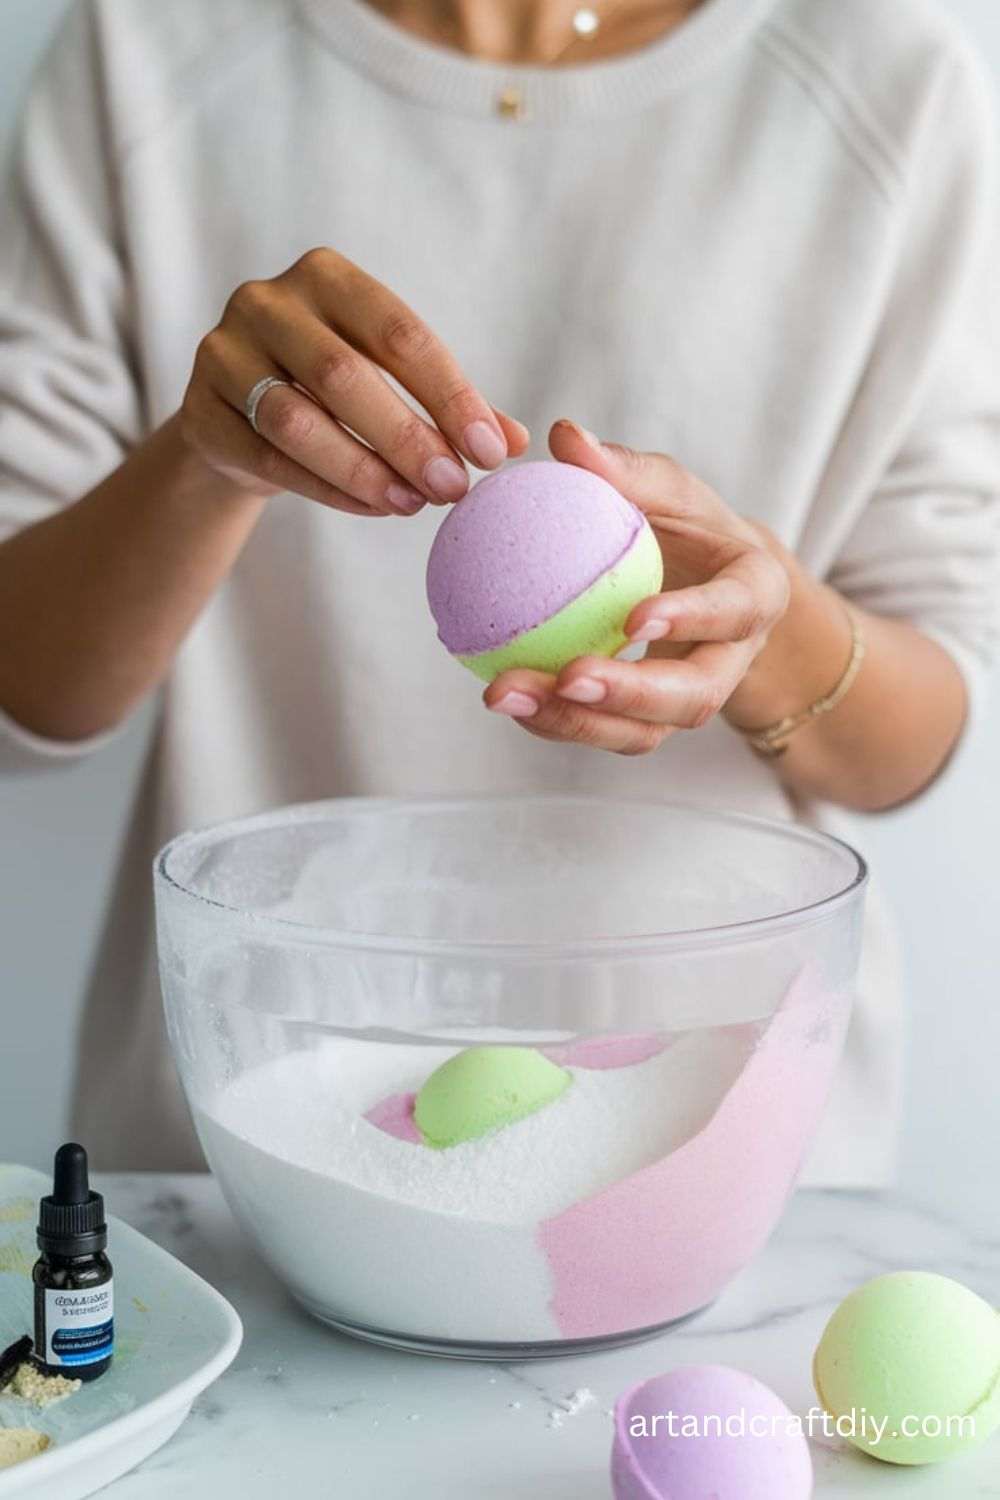
Materials Used:
- Baking soda
- Citric acid
- Epsom salt
- Cornstarch
- Essential oils
- Food coloring
- Water
- Bath bomb molds
Steps:
- In a large bowl, mix 1 cup baking soda, 1/2 cup citric acid, 1/2 cup Epsom salt, and 1/2 cup cornstarch.
- Slowly add essential oils and a few drops of food coloring while stirring the mixture.
- Mist the mixture with a little bit of water until it holds together when pressed.
- Pack the mixture tightly into molds and let them sit for at least 24 hours to harden.
- Once dry, remove the bath bombs from the molds and package them in a decorative box.
Hand Customized Mugs
Personalized mugs make fantastic gifts, especially for coffee or tea lovers. You can customize them with quotes, artwork, or even a photo.
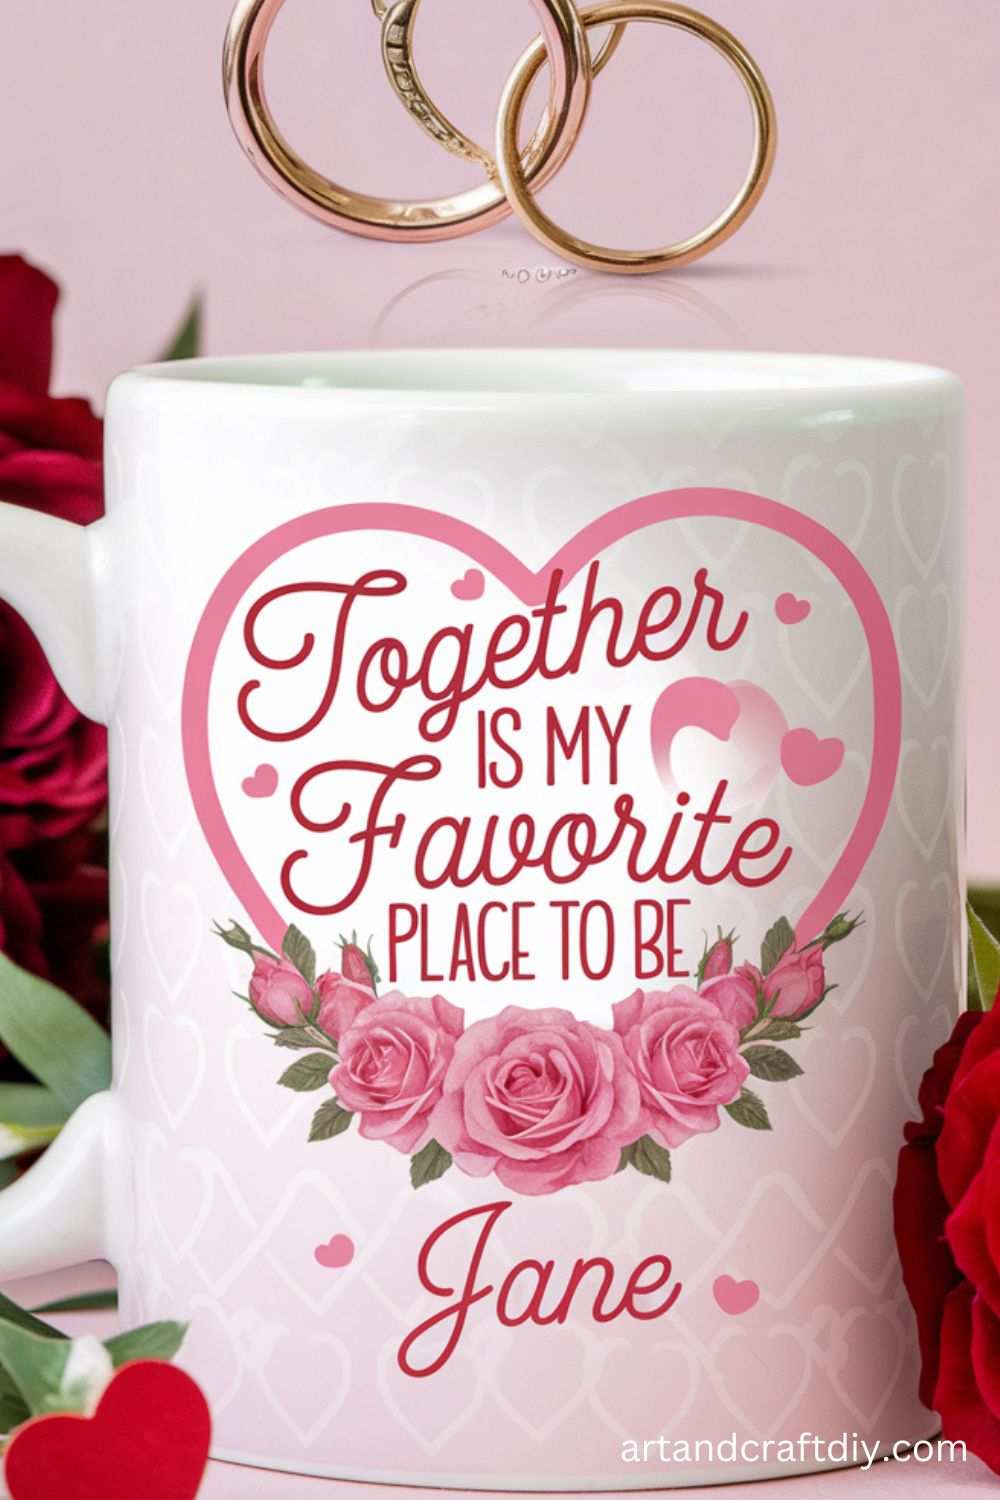
Materials Used:
- Plain ceramic mugs
- Permanent markers or ceramic paint
- Oven (for setting the paint)
Steps:
- Clean the ceramic mug and dry it thoroughly.
- Use permanent markers or ceramic paint to create your design.
- After decorating, let the mug sit for 24 hours to dry completely.
- To set the paint, bake the mug in an oven at 350°F for 30 minutes, then let it cool down.
DIY Cute Friendship Bracelets
Friendship bracelets are a sentimental gift that shows you’ve put time and care into making something special. They’re a simple and affordable DIY project.
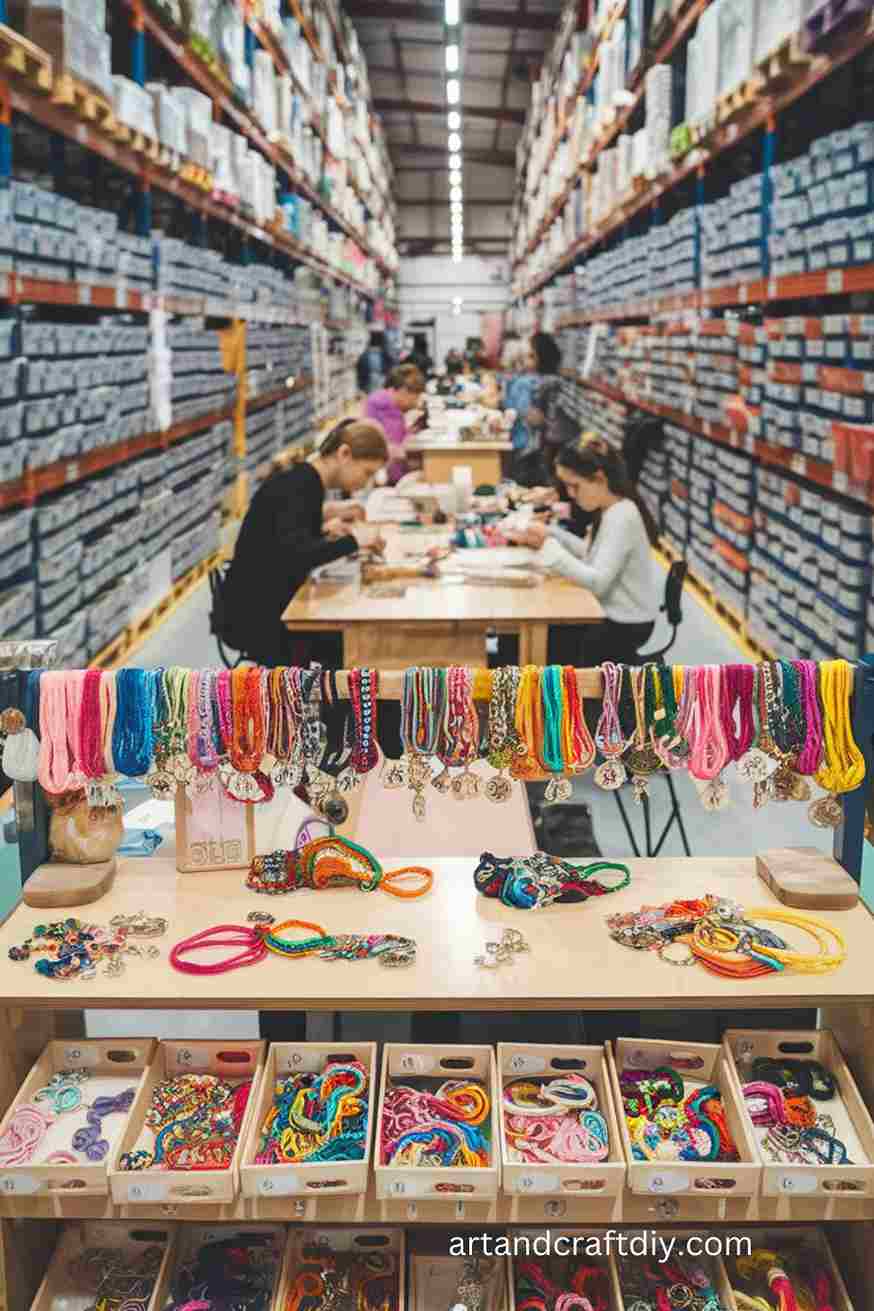
Materials Used:
- Embroidery floss (several colors)
- Scissors
Steps:
- Cut several strands of embroidery floss, about 18 inches long each.
- Tie a knot at the top and tape it to a flat surface to hold it in place.
- Begin braiding or knotting the strands together using the desired pattern.
- Once you reach the end of the bracelet, tie another knot and trim off the excess.
- Optionally, add beads for extra flair.
Homemade Chocolate Truffles
Homemade chocolate truffles are an indulgent treat that can be customized with different fillings and coatings. They make a sweet and thoughtful gift for any occasion.
Materials Used:
- Heavy cream
- Chocolate (dark, milk, or white)
- Cocoa powder or crushed nuts (for coating)
- Flavorings (vanilla, liqueurs, etc.)
Steps:
- Heat the heavy cream until it starts to simmer, then pour it over chopped chocolate.
- Stir until the chocolate has melted and the mixture is smooth.
- Let the mixture cool in the refrigerator for about 2 hours.
- Once chilled, scoop small amounts of the mixture and roll them into balls.
- Coat the truffles in cocoa powder, crushed nuts, or melted chocolate.
- Package the truffles in a decorative box.
Hand-Stamped Jewelry
Personalized jewelry is a timeless and thoughtful gift. Hand-stamped jewelry allows you to engrave meaningful words, names, or dates.Materials Used:
- Metal blanks (silver, copper, or brass)
- Letter stamps
- Hammer
- Chain or ring
- Jump rings
Steps:
- Place the metal blank on a soft surface and arrange the letter stamps in the desired pattern.
- Using a hammer, gently tap the stamps to imprint the letters on the metal.
- Once the design is complete, polish the metal to give it a clean finish.
- Attach the stamped metal to a chain or use it as a pendant.
- For a more refined look, consider adding a protective coating.
Embroidered Handkerchiefs
Handkerchiefs are elegant and practical gifts, and adding embroidery makes them even more personal. You can add initials, names, or special designs.
Materials Used:
- Plain handkerchiefs
- Embroidery floss
- Needle
Steps:
- Choose a simple design or initials to embroider on the handkerchief.
- Use a needle and embroidery floss to stitch the design.
- Once finished, trim any excess thread and neatly fold the handkerchief for presentation.
Personalized Coasters
Customized coasters are both useful and decorative. You can personalize them with names, quotes, or artistic designs that match the recipient’s home.
Materials Used:
- Wooden or cork coasters
- Paint or markers
- Clear sealant
Steps:
- Paint or draw your design onto the coasters using markers or paint.
- Let the design dry completely.
- Apply a clear sealant to protect the design from wear and tear.
Recycled Sweater Mittens
These mittens made from old sweaters are a cozy and sustainable gift idea. Not only do they repurpose old clothing, but they also provide warmth during the winter.
Materials Used:
- Old sweater
- Scissors
- Sewing machine or needle and thread
Steps:
- Cut the sleeves off the sweater to create mitten shapes.
- Use the cuff of the sleeve as the mitten’s opening.
- Sew along the sides, leaving space for the thumb.
- Turn the mittens inside out and finish with any decorative stitching.
Handmade Soap Bars
Homemade soap bars make a luxurious gift that can be tailored to suit the recipient’s favorite scents and skin care needs.
Materials Used:
- Soap base (glycerin, shea butter, etc.)
- Essential oils
- Dried flowers or herbs (optional)
- Soap molds
Steps:
- Melt the soap base according to the instructions.
- Stir in essential oils and any desired dried flowers or herbs.
- Pour the mixture into soap molds and let it set for several hours.
- Once hardened, remove the soap from the molds and wrap it in decorative paper.
DIY Memory Jar
A memory jar is a heartfelt and sentimental gift that allows the recipient to remember happy moments. Each note can hold a special memory or a message of appreciation.
Materials Used:
- Jar (Mason jar or any clear jar)
- Paper
- Pen
Steps:
- Write down memories, quotes, or kind messages on small pieces of paper.
- Fold each piece of paper and place it in the jar.
- Decorate the jar with ribbons or a personalized label.
- Present the jar as a gift for the recipient to read whenever they need a positive reminder.
Hand-Painted Rocks
Hand-painted rocks are an adorable and easy DIY gift. You can paint inspiring quotes, animals, or abstract art on rocks for a charming, creative gift.
Materials Used:
- Smooth, flat rocks
- Acrylic paint
- Paintbrushes
- Clear sealant
Steps:
- Clean the rocks and dry them thoroughly.
- Paint your design onto the rocks with acrylic paint.
- Let the paint dry completely, then apply a clear sealant to protect your artwork.
- Optionally, add a small tag with a personal message.
Homemade Granola
Granola is a thoughtful and delicious homemade gift, perfect for a health-conscious friend or family member. You can customize the flavors with various nuts, fruits, and spices.
Materials Used:
- Oats
- Honey or maple syrup
- Nuts (almonds, cashews, etc.)
- Dried fruit
- Spices (cinnamon, nutmeg)
Steps:
- Preheat the oven to 350°F.
- In a large bowl, combine oats, nuts, honey, and spices.
- Spread the mixture onto a baking sheet and bake for 20-30 minutes, stirring occasionally.
- Once cooled, mix in dried fruit and package the granola in a decorative jar.
Custom Phone Case
A customized phone case adds a personal touch to a practical item. You can design it with photos, initials, or fun graphics to suit the recipient’s style.
Materials Used:
- Plain phone case
- Permanent markers or paint
- Stencils (optional)
Steps:
- Start by cleaning the phone case and allowing it to dry.
- Sketch out your design with a pencil or stencil, then outline it with permanent markers or paint.
- Once your design is complete, let it dry for several hours before gifting it.
Personalized Keychains
Personalized keychains are an easy and affordable DIY gift that adds a personal touch to something that is used every day.
Materials Used:
- Keychain blanks (wood, metal, or acrylic)
- Paint or markers
- Keyring
Steps:
- Paint or decorate the keychain blank with a personal design, name, or date.
- Let the paint dry completely.
- Attach a keyring to the keychain blank, and it’s ready to gift!
DIY Felted Coasters
Felted coasters are a cozy, functional, and easy-to-make DIY gift. You can create a set of colorful coasters that add a fun touch to any table.
Materials Used:
- Wool roving
- Hot water and soap (for felting)
- Soap dish or bowl
Steps:
- Lay the wool roving in a circular pattern to form a coaster.
- Soak the wool in hot soapy water and gently rub it to help it felt together.
- Rinse and let the coaster dry completely.
Hand-Drawn Calendar
A personalized calendar can be a very useful and thoughtful gift. You can create one with drawings or photos representing important dates or memories for the recipient.
Materials Used:
- Blank calendar
- Markers or colored pencils
- Photos or drawings
Steps:
- Start by creating a design for each month, using markers or your own artwork.
- Add important dates or personal messages to each month.
- Assemble the calendar and bind it together.
Hand-Painted Coasters
Coasters are a functional gift that can be easily personalized. You can create fun designs, such as geometric patterns or seasonal artwork.
Materials Used:
- Blank wooden or cork coasters
- Paint
- Paintbrushes
Steps:
- Clean the coasters before you start painting.
- Design your artwork with paint, using several layers for a rich, vibrant finish.
- Let the paint dry completely before applying a clear coat to seal the design.
Homemade Cookies in a Jar
A “cookie mix in a jar” gift allows the recipient to easily bake homemade cookies. Simply layer dry ingredients in a jar and add instructions for baking.
Materials Used:
- Mason jar
- Flour, sugar, baking soda, and chocolate chips
Steps:
- Layer the dry ingredients in the jar, starting with the flour and ending with the chocolate chips.
- Seal the jar with a lid and attach a card with baking instructions.
Painted Wooden Spoons
Painted wooden spoons are a cute and practical gift for anyone who enjoys cooking. You can customize them with fun designs or even inspirational quotes.
Materials Used:
- Wooden spoons
- Paint
- Paintbrushes
Steps:
- Clean and dry the wooden spoons.
- Paint fun designs, such as florals, polka dots, or inspirational quotes.
- Let the paint dry completely before using them in the kitchen.
Decorative Throw Pillow
A hand-decorated throw pillow can be a cozy addition to anyone’s living room or bedroom. You can personalize it with fabric paint, embroidery, or appliqué.
Materials Used:
- Pillow cover
- Fabric paint or embroidery floss
- Sewing needle and thread (for appliqué)
Steps:
- Decide on your design and apply fabric paint or embroider your design onto the pillow.
- If using appliqué, cut out fabric shapes and sew them onto the pillow cover.
- Insert a pillow form or stuff with filling to complete the gift.
Homemade Jam
Homemade jam is a sweet and thoughtful gift, especially if the recipient loves fresh preserves. You can make jam in a variety of fruit flavors and package it in a jar.
Materials Used:
- Fresh fruit (berries, peaches, etc.)
- Sugar
- Pectin
- Canning jars
Steps:
- Combine fruit, sugar, and pectin in a large pot.
- Cook the mixture until it thickens and reaches the desired consistency.
- Pour the jam into sterilized jars and seal them.
Felt Heart Ornaments
Felt heart ornaments are easy to make and can be a lovely decoration or a gift for Valentine’s Day, anniversaries, or any occasion.
Materials Used:
- Felt sheets
- Needle and thread
- Scissors
- Ribbon
Steps:
- Cut two heart shapes from the felt.
- Sew them together, leaving a small opening.
- Stuff the heart with cotton or felt scraps and sew it shut.
- Attach a ribbon for hanging.
Homemade Lip Balm
Homemade lip balm is a practical gift that can be easily customized with different flavors and scents.
Materials Used:
- Beeswax
- Coconut oil
- Essential oils
- Small containers or tubes
Steps:
- Melt beeswax and coconut oil together in a double boiler.
- Stir in essential oils for fragrance.
- Pour the mixture into small containers and let it set.
The Joy of Giving Something Made with Care
Giving is one of the most beautiful expressions of love, kindness, and gratitude. When a gift is made with care, whether it’s handmade or crafted with personal attention, it carries more than just material value—it holds meaning, thoughtfulness, and a piece of the giver’s heart. The joy of giving something made with care not only impacts the recipient, but also brings immense satisfaction to the giver. Here’s why:
1. Personal Connection
- When a gift is made with care, it reflects the time and effort put into understanding the recipient’s tastes and needs. This makes the act of giving deeply personal, strengthening the bond between giver and receiver.
2. Unique and Meaningful
- Handcrafted items or carefully chosen gifts often hold more significance than mass-produced ones. They are one-of-a-kind, conveying that the giver put thought into making or selecting something unique.
3. Expressing Love and Affection
- The care put into the gift shows the recipient that they are loved and valued. It can be a powerful way to express feelings that words alone may not fully capture.
4. Satisfaction in Creation
- For the giver, creating something with care is a fulfilling experience. The process itself—whether it’s making a homemade meal, knitting a scarf, or crafting a piece of art—can bring joy to the creator, knowing that it will bring happiness to someone else.
5. Memories and Emotional Impact
- Gifts made with care often carry emotional weight. Over time, they become keepsakes and reminders of a special moment shared. The memory of receiving something that was thoughtfully made stays with the person for years.
FAQ
What are some easy DIY gift ideas for beginners?
For beginners, simple yet thoughtful DIY Gifts like personalized mugs, hand-painted flower pots, homemade candles, or knitted scarves are great options. These DIY Gifts are easy to create with minimal supplies and tools.
How do I make a personalized DIY Gifts at home?
Personalized gifts can be made by adding your own touch, like engraving a name on a keychain, customizing a photo frame with decorative elements, or creating a handmade scrapbook filled with memories. Many DIY Gifts can be done using basic art supplies and some creativity.
What supplies do I need for DIY gifts?
Basic supplies include glue, scissors, paints, brushes, fabric, string, markers, and any decorative elements like beads, sequins, or stickers. The specific supplies depend on the type of DIY project you’re working on.
Can I make DIY gifts on a budget?
Yes, DIY gifts can be made on a budget! You can repurpose materials from around your home, use inexpensive supplies from craft stores, or find second-hand items to transform into personalized gifts. The thought and effort put into a handmade gift are often more appreciated than its cost.

Hi, I’m Victoria, an art and craft teacher at Newark City Schools, where I have the joy of working with middle school students to help them explore their creativity and develop their artistic talents. I believe that art is a powerful way for students to express themselves, and I strive to make every lesson a fun, engaging, and inspiring experience.
I created this website to share the art and craft projects, techniques, and resources that I use in my classroom, hoping to inspire both educators and young artists alike. Whether you’re a teacher looking for new ideas or a student eager to try something new, I’m excited to provide creative tools and projects that anyone can enjoy.
When I’m not in the classroom, I love experimenting with different art forms and learning new crafting techniques. My goal is to help others discover the joy of making things with their hands, and I hope my website serves as a space for everyone to explore their creative potential.