
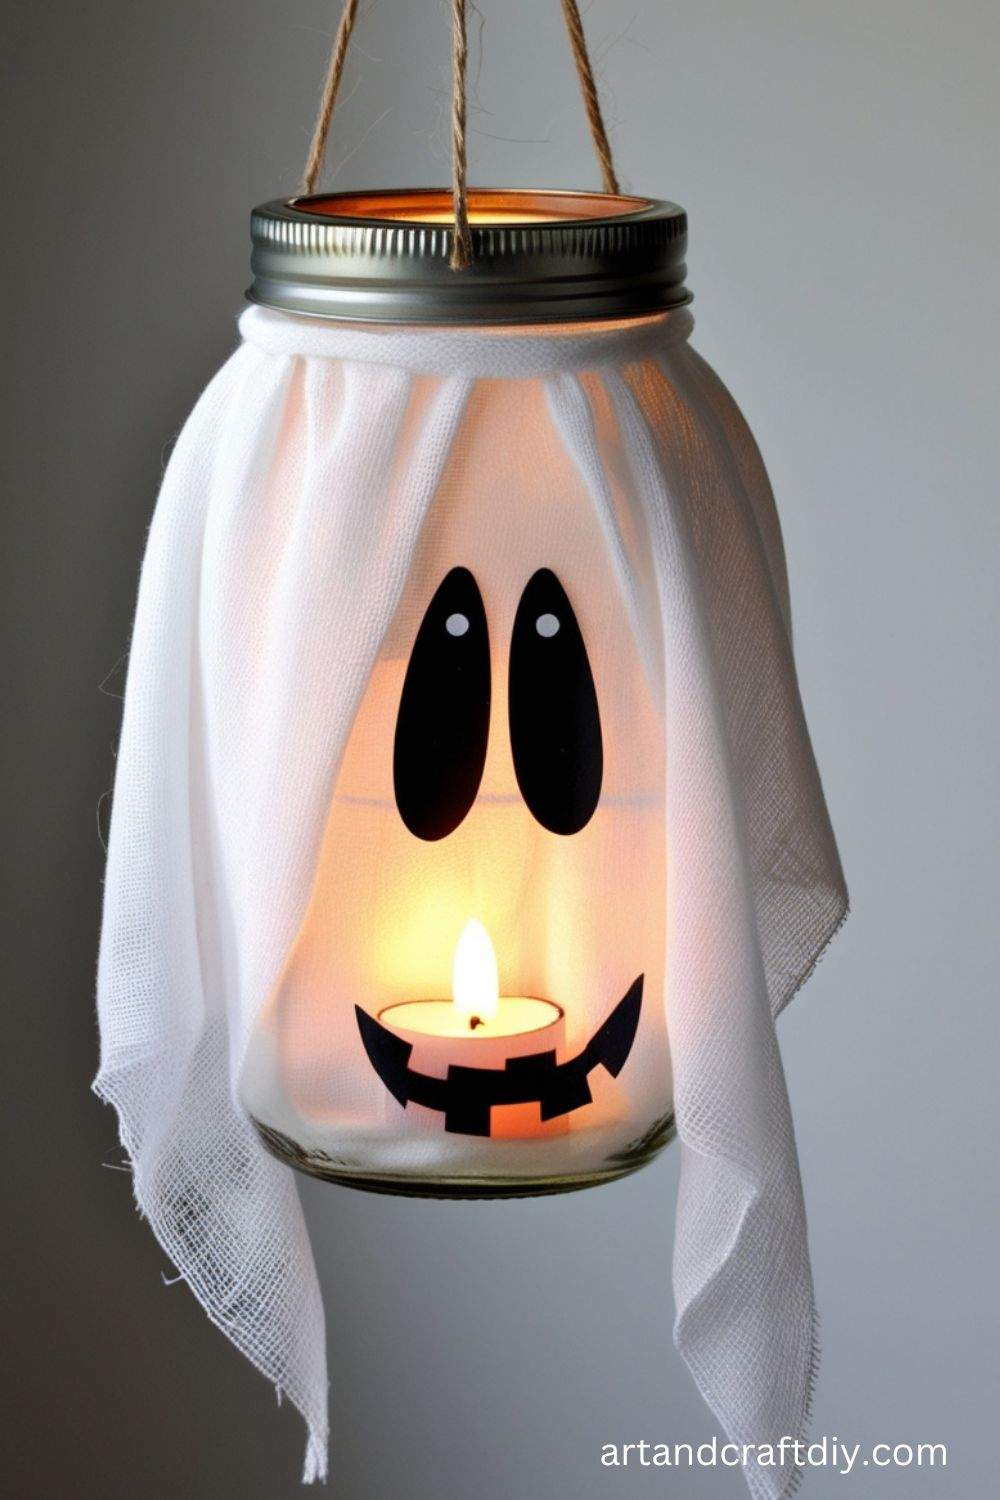
You know that feeling when October rolls around and suddenly every store is packed with pricey Halloween decorations? Yeah, I’ve been there too—standing in the aisle debating if a foam pumpkin is really worth twenty bucks. Spoiler: it’s not. That’s actually how I stumbled into DIY Halloween crafts. One year, I grabbed some old jars, black paint, and a roll of twine, and—bam—spooky lanterns for the porch. They weren’t perfect, but honestly, that’s the charm.
And here’s the thing: making your own crafts isn’t just about saving money (though that’s a big win). It’s about creating something that feels yours. Plus, it’s surprisingly fun, even if you’re not “crafty.” Ever tried cutting out bats and ended up with something that looked like a flying potato? Same. But stick with me, and I’ll share easy DIY Halloween crafts that’ll bring your space to life without draining your wallet. Ready? Let’s dive in.
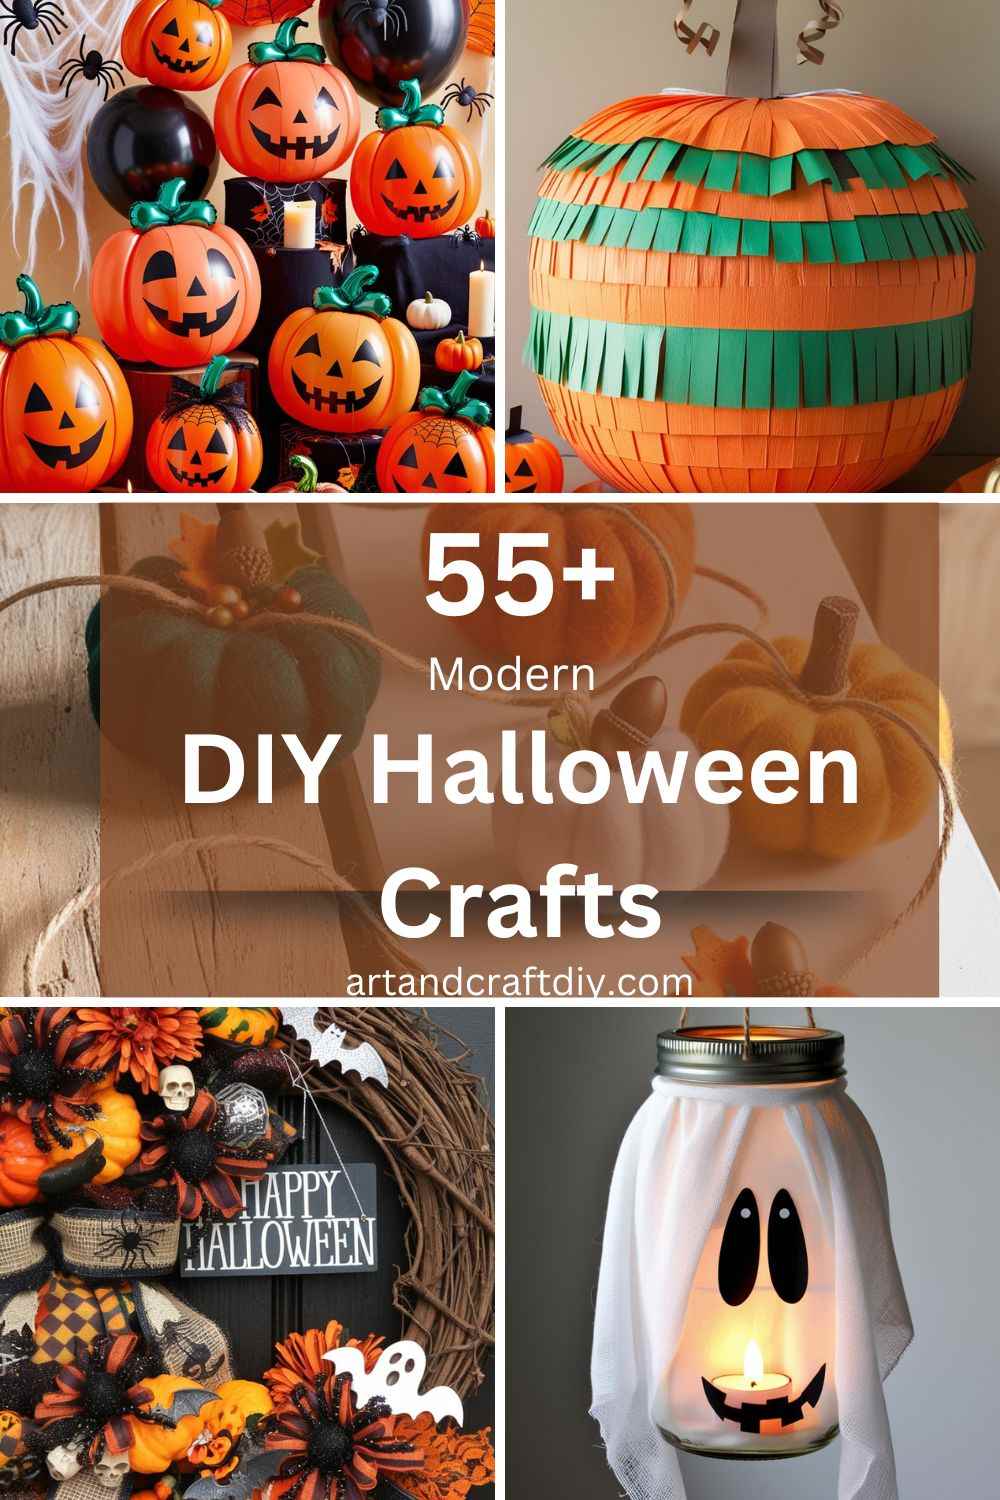
DIY Halloween Crafts


Tips and Tricks for Easy Halloween Crafts
Halloween is the perfect time to get creative with spooky and fun crafts. Whether you’re decorating for a party, creating DIY costumes, or just enjoying some family time, crafting can be a memorable experience. Here are some tips and tricks to help you DIY Halloween crafts with ease and make your Halloween projects even more enjoyable.
Organizing Your Craft Space
A well-organized crafting space can make a world of difference in how efficiently you work. Here are some ways to keep your craft area tidy and functional:
- Create Zones: Assign different areas of your workspace for specific activities, like cutting, gluing, painting, or storage. This prevents clutter and saves time.
- Use Clear Containers: Store small items like beads, glitter, or buttons in clear jars or bins so you can easily see what you have.
- Label Everything: Label your materials so you can quickly grab what you need, especially if you’re working with a lot of supplies.
- Keep Essentials Accessible: Make sure your most-used tools (scissors, glue, tape, markers) are within arm’s reach to avoid wasting time searching for them.
Budget-Friendly Materials
You don’t have to spend a lot of money to make great Halloween crafts. Here are some inexpensive materials you can use:
- Recycled Items: Look around your home for items you can repurpose, such as cardboard boxes, old magazines, plastic bottles, and egg cartons. These can be turned into tombstones, spiders, or pumpkins.
- Dollar Store Finds: Dollar stores often have a great selection of craft supplies. You can find fabric, foam sheets, beads, and more at a fraction of the price.
- Nature’s Bounty: Collect leaves, twigs, pinecones, and stones from your yard for earthy Halloween crafts. These can be used for wreaths, decorations, or even handmade candles.
- Simple Craft Supplies: Basic supplies like construction paper, markers, pipe cleaners, and cotton balls can go a long way in creating fun Halloween creations.
Safety Tips for Crafting
Crafting with scissors, glue guns, and other tools requires some precautions. Here are a few important safety tips:
- Handle Scissors Carefully: Always cut away from your body and keep your fingers clear of the cutting path. For younger children, opt for safety scissors that prevent accidental cuts.
- Use Hot Glue Guns with Care: Hot glue guns can get very hot. Always supervise children when using one, and be cautious about burns. Keep the glue gun on a heat-resistant surface when not in use.
- Sharp Tools: If you’re using X-Acto knives or other sharp blades, make sure they are always pointed away from you and stored out of reach of little hands.
- Non-toxic Materials: Choose non-toxic paints, markers, and glues, especially when crafting with children. Check labels to ensure safety.
- Keep a First Aid Kit Handy: Accidents can happen, so keep a small first aid kit nearby, just in case.
How to Incorporate the Family in Crafting
Crafting is a great way to spend time together as a family. Here’s how you can get everyone involved:
- Assign Age-Appropriate Tasks: Little ones can help with simple tasks like gluing or coloring, while older children can handle more complex steps, like cutting or painting. Adults can supervise and assist as needed.
- Create a Family Craft Night: Set aside a specific night where everyone gets together to make Halloween crafts. You can have fun, chat, and share ideas while crafting.
- Personalize Crafts: Let each family member contribute their ideas to a shared project. For example, everyone can make their own unique pumpkin using paint, markers, or stickers, or design their own costume accessories.
- Make a Crafty Tradition: If Halloween crafts become a yearly tradition, it’s something the whole family can look forward to. Over time, you can even create themed decorations that you bring out each year.
DIY Halloween Treat Bags and Gift Wraps
Halloween is the perfect time to get creative with your gift wrapping and treat bags. Instead of buying pre-made ones, why not create your own spooky designs? Here are two fun and easy DIY projects to make your Halloween treats and gifts extra special!
Monster Treat Bags
Materials:
- Paper bags (brown or colored)
- Googly eyes (various sizes)
- Markers (black, green, purple, etc.)
- Glue
Step-by-Step Instructions:
- Prepare the Paper Bags: Start with plain paper bags. You can use any size depending on the number of treats you plan to pack.
- Add Monster Features: Draw a monster mouth, sharp teeth, and funky shapes for ears or horns on the paper bag using your markers. Go wild with designs—make it as spooky or silly as you like!
- Attach the Googly Eyes: Use glue to attach googly eyes to your monster bag. You can make your monster extra silly by using eyes of different sizes, or create a more terrifying look with multiple eyes.
- Personalize: If you’d like, write a name or spooky message on the bag using your markers. Add other fun details like scars, warts, or monster claws.
- Fill with Treats: Once your monster treat bags are decorated, fill them with Halloween goodies like candy, small toys, or stickers. Seal the bags by folding the top down and tying them off with a string.
Spooky Gift Wrap
Materials:
- Black wrapping paper
- Halloween-themed stickers (e.g., pumpkins, bats, ghosts, etc.)
- Ribbon (orange, purple, or black)
Step-by-Step Instructions:
- Cut the Wrapping Paper: Start by cutting your black wrapping paper to the desired size for your gift. Ensure it covers your gift completely.
- Wrap the Gift: Wrap your gift as you would normally, folding the edges neatly and securing it with tape.
- Decorate with Stickers: Once the gift is wrapped, add Halloween-themed stickers to make it more festive. Place stickers of ghosts, bats, pumpkins, or anything spooky that fits the Halloween theme.
- Add a Spooky Ribbon: Cut a length of orange, purple, or black ribbon and tie it around the gift in a bow. You can also use the ribbon to create a spooky accent, like a spider web or bow tie.
- Finishing Touches: For a fun touch, consider adding a tag to the gift using black cardstock. You can write “Boo!” or “Trick or Treat” on the tag to complete the look.
FAQ
What are some easy DIY Halloween crafts I can make with kids?
You can try making paper plate pumpkins, ghost garlands, or spider webs using yarn. These projects are simple, fun, and safe for kids to do with adult supervision.
What materials do I need for DIY Halloween crafts ?
Common materials include construction paper, felt, glue, scissors, paint, string, and various craft items like googly eyes, foam sheets, and mini pumpkins. These supplies can be used for a wide range of Halloween crafts.
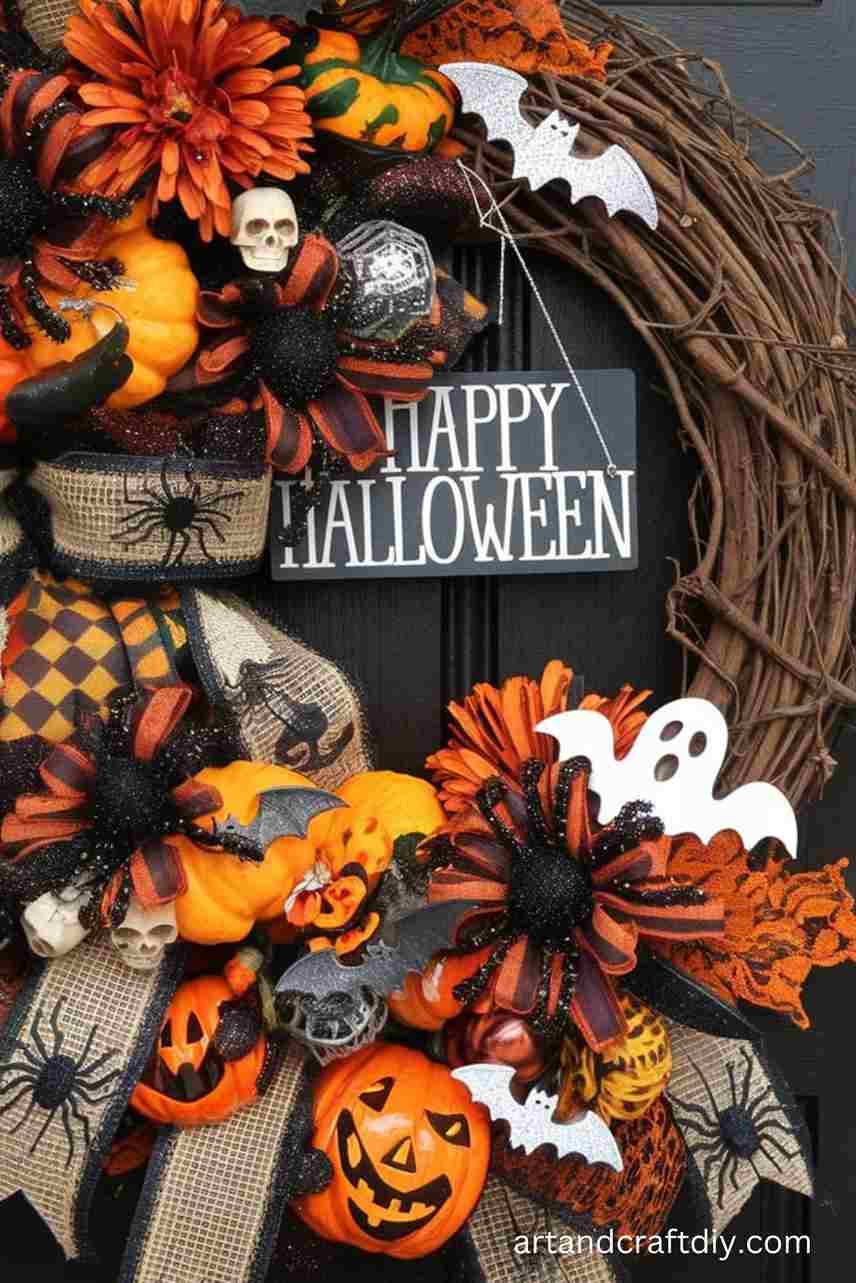
How do I make Halloween-themed wreaths?
To make a Halloween wreath, use a foam or wire wreath base, and decorate it with black and orange ribbons, fake spiders, mini skulls, and small pumpkins. You can also add LED lights for an extra spooky touch.
Can I use recycled materials for DIY Halloween crafts ?
Yes! Recycled materials like toilet paper rolls, cardboard boxes, and old magazines can be transformed into creative Halloween decorations. For example, cardboard tubes can become skeleton legs, or a cereal box can be turned into a haunted house.
What are some budget-friendly DIY Halloween crafts ideas?
You can make pumpkin decorations from empty tin cans, craft paper bats, or a ghost garland using old white sheets. These crafts are cost-effective and great for both kids and adults.

Hi, I’m Victoria, an art and craft teacher at Newark City Schools, where I have the joy of working with middle school students to help them explore their creativity and develop their artistic talents. I believe that art is a powerful way for students to express themselves, and I strive to make every lesson a fun, engaging, and inspiring experience.
I created this website to share the art and craft projects, techniques, and resources that I use in my classroom, hoping to inspire both educators and young artists alike. Whether you’re a teacher looking for new ideas or a student eager to try something new, I’m excited to provide creative tools and projects that anyone can enjoy.
When I’m not in the classroom, I love experimenting with different art forms and learning new crafting techniques. My goal is to help others discover the joy of making things with their hands, and I hope my website serves as a space for everyone to explore their creative potential.