
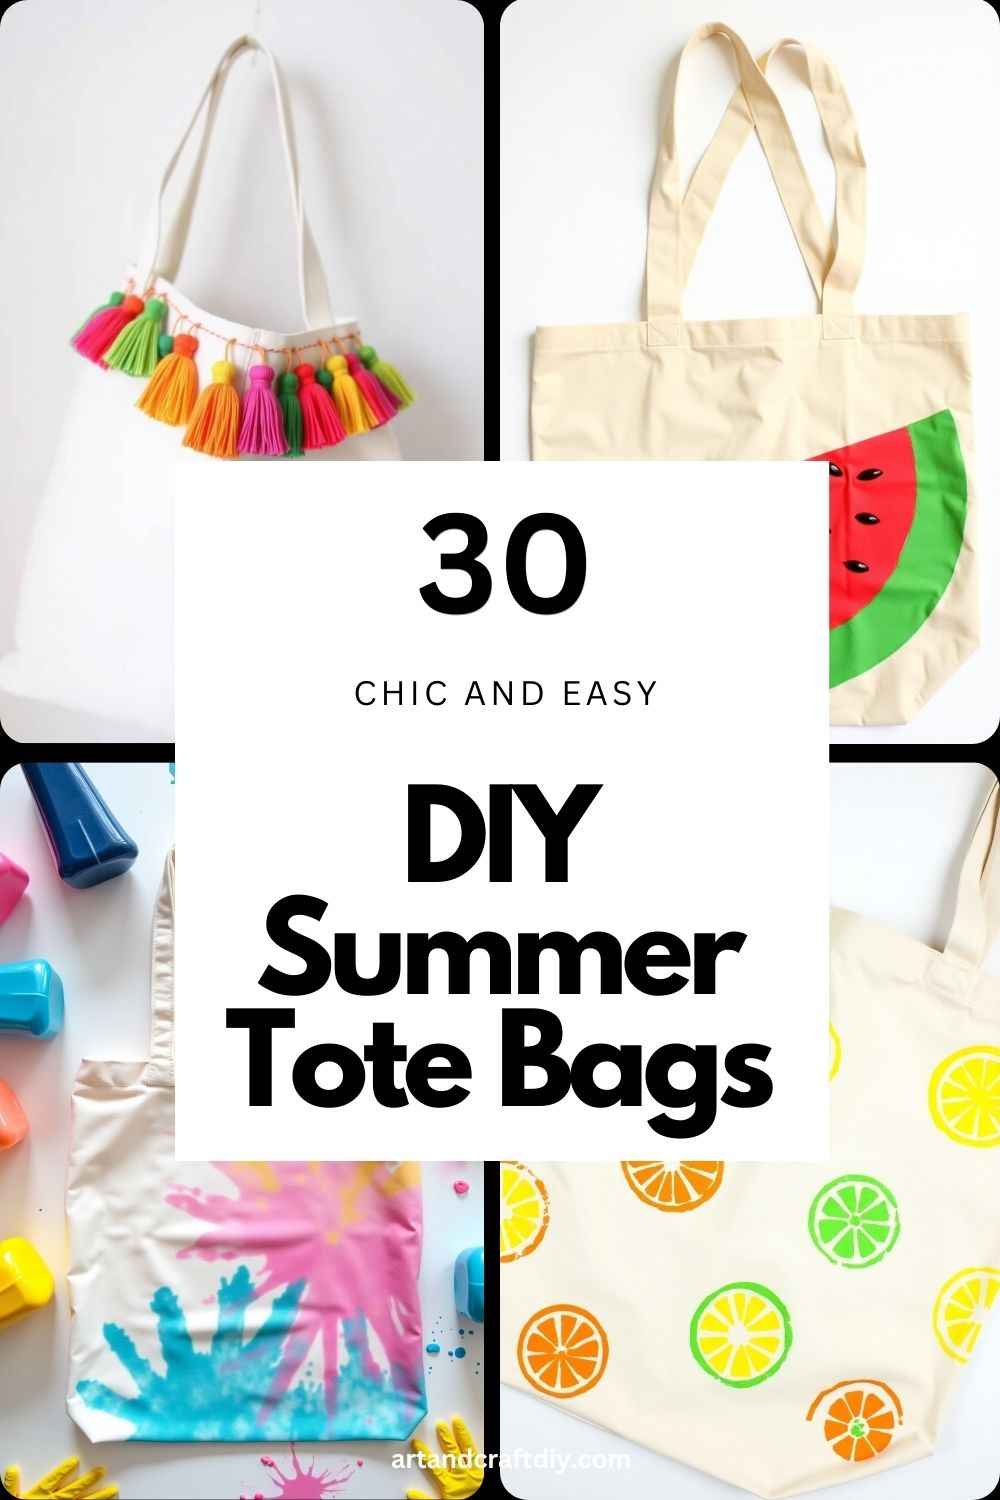
When sunny days roll around, so do outdoor adventures—beach trips, picnics in the park, farmers’ markets, and weekend getaways. One of the handiest accessories for all these activities is a sturdy, spacious, and stylish bag. That’s where DIY Summer Tote Bags come in! Not only are they perfect for carrying sunscreen, snacks, books, and towels, but they also let you express your personality in a fun and practical way.
DIY Summer Tote Bags
DIY Summer Tote Bags are the perfect blend of style and function for all your sunny adventures. They’re fun to make, budget-friendly, and completely customizable to match your summer vibe.
Tropical Stencil Tote
Bring beach vibes wherever you go with a tropical stencil tote featuring palm leaves or pineapples.
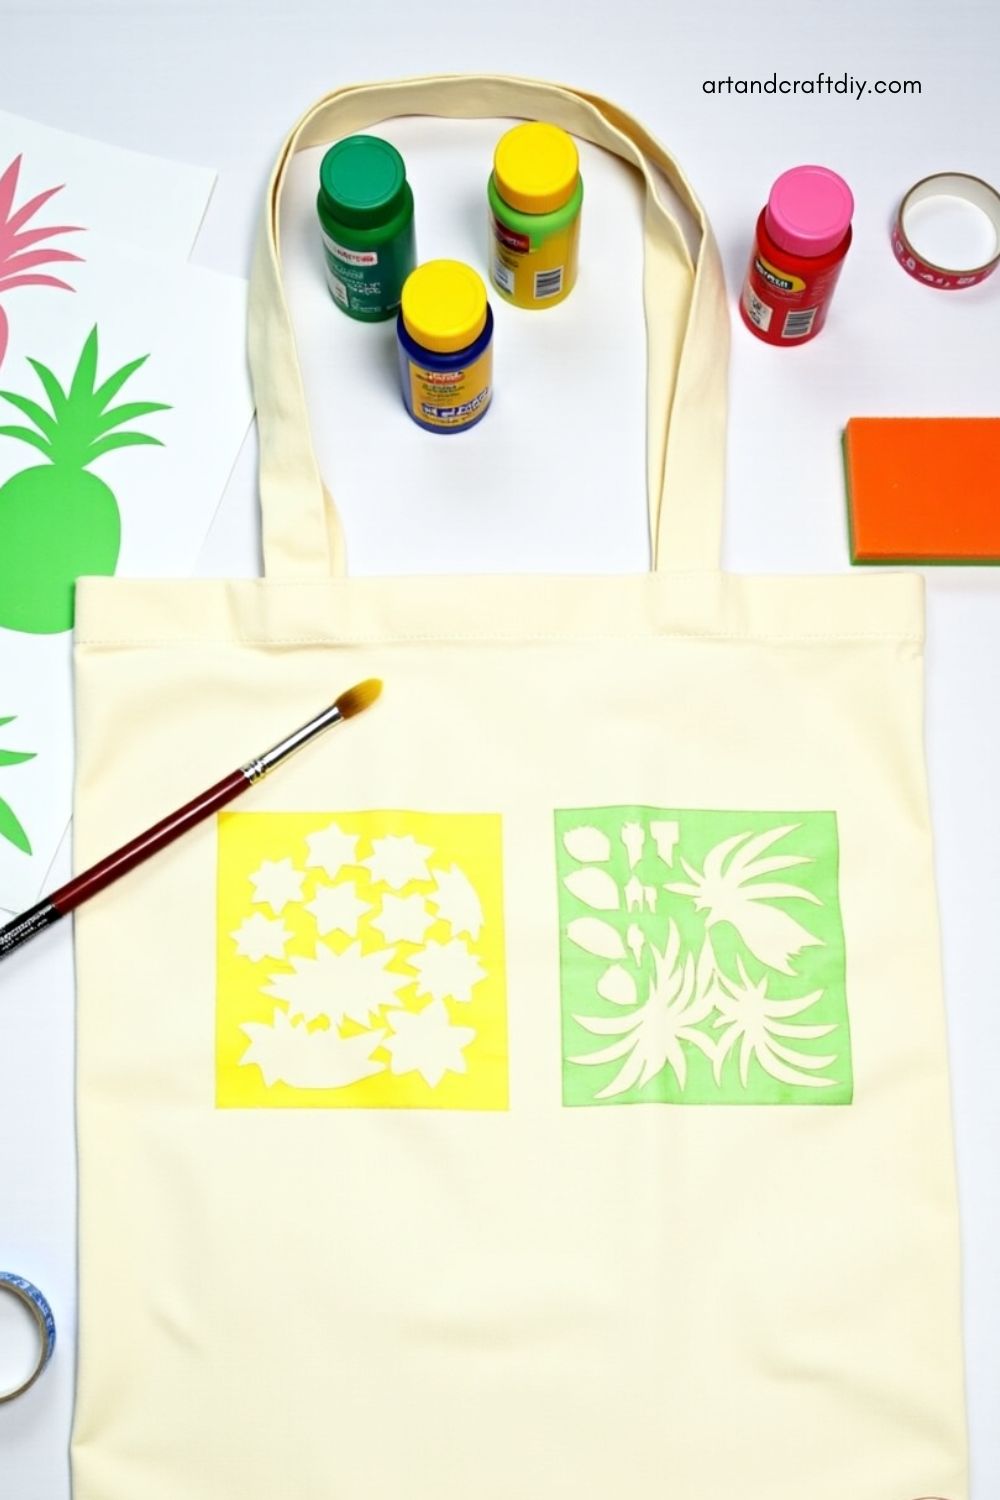
Materials:
- Plain canvas tote bag
- Tropical-themed stencils
- Fabric paint (green, yellow, pink)
- Sponge or stencil brush
Steps:
- Place the stencil on the tote and secure with tape.
- Dip the sponge into paint and dab gently over the stencil.
- Carefully lift the stencil and let the paint dry.
- Repeat for a layered effect or additional motifs.
Tie-Dye Splash Tote
Add bursts of color to your summer with a groovy tie-dye tote.
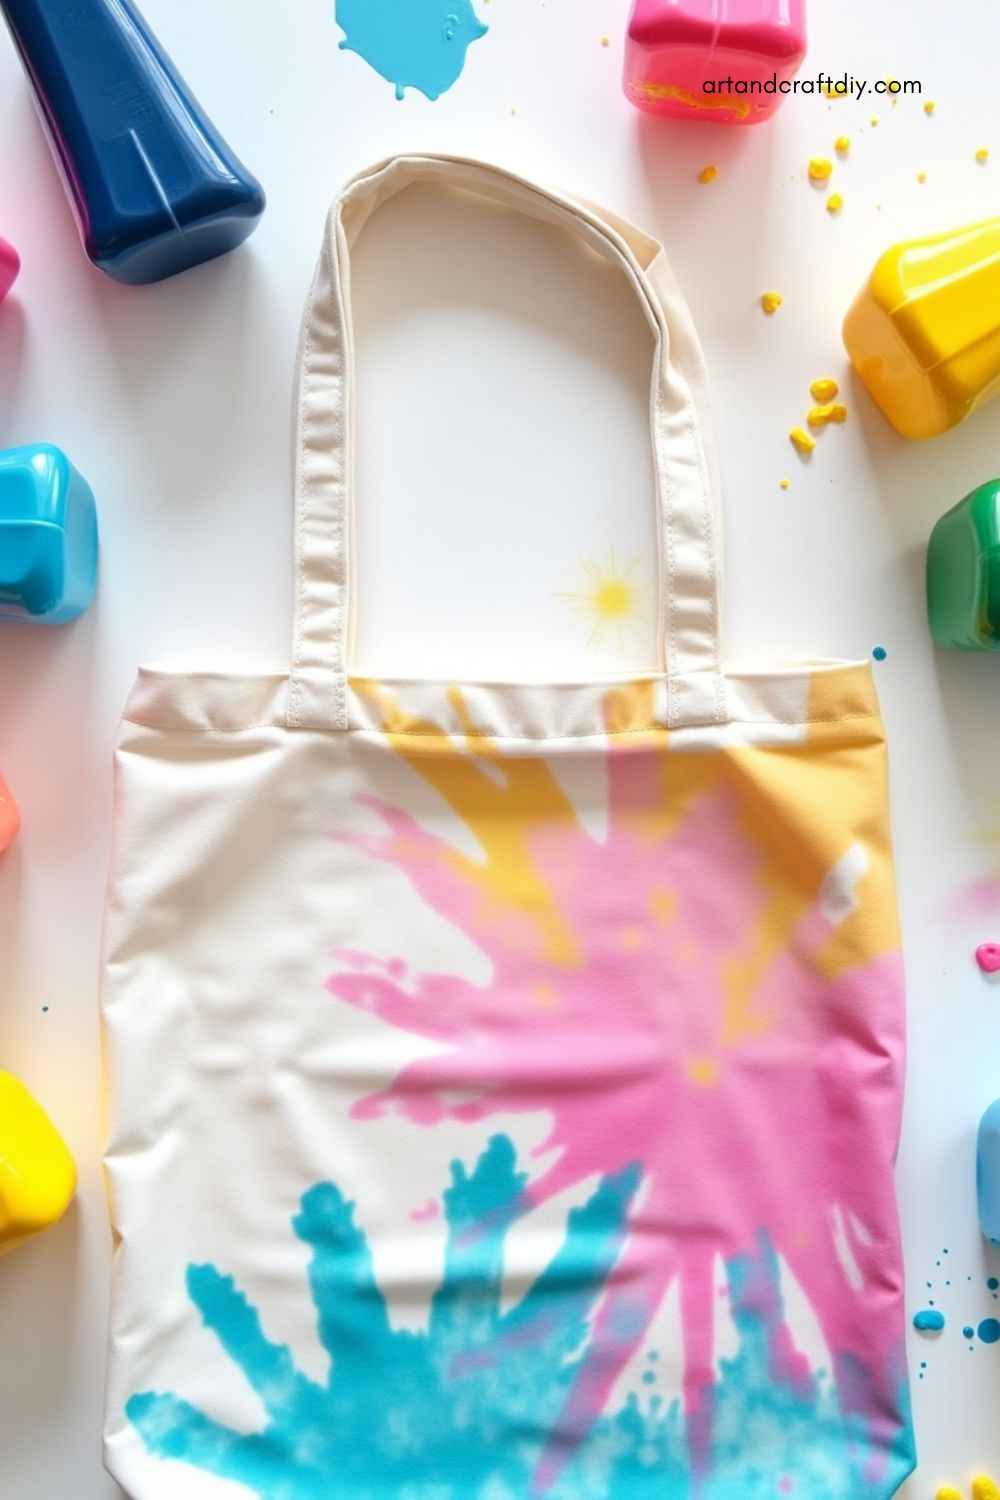
Materials:
- White canvas tote bag
- Tie-dye kit
- Rubber bands
- Plastic gloves and workspace cover
Steps:
- Twist and bind the tote bag using rubber bands.
- Apply different dye colors to each section.
- Let sit for 6-8 hours in a plastic bag.
- Rinse, wash, and let dry completely.
Beach Quote Tote
Make a statement at the shore with your favorite beachy saying.
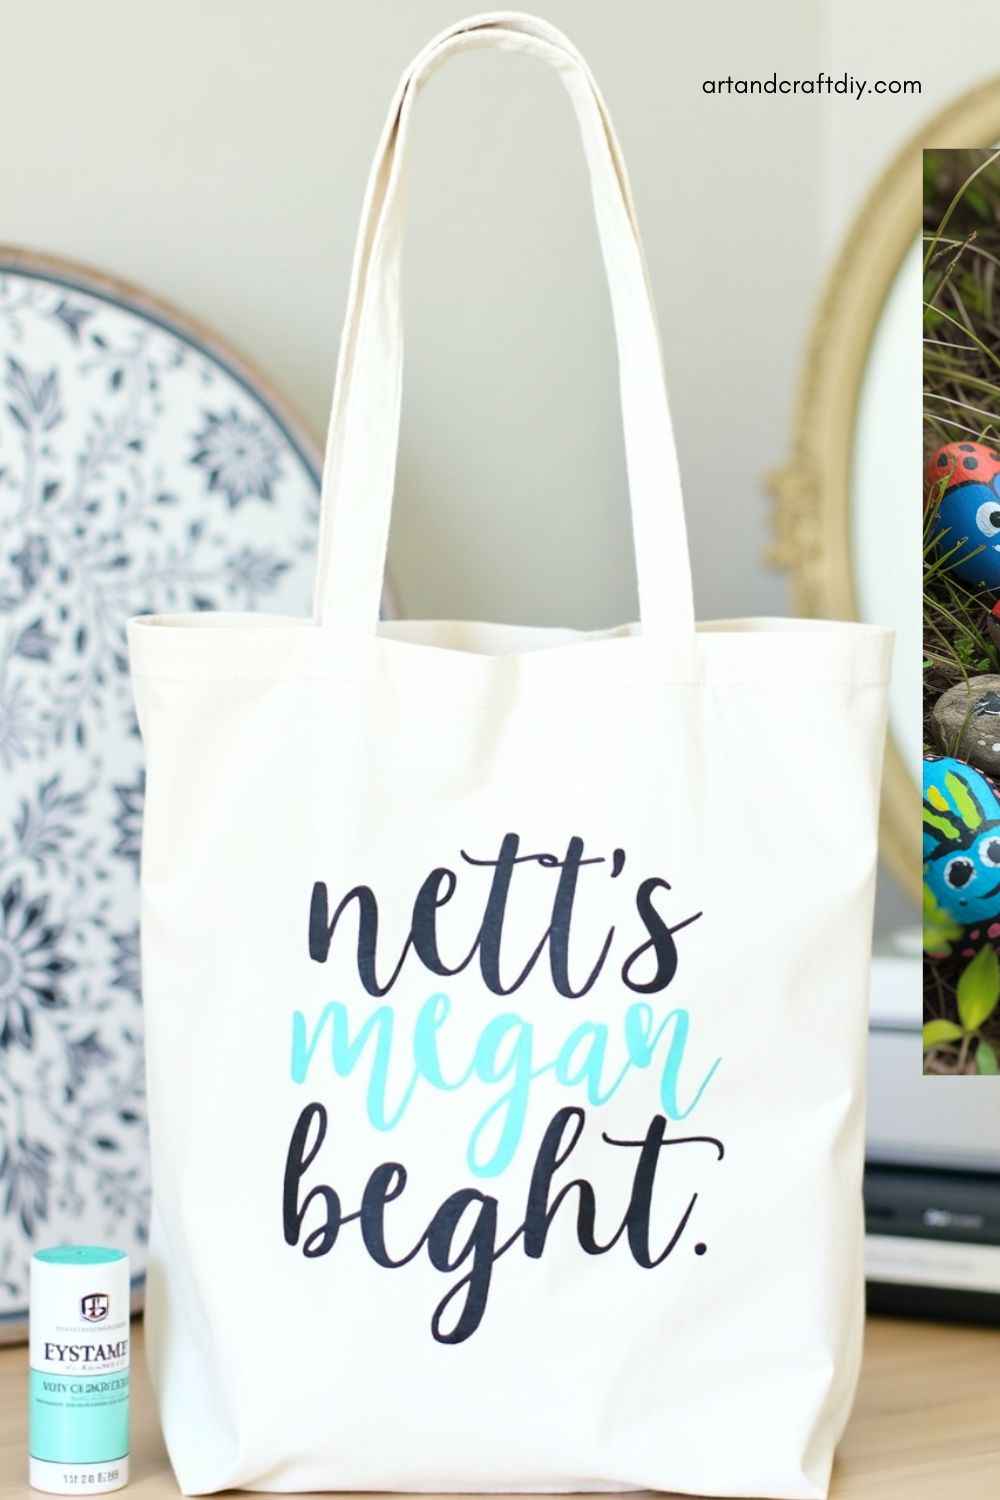
Materials:
- Canvas tote bag
- Iron-on vinyl or fabric paint
- Cutting machine or letter stencils
- Iron
Steps:
- Design your quote with a cutting machine or use stencils.
- Cut out letters or paint them on.
- Apply iron-on vinyl with heat or let paint dry thoroughly.
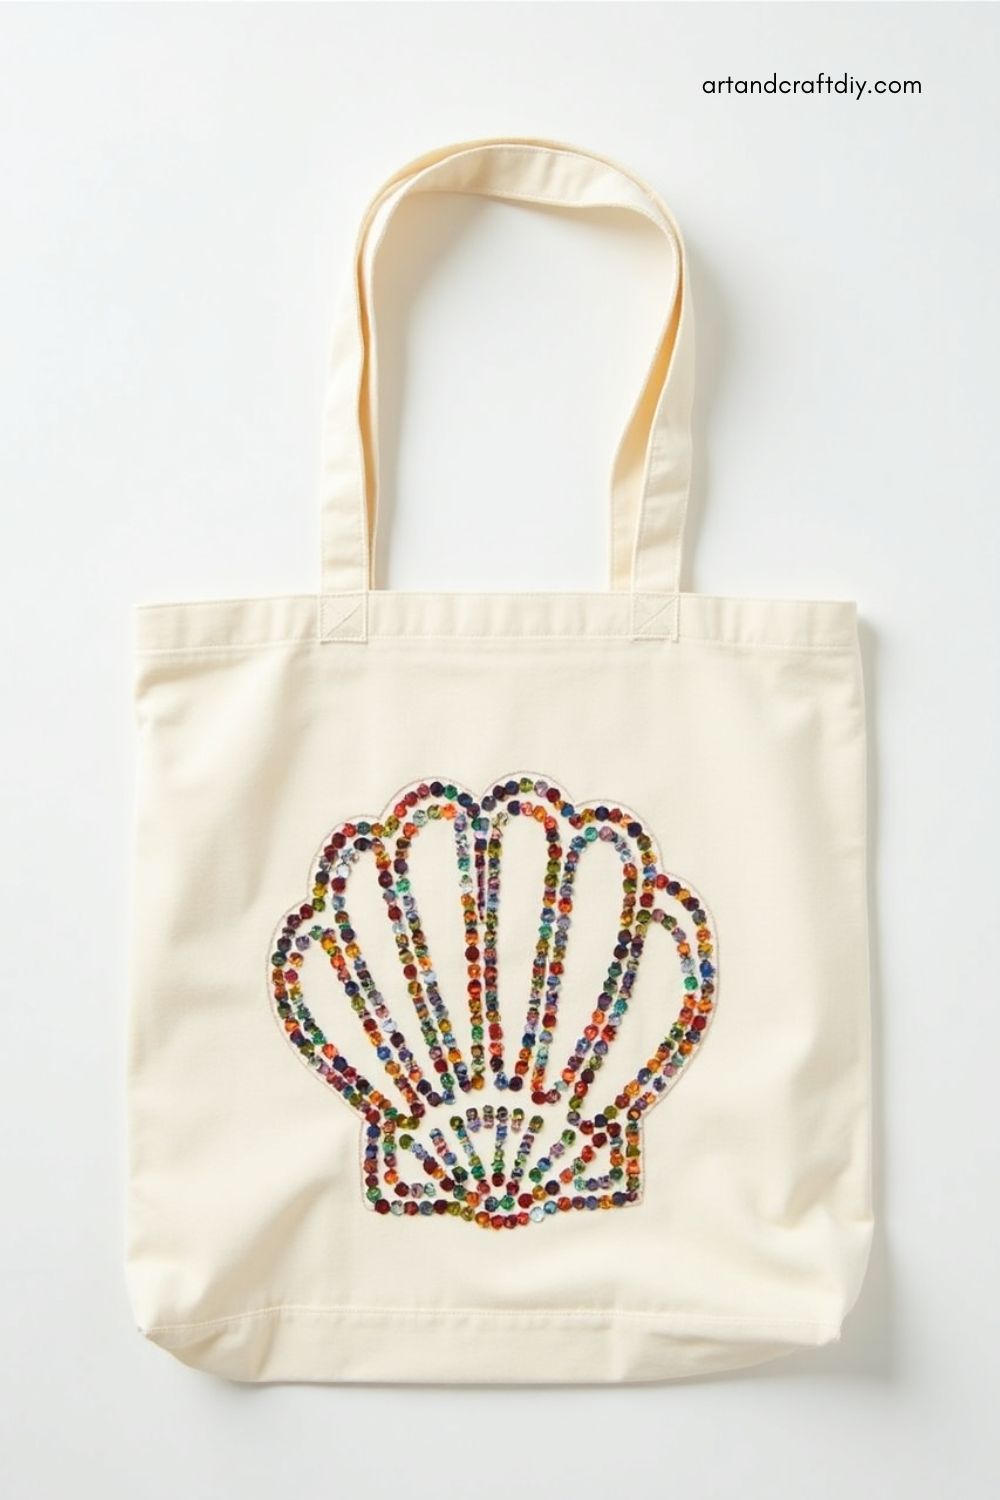
Sequin Shell Tote
Shine bright with a shimmering shell design.
Materials:
- Tote bag
- Sequin trim or loose sequins
- Fabric glue or needle and thread
- Pencil for sketching
Steps:
- Lightly sketch a seashell design.
- Glue or sew sequins along the lines.
- Let glue dry completely before use.
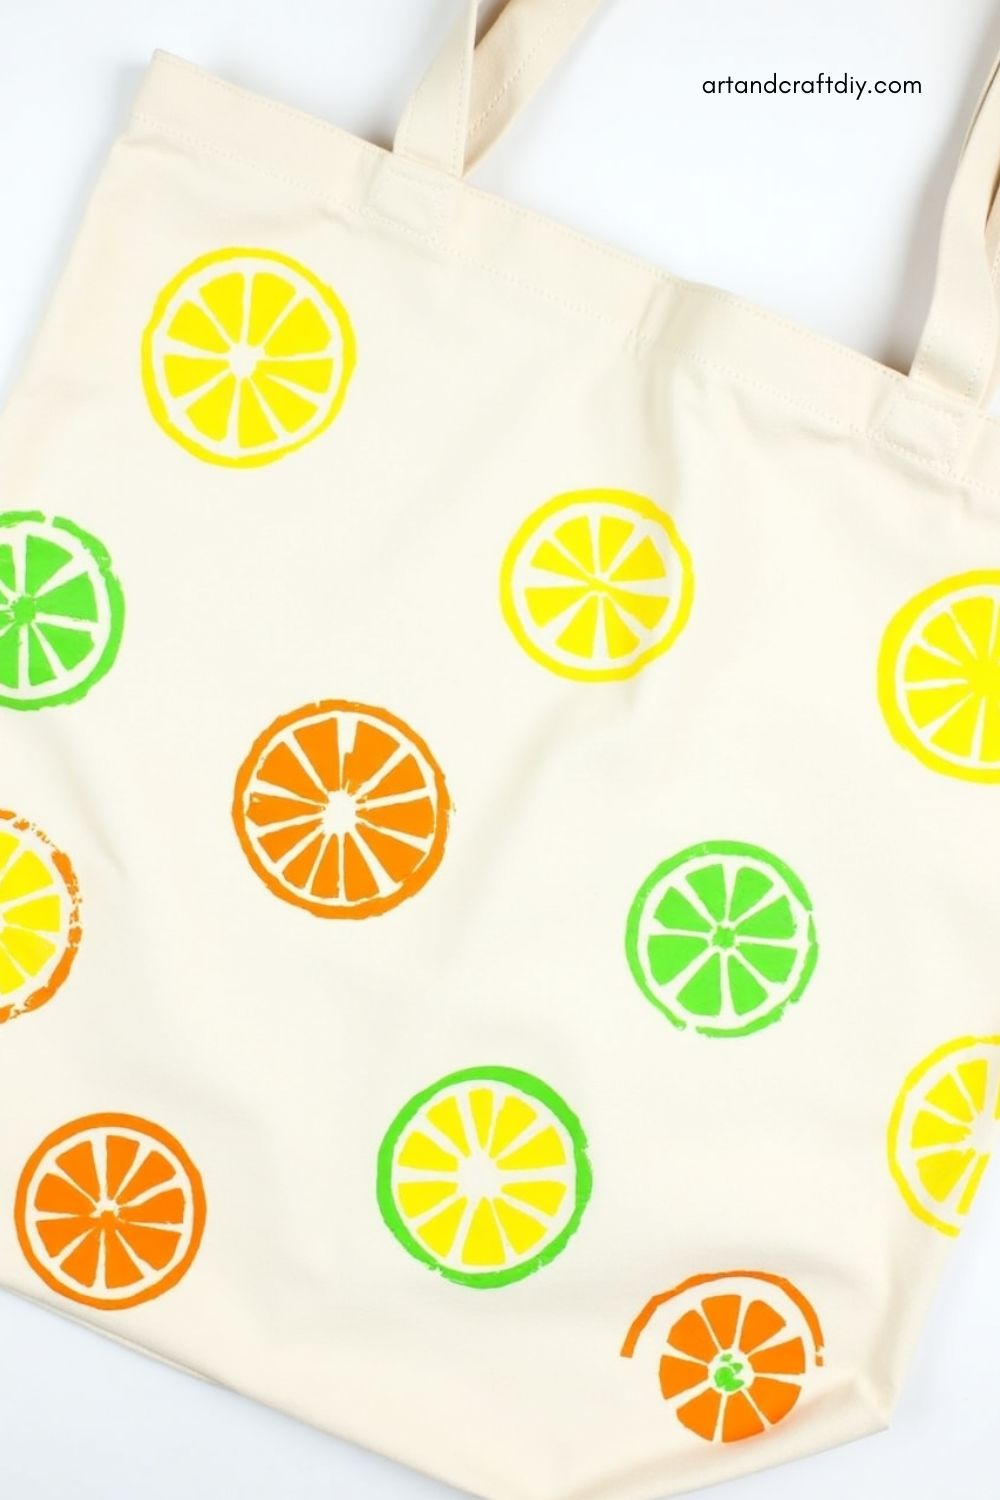
Painted Citrus Tote
Stay fresh with slices of oranges, lemons, and limes.
Materials:
- Canvas tote
- Fabric paints (yellow, green, orange)
- Round sponge or fruit slice stamps
Steps:
- Dip the round sponge in paint and press on tote.
- Add details like segments with a fine brush.
- Repeat for a colorful fruit pattern.
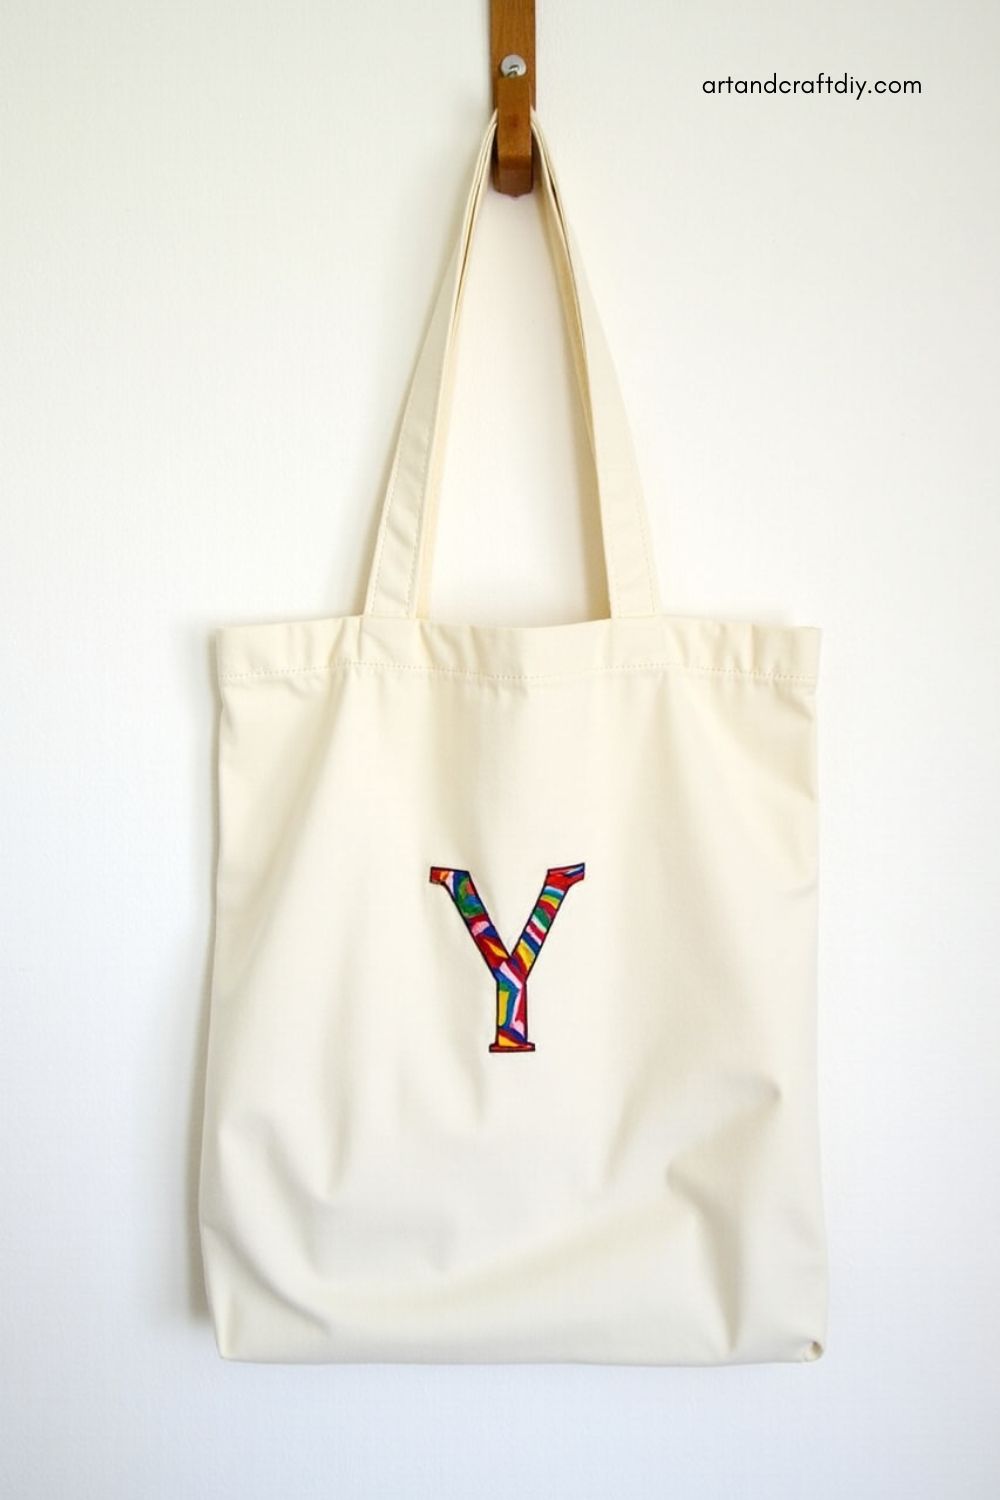
Embroidered Initial Tote
Keep it personal with a simple stitched monogram.
Materials:
- Tote bag
- Embroidery thread and needle
- Embroidery hoop
- Pencil or fabric pen
Steps:
- Draw your initials on the tote.
- Stretch fabric in the embroidery hoop.
- Stitch over the design using your favorite technique.
No-Sew Fabric Collage Tote
Get crafty with fabric scraps for a bold, unique design.

Materials:
- Tote bag
- Fabric scraps
- Fabric glue
- Scissors
Steps:
- Cut shapes from your fabric scraps.
- Arrange on the tote in a pleasing design.
- Glue pieces in place and let dry.
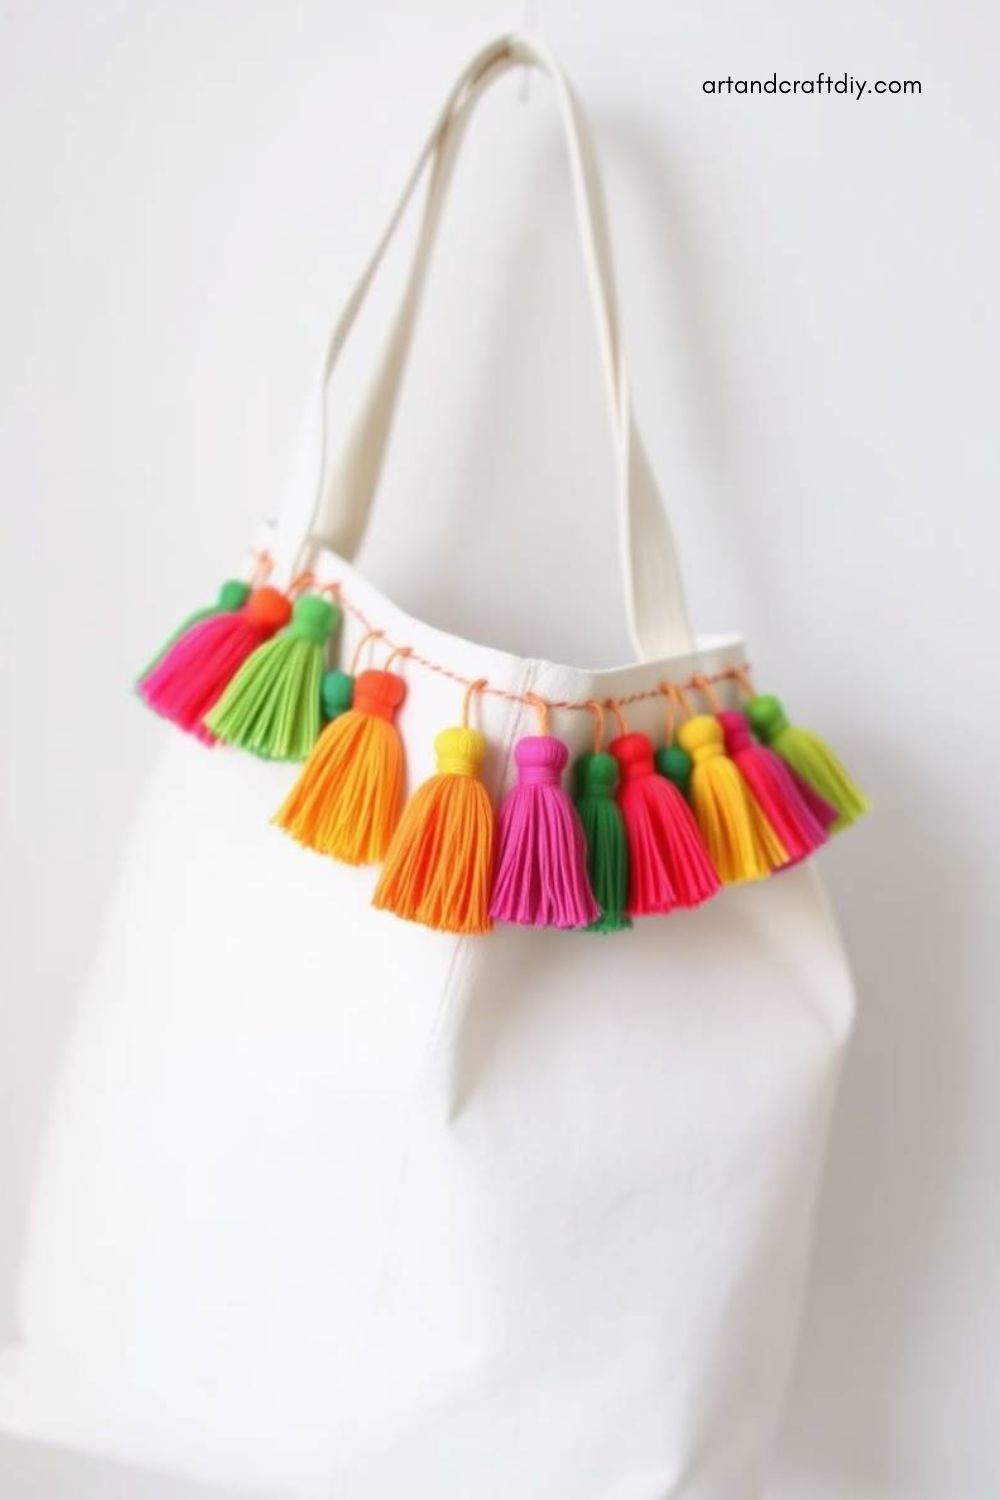
Boho Tassel Tote
Add a laid-back summer vibe with colorful tassels.
Materials:
- Tote bag
- Pre-made tassels or embroidery thread to make your own
- Needle and thread or glue
Steps:
- Make tassels or use pre-made ones.
- Attach along the top edge or in a pattern.
- Secure with stitching or strong glue.
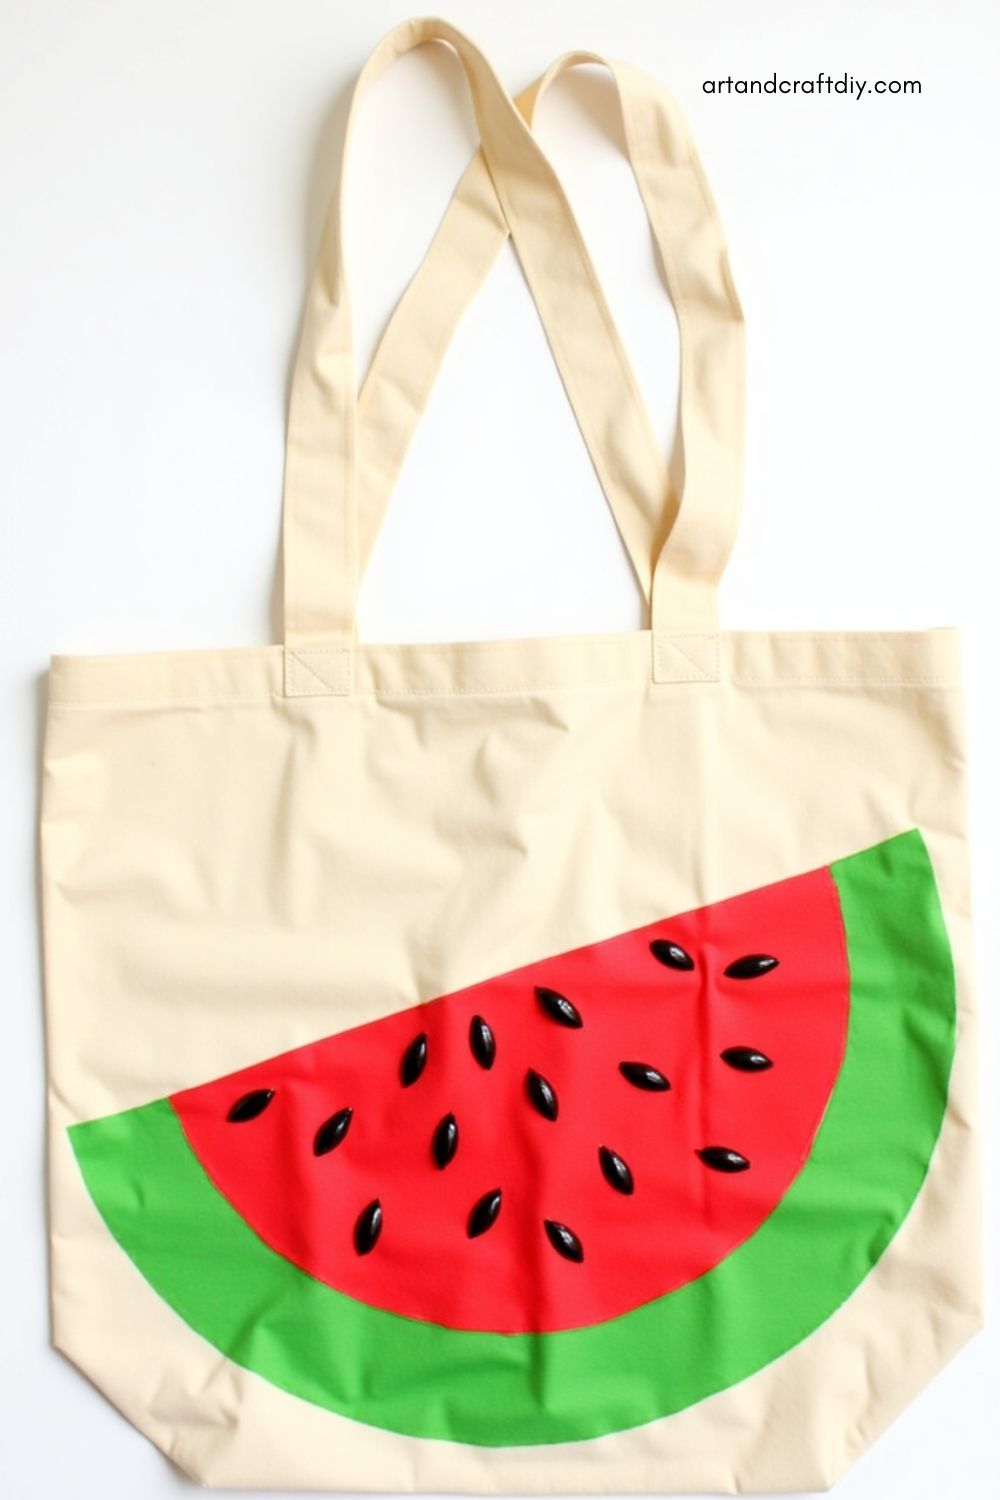
Watermelon Slice Tote
Celebrate summer’s favorite fruit with this fun design.
Materials:
- Tote bag
- Fabric paint (red, green, black)
- Paintbrushes
Steps:
- Paint a large red semicircle for the watermelon.
- Add a green rind edge.
- Dot on black seeds.
Iron-On Patch Tote
Fast, easy, and trendy—customize your tote with fun patches.

Materials:
- Tote bag
- Iron-on patches
- Iron
- Pressing cloth
Steps:
- Choose and arrange patches on the tote.
- Cover with pressing cloth.
- Iron according to patch instructions.
Painted Mandala Tote
Add boho beauty with a hand-painted mandala design.
Materials:
- Canvas tote
- Fabric paint
- Fine-tipped brush or paint pen
Steps:
- Lightly sketch a mandala.
- Paint carefully within the lines.
- Let dry completely before use.
Puffy Paint Doodle Tote
Channel your inner kid with fun raised designs.
Materials:
- Tote bag
- Puffy fabric paints
- Pencil for sketching
Steps:
- Draw your design on the tote.
- Trace over it with puffy paint.
- Allow to dry thoroughly for raised texture.
Denim Pocket Tote
Add functionality and flair with upcycled denim.
Materials:
- Tote bag
- Old denim jeans
- Fabric glue or needle and thread
- Scissors
Steps:
- Cut out a back pocket from jeans.
- Glue or sew it onto the tote.
- Use the pocket for extra storage.
Nature Print Tote
Create prints from real leaves or flowers.
Materials:
- Tote bag
- Leaves or flowers
- Fabric paint
- Paintbrush and roller
Steps:
- Coat leaf underside with paint.
- Press firmly onto tote.
- Lift carefully and let dry.
Sunset Ombre Tote
Blend warm hues to mimic a summer sunset.
Materials:
- Canvas tote
- Fabric paints (yellow, orange, pink, purple)
- Foam brush or sponge
Steps:
- Apply paint in horizontal bands.
- Blend edges for a gradient look.
- Let dry completely before using.
Tips & Tricks
Creating your own DIY Summer Tote Bags is a fun and satisfying project, but even the most creative crafters can use a few pro tips. From fixing minor mishaps to keeping your bag looking great after repeated use, here are some practical pointers to help your tote stay stylish and sturdy all summer long.
-
Mistake Fixes:
-
If you accidentally smudge paint, allow it to dry fully before touching up with a neutral base or covering the spot with an added embellishment like a patch or button.
-
For crooked stencils, try painting over the error with the background color and reapplying the stencil once dry. Using painter’s tape can help keep stencils in place next time.
-
-
Washing Instructions & Durability Tips:
-
Always hand wash your tote in cold water with mild detergent to prevent designs from fading or cracking.
-
Avoid soaking or machine washing painted or glued areas.
-
Let your tote air dry flat to maintain its shape and avoid damage.
-
To make fabric paint designs last longer, heat-set them with an iron (cover the design with a thin cloth and iron on medium heat).
-
-
Using Recycled or Upcycled Materials:
-
Repurpose old jeans, shirts, or scarves into unique accents like pockets, tassels, or patchwork panels.
-
Use leftover fabric, trims, or buttons from past projects to reduce waste and add character.
-
Consider starting with a used tote or cloth grocery bag as your base—it adds charm and keeps your project eco-friendly.
-
FAQ
What type of tote bag works best for DIY projects?
Plain canvas tote bags are ideal because they’re durable, easy to paint or sew on, and hold their shape well. You can also repurpose old fabric bags for a more eco-friendly option.
Can I wash my DIY tote bag after decorating it?
Yes, but it depends on the materials used. Hand washing in cold water with a mild detergent is safest. Avoid machine washing, especially if the bag includes paint, glue, or embellishments.
How can I make sure fabric paint won’t wash off?
Heat-set the paint once it’s fully dry by placing a cloth over the design and ironing on medium heat for a few minutes. This helps seal the paint into the fabric.
What if I mess up the design—can I fix it?
Yes! Small paint smudges can be covered with more paint, patches, or embellishments. If a stencil slips, you can paint over the mistake with the base color and try again once dry

Hi, I’m Victoria, an art and craft teacher at Newark City Schools, where I have the joy of working with middle school students to help them explore their creativity and develop their artistic talents. I believe that art is a powerful way for students to express themselves, and I strive to make every lesson a fun, engaging, and inspiring experience.
I created this website to share the art and craft projects, techniques, and resources that I use in my classroom, hoping to inspire both educators and young artists alike. Whether you’re a teacher looking for new ideas or a student eager to try something new, I’m excited to provide creative tools and projects that anyone can enjoy.
When I’m not in the classroom, I love experimenting with different art forms and learning new crafting techniques. My goal is to help others discover the joy of making things with their hands, and I hope my website serves as a space for everyone to explore their creative potential.