
I still remember the first time I played around with a lump of clay—it wasn’t fancy at all, just a squishy mess on the kitchen table. But oh my, the joy of shaping something with my own hands! That’s the thing about easy clay crafts ideas—they don’t need to be perfect to be fun. If you’ve ever felt a little stuck, staring at supplies and wondering, “Where do I even start?”, trust me, you’re not alone. I’ve been there too, and honestly, sometimes the simplest projects turn out to be the most charming.
Clay has this magical way of calming you down while letting your imagination run wild (kind of like doodling, but messier—in a good way). In this article, I’ll share fun, doable clay craft ideas that you don’t need special skills for. Whether you’re crafting with kids or just craving a little creative break, I’ve got you covered.
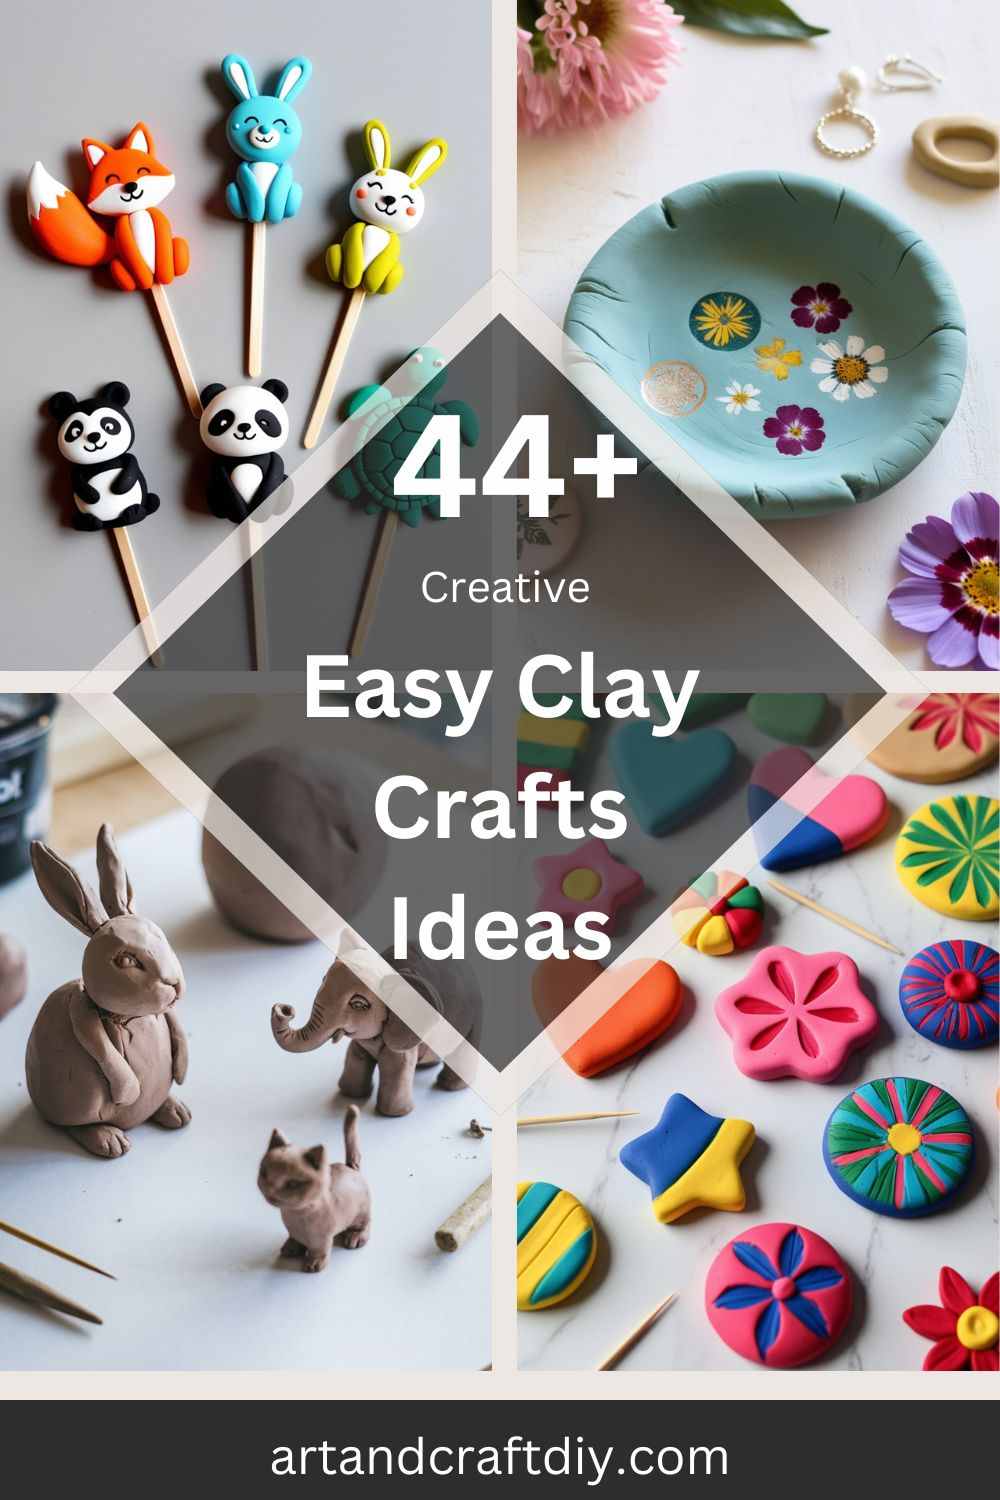
Easy Clay Crafts Ideas
Clay Flower Pot
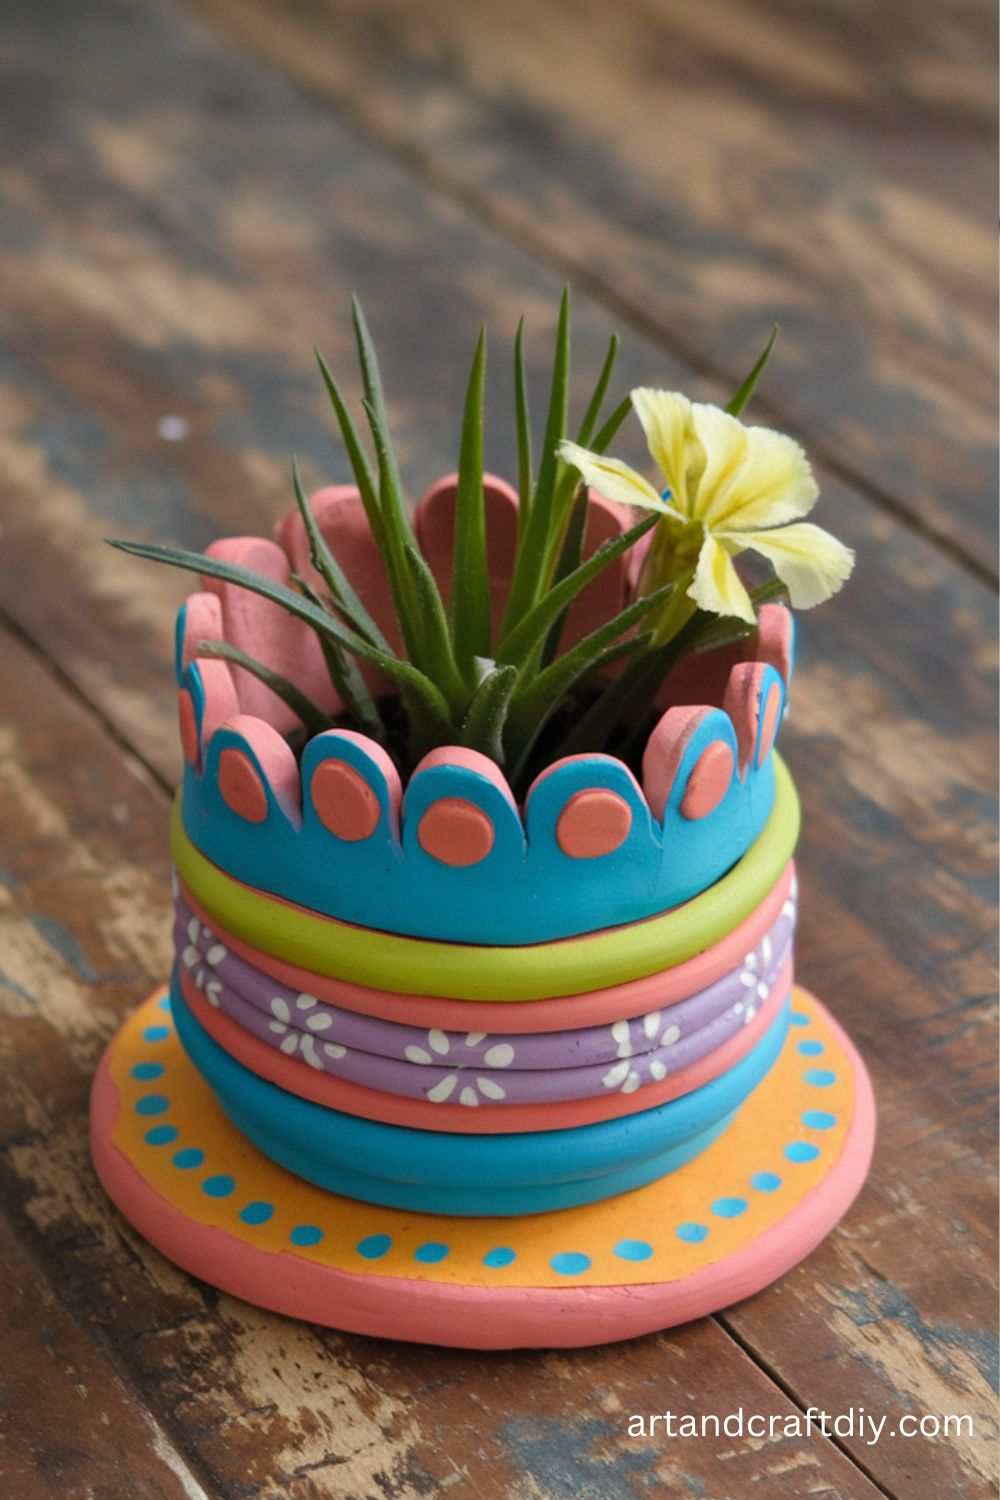
I still remember the first time I tried making a clay flower pot – it was a total mess, but in a funny way. The clay was sticking to my hands, and the pot leaned more like the Tower of Pisa than something you could plant in. But here’s the thing: even that wobbly little pot ended up being special. I painted it with bright colors, popped in a tiny succulent, and honestly, it became one of my favorite desk pieces. That’s the magic of clay – imperfections just add character.
When I make them now, I usually start with a ball of clay, flatten it a little, and then slowly shape it into a bowl before pulling the sides up. You don’t have to be super precise – in fact, I think slightly uneven pots look more handmade and charming. And if you glaze or paint them, trust me, nobody notices the little flaws.
Clay Earrings

Clay earrings are one of those crafts that I swear will make you feel like a jewelry designer overnight. The first pair I made were these goofy-looking blue hearts – they weren’t exactly symmetrical, but I wore them anyway and got so many compliments. People love the handmade vibe, even if it’s not perfect. Plus, they’re lightweight, so you can wear big, bold designs without sore ears.
I usually roll out the clay thin, cut shapes with cookie cutters (yes, the same ones I use for baking), and then poke little holes at the top for jump rings. Once they’re baked and cooled, I add earring hooks and sometimes a coat of clear nail polish for shine. In my opinion, making clay earrings is addictive – once you start, you’ll want to make a pair to match every outfit
Clay Animal Figurines
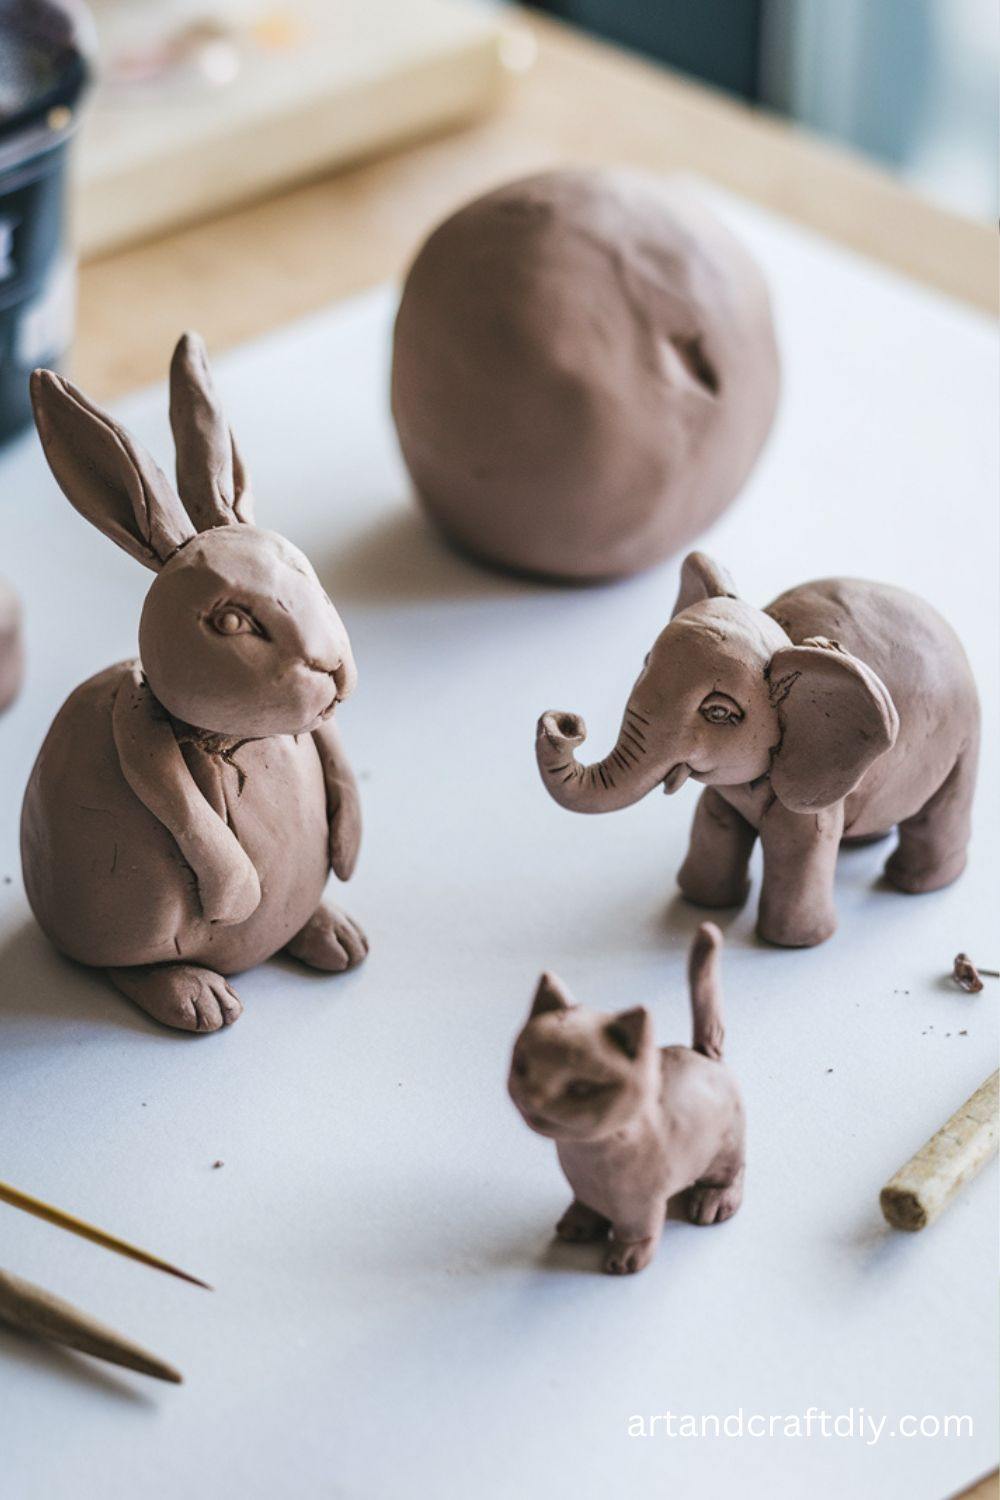
Clay animals take me straight back to childhood. I used to make these tiny cats and turtles for fun, and my mom still has some of them in her showcase, even though the paint has chipped. There’s something really nostalgic about rolling out little bodies and shaping ears, tails, and eyes. Honestly, they don’t have to look realistic at all – the cuter, the better.
What I like most is how they double as keepsakes. I’ve gifted tiny clay dogs to friends who love pets, and they always light up. The trick, in my experience, is to keep details simple. A round head, a chubby body, a dot for a nose – and suddenly, you’ve got a personality-packed figurine. If you’re into storytelling, you can even make a whole set, like a mini zoo or farm, and arrange them on a shelf
Clay Keychains
Clay keychains are one of those quick projects that never disappoint. I once made a whole bunch of them before a craft fair – hearts, stars, initials – and they sold out first. They’re easy to personalize, and people love carrying around something unique. My personal favorite was a pizza-slice keychain I made; it made me laugh every time I pulled my keys out.
I usually roll out a slab of clay, cut the shapes I want, and make a small hole for the keyring. Once baked, I’ll either paint them or leave them natural, depending on the vibe. To be fair, I think simple designs like initials or geometric shapes look really classy. If you’re gifting, you can even match the keychain design to someone’s personality – like a cat for a cat lover or a coffee cup for a caffeine addict.
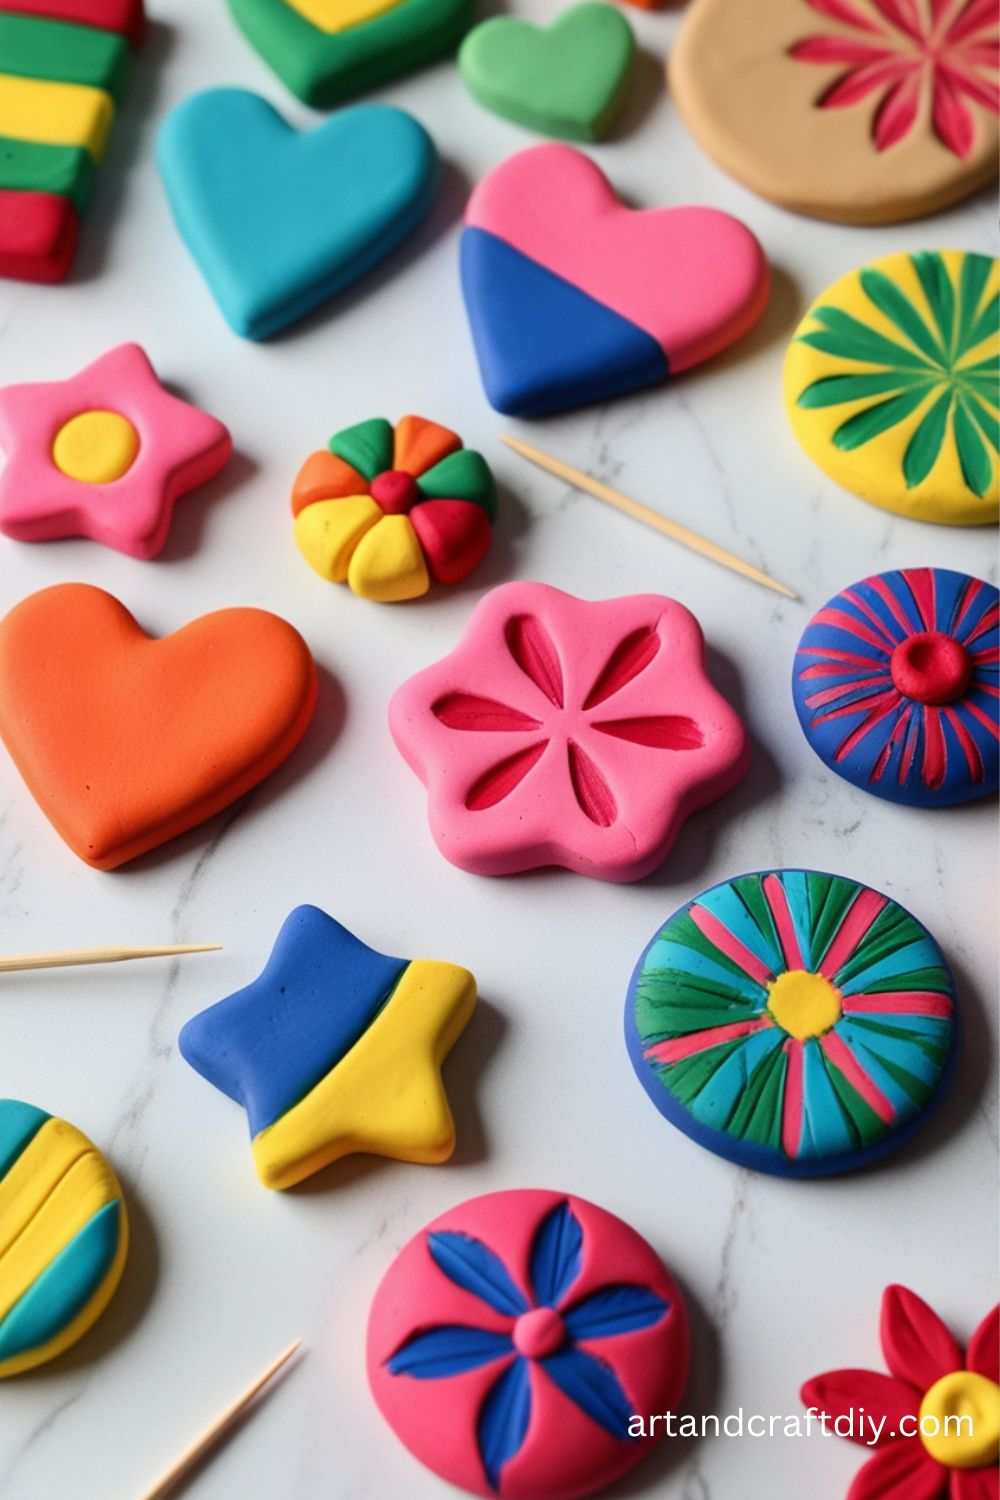
Clay Coasters
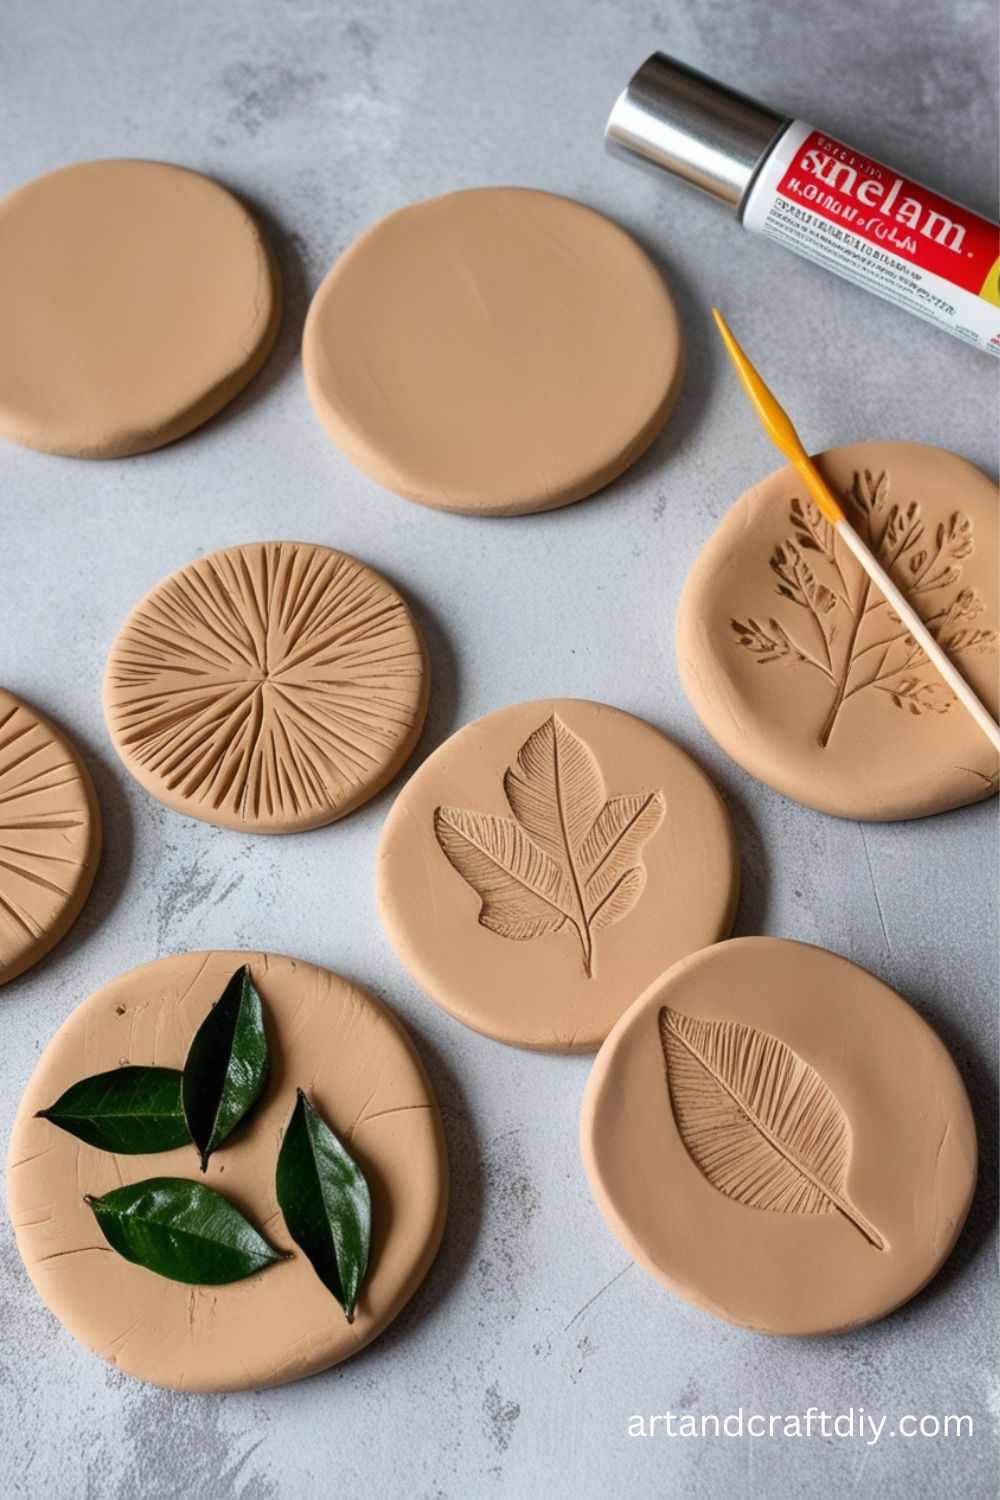
The first time I made clay coasters, I didn’t expect them to be so useful. I just wanted to try a marbled clay effect, mixing two colors together, and ended up with these gorgeous swirly coasters that looked way fancier than I planned. I still use them, and guests always ask if I bought them somewhere. Honestly, nothing feels better than saying, “Nope, I made them.”
They’re also super forgiving – just roll out clay to a flat circle, cut with a round cutter, and bake. You can stamp designs in them, paint patterns, or even press leaves or lace into the clay before baking to get cool textures. The only tip I’d give is to seal them afterward, especially if you’re using them for drinks, because condensation can leave marks. But really, making your own set of coasters is such a satisfying little project.
Clay Pendant Necklace
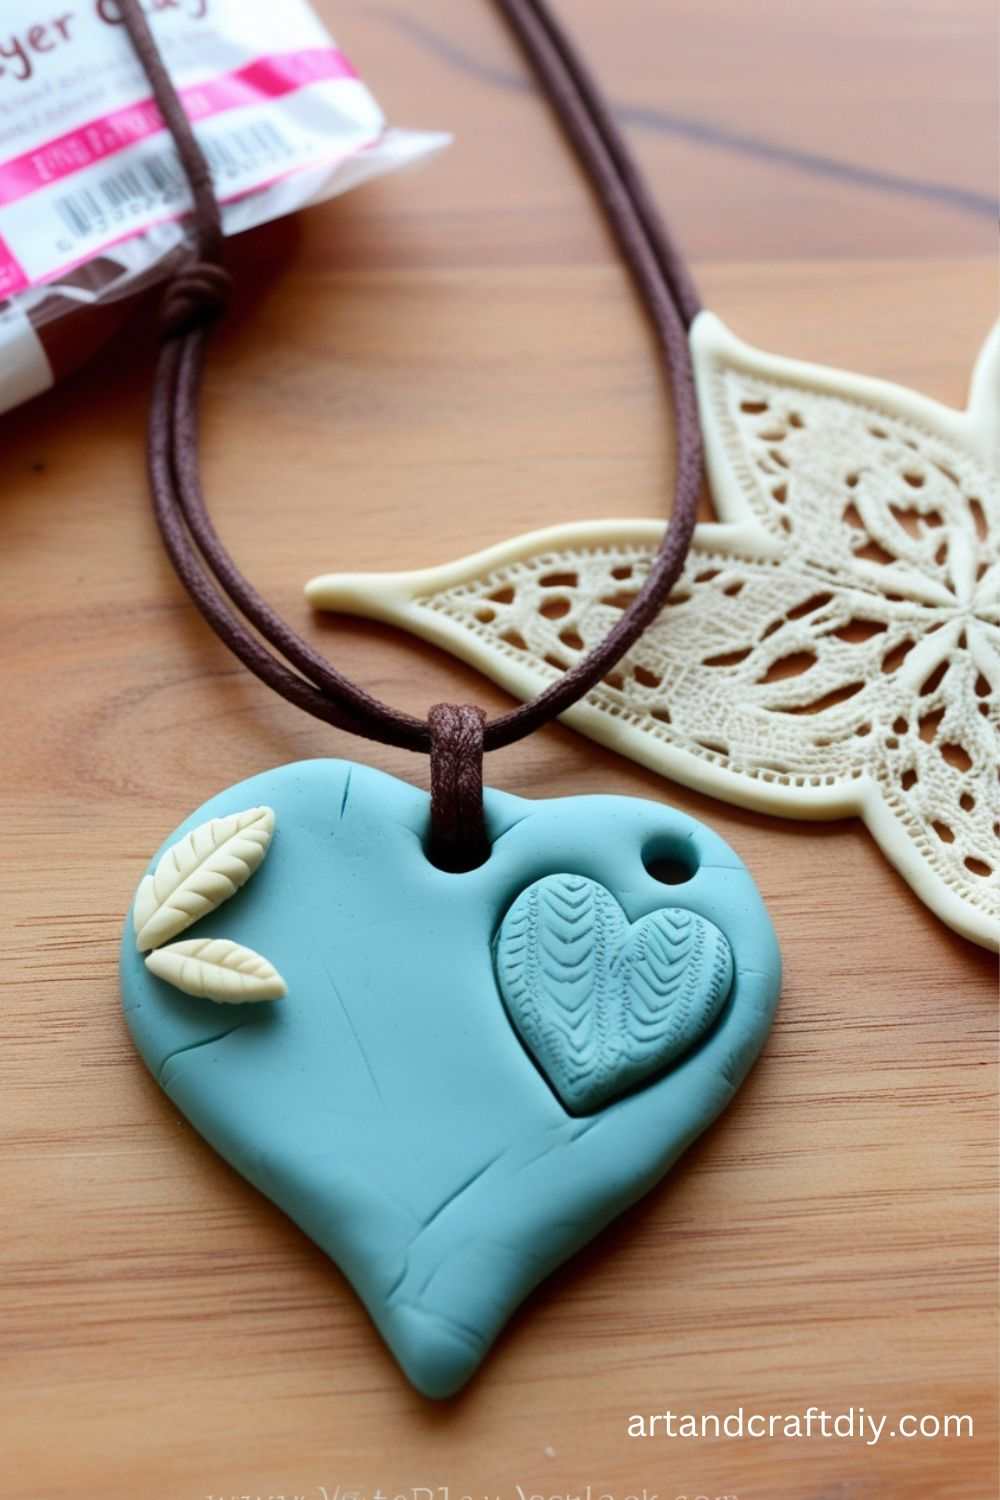
Clay pendants are another favorite of mine, mostly because they’re so versatile. I once made a set of leaf-shaped pendants for my cousins during Diwali, and they were such a hit. Each one was slightly different, which made them feel personal. That’s what I love – no two pieces turn out exactly alike, and that’s part of their charm.
The process is simple: cut out a shape, poke a hole for stringing, and bake. After that, the fun begins – you can paint them, add metallic touches, or even press small beads into the clay before baking. Personally, I like adding a bit of gold paint around the edges for a boho look. And if you’re someone who enjoys gifting handmade things, a clay pendant necklace is such a thoughtful option. It says, “I made this just for you.”
Clay Magnets
Clay magnets are tiny, but they can brighten up your whole fridge. I started making them as a way to use leftover clay scraps – hearts, stars, little flowers – and now my fridge looks like a craft fair. To be fair, it’s one of the easiest projects out there, but the results are so cheerful.
I just shape small pieces of clay, bake them, paint or glaze if I feel like it, and then glue a magnet to the back. That’s literally it. What’s fun is you can theme them – I once made a set of fruit magnets, and another time I did alphabet letters so my niece could spell words on the fridge. It’s these small, playful touches that make clay magnets such a satisfying project.
Clay Jewelry Dish
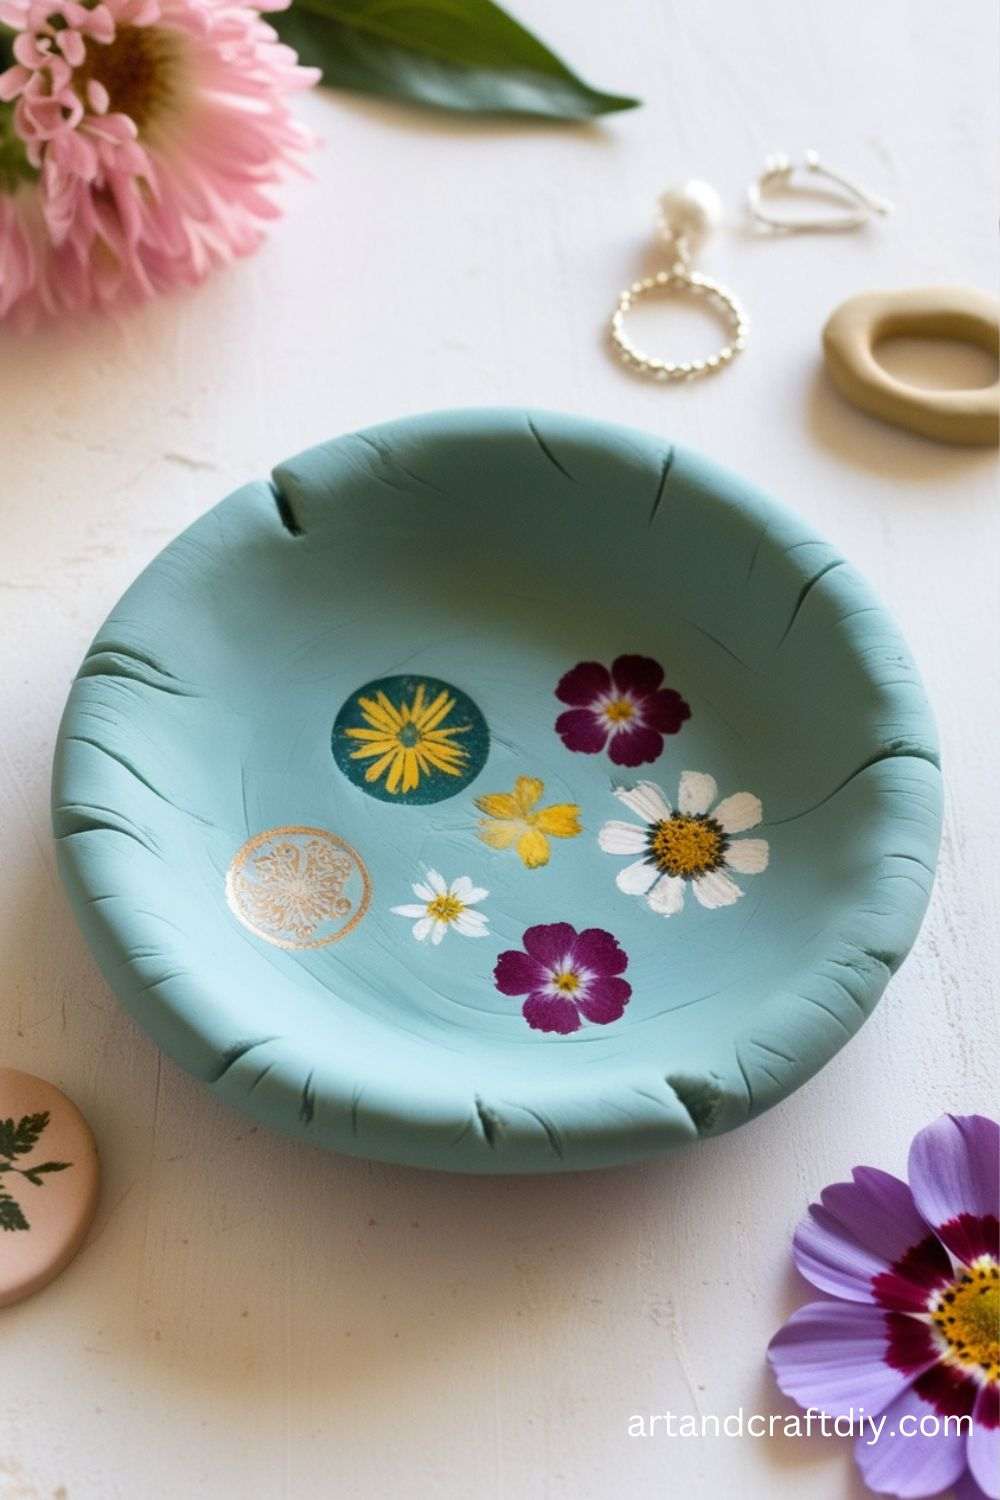
There’s something so satisfying about making your own jewelry dish. I remember making my first one by pressing clay into a small bowl to get the shape, and when it came out of the oven, it looked so professional. I painted the edges gold, and it instantly turned into something I’d happily buy from a store. Honestly, it’s still on my dresser today, holding my rings.
The trick is to keep it simple – shallow, round, and not too big. You can experiment with textures by pressing lace or leaves into the clay before baking. I’ve even tried marbling two colors together for a chic effect. In my opinion, a handmade jewelry dish is one of those crafts that feels fancy without actually being difficult. Plus, it makes a beautiful gift that looks way more expensive than it really is
Clay Wall Art
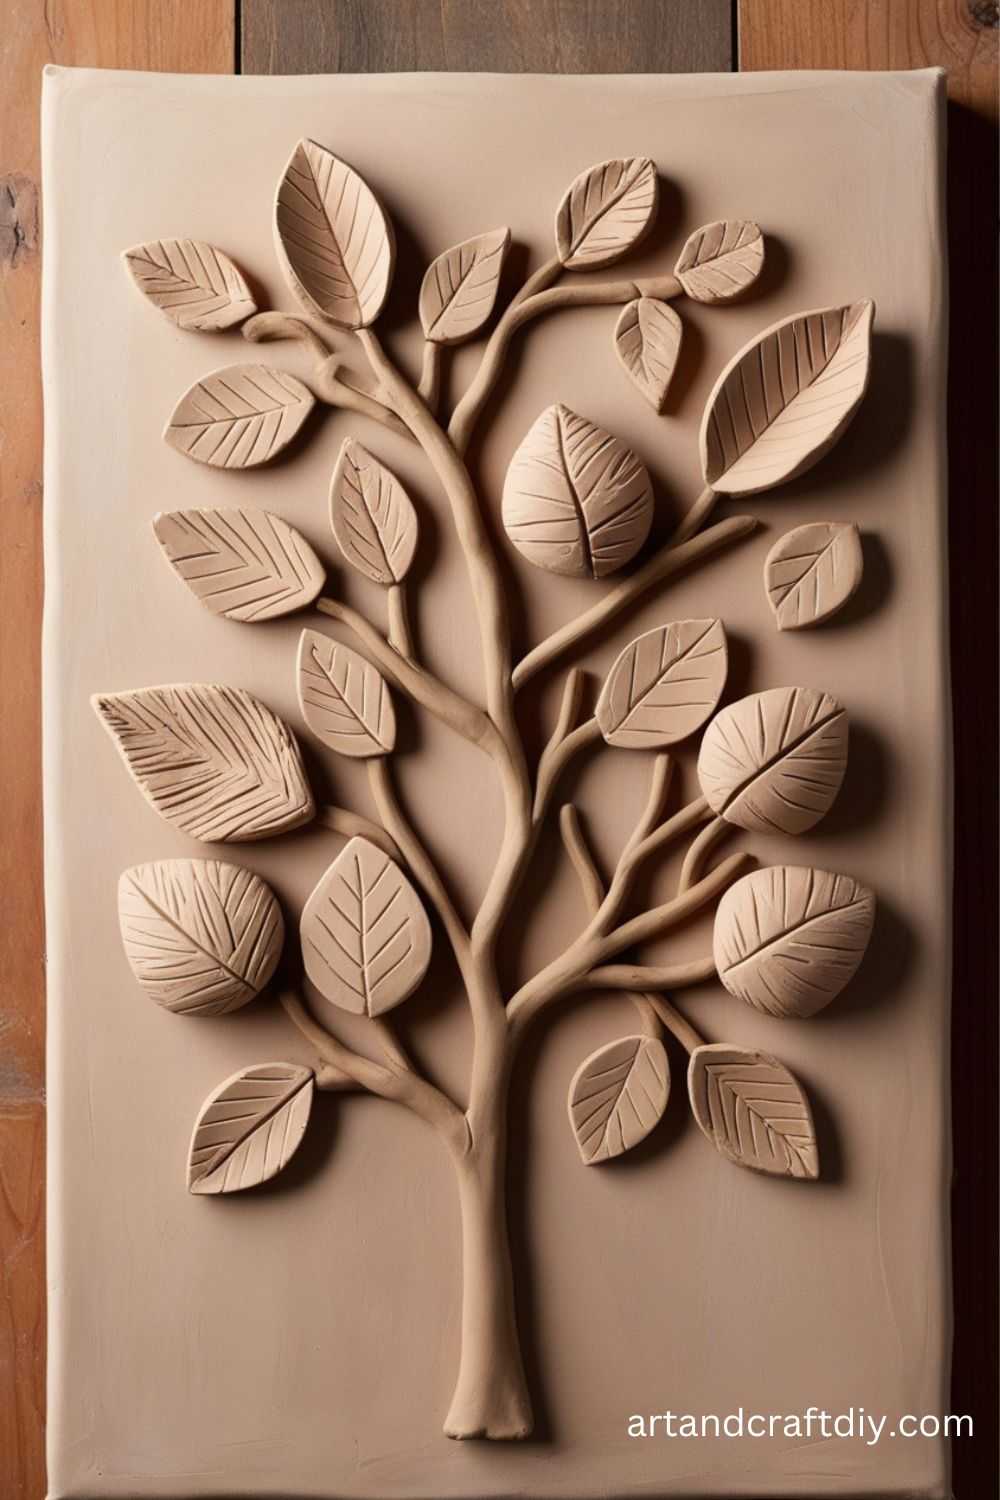
Clay wall art sounds fancy, but it doesn’t have to be complicated. My first attempt was just rolling out clay, cutting random abstract shapes, and then arranging them into a pattern on a canvas. I painted each piece in earthy tones, and honestly, it looked like something straight out of a modern art gallery. That was the moment I realized clay isn’t just for small crafts – it can be bold and decorative too.
What’s fun is that you can play with textures and layers. Sometimes I press leaves or fabric into the clay before baking, and other times I just paint bold patterns after. You can even make a whole series of small clay tiles and hang them together. To be fair, it does take a bit more planning than a keychain or pendant, but the end result feels like a real statement piece in your home.
Clay Animals on a Stick
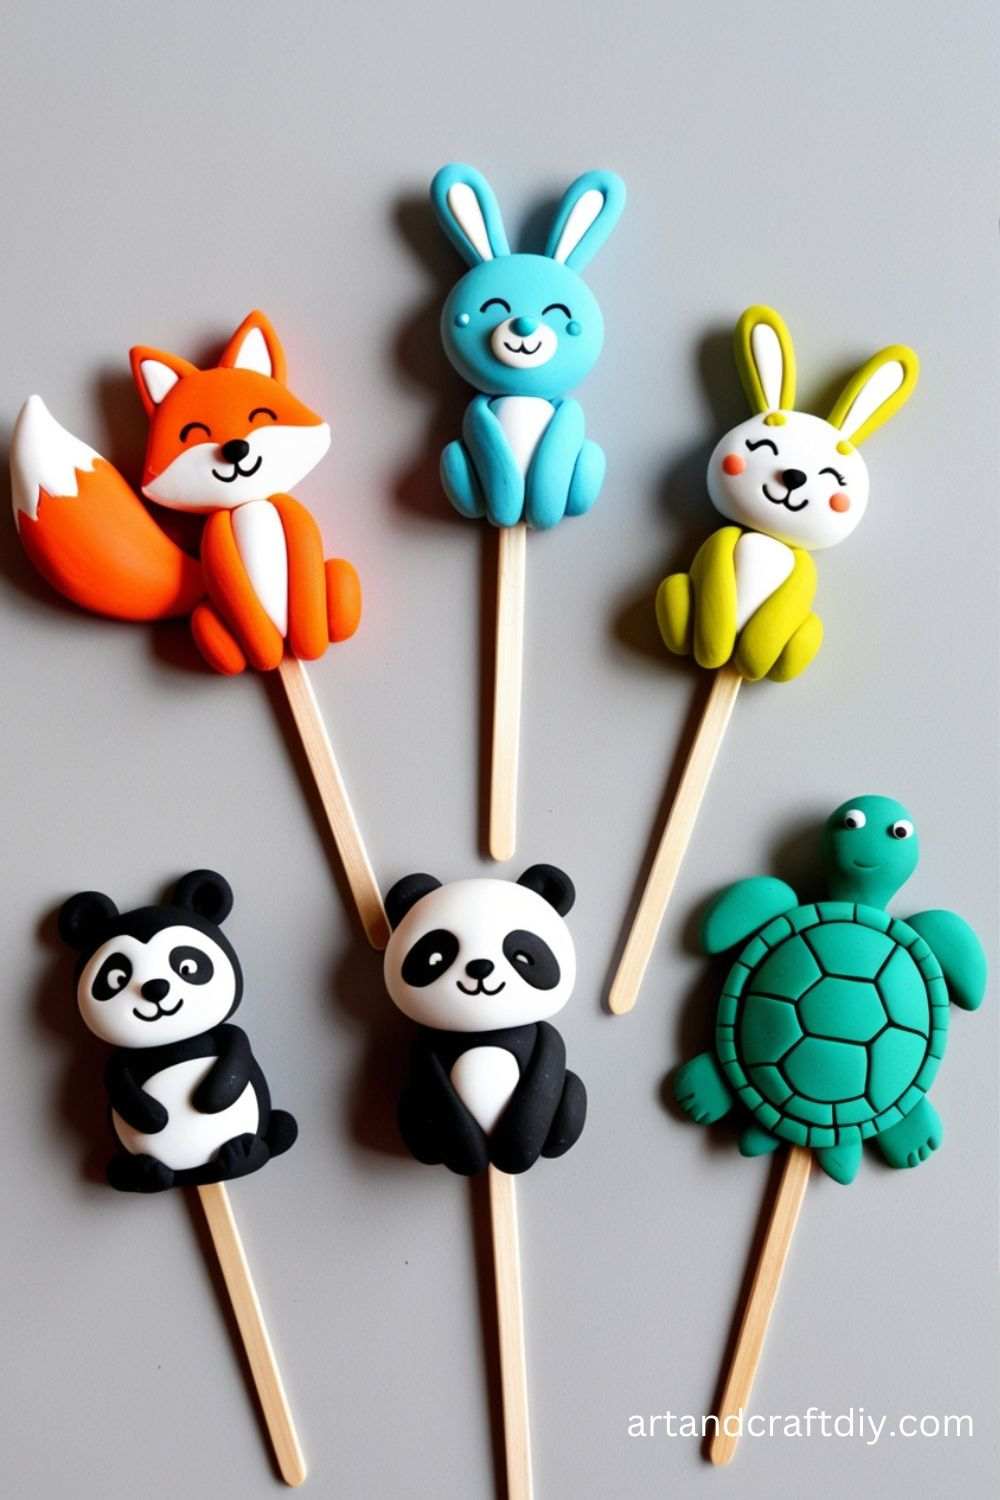
This one’s such a playful idea – clay animals on sticks! I made them once for a kids’ party, and they doubled as both decorations and little take-home favors. Imagine tiny clay cats, dogs, or dinosaurs sitting on top of wooden sticks – kids went absolutely wild for them. And to be honest, I had just as much fun making them.
The process is simple: shape your animal, poke a stick in before baking (I usually use skewers), and then paint once cooled. You can stick them in potted plants, pencil jars, or even use them as cake toppers. Personally, I love how quirky they look – like little clay puppets peeking out of everyday objects. If you want to bring some playful charm to your craft collection, this project is a must-try.
Clay Cupcake Toppers
Design edible-looking clay cupcake toppers for cake decoration.
Materials Used:
- Air-dry clay
- Sculpting tools
- Paint (optional)
Steps:
- Sculpt small decorative items like flowers, animals, or food designs out of clay.
- Let them dry and paint if desired.
- Place the toppers gently on cupcakes as decorations.
Clay Snowman Figurine
Craft a cute clay snowman for the winter season.
Materials Used:
- Air-dry or polymer clay
- Sculpting tools
- Paint
Steps:
- Roll the clay into three balls of different sizes for the snowman’s body.
- Shape and stack the balls, smoothing them together.
- Add a small ball for the head and add features like eyes, a nose, and buttons.
- Decorate with tiny accessories like hats and scarves.
- Let the clay dry completely before displaying.
Clay Planter
Create a custom planter with a unique design.
Materials Used:
- Air-dry clay
- Sculpting tools
- Paint
Steps:
- Roll out the clay and create a small pot shape.
- Use tools to add textures or patterns to the surface.
- Allow the clay to dry completely.
- Paint your planter and let it dry again.
- Fill with soil and a small plant.
Clay Candlestick Holder
Design a clay candlestick holder for a rustic look.
Materials Used:
- Air-dry clay
- Rolling pin
- Sculpting tools
Steps:
- Roll out a slab of clay and form it into a flat base.
- Create a small cone shape for the candle holder.
- Attach the cone to the base, blending the edges.
- Let the clay dry completely.
- Once dry, paint or glaze it to add finishing touches.
Clay Donuts
Craft cute, miniature donuts out of clay for display or as charms.
Materials Used:
- Polymer clay
- Sculpting tools
- Paint (optional)
Steps:
- Roll clay into small balls and flatten them to form donut shapes.
- Use a tool to create the hole in the center.
- Add icing details using different colors of clay.
- Bake according to clay instructions.
- Paint or decorate the donuts as desired.
Clay Bowls
Create small, personalized bowls for storing jewelry, keys, or other small items.
Materials Used:
- Air-dry clay
- Rolling pin
- Sculpting tools
Steps:
- Roll out a slab of clay to a uniform thickness.
- Shape it into a bowl using your hands or a mold.
- Let the clay dry completely.
- Paint or decorate your bowl once dry.
Clay Butterflies
Craft delicate butterfly shapes to display or use as wall décor.
Materials Used:
- Air-dry clay
- Sculpting tools
- Paint
Steps:
- Roll the clay into a small ball and flatten it into a rounded shape for the butterfly’s wings.
- Shape and texture the wings with sculpting tools.
- Roll a small ball for the body.
- Attach the body to the wings and let everything dry.
- Paint with vibrant colors.
Clay Dinosaur Figurine
Create a fun, custom dinosaur figurine for kids or collectors.
Materials Used:
- Polymer clay
- Sculpting tools
Steps:
- Roll the clay into shapes for the dinosaur’s body, head, legs, and tail.
- Sculpt details like spikes, eyes, and textures on the body.
- Bake the clay according to instructions.
- Once cooled, paint any details.
Clay Rings
Design custom rings with clay for a personal and trendy accessory.
Materials Used:
- Polymer clay
- Ring blanks
- Sculpting tools
Steps:
- Roll out small pieces of clay into flat shapes.
- Shape them into rings by wrapping them around the ring blank.
- Bake the clay according to package instructions.
- Once cool, wear your new, handmade ring!
Clay Picture Frame
Create a decorative photo frame out of clay to hold a favorite picture.
Materials Used:
- Air-dry clay
- Sculpting tools
- Glue
Steps:
- Roll out the clay and cut it into the shape of a frame.
- Add any designs or textures to the surface.
- Allow the frame to dry completely.
- Attach a photo to the back of the frame with glue.
Clay Christmas Ornaments
Make custom ornaments for your holiday tree with clay.
Materials Used:
- Air-dry or polymer clay
- Sculpting tools
- Ribbon
Steps:
- Roll the clay into a ball and flatten it to form the base shape (e.g., stars, hearts).
- Add holiday-themed decorations like holly leaves or reindeer.
- Pierce a hole at the top for a ribbon loop.
- Let the clay dry completely and hang on your tree!
Clay Bookmark
Create unique, personalized bookmarks from clay for a functional craft.
Materials Used:
- Polymer clay
- Sculpting tools
Steps:
- Roll a thin sheet of clay into a long strip.
- Sculpt small designs or patterns along the length of the bookmark.
- Bake according to clay instructions.
- Let it cool, and your bookmark is ready for use!
Clay Cups
Create a set of miniature cups for decorative purposes.
Materials Used:
- Air-dry clay
- Sculpting tools
Steps:
- Roll out a small piece of clay into a disk.
- Shape it into a cup by curving the edges upward.
- Sculpt a handle and attach it to the cup.
- Let it dry completely before using.
Clay Phone Stand
Design a small, functional phone stand out of clay.
Materials Used:
- Air-dry clay
- Sculpting tools
Steps:
- Roll out clay and create a base that can hold the phone at an angle.
- Shape the stand to have a slight incline.
- Allow the clay to dry completely before using.
Clay Seashells
Craft detailed seashells for use in coastal-themed décor.
Materials Used:
- Polymer clay
- Sculpting tools
Steps:
- Roll out small pieces of clay into oval shapes.
- Use sculpting tools to create ridges and textures resembling seashells.
- Bake according to clay instructions.
- Paint the shells to add realistic details.
Clay Slime
Make a squishy, stress-relieving slime with clay.
Materials Used:
- Polymer clay
- Baking soda
- Contact lens solution
Steps:
- Mix the clay with baking soda and knead until smooth.
- Add contact lens solution to activate the slime.
- Knead until it reaches the desired texture.
Clay Fruit Slices
Design small, realistic fruit slices that can be used as décor or jewelry.
Materials Used:
- Polymer clay
- Sculpting tools
Steps:
- Roll out different colored clay for each fruit type (e.g., orange, strawberry).
- Cut the clay into thin slices and layer them to form fruit pieces.
- Bake and paint for added realism.
Clay Wind Chimes
Create a beautiful wind chime using clay shapes and string.
Materials Used:
- Polymer clay
- String or wire
- Beads or bells
Steps:
- Sculpt clay shapes like flowers, stars, or animals.
- Attach them to string or wire.
- Add beads or bells for added sound.
- Hang the chimes in a breezy spot.
Clay Lace Flowers
Make delicate lace-like flowers out of clay for embellishing crafts.
Materials Used:
- Polymer clay
- Lace fabric
- Rolling pin
Steps:
- Roll out clay to a thin sheet.
- Press lace fabric onto the clay for a textured effect.
- Cut out flower shapes and bake.
- Paint the flowers for added detail.
Clay Robot Figurine
Create a fun, futuristic robot figurine with clay.
Materials Used:
- Polymer clay
- Sculpting tools
Steps:
- Shape a robot’s body by molding rectangles and circles out of clay.
- Attach the limbs and head.
- Use sculpting tools to add details like buttons or metallic textures.
- Bake and paint the robot to finish

Hi, I’m Victoria, an art and craft teacher at Newark City Schools, where I have the joy of working with middle school students to help them explore their creativity and develop their artistic talents. I believe that art is a powerful way for students to express themselves, and I strive to make every lesson a fun, engaging, and inspiring experience.
I created this website to share the art and craft projects, techniques, and resources that I use in my classroom, hoping to inspire both educators and young artists alike. Whether you’re a teacher looking for new ideas or a student eager to try something new, I’m excited to provide creative tools and projects that anyone can enjoy.
When I’m not in the classroom, I love experimenting with different art forms and learning new crafting techniques. My goal is to help others discover the joy of making things with their hands, and I hope my website serves as a space for everyone to explore their creative potential.