
Encouraging creativity and entrepreneurship in kids is a fantastic way to nurture essential life skills while sparking their imagination. One engaging avenue to achieve this is through crafting. Crafting not only enhances creativity and fine motor skills but also teaches children responsibility and basic business principles, such as budgeting, marketing, and customer interaction. Easy crafts for kids to make and sell, such as handmade jewelry, painted rocks, or personalized greeting cards, provide them with a fun and educational experience. Easy Crafts for Kids to Make and Sell empower children to express themselves artistically, develop problem-solving skills, and gain confidence in their abilities—all while learning the value of hard work and earning their own money.
Encouraging creativity and entrepreneurship in kids is a rewarding way to prepare them for future challenges while fostering their self-expression and individuality. One practical and enjoyable approach is through crafting, which combines creativity with real-world skills. Easy crafts for kids to make and sell, such as hand-decorated bookmarks, homemade candles, or custom keychains, offer an excellent starting point. Easy Crafts for Kids to Make and Sell enhance fine motor skills, encourage out-of-the-box thinking, and instill a sense of accomplishment.
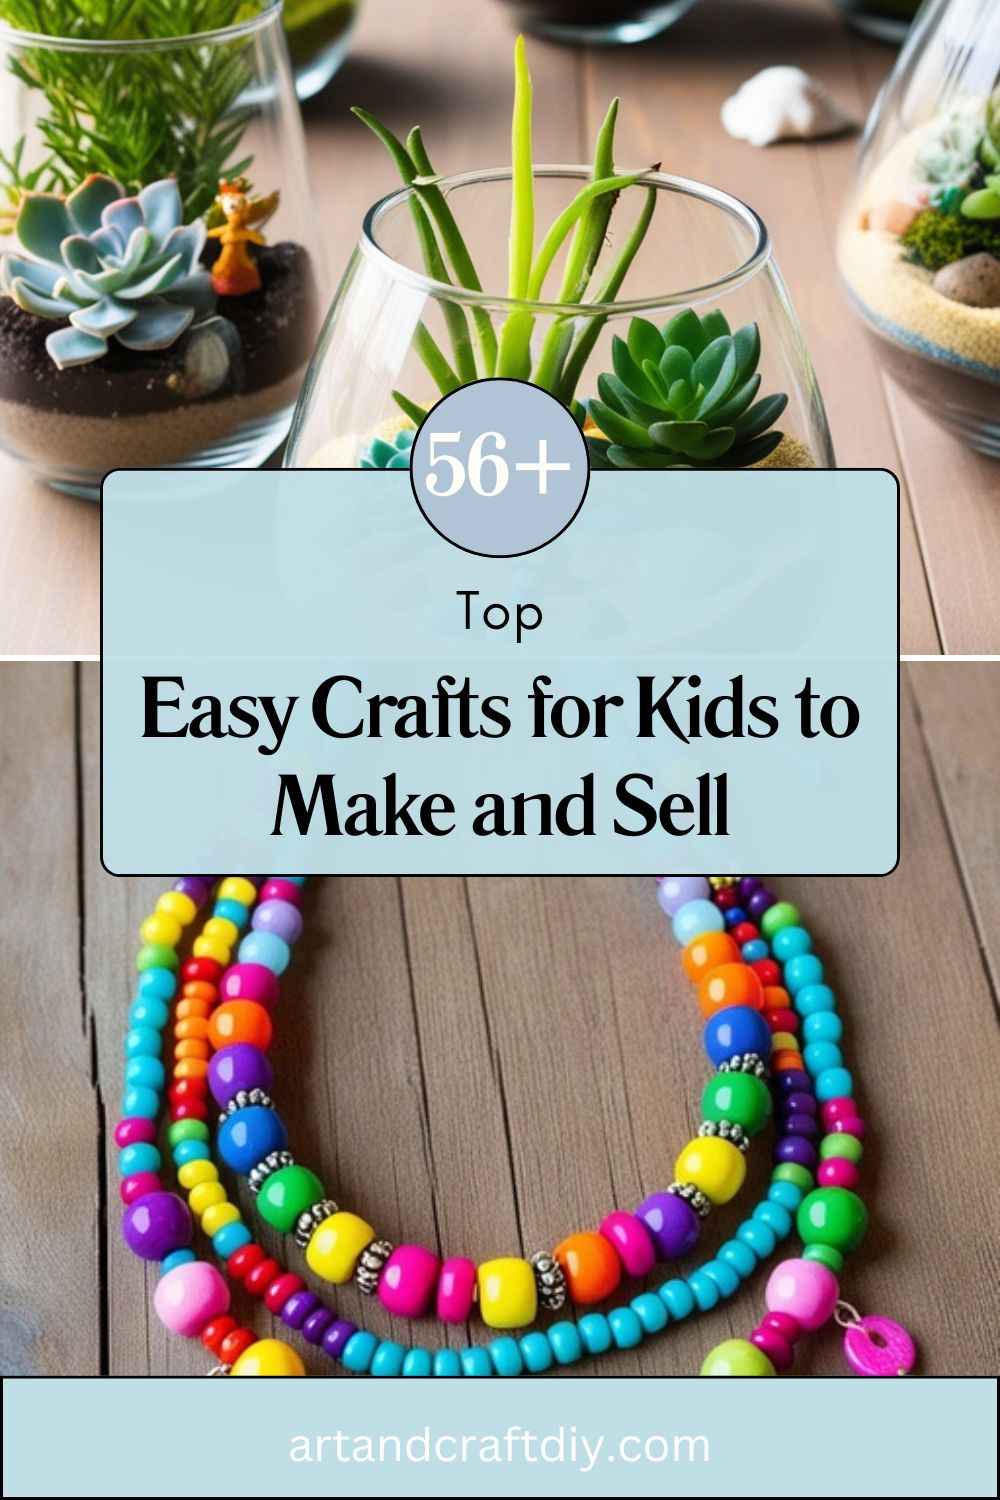
Easy Crafts for Kids to Make and Sell
Easy Crafts for Kids to Make and Sell is a creative and rewarding activity that allows children to explore their artistic side while learning valuable skills like entrepreneurship, budgeting, and time management. Easy Crafts for Kids to Make and Sell are simple, affordable, and fun, making them perfect for kids of all ages. From handmade jewelry and painted rocks to DIY greeting cards and bookmarks, these projects are not only enjoyable to create but also appealing to potential buyers. Selling their crafts at local fairs, online platforms, or community events helps kids build confidence, learn about commerce, and take pride in their hard work and creativity.
Handmade Friendship Bracelets
Friendship bracelets are timeless and colorful accessories that kids can create and sell. They’re perfect for friends, gifts, or as trendy fashion pieces.
Materials Used: Embroidery thread, scissors, tape or clipboard.
Steps:
- Choose 3-5 colors of embroidery thread and cut each strand about 20 inches long.
- Tie a knot at one end, leaving a small loop.
- Secure the loop with tape or a clipboard.
- Use simple patterns like braiding or weaving to create the bracelet.
- Once it’s long enough, tie the ends and trim any extra thread.
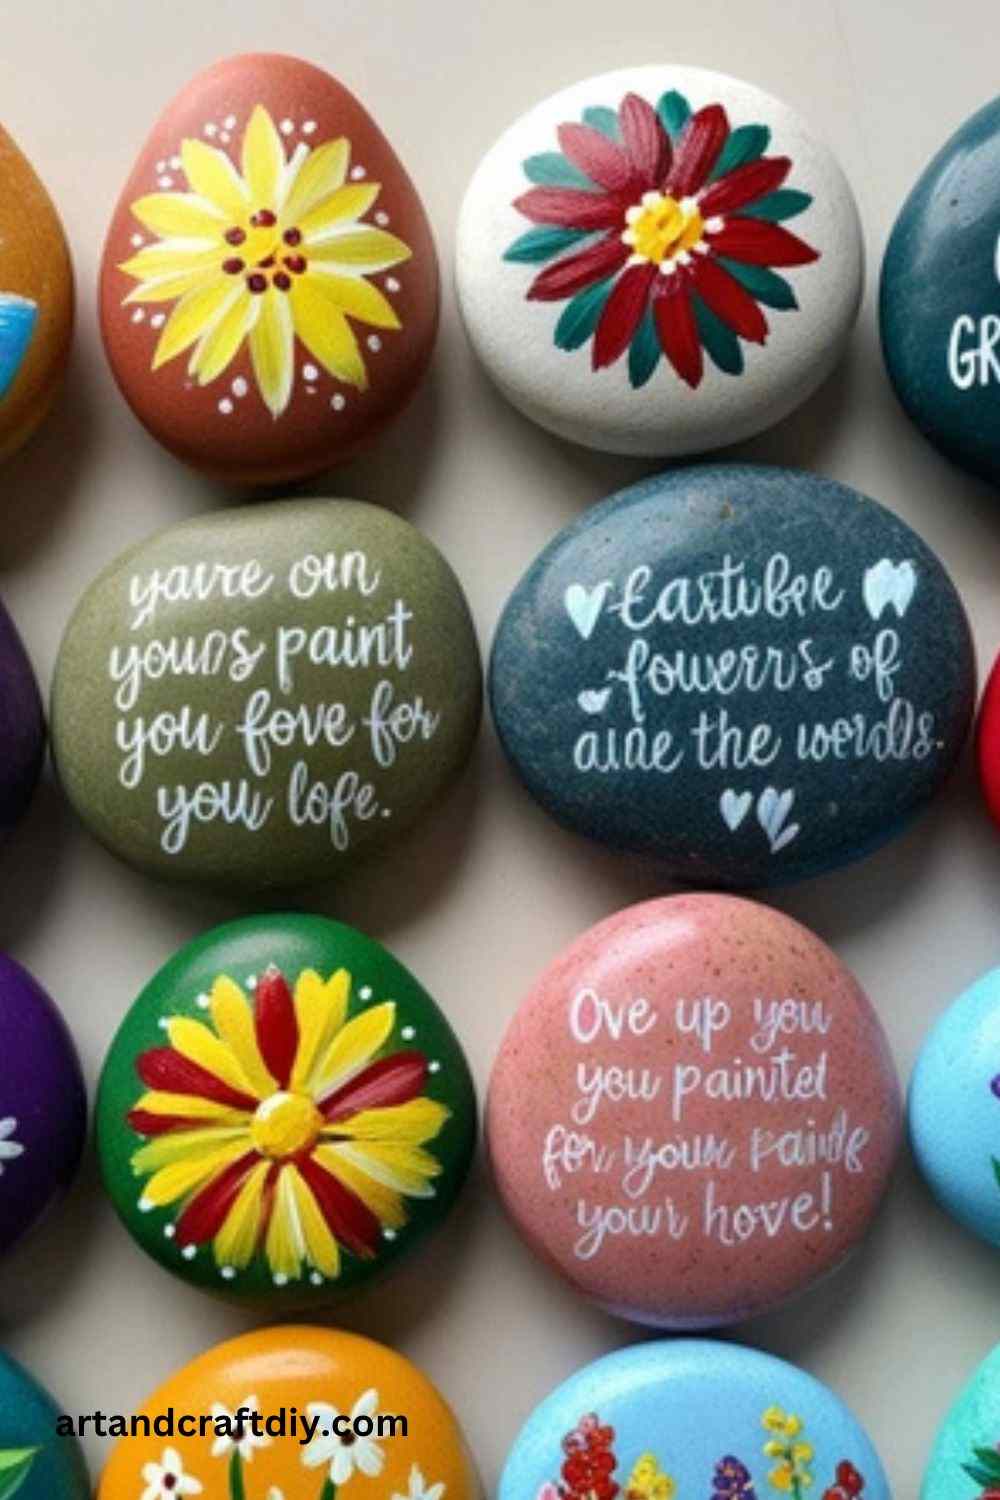
Handmade Painted Rock Paperweights
Painted rocks are fun to make and versatile. They can be sold as paperweights, garden decorations, or inspirational gifts.
Materials Used: Smooth rocks, acrylic paint, paintbrushes, and sealant spray.
Steps:
- Wash and dry the rocks to remove any dirt.
- Paint the rock with a base color and let it dry.
- Add designs, such as flowers, animals, or motivational words, using acrylic paint.
- Once the paint dries, apply a sealant spray to protect the design.
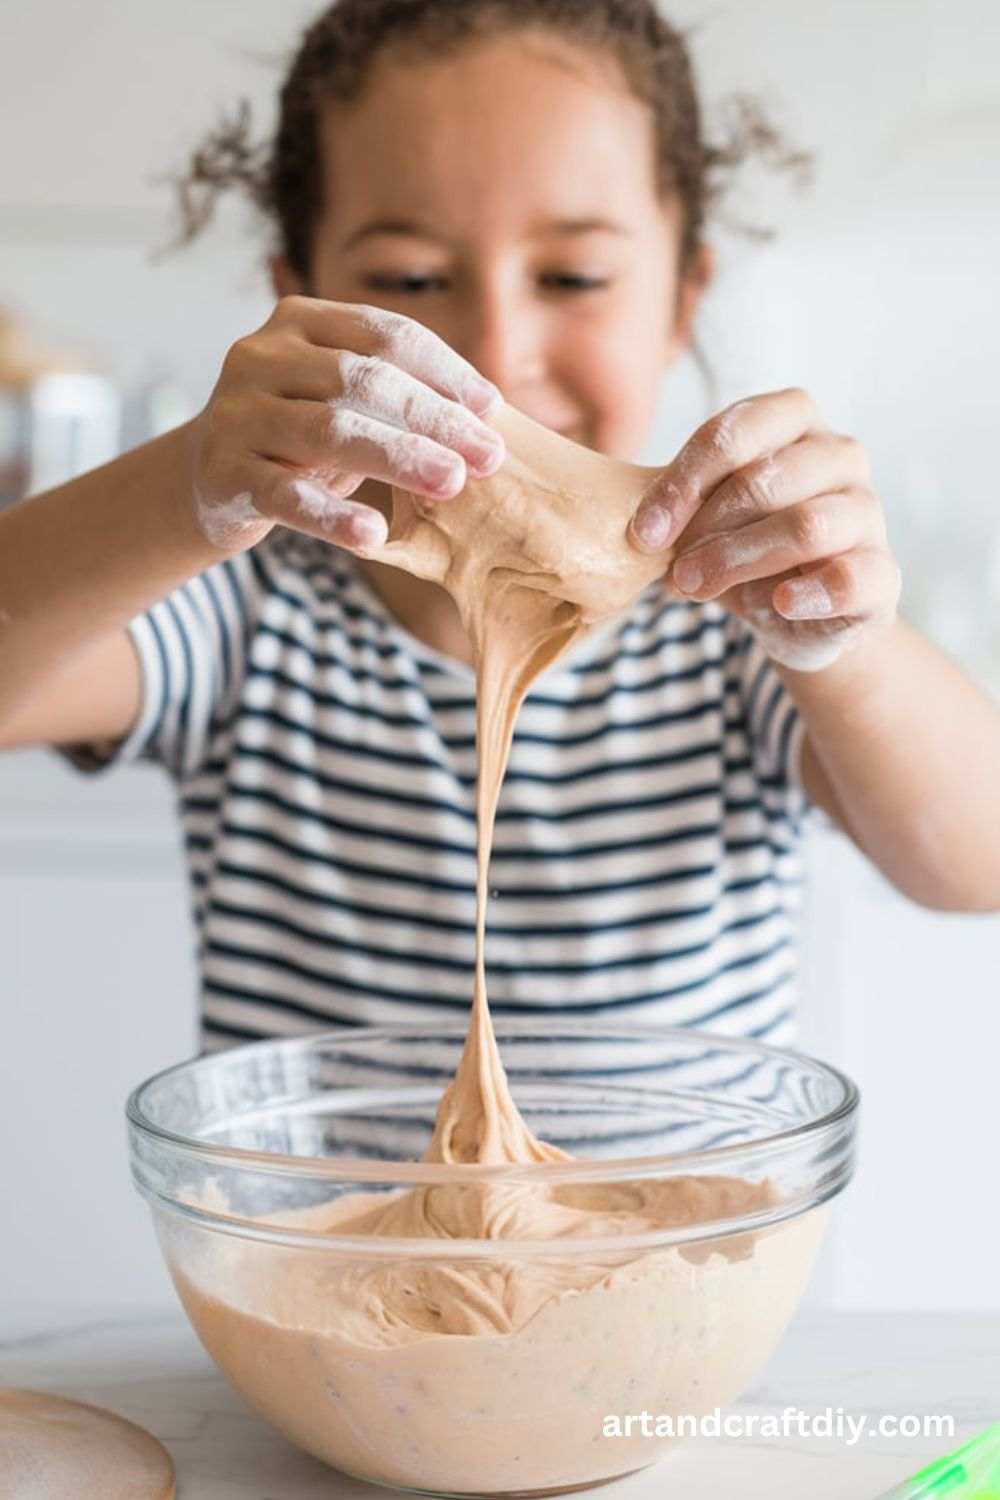
Homemade Slime
Slime is a hit with kids of all ages. It’s easy to make, customizable with colors and glitter, and a top-selling craft.
Materials Used: Glue, baking soda, contact lens solution, food coloring, glitter.
Steps:
- Pour 4 oz of glue into a mixing bowl.
- Add a few drops of food coloring and glitter, then mix well.
- Stir in 1/2 tsp of baking soda.
- Add 1 tbsp of contact lens solution and mix until the slime forms.
- Knead with your hands until it’s stretchy.
DIY Keychains Handmade
Keychains are small, cute, and practical. Kids can make them using various materials to suit different styles.
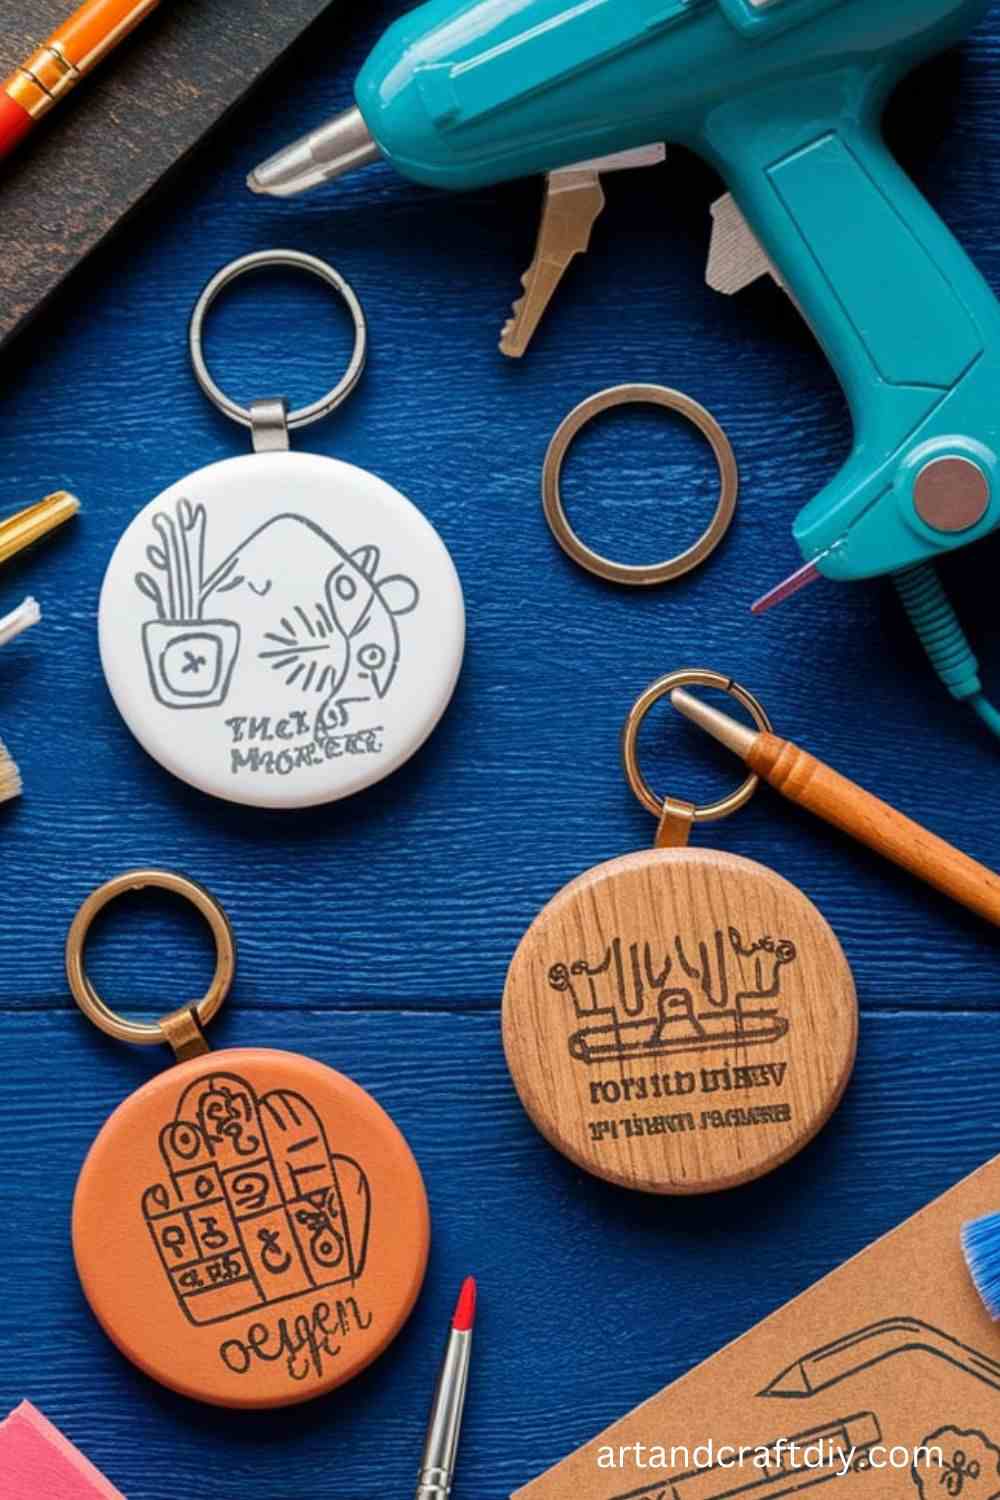
Materials Used: Key rings, beads, string, charms, and pliers.
Steps:
- Attach a key ring to a string or chain.
- Thread beads or charms onto the string in a desired pattern.
- Secure the ends by tying knots or using crimp beads.
- Trim any extra string, and your keychain is ready to sell.
Handmade Tie-Dye T-Shirts
Tie-dye is a colorful and fun way to upcycle plain T-shirts into vibrant masterpieces.
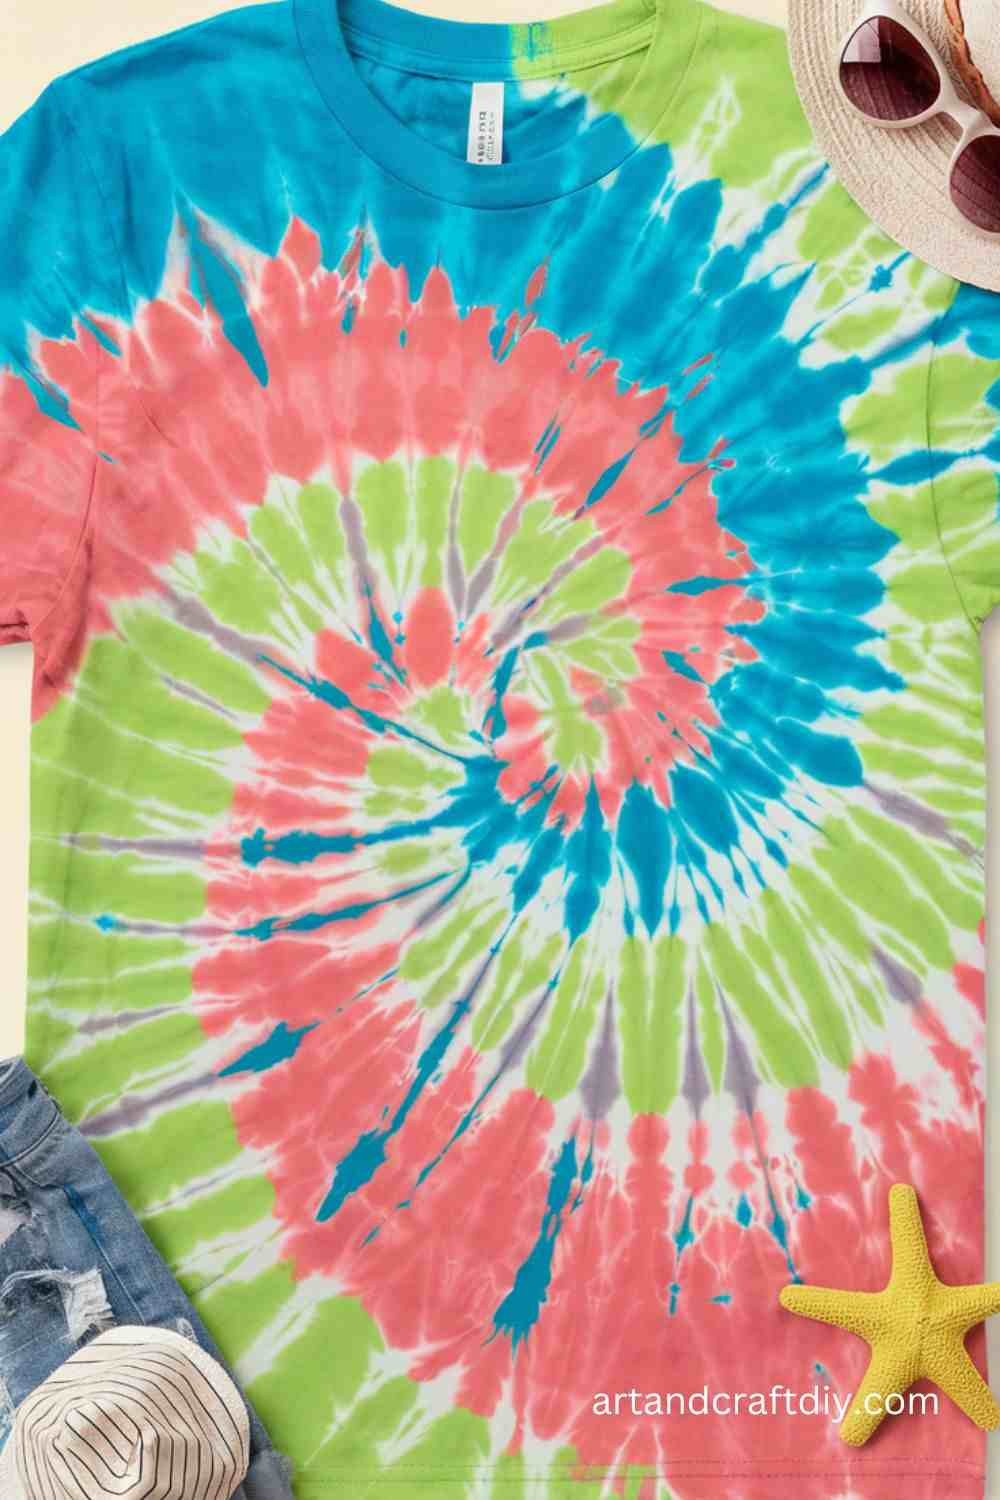
Materials Used: White cotton T-shirts, tie-dye kits, rubber bands, gloves, plastic bags.
Steps:
- Dampen the T-shirt and lay it flat.
- Use rubber bands to twist and fold the fabric into patterns.
- Apply dye to the sections of the shirt, following the instructions on the tie-dye kit.
- Place the shirt in a plastic bag and let it sit for 6-8 hours.
- Rinse out excess dye, wash, and dry the shirt.
Decorative Candles
Homemade candles are a cozy craft that can be customized with colors, scents, and shapes. They make great gifts and decorative pieces.

Materials Used: Wax, wick, dye (optional), fragrance oils (optional), containers (mason jars, molds), heat source.
Steps:
- Melt the wax in a heatproof container over low heat.
- Add dye or fragrance oils if desired, and stir.
- Pour the melted wax into a container or mold, leaving some space at the top.
- Place the wick in the center of the container, securing it with a stick or clothespin.
- Allow the candle to set and harden for several hours.
Pom-Pom Decorations
Pom-poms are soft, colorful balls of yarn that can be turned into various fun items like keychains, garlands, and ornaments.
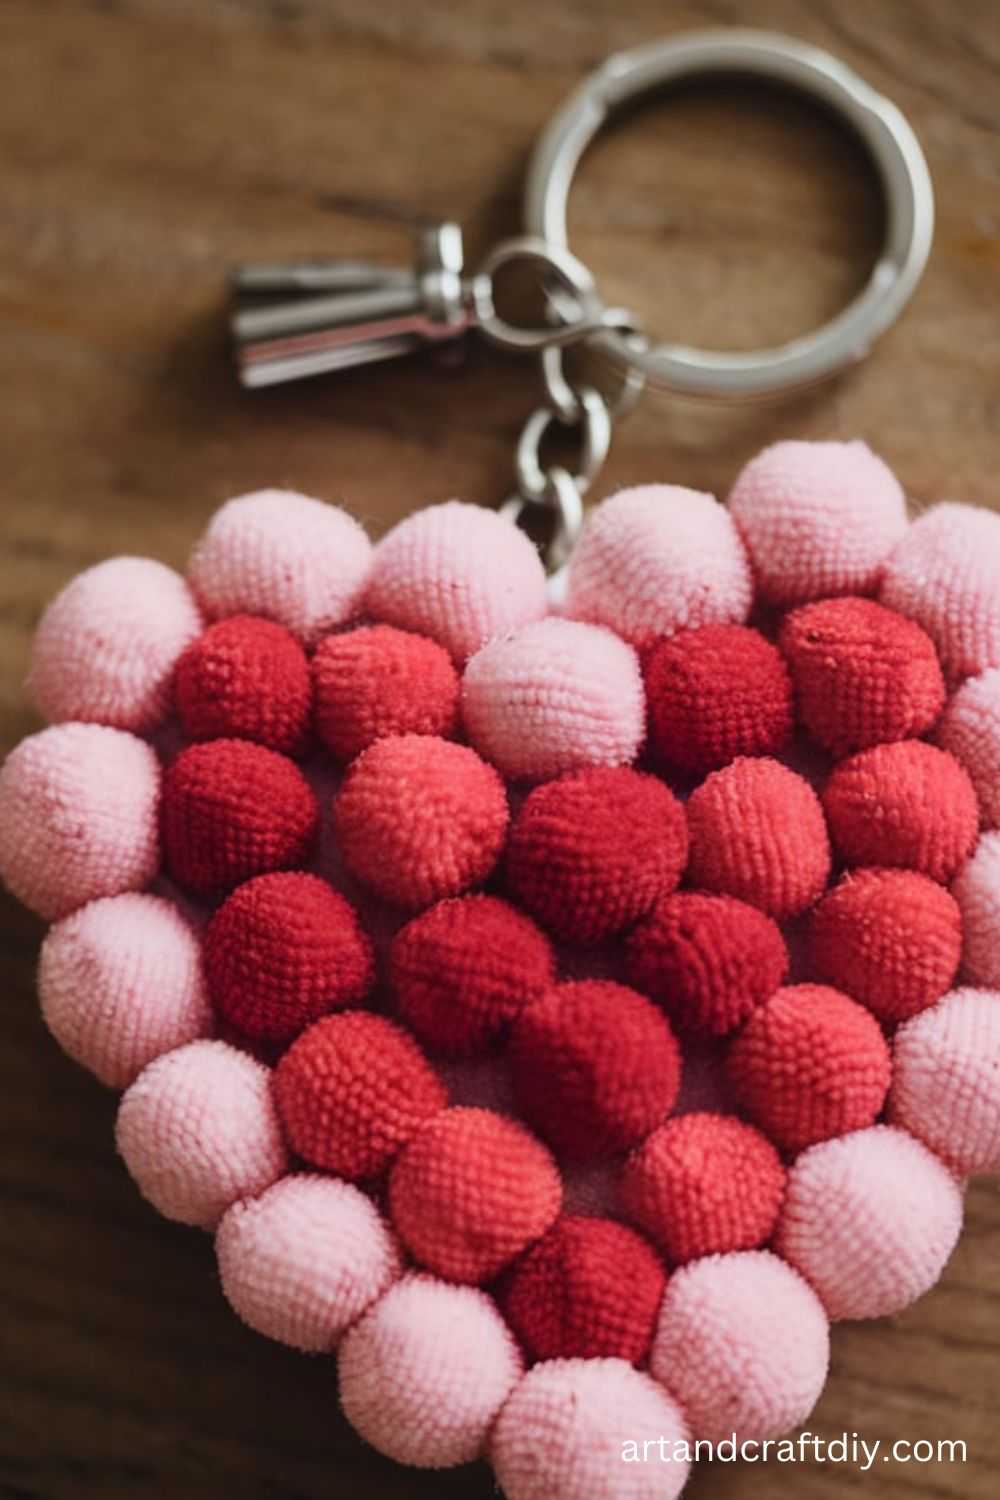
Materials Used: Yarn, scissors, cardboard, glue (optional).
Steps:
- Cut two cardboard circles and create a hole in the middle.
- Wrap yarn around the circles until thick, then cut along the edges.
- Tie the yarn tightly in the center and trim the ends to create a fluffy pom-pom.
- Attach a keychain ring or use multiple pom-poms to make garlands or wall hangings.
Mini Terrariums
Miniature terrariums are cute indoor plants that kids can craft and sell. They make great gifts and can be personalized with tiny figures or decorations.
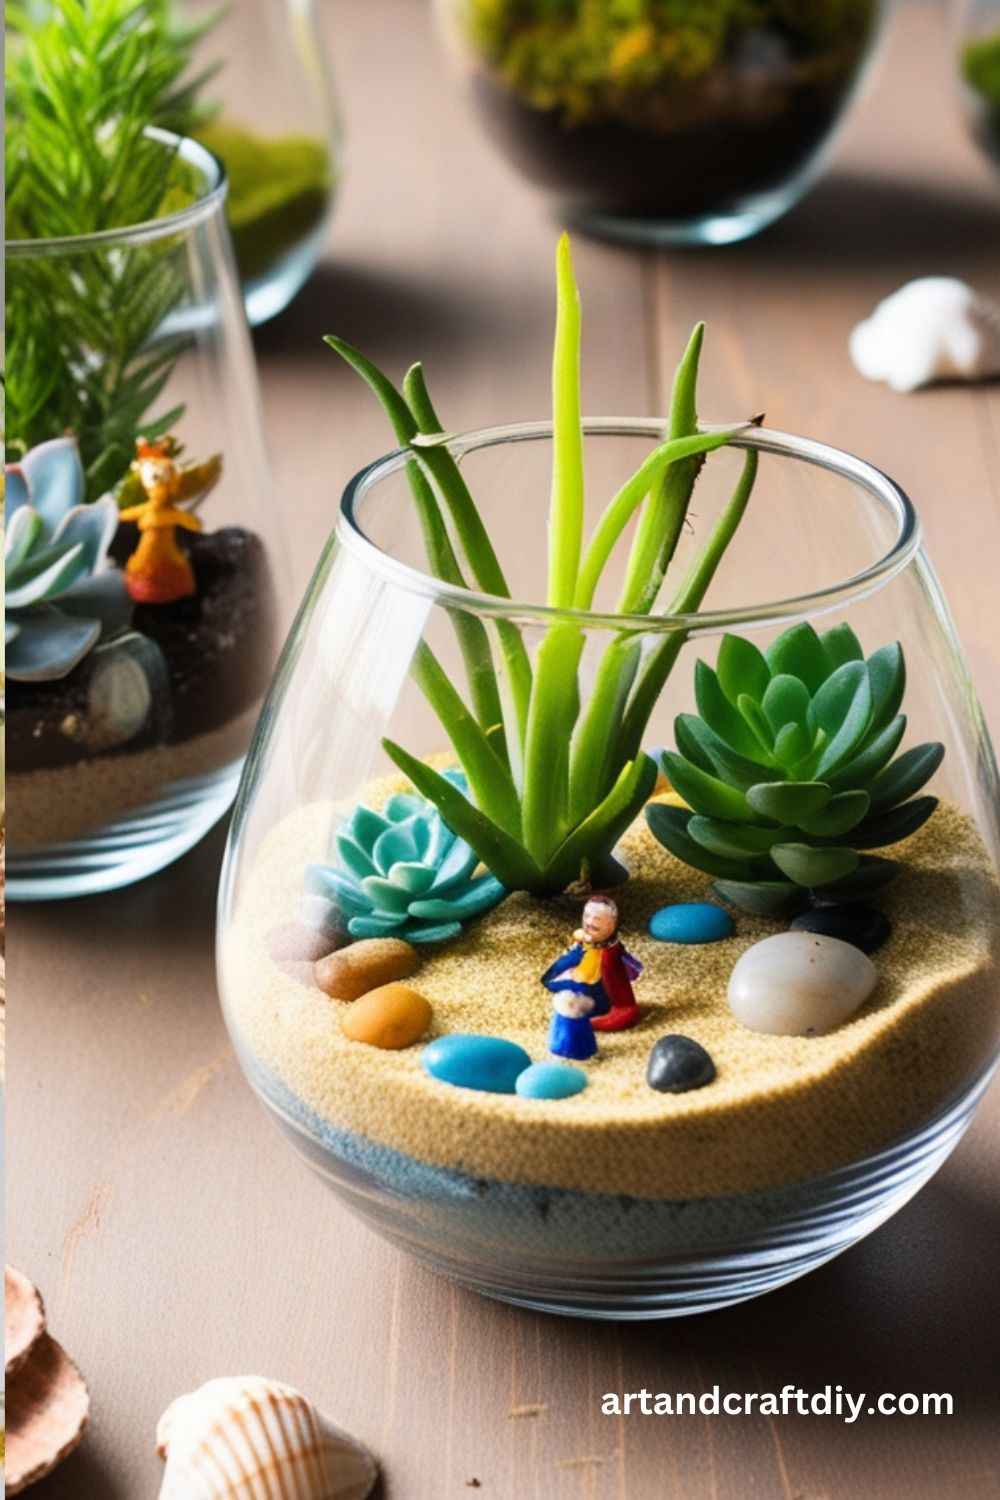
Materials Used: Small glass containers, pebbles, activated charcoal, soil, tiny plants, moss, miniature figures (optional).
Steps:
- Place a layer of pebbles at the bottom of the container for drainage.
- Add a thin layer of activated charcoal to keep the terrarium fresh.
- Fill with soil and plant the small plants or moss.
- Decorate with tiny figures or stones if desired.
- Water lightly and place in a bright area.
DIY Fabric Scrap Bookmarks
Fabric scrap bookmarks are practical and eco-friendly. Kids can use leftover fabric to make beautiful bookmarks for books or planners.
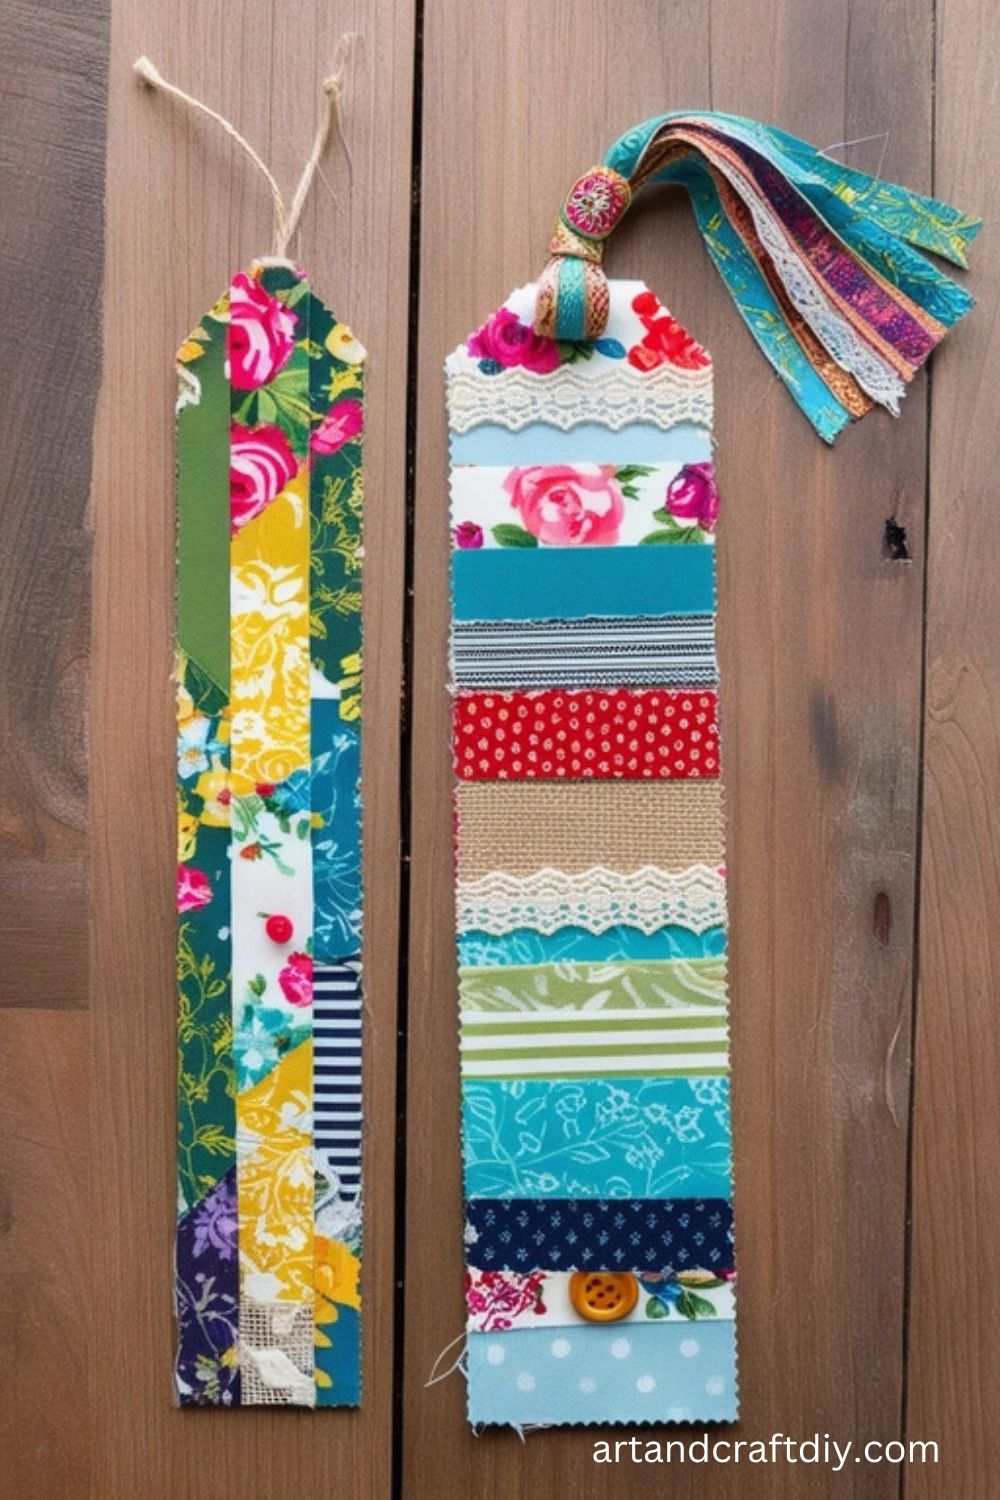
Materials Used: Fabric scraps, scissors, ribbon (optional), fabric glue.
Steps:
- Cut the fabric into strips about 1 inch wide and 6 inches long.
- Fold the edges of the fabric inward to create a neat edge.
- Use fabric glue to secure the edges and add a ribbon to the top if desired.
- Let the glue dry completely, and your bookmarks are ready!
Beaded Necklaces
Beaded necklaces are customizable and can be made in any style, from bohemian to elegant, depending on the beads used.
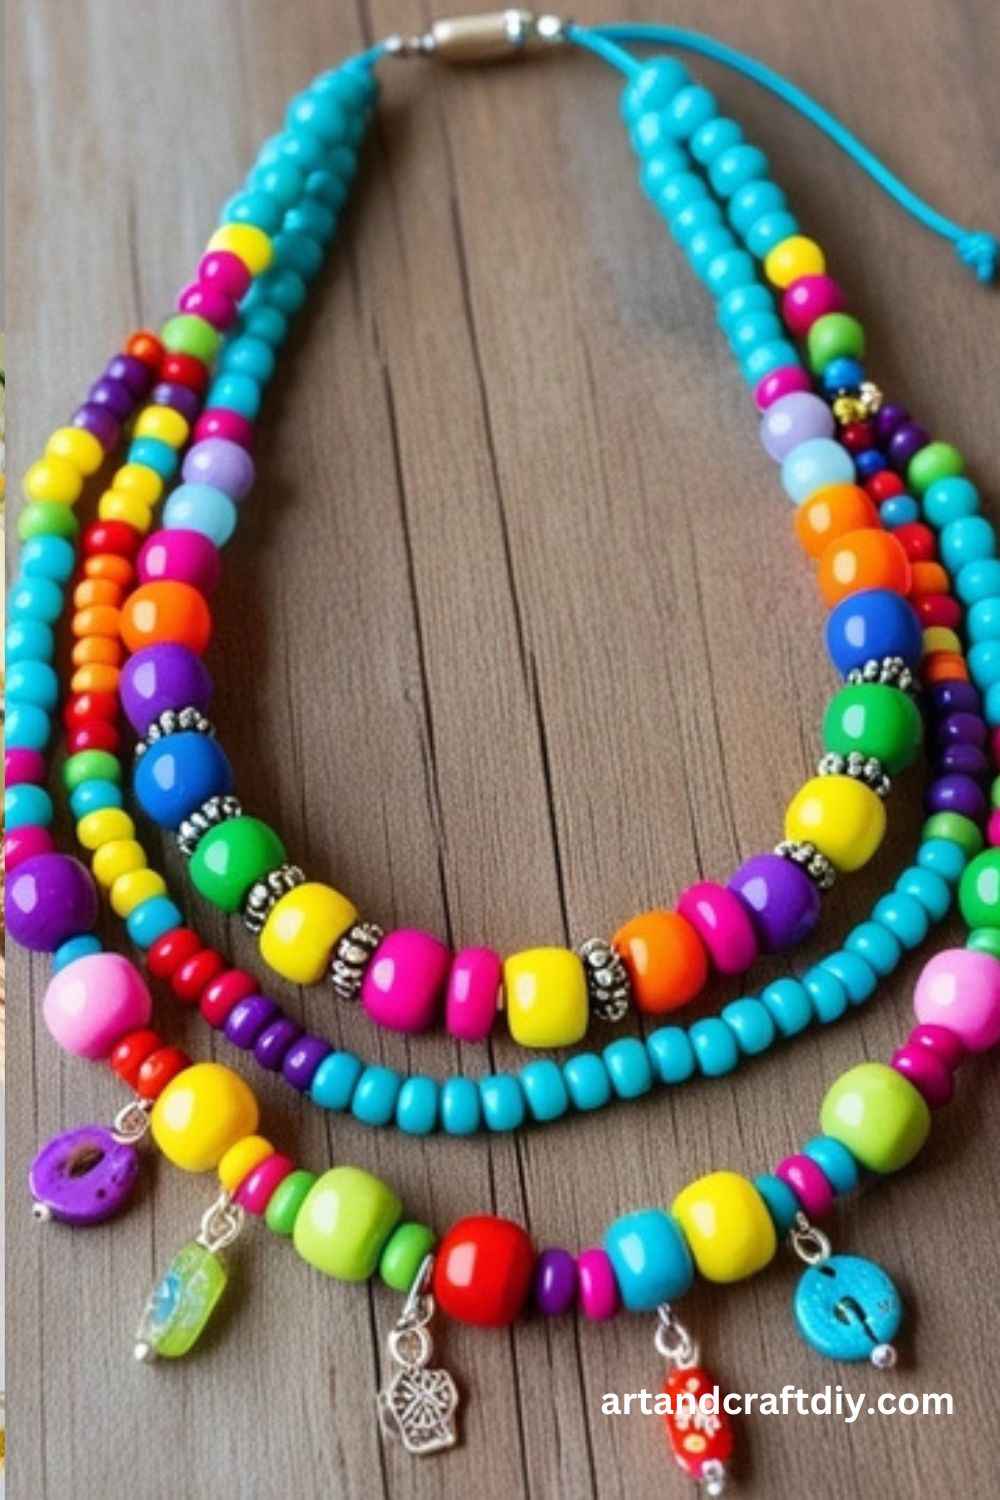
Materials Used: Beads, string or cord, scissors, clasps (optional).
Steps:
- Cut a piece of string or cord to your desired necklace length.
- Arrange beads in a pattern or design on the string.
- Once you’re happy with the design, tie the ends of the string or attach a clasp.
- Trim excess string, and your necklace is ready to wear or sell!
Soap Making
Homemade soaps are luxurious and fun to create. Kids can add colors, scents, and even fun shapes to make them unique.
Materials Used: Soap base (glycerin or shea butter), soap molds, fragrance oils, colorants, microwave or stovetop.
Steps:
- Melt the soap base in the microwave or on the stovetop.
- Add fragrance oils and colorants as desired.
- Pour the melted soap into molds and let it cool and harden for several hours.
- Remove the soap from the molds and package it for sale.
Homemade Bird Feeders
Bird feeders are a great way to bring wildlife into your garden. Kids can make these simple feeders with everyday materials.
Materials Used: Toilet paper rolls, peanut butter, bird seeds, string (optional).
Steps:
- Spread peanut butter generously over the outside of the toilet paper roll.
- Roll the peanut butter-covered roll in bird seeds, making sure it’s well-coated.
- Hang the feeder from a tree or in your yard using a piece of string.
- Watch as the birds come to enjoy the treat!
Personalized Mugs
Personalized mugs are perfect for special occasions like birthdays, holidays, or just a fun gift. Kids can decorate plain mugs with custom designs.
Materials Used: Plain white ceramic mugs, permanent markers or ceramic paint, oven (optional).
Steps:
- Draw or paint your design onto the mug using permanent markers or ceramic paints.
- Let the design dry for 1-2 hours.
- If using ceramic paint, bake the mug in the oven according to the paint instructions to set the design.
- Once cool, the mugs are ready to be sold.
No-Sew Felt Monsters
Felt monsters are a fun, no-sew project for kids to make and sell. These little creatures are sure to be loved by kids of all ages.
Materials Used: Felt sheets, fabric glue, googly eyes, scissors.
Steps:
- Cut out two monster shapes from the felt (body, legs, arms).
- Use fabric glue to attach the pieces together, leaving the top open.
- Glue on googly eyes and any other facial features you desire.
- Let the glue dry completely before selling or gifting your felt monster.
Clay Pendants
Polymer clay pendants make fun jewelry pieces that can be customized with colors and shapes. Kids can create their own unique designs and wear them as necklaces or sell them.
Materials Used: Polymer clay, baking sheet, necklace chain (optional), oven.
Steps:
- Roll and mold the polymer clay into a pendant shape.
- Use small tools to add designs and details.
- Bake the clay in the oven according to the instructions on the packaging.
- Once cool, attach the pendant to a necklace chain or keychain.
Felt Coasters
Felt coasters are a simple yet functional craft that can be made in various shapes and designs. These can be used to protect furniture from hot drinks and make great gifts.
Materials Used: Felt sheets, scissors, fabric glue, decorative embellishments (optional).
Steps:
- Cut the felt into squares or circles, about 4 inches in diameter.
- Add any embellishments like buttons, embroidery, or fabric paint to decorate.
- If you want multiple layers for durability, cut several pieces and glue them together.
- Let the glue dry, and your coasters are ready to use or sell!
Paper Mâché Bowls
Paper mâché bowls are lightweight and customizable. Kids can make unique decorative bowls for the home or use them as storage.
Materials Used: Newspaper strips, flour and water (for paste), balloons or bowls for shaping, paint.
Steps:
- Blow up a balloon or use a small bowl as a mold.
- Mix equal parts flour and water to create a paste.
- Dip the newspaper strips into the paste and lay them over the mold.
- Let it dry for a few hours, then add additional layers for sturdiness.
- Once dry, pop the balloon (if used) and paint the bowl to finish.
Paper Flower Bouquets
Handmade paper flowers are a wonderful gift idea for birthdays, anniversaries, or even Mother’s Day. Kids can create colorful and realistic-looking flowers.
Materials Used: Colored paper, scissors, glue, floral tape, floral wire.
Steps:
- Cut petals from colored paper in different sizes and shapes.
- Layer the petals and glue them together to form a flower.
- Attach a floral wire stem and wrap it with floral tape.
- Arrange the flowers into a bouquet, and add ribbon if desired.
Button Art
Button art is a creative and easy way for kids to create beautiful designs using buttons of all shapes and colors.
Materials Used: Buttons, canvas or sturdy paper, glue, paint (optional).
Steps:
- Paint the background of the canvas with any design or color you prefer.
- Arrange the buttons on the canvas to create shapes, like flowers, animals, or abstract designs.
- Once the design is perfect, glue each button in place.
- Allow the glue to dry, and the button art is ready for display or sale!
Customized Totes
Customized tote bags are stylish and useful, making them perfect for school, shopping, or as a gift. Kids can decorate plain totes with fun designs.
Materials Used: Plain canvas tote bags, fabric markers or paint, stencils (optional).
Steps:
- Lay the tote bag flat and decide on a design.
- Use fabric markers or paint to draw or stencil your design onto the bag.
- Let the paint dry completely before using or selling the tote.
- Optionally, heat-set the design by ironing the back of the bag (to keep it from fading).
Watercolor Greeting Cards
Watercolor greeting cards are a beautiful and personal way to send messages. Kids can create cards for birthdays, holidays, or just to say hello.
Materials Used: Watercolor paints, watercolor paper, paintbrushes, markers (optional).
Steps:
- Cut the watercolor paper into 5×7-inch cards.
- Paint the design on the front using watercolors.
- Add any final touches with markers or pens for details.
- Let the cards dry completely before packaging them for sale.
Bottle Cap Magnets
Bottle cap magnets are small, fun, and easy to make. Kids can upcycle bottle caps into cute designs to use on refrigerators or magnetic boards.
Materials Used: Bottle caps, magnets, glue, decorative paper or stickers, scissors.
Steps:
- Cut a piece of decorative paper or use stickers to fit inside the bottle cap.
- Glue the paper or stickers inside the cap.
- Attach a small magnet to the back of the bottle cap using glue.
- Let the glue dry, and your magnets are ready to be used!
Decorative Pencil Holders
Kids can make stylish pencil holders from materials like cans, cardboard, or wood. These are perfect for organizing desks or as gifts for teachers.
Materials Used: Tin cans or cardboard tubes, glue, decorative paper, ribbon, or paint.
Steps:
- If using a tin can, remove any sharp edges and clean it.
- Wrap the can or tube in decorative paper or paint it.
- Add ribbon, buttons, or any other embellishments to personalize the holder.
- Once dry, your pencil holder is ready to organize or sell!
DIY No-Sew Pillows
No-sew pillows are a fun and easy way for kids to create their own personalized cushions.
Materials Used: Fabric, fabric glue or hot glue gun, stuffing.
Steps:
- Cut two squares of fabric, slightly larger than your desired pillow size.
- Lay the fabric together with the good sides facing each other.
- Apply fabric glue along the edges, leaving a small gap for stuffing.
- Once the glue has dried, turn the pillow right side out and stuff it with cotton or fabric scraps.
- Close the gap with more glue and let it dry completely.
Upcycled T-Shirt Yarn Crafts
Upcycling old T-shirts into yarn is an eco-friendly craft that can be used to make various items like bracelets, bags, or rugs.
Materials Used: Old T-shirts, scissors.
Steps:
- Cut the T-shirt into long strips, cutting off the seams and ribbing.
- Stretch the strips to turn them into yarn.
- Use the T-shirt yarn to crochet or weave items like bracelets or small bags.
- Finish the item and sell it as a unique upcycled creation.
Tips for Selling Crafts
Selling your crafts can be both rewarding and profitable, but it takes more than just creating beautiful pieces. To ensure your products attract customers and stand out in a competitive market, here are some essential tips for selling crafts effectively:
1. Presentation Matters
- Packaging Ideas: The way your crafts are presented plays a huge role in their appeal. Use attractive packaging that reflects the uniqueness of your product. Consider eco-friendly options, or personalize the packaging with ribbons, labels, or unique wrapping to enhance the customer experience.
- Creating Labels and Tags: Adding labels and tags with your brand name, product details, and pricing not only makes your items look professional but also gives a sense of credibility. Be sure to include any relevant information like materials used or care instructions.
2. Pricing
- Determining Fair Prices: Set a price that reflects both the cost of materials and the time invested. Consider the local market, your target audience, and the complexity of your craft. Don’t undervalue your work, but also be mindful of what customers are willing to pay for handmade items.
3. Marketing
- Using Social Media: Platforms like Instagram, Pinterest, and Facebook are perfect for showcasing your crafts to a broad audience. Post high-quality photos, share behind-the-scenes processes, and engage with potential customers to build an online following.
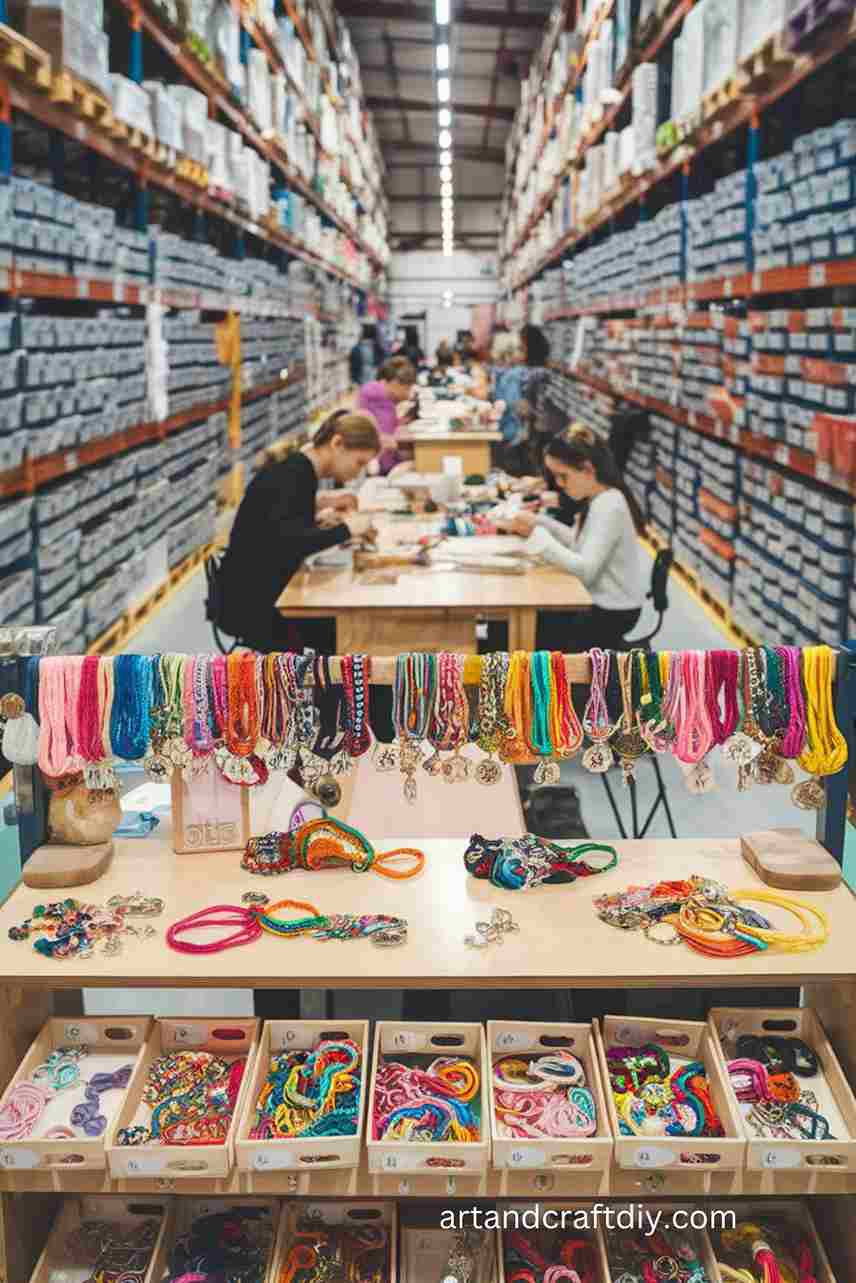
- Setting Up a Kid-Friendly Booth at Fairs: If you plan to sell at craft fairs or markets, create a welcoming, visually appealing booth. Consider making it fun and interactive for kids, offering small giveaways or allowing them to participate in a craft activity.
4. Building Customer Relationships
- Offering Discounts for Bulk Purchases: To encourage larger orders, offer discounts for bulk purchases. This could be ideal for customers looking to buy gifts or decorate an event.
- Taking Custom Orders: Offering customizations gives your customers a more personal connection to your product. It could include unique colors, designs, or personalized messages, making the craft even more special.
By focusing on these key aspects, you’ll be able to attract more customers and establish a lasting presence in the craft selling world.
Benefits of Crafting and Selling for Kids
Crafting and selling not only stimulate creativity but also provide valuable life lessons for children. By engaging in these activities, kids can develop a range of skills that help them in their personal and professional growth. The experience is both fun and educational, fostering important habits and boosting confidence.
Benefits:
- Boosts Creativity and Imagination
Crafting encourages kids to think outside the box, experiment with colors, textures, and materials, and create something unique. It nurtures their imaginative skills, which can later translate into problem-solving and innovation. - Improves Fine Motor Skills
Through hands-on activities like cutting, painting, sewing, or molding, kids develop their hand-eye coordination and fine motor skills, which are essential for tasks like writing and using tools. - Teaches Money Management and Entrepreneurship
Selling their crafts gives children a taste of entrepreneurship. They learn basic concepts like pricing, budgeting, and managing earnings, fostering financial literacy at an early age. - Builds Confidence and Self-Esteem
Completing a craft project and selling it gives children a sense of accomplishment. The positive feedback they receive from customers boosts their self-esteem and encourages them to keep improving. - Enhances Focus and Patience
Crafting requires patience and attention to detail, helping kids practice focus and perseverance. These qualities are transferable to other areas of life, including schoolwork and personal challenges. - Fosters Teamwork and Social Skills
If children work in groups, they learn how to collaborate, share ideas, and respect others’ opinions. These experiences help in developing social skills that are important in both personal and professional settings.
FAQ
What are some simple and Easy Crafts for Kids to Make and Sell?
Kids can make a variety of crafts to sell, including friendship bracelets, painted rocks, hand-decorated bookmarks, DIY greeting cards, and easy paper crafts like origami. Other ideas are keychains, custom tote bags, or painted flower pots.
How can kids get started with selling their crafts?
To start selling, kids can set up a booth at local craft fairs, sell online through platforms like Etsy or at school events. It’s important for kids to check with a parent or guardian before setting up a shop, and consider simple pricing strategies to get started.
Do kids need special tools to make crafts for selling?
It depends on the craft, but most of the materials are easily accessible. Common tools include scissors, glue, paint, markers, and fabric. For some crafts, kids may need a sewing kit, beads, or a hot glue gun with adult supervision.
How much can kids sell their crafts for?
Prices vary depending on the complexity of the craft, materials used, and local market conditions. Simple crafts like bookmarks or keychains may sell for a few dollars, while more intricate items could fetch a higher price. It’s a good idea to research similar items for pricing guidance.

Hi, I’m Victoria, an art and craft teacher at Newark City Schools, where I have the joy of working with middle school students to help them explore their creativity and develop their artistic talents. I believe that art is a powerful way for students to express themselves, and I strive to make every lesson a fun, engaging, and inspiring experience.
I created this website to share the art and craft projects, techniques, and resources that I use in my classroom, hoping to inspire both educators and young artists alike. Whether you’re a teacher looking for new ideas or a student eager to try something new, I’m excited to provide creative tools and projects that anyone can enjoy.
When I’m not in the classroom, I love experimenting with different art forms and learning new crafting techniques. My goal is to help others discover the joy of making things with their hands, and I hope my website serves as a space for everyone to explore their creative potential.