Spooky & Creative Halloween Clay Crafts

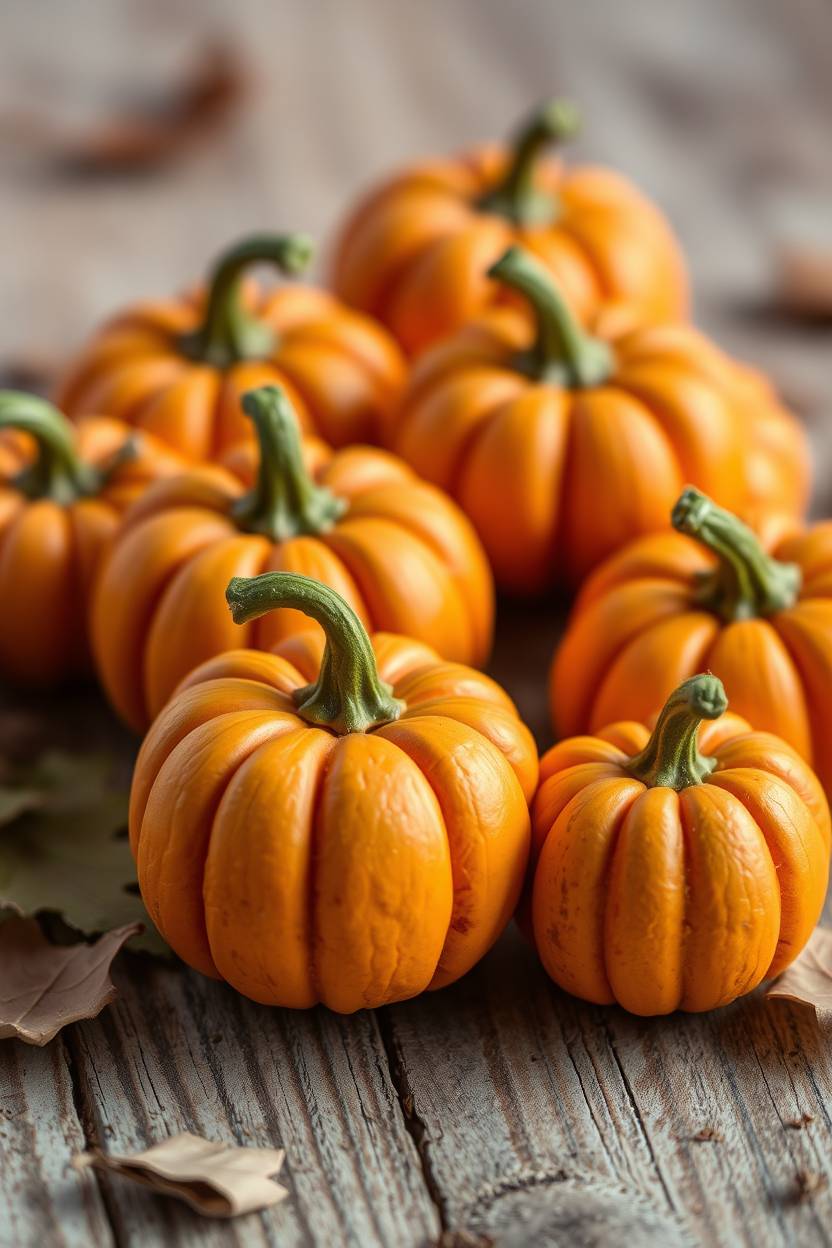
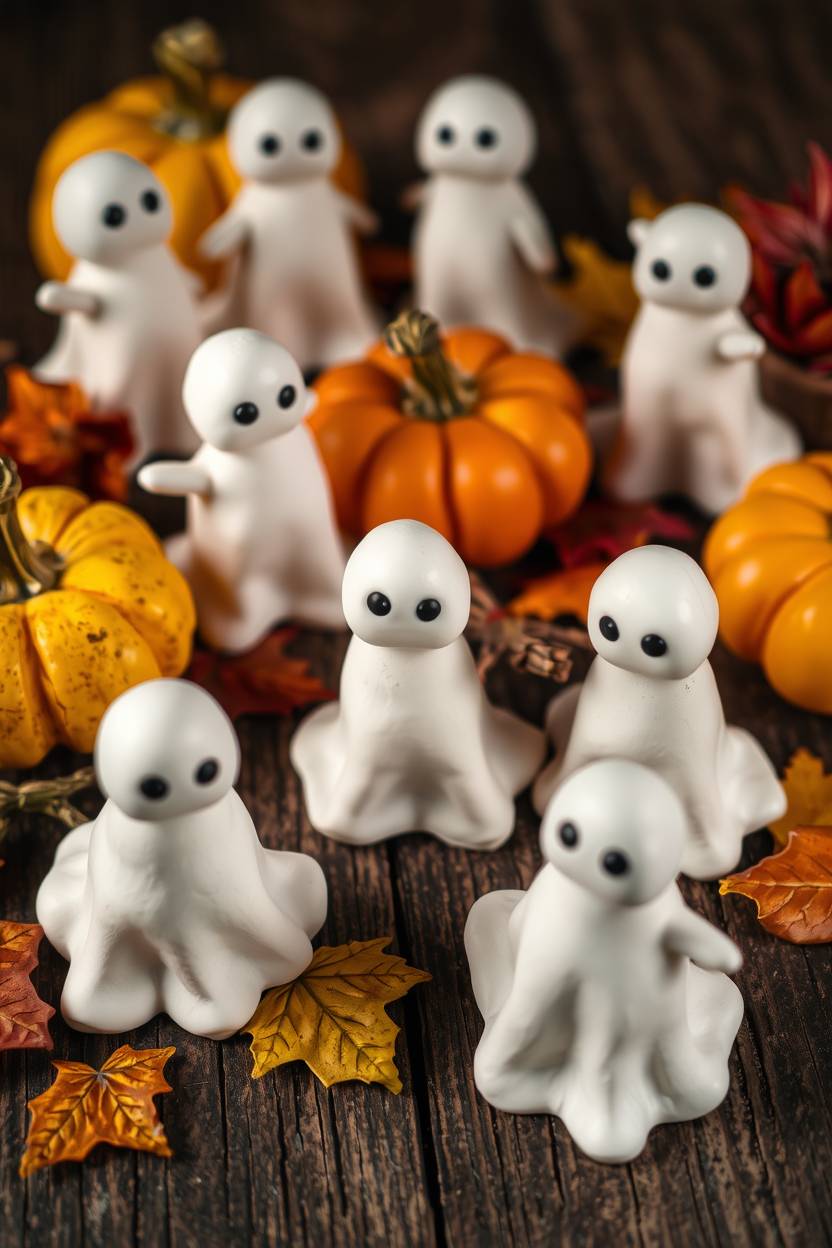
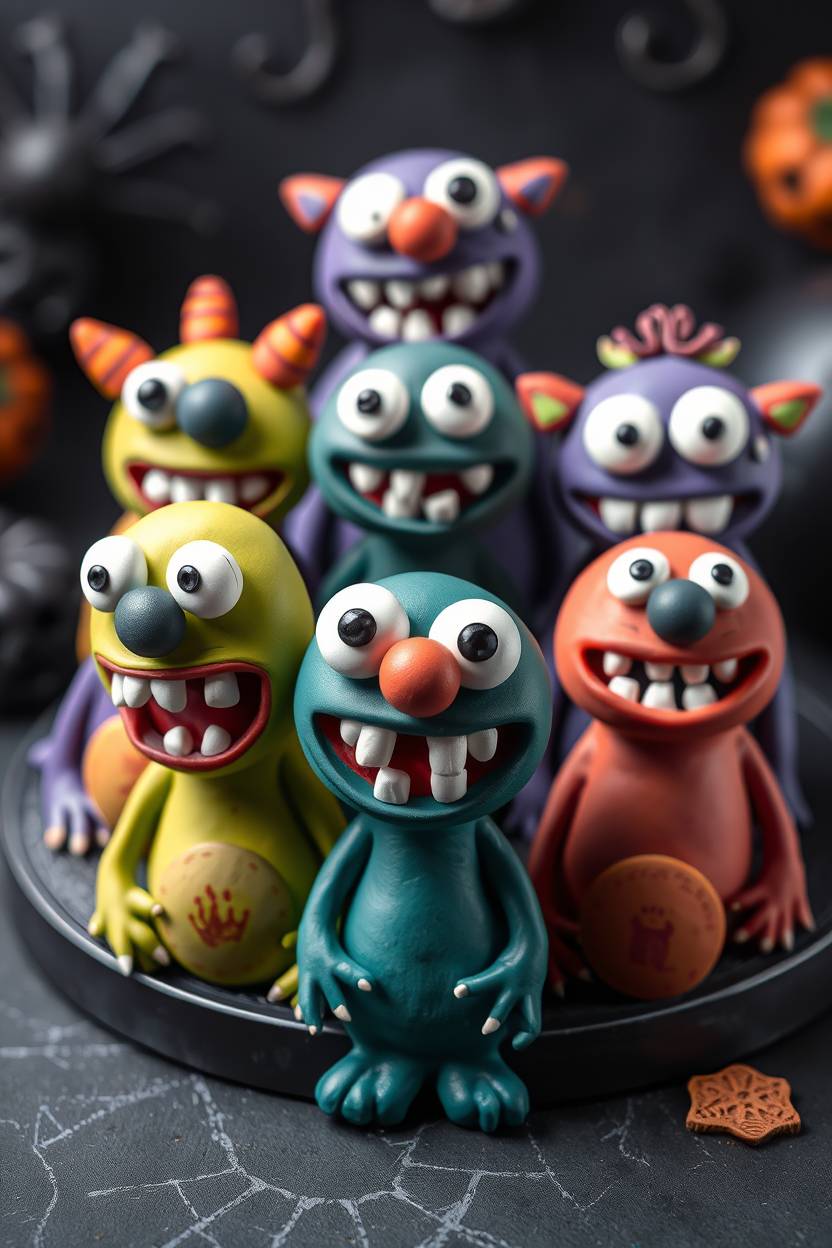
Halloween Clay Crafts are a fun and creative way to get into the spooky spirit of the season. From tiny pumpkins to cute ghosts, you can make all sorts of festive items with just a bit of clay and imagination. These crafts are not only enjoyable to create but also perfect for decorating your home, giving as gifts, or even using as party favors during Halloween celebrations.

Halloween Clay Crafts

Halloween Clay Crafts are a fun way to create spooky and cute decorations using clay. They let you explore your creativity while making unique pieces for the Halloween season.

Halloween Clay Crafts

Mini Clay Pumpkins

Mini Clay Pumpkins

I have to admit, making mini clay pumpkins is my absolute favorite way to kick off Halloween crafting season. There’s just something so satisfying about shaping those little round bodies and adding the tiniest stems. I like using orange polymer clay, but sometimes I mix in a bit of yellow for a warmer pumpkin pie kind of tone. Honestly, they’re adorable even before baking, and I always have to stop myself from keeping them all instead of decorating with them.

The trick I’ve found is to press gentle vertical lines with a toothpick to give that classic pumpkin look. Once they’re baked, I either leave them plain or paint on cute jack-o’-lantern faces. Last year, I made a bunch and used them as table scatter for our Halloween dinner. Guests kept asking if they were store-bought — nope, all handmade, and way more fun to make than to buy.

Spooky Ghost Figurines

Spooky Ghost Figurines

Spooky clay ghosts are probably the easiest Halloween clay craft ever, but they never fail to get compliments. I roll out a small white clay ball, stretch the bottom edges into a flowing sheet-like shape, and pinch the top for that “head” area. A couple of black paint dots for eyes, and you’ve got yourself a classic ghost.

Sometimes I get playful and make them with shocked expressions, or even tiny blush dots on the cheeks for a “cute ghost” vibe. These also look amazing as part of a Halloween diorama. One year, I stuck them on top of cupcakes for a themed party — yes, they were clean and safe because I wrapped the clay base in foil before placing them. It’s little touches like that which make people go, “Oh wow, you really thought this through!”

Black Cat Sculptures

Black Cat Sculptures

Every Halloween, I feel like a witch without her black cat until I make a few out of clay. Shaping the body is fun — I usually start with a teardrop shape for the body, then a small sphere for the head, and the tiniest triangles for ears. A bit of patience is needed to get the tail just right so it curls elegantly around the body.

In my opinion, painting the eyes is the best part. I like them wide and bright green, but sometimes I go for a sly yellow stare. Once I even added a little witch hat to my clay cat and it instantly became the star of my mantel. I always joke that my “clay cats” are better behaved than real ones — no hair on my sofa, and they stay wherever I put them.

Tiny Witch Hats

Tiny Witch Hats

Making tiny witch hats out of clay is ridiculously satisfying — it’s like dressing up for Halloween without actually dressing up. I shape a cone for the top, then roll out a flat circle for the brim. Press them together, and boom — you’ve got a hat.

But I don’t stop there. I love adding little clay ribbons, stars, or even a glitter glaze after baking. Last October, I attached a bunch to hair clips and gave them out to friends at our Halloween party. Honestly, they were more popular than the candy. There’s just something about wearing a mini witch hat that makes you feel instantly festive — even if you’re just sitting on your couch watching scary movies.

Candy Corn Charms

Candy Corn Charms

I know candy corn gets mixed reviews when it comes to taste, but as a clay craft? It’s perfection. I roll out three strips of clay — white, orange, and yellow — then stack and press them together before cutting into little triangles.

I’ve found they look extra cute when you make them in a variety of sizes. I drill a tiny hole before baking so I can turn them into charms for keychains or bracelets. Last year, I made a whole set for my niece, and she proudly wore her candy corn bracelet all through October. Whether you love or hate the real candy, you can’t deny that the clay version is totally charming.

Bat-Shaped Ornaments

Bat-Shaped Ornaments

Clay bats might sound tricky, but trust me, once you figure out the wing shape, it’s actually really fun. I use a simple template — body in the center, wings stretching out — then smooth the edges with my fingers.

Painting is where the magic happens. I go for classic black, but sometimes I’ll add purple accents or even metallic silver on the wings for a more dramatic effect. I’ve hung these from a spooky Halloween tree in my entryway, and they flutter (well, in spirit) whenever guests walk in. To be fair, they’re one of the few bats people actually want hanging in their home.

Haunted House Miniatures

Haunted House Miniatures

Haunted houses in clay form are like a miniature Halloween village — and I’m obsessed. I start with a basic house shape, then add crooked roofs, tiny windows, and maybe a door that looks like it’s about to fall off.

The details make all the difference — little pumpkins on the porch, ghost faces peeking from the windows, or even clay vines crawling up the walls. A couple of years ago, I made three different haunted houses and displayed them with tea lights behind them. The shadows they cast on the wall looked eerily real. It gave my living room this cozy-spooky vibe I still think about.

Clay Spider Webs

Clay Spider Webs

Clay spider webs are my go-to when I want something delicate but still creepy. I roll out thin ropes of clay and arrange them in a crisscross pattern, gently pressing at the joints so they stick together.

Sometimes I add a tiny clay spider in the middle — nothing too realistic, because I don’t want to scare myself. I’ve used these as coasters for a Halloween party, and people were fascinated. “You made these?!” was the most common reaction. Honestly, the hardest part is convincing yourself not to accidentally smudge them before baking.

Monster Face Magnets

Monster Face Magnets

These are where my inner child runs wild. I make round or oval bases, then start adding exaggerated noses, bulging eyes, crooked teeth — the weirder, the better. No two monster faces ever come out the same, and that’s the beauty of it.

After baking, I glue a small magnet on the back and stick them on my fridge. My friends have made a tradition of rearranging them into “monster families” whenever they visit. It’s silly, but it’s become one of those quirky little Halloween traditions I secretly love.

Jack-o’-Lantern Candle Holders

Jack-o’-Lantern Candle Holders

Shaping a clay pumpkin big enough to hold a tealight takes a little patience, but it’s worth it. I hollow out the inside before baking and carve a classic jack-o’-lantern face into the side.

When the candle is lit inside, the glow makes the whole thing come alive. Last year, I lined my porch steps with them, and trick-or-treaters stopped to take pictures. It’s one of those crafts that doubles as a functional decoration — my favorite kind.

Skeleton Keychains

For skeleton keychains, I like to keep it simple — a little skull with big, hollow eyes and a toothy grin. I make them in white clay, then use black paint to bring out the details.

They make fantastic party favors. I handed them out at a Halloween game night, and people kept asking where I bought them. The answer, of course, was “in my kitchen, with a lot of clay and a little caffeine.”

Zombie Head Models

Zombies aren’t exactly cute, but when you make them in clay, they can be more funny than scary. I usually start with a greenish base, then add messy “hair,” big uneven eyes, and maybe a clay brain peeking out.

One time, I made a whole row of them and placed them in my bookshelf like a zombie parade. My husband said it was “disturbingly adorable” — which, honestly, is the best review a Halloween craft can get.

Mummy Figurines

Mummies are a blast to make because it’s all about texture. I wrap thin strips of clay around a small body shape, leaving gaps for the eyes to peek through.

Painting is quick — a dusty white with maybe a little brown shading to make it look ancient. I once used them as cake toppers for a Halloween bake sale, and they sold out faster than the chocolate cupcakes. That’s saying something.

Tombstone Decorations

Tiny clay tombstones are one of those understated crafts that really complete a Halloween display. I mold them into simple rectangle or arch shapes, then etch in silly inscriptions like “RIP My Diet” or “Here Lies Homework.”

They’re perfect for dioramas or as accents for a spooky dessert table. I’ve even used them to label food — sticking them in cupcakes with little toothpicks glued to the back. Practical and spooky? Yes, please.

Vampire Fang Charms

Last but not least, vampire fang charms — simple, quick, and totally iconic. I make a tiny gum shape in red clay, then press in two little white fangs.

They make great necklace pendants or keychains, especially if you add a drop of “blood” with red paint. I gave one to a friend who’s obsessed with vampire movies, and she wore it every day in October. Honestly, I might have to make myself one this year.

Decorating and Finishing Tips

Once you’ve shaped your Halloween Clay Crafts, decorating them is where the real magic happens. Adding the right colors, textures, and finishing touches can turn a simple clay figure into a festive masterpiece. These final steps also help protect your work so you can enjoy it for many Halloweens to come.

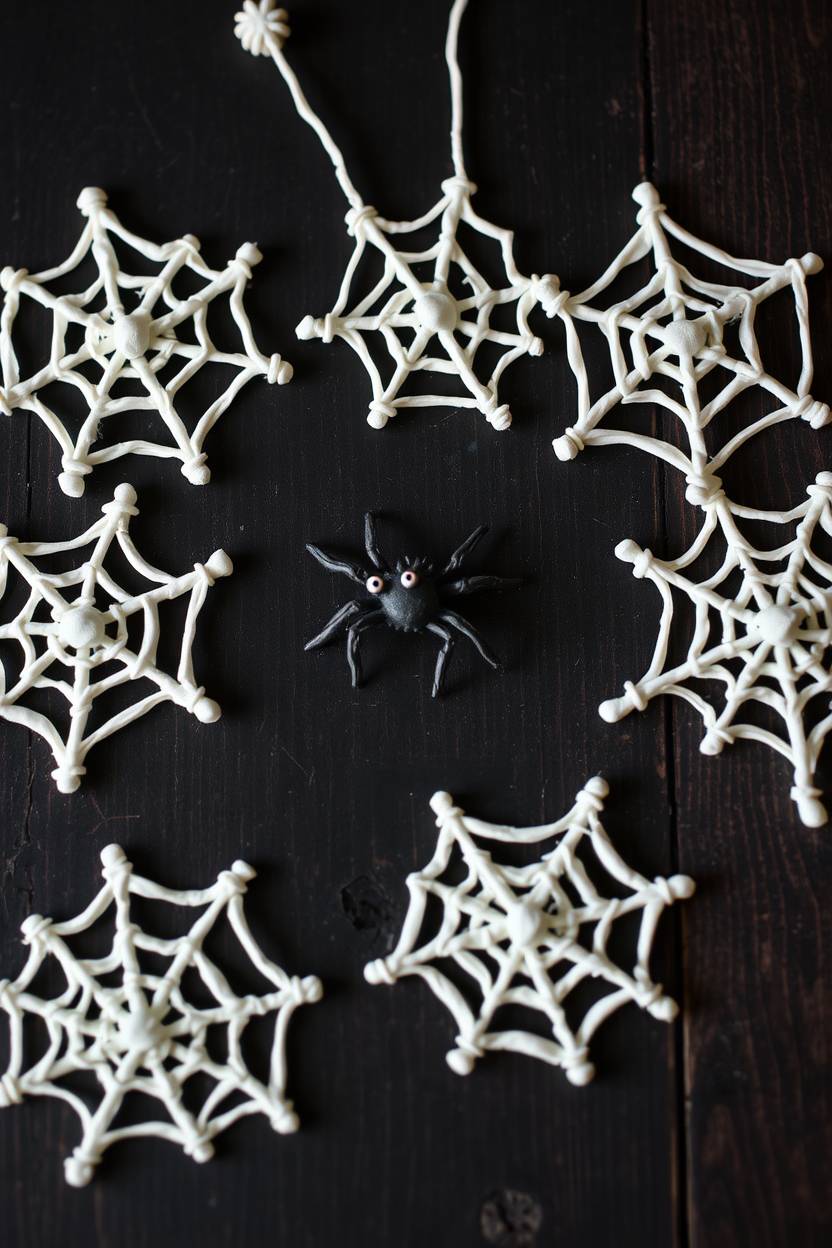
  • Painting tips for Halloween colors – Use classic Halloween shades like orange, black, purple, green, and white. Acrylic paints work best on clay, and you can layer colors for depth. Let each coat dry fully before adding details like eyes, stitches, or spider webs.

  • Adding textures and patterns – Before your clay dries, use tools like toothpicks, stamps, or textured fabric to create patterns. You can add pumpkin ridges, fur-like strokes for cats, or brick designs for haunted houses.

  • Sealing and protecting your clay crafts for longevity – Once painted and fully dry, apply a clear varnish or sealant to protect the colors and strengthen the piece. For items handled often, use a gloss finish for durability or a matte finish for a softer look.

FAQ

What type of clay is best for Halloween Clay Crafts?

Air-dry clay and polymer clay are both great choices. Air-dry clay is good for kids and doesn’t need baking, while polymer clay gives a durable finish after baking.

Can kids make Halloween clay crafts?

Yes! Many Halloween clay crafts are kid-friendly. Just use non-toxic clay and supervise them when using sculpting tools or paint.

How long does it take for clay crafts to dry?

Air-dry clay usually takes 24–48 hours to dry completely, while polymer clay needs baking according to the package instructions.

How do I make my clay crafts last longer?

Seal them with a clear varnish after painting. This protects the colors and makes the pieces more durable.

Leave a Comment

Your email address will not be published. Required fields are marked *

Scroll to Top