
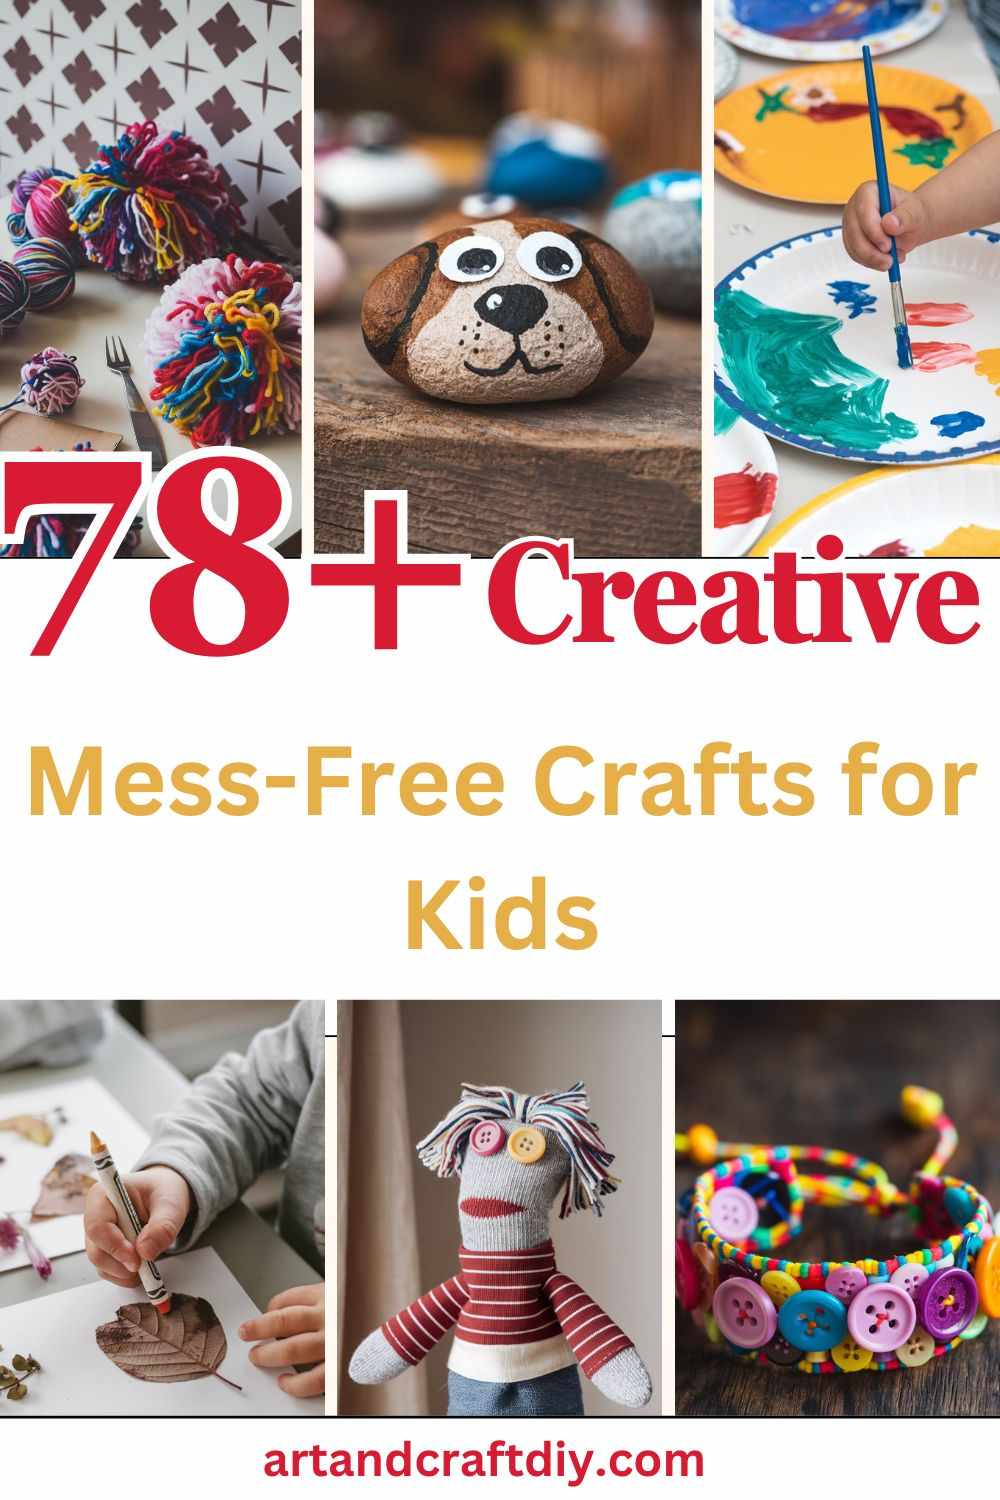
Mess-free crafts for kids are an excellent way to engage children in creative activities without the worry of cleanup. Creative activities like crafting play a crucial role in a child’s development, offering more than just fun. They help improve motor skills, encourage imagination, and provide a sense of accomplishment as children complete their projects. For busy parents or teachers, mess-free crafts are an ideal solution, allowing children to express themselves artistically while keeping the environment neat and organized. These activities can easily be integrated into daily routines without the stress of excessive cleaning afterward.
Creative activities, especially crafting, provide children with opportunities to explore new ideas and experiment with different materials. As they cut, glue, color, and shape, they develop fine motor skills that are essential for tasks like writing, tying shoes, and using utensils. Beyond the physical benefits, crafting also fosters cognitive growth. Kids learn problem-solving skills, such as figuring out how to make something stay together or how to use materials in innovative ways. It also encourages them to think critically and creatively, as they experiment with colors, textures, and designs.
Mess-Free Crafts for Kids
“Mess-Free Crafts for Kids” focuses on fun, creative activities that allow children to engage in arts and crafts without creating a big mess. Mess-Free Crafts for Kids often use non-staining materials, pre-made kits, or simple supplies that are easy to clean up afterward. The goal is to let kids explore their creativity and develop new skills while keeping cleanup minimal for parents and caregivers. Whether it’s making art with stickers, magnetic shapes, or using dry erase markers, these crafts are designed to be low-maintenance yet still provide an enjoyable and artistic experience.
Salt Dough Ornaments
Create simple and fun holiday or decorative ornaments using homemade salt dough.

Materials Needed:
- 1 cup flour
- 1/2 cup salt
- 1/2 cup water
- Rolling pin
- Cookie cutters
- Paint and ribbon for decorating
Steps:
- Mix flour, salt, and water to create a dough.
- Roll out the dough on a flat surface.
- Use cookie cutters to shape your ornaments.
- Use a straw to make a hole for hanging.
- Bake the ornaments at 250°F for 2 hours or until hard.
- Once cooled, paint and decorate your ornaments.
- Add a ribbon for hanging.
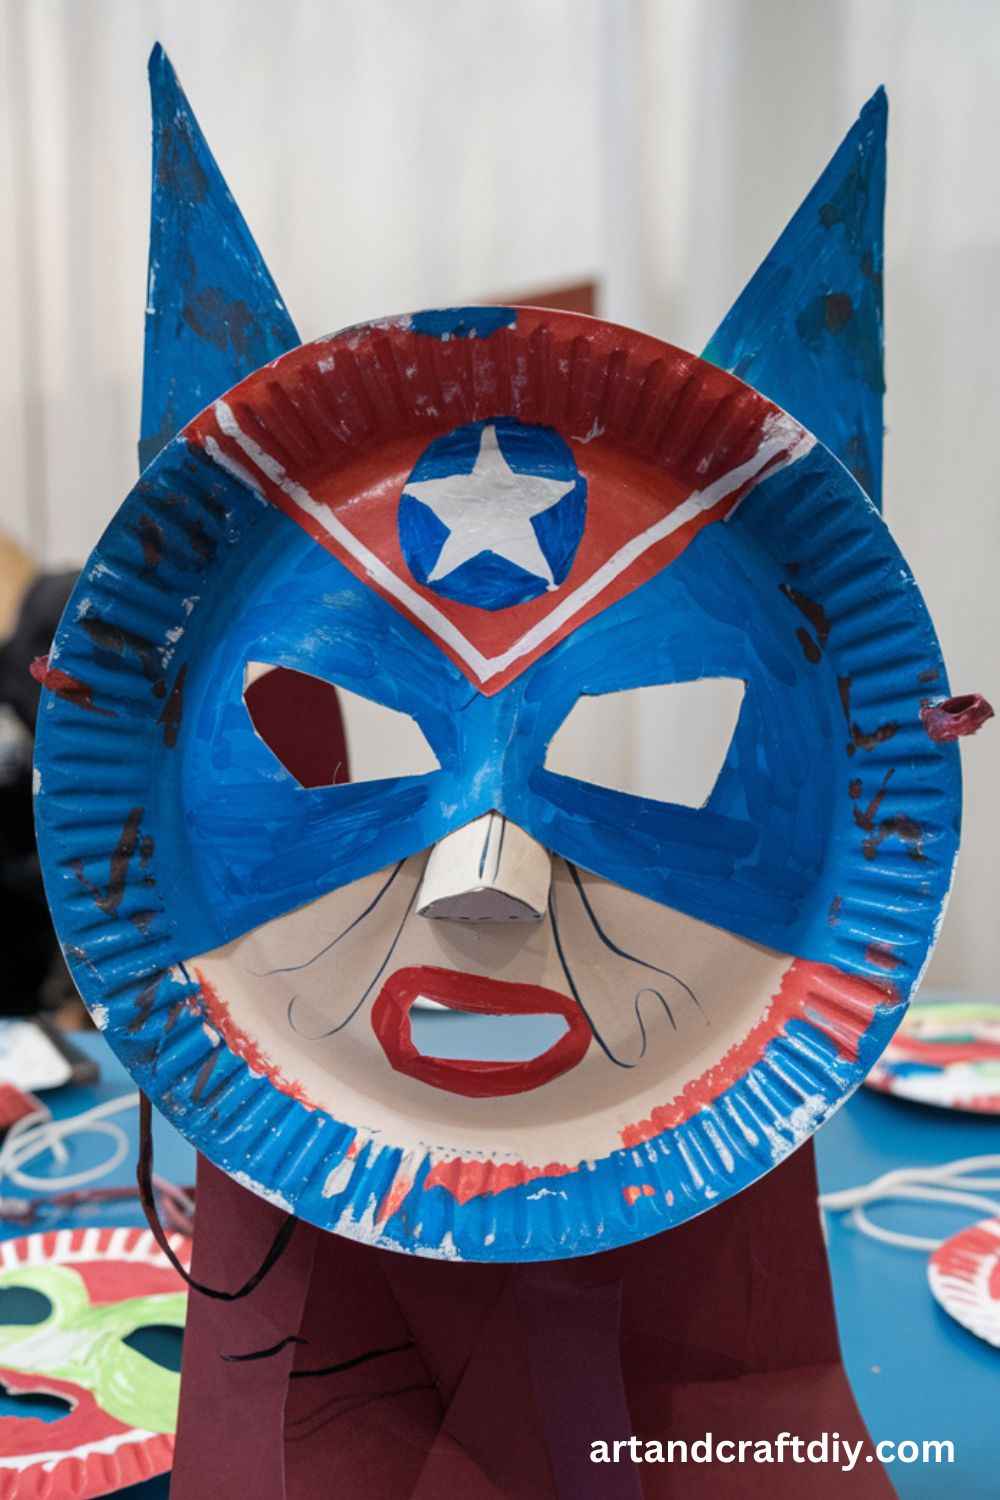
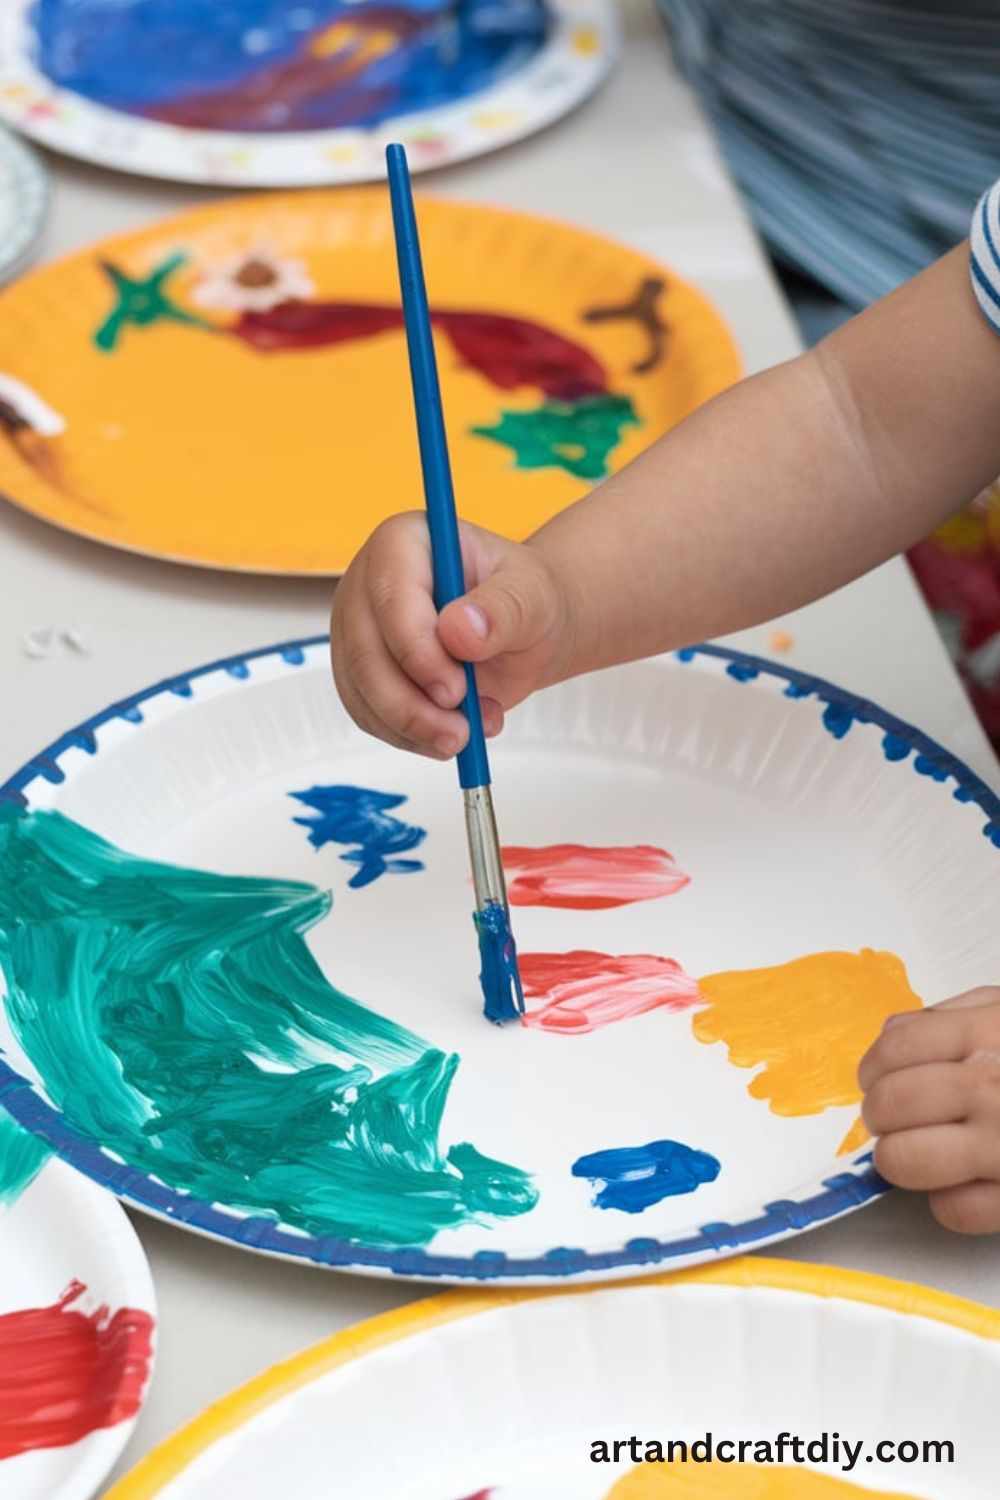
Paper Plate Masks
Kids can make their own fun masks using paper plates and a few simple decorations.
Materials Needed:
- Paper plates
- Scissors
- Markers/crayons/paints
- Elastic string
- Glue
Steps:
- Cut eye holes in the paper plate.
- Decorate the mask with markers or paints to create facial features or designs.
- Attach elastic string to the sides to wear the mask.
- Let it dry, then wear your mask for pretend play.
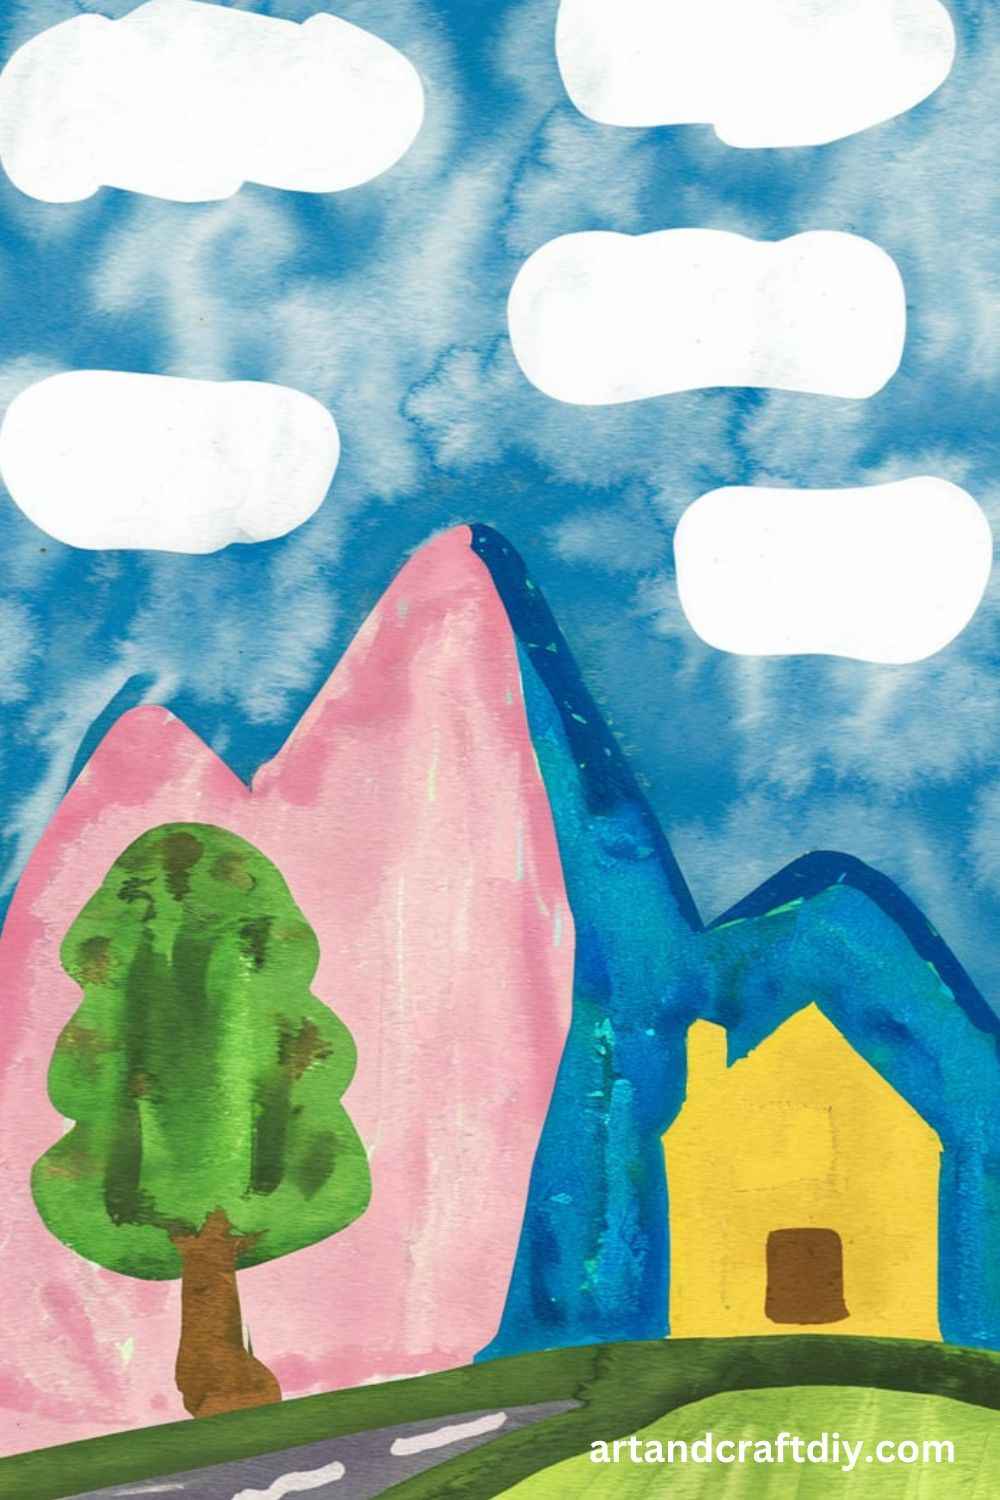
Sticker Resist Watercolor Art
Create beautiful art with watercolor paints and stickers!
Materials Needed:
- Watercolor paper
- Stickers
- Watercolor paints
- Paintbrushes
Steps:
- Stick various stickers onto the watercolor paper.
- Use watercolor paints to fill the entire page.
- Once dry, peel off the stickers to reveal a resist effect where the paint didn’t reach.
Nature Prints
Capture the beauty of nature with leaves and paint.
Materials Needed:
- Leaves or flowers
- Paint
- Paper
- Rolling pin (optional)
Steps:
- Gather leaves or flowers from your yard or park.
- Paint one side of the leaf with a thin layer of paint.
- Press the painted leaf onto a piece of paper to make a print.
- Carefully lift the leaf to reveal the print.
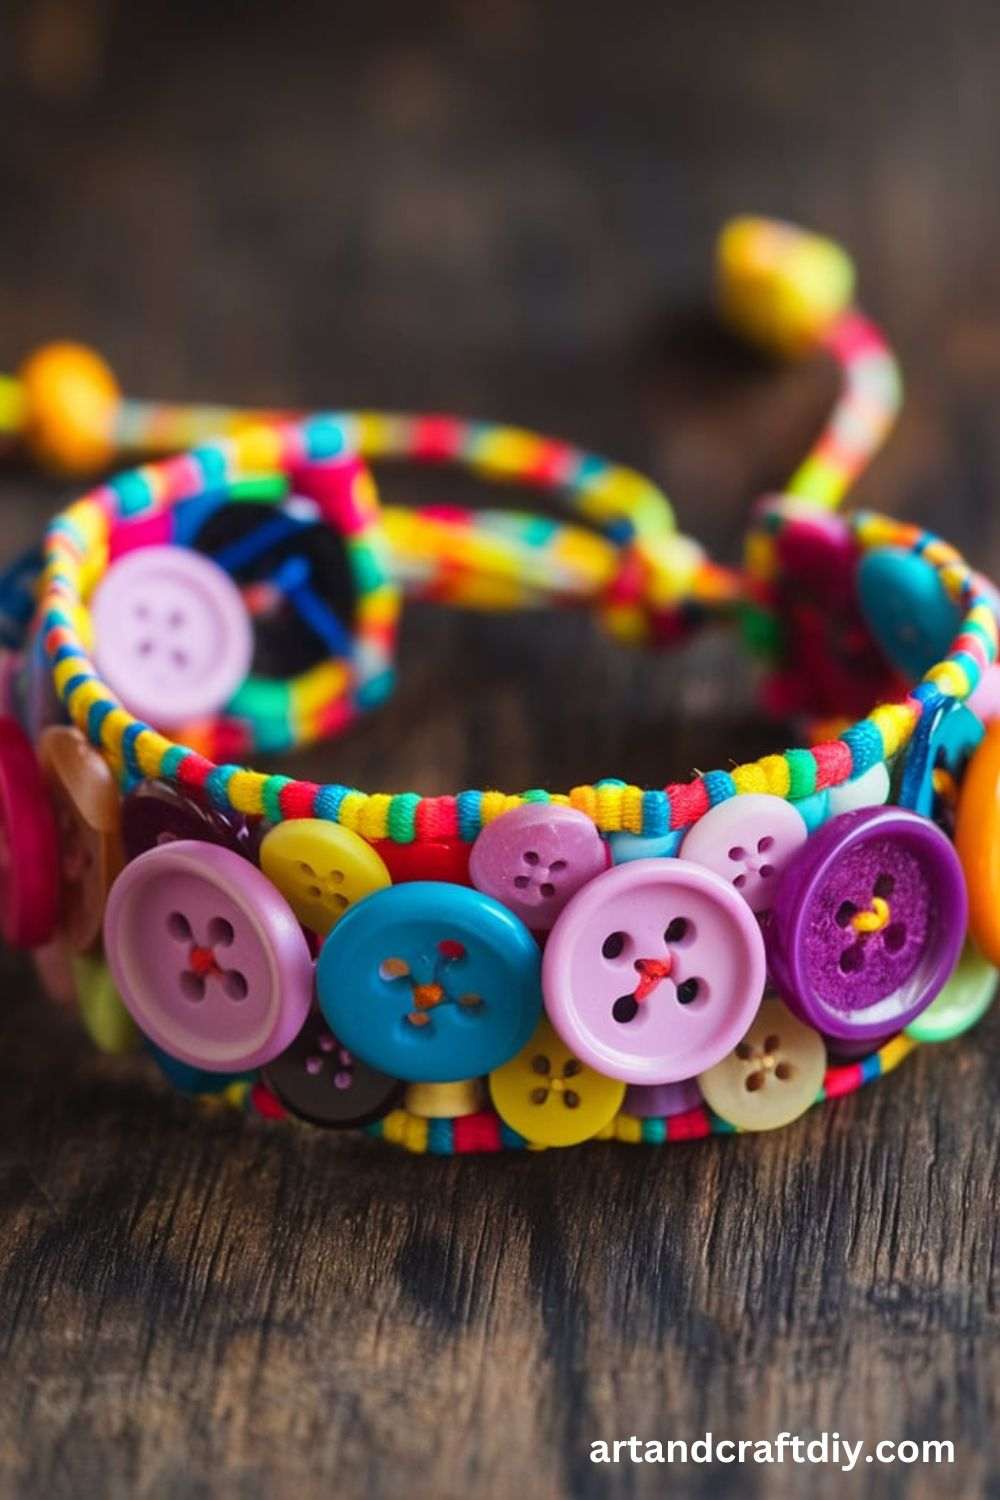
Button Bracelets
Make colorful bracelets using buttons!
Materials Needed:
- Buttons
- Elastic cord
- Needle and thread (optional)
Steps:
- Thread the elastic cord through buttons, alternating colors and sizes.
- Knot the ends to secure the bracelet.
- Wear your custom button bracelet!
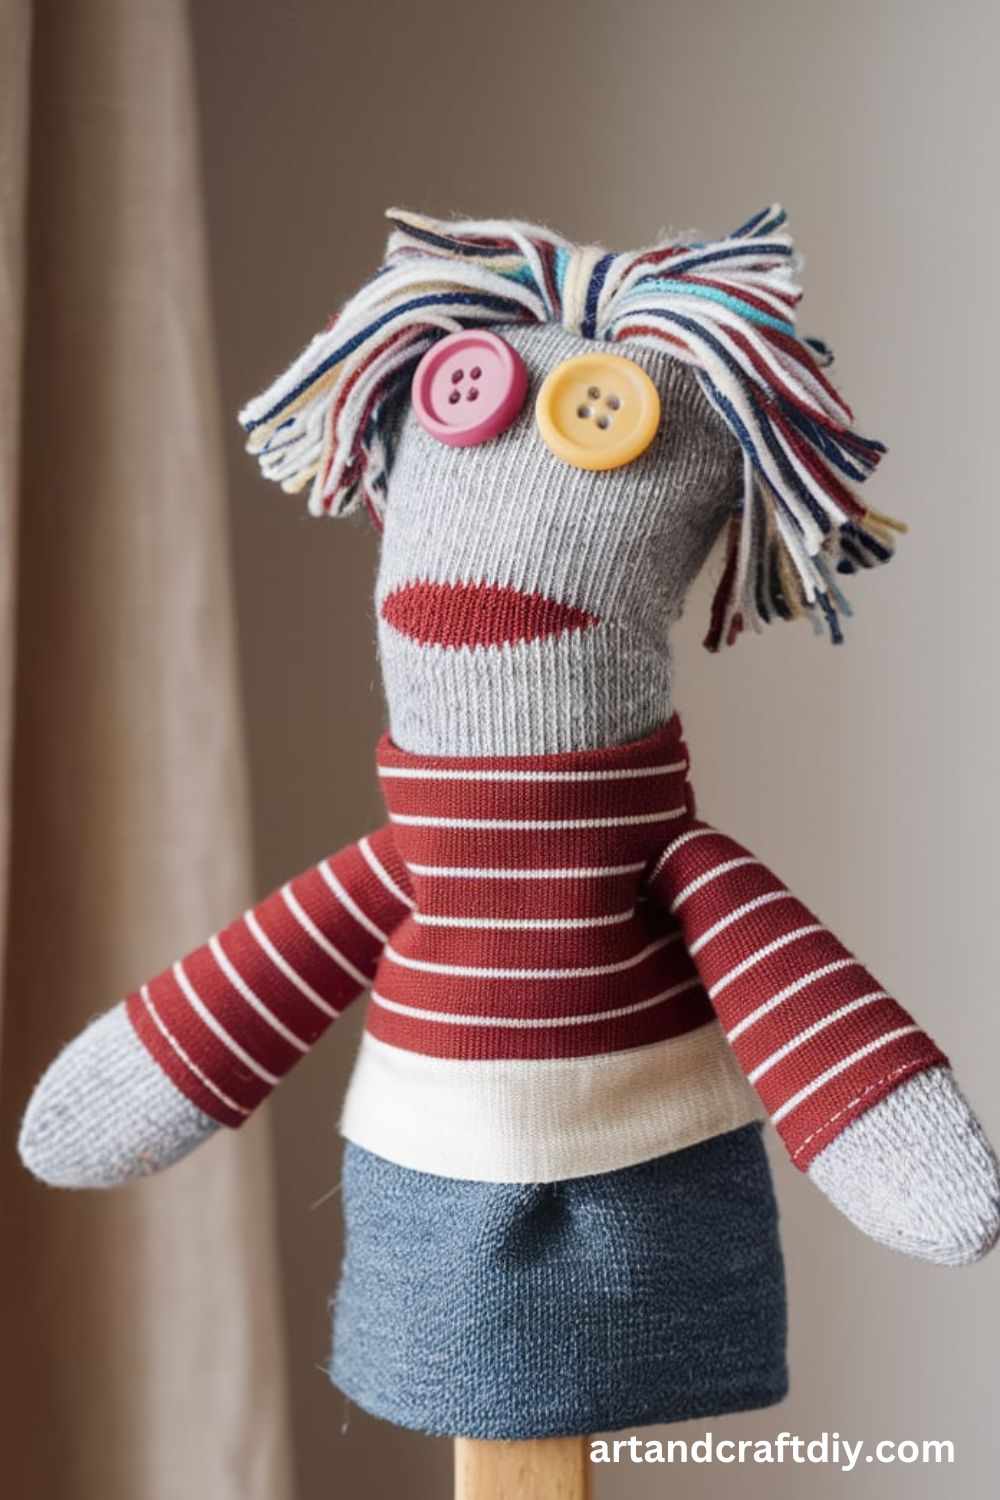
Sock Puppets
Create characters with old socks to use in plays and stories.
Materials Needed:
- Old socks
- Buttons or googly eyes
- Yarn for hair
- Glue
- Fabric markers
Steps:
- Turn the sock inside out and place it over your hand.
- Use glue to attach buttons for eyes and yarn for hair.
- Use fabric markers to add a nose, mouth, or other details.
- Put on the sock and create your puppet show!
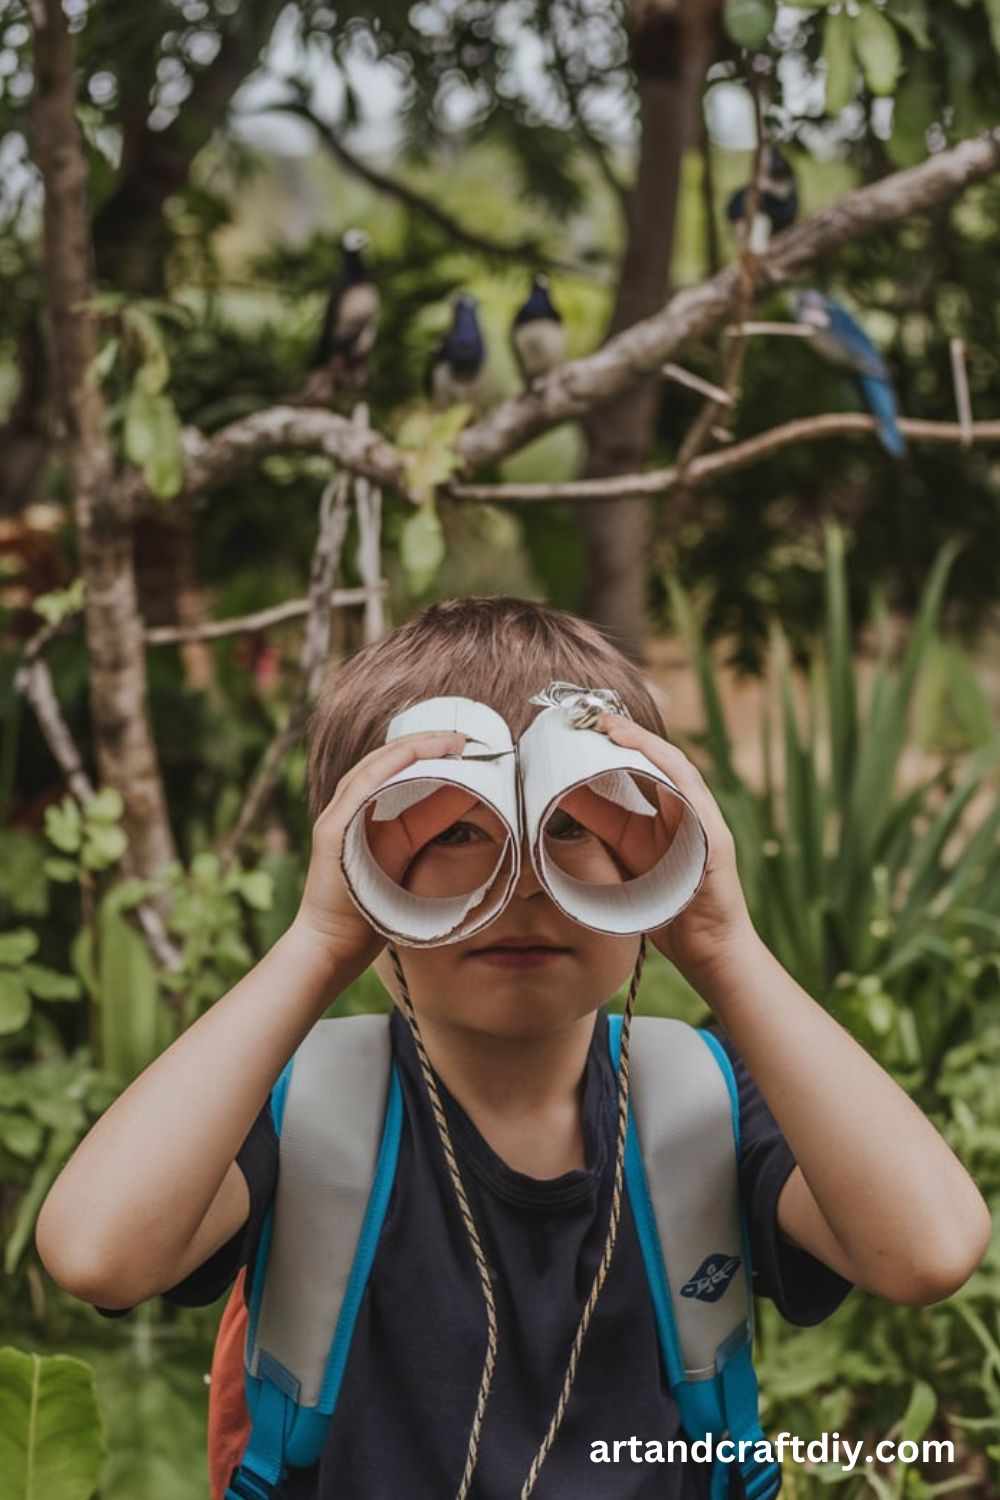
Paper Towel Roll Binoculars
Make your own binoculars for outdoor exploration.
Materials Needed:
- 2 paper towel rolls
- Tape or glue
- String or yarn
- Markers or stickers
Steps:
- Tape or glue two paper towel rolls together side by side.
- Decorate your binoculars with markers or stickers.
- Attach string to create a neck strap.
- Now you’re ready for outdoor adventures!
Edible Paintings
This craft lets you create art with food, and then eat it!
Materials Needed:
- Graham crackers
- Frosting or yogurt
- Food coloring
- Toothpicks or small brushes
Steps:
- Spread frosting or yogurt on a graham cracker to create a base.
- Mix food coloring into different bowls of frosting or yogurt.
- Use the toothpicks or brushes to paint designs on your graham cracker.
- Enjoy your artwork by eating it!
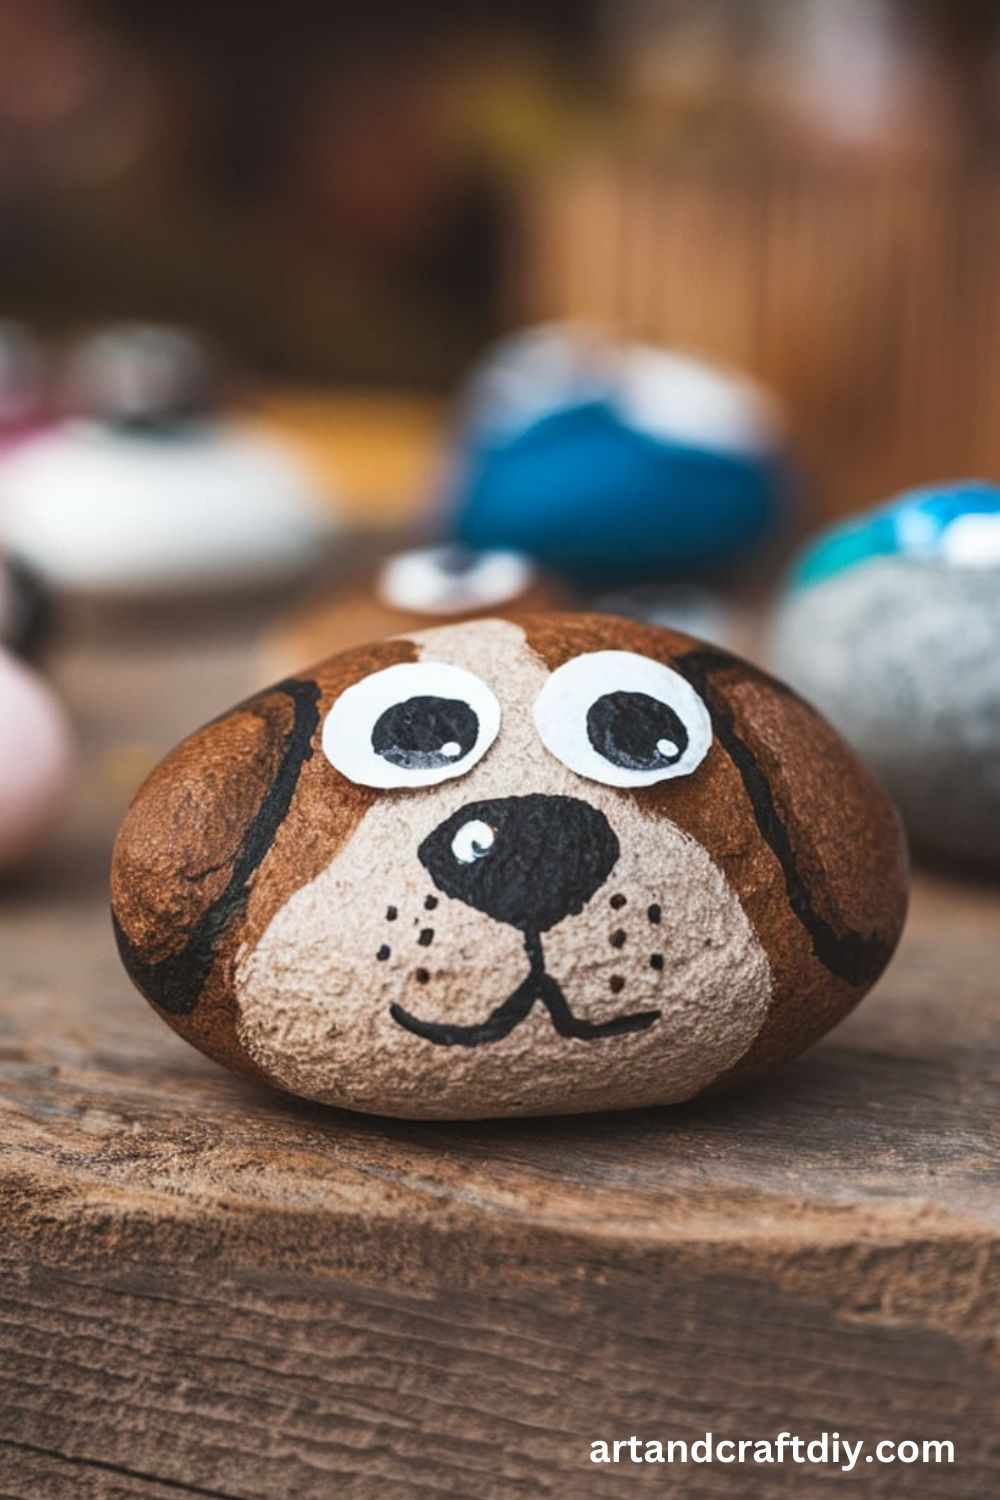
Rock Pets
Paint rocks to create cute little pets.
Materials Needed:
- Small rocks
- Paints and brushes
- Googly eyes
- Glue
Steps:
- Choose a smooth rock to be your pet.
- Paint the rock to create the pet’s body and features.
- Add googly eyes and extra decorations.
- Let the paint dry, then you can “adopt” your pet!
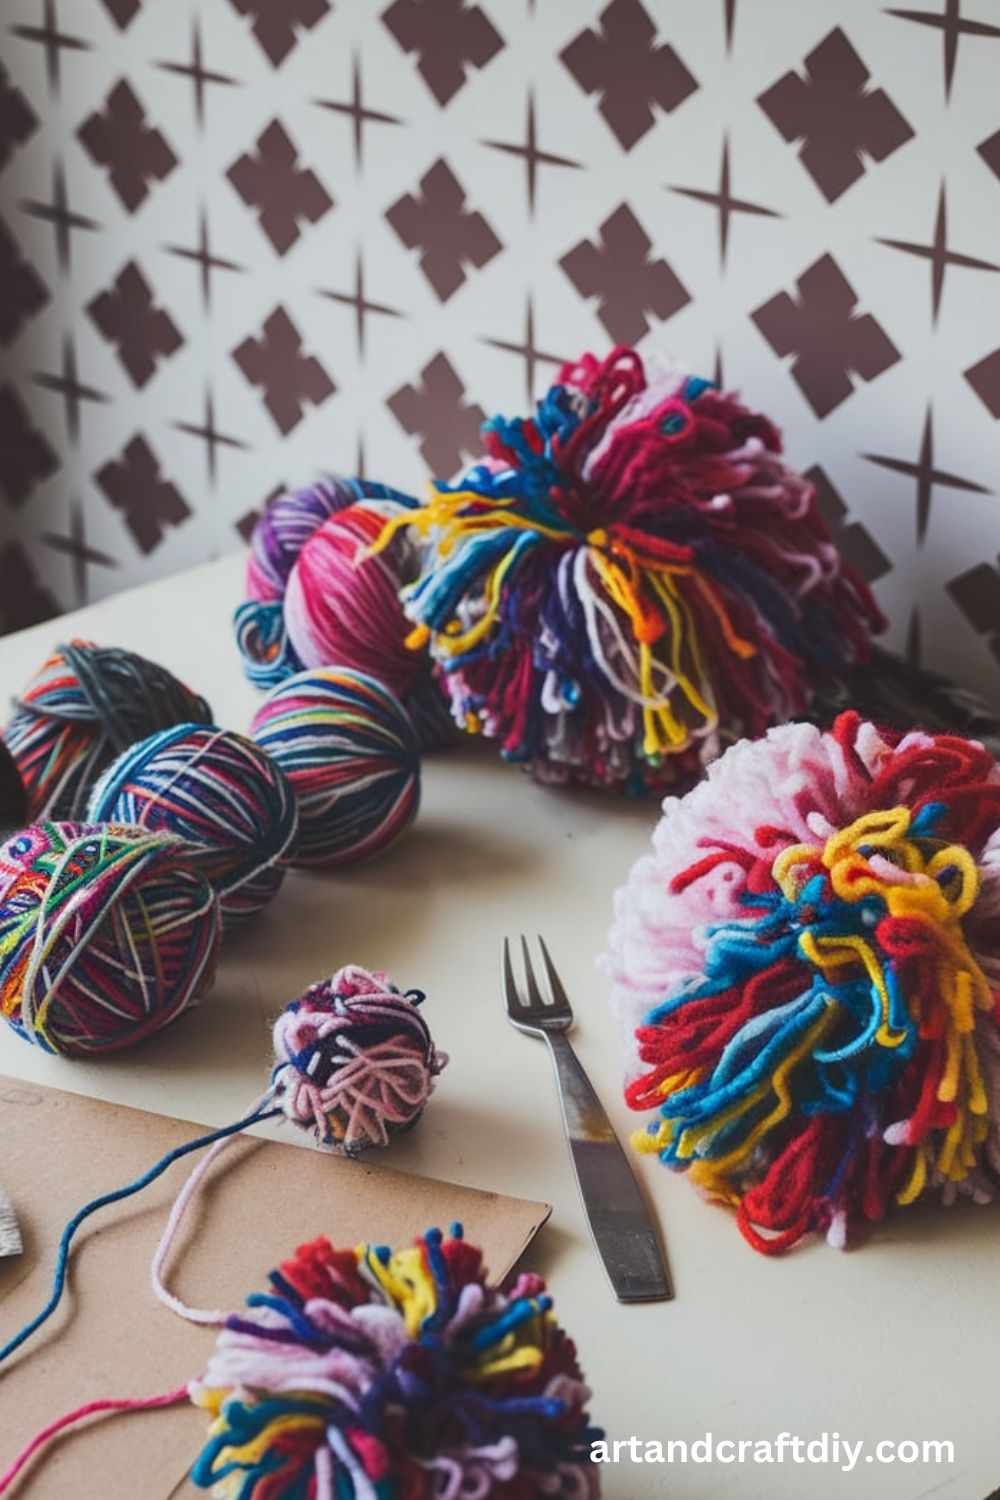
Yarn Pom-Poms
Make soft, squishy pom-poms using yarn.
Materials Needed:
- Yarn
- Scissors
Steps:
- Wrap yarn around your fingers or a piece of cardboard several times.
- Cut the yarn and tie it tightly in the center with another piece of yarn.
- Cut the loops on both sides to create a fluffy pom-pom.
- Trim the pom-pom into shape and enjoy!
Paper Bag Puppets
A classic craft that lets kids use their imagination for puppet shows.
Materials Needed:
- Brown paper bags
- Markers or crayons
- Fabric scraps
- Glue or tape
Steps:
- Turn the paper bag upside down to use as the puppet’s body.
- Decorate the puppet’s face with markers, fabric scraps, and other embellishments.
- Put your hand inside and use it for a puppet show!
Crayon Shaving Art
Use leftover crayon bits to create colorful designs.
Materials Needed:
- Old crayons
- Pencil sharpener
- Paper
- Iron or hair dryer
Steps:
- Shave crayons using a pencil sharpener to create small pieces of crayon.
- Place the crayon shavings between two pieces of wax paper.
- Gently iron the paper or use a hair dryer to melt the shavings.
- The result is colorful, melted crayon art!
Paper Plate Fish
Create a vibrant fish from a paper plate for undersea adventures.
Materials Needed:
- Paper plates
- Scissors
- Paint or markers
- Googly eyes
- Glue
Steps:
- Cut the paper plate into a fish shape.
- Decorate the fish with paint or markers, adding scales and fins.
- Attach googly eyes to the fish.
- Let it dry, then you have a colorful fish to display!
Foam Sticker Scenes
Create detailed scenes using fun foam stickers.
Materials Needed:
- Foam sheets
- Foam stickers
- Paper
Steps:
- Choose a background for your scene (like a piece of paper or cardboard).
- Stick foam shapes onto the background to create a scene, like a garden or an ocean.
- Arrange different foam stickers to add details, like animals or flowers.
Plastic Spoon Flowers
Make flowers from plastic spoons for a fun spring decoration.
Materials Needed:
- Plastic spoons
- Hot glue gun
- Craft paper or cardboard
- Paint
Steps:
- Paint the spoon handles green to resemble stems.
- Arrange the spoons in a flower shape, gluing the backs together.
- Glue the spoons onto a piece of cardboard for a base.
- Paint the tips of the spoons to create petals.
Egg Carton Critters
Transform old egg cartons into fun critters.
Materials Needed:
- Egg cartons
- Paint
- Glue
- Scissors
- Googly eyes
Steps:
- Cut out individual cups from the egg carton.
- Paint the cups to look like animals or bugs.
- Attach googly eyes and extra decorations like wings or antennas.
- Let dry and play with your critters!
Balloon Stamps
Make your own stamps with balloons and paint.
Materials Needed:
- Balloons
- Paint
- Paper
Steps:
- Inflate a balloon and dip the bottom into paint.
- Press the painted balloon onto the paper to create a stamp effect.
- Experiment with different colors and patterns!
Foil Art
Create shiny, textured art using aluminum foil.
Materials Needed:
- Aluminum foil
- Paper
- Glue
- Markers or crayons
Steps:
- Tear or cut a piece of foil and glue it onto the paper.
- Gently press to smooth out wrinkles or keep them for texture.
- Use markers or crayons to add color and details.
Paper Clip Chain
Create a colorful chain using paper clips.
Materials Needed:
- Paper clips
- String or yarn
- Paint (optional)
Steps:
- If you like, paint the paper clips different colors.
- Thread a piece of string through each paper clip to form a chain.
- Hang your paper clip chain around the room as decoration!
Pinecone Bird Feeders
Make a bird feeder using a pinecone.
Materials Needed:
- Pinecones
- Peanut butter
- Birdseed
Steps:
- Spread peanut butter onto the surface of the pinecone.
- Roll the peanut butter-covered pinecone in birdseed.
- Hang the pinecone in a tree and watch the birds enjoy it!
Button Art
Create unique designs using buttons.
Materials Needed:
- Buttons (various sizes and colors)
- Paper or canvas
- Glue
Steps:
- Choose a design you want to create on your paper or canvas.
- Glue buttons onto the surface, arranging them to form shapes or patterns.
- Let the glue dry before displaying your art!
Q-tip Skeletons
Use Q-tips to create spooky skeletons for Halloween.
Materials Needed:
- Q-tips
- Black paper
- Glue
- White marker
Steps:
- Arrange Q-tips on black paper to form the shape of a skeleton.
- Glue the Q-tips in place.
- Use a white marker to draw the skull and bones in between.
Bead Bracelets
Create personalized bracelets using colorful beads.
Materials Needed:
- Beads (various colors and shapes)
- Elastic cord or string
Steps:
- Thread beads onto the elastic cord in any pattern you like.
- Tie the ends of the cord to form a bracelet.
- Wear your new accessory!
Tissue Paper Flowers
Make vibrant flowers with colorful tissue paper.
Materials Needed:
- Tissue paper
- Scissors
- Pipe cleaners
Steps:
- Cut the tissue paper into squares.
- Stack several pieces and accordion fold them.
- Secure the middle with a pipe cleaner and gently pull the layers apart to form petals.
Toilet Paper Roll Binoculars
Craft a set of binoculars from toilet paper rolls.
Materials Needed:
- 2 toilet paper rolls
- Glue or tape
- String
- Paint or markers
Steps:
- Tape or glue the toilet paper rolls together.
- Decorate the binoculars with paint or markers.
- Attach string so you can hang them around your neck.
Paper Towel Roll Race Cars
Transform paper towel rolls into mini race cars.
Materials Needed:
- Paper towel rolls
- Bottle caps
- Glue
- Markers
Steps:
- Glue bottle caps onto each side of the paper towel roll to make wheels.
- Decorate the race car with markers.
- Let dry and race your new cars!
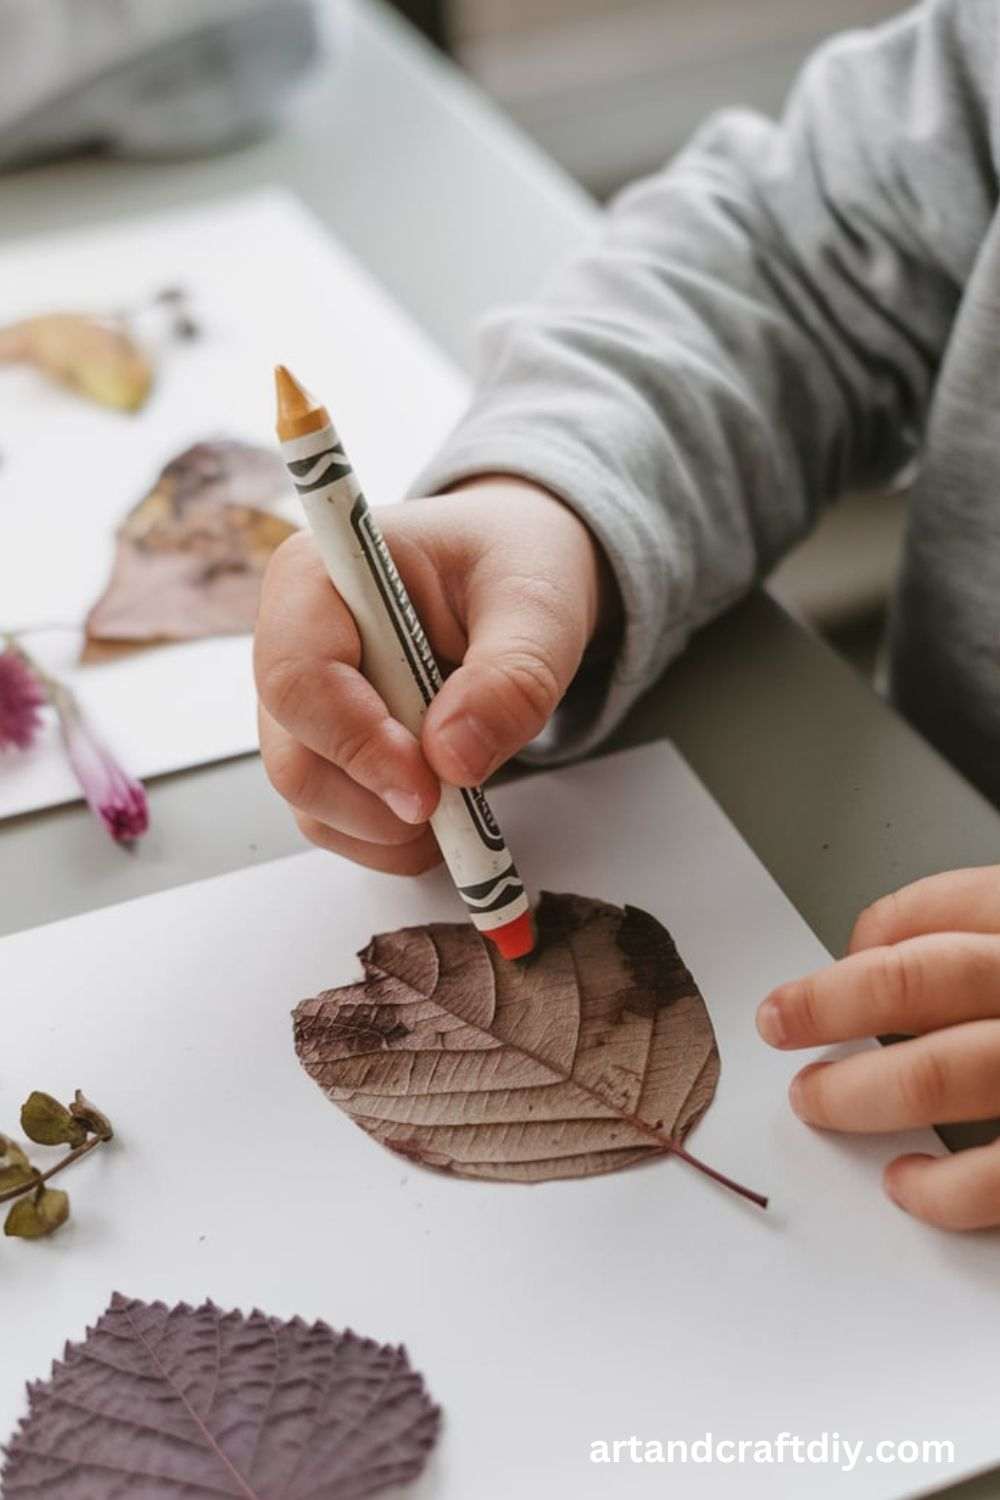
Leaf Rubbings
Make textured artwork with real leaves.
Materials Needed:
- Leaves
- Crayons
- Paper
Steps:
- Place a leaf under a piece of paper.
- Rub the side of a crayon over the paper to reveal the leaf’s texture and shape.
- Experiment with different leaves and colors!
Pom-Pom Pathway
Create a colorful, sensory pathway with pom-poms.
Materials Needed:
- Pom-poms (various colors)
- Paper or a large surface
Steps:
- Arrange the pom-poms in a path or pattern.
- Walk along the pom-pom path to enjoy the sensory experience.
Marshmallow Prints
Create art by printing with marshmallows.
Materials Needed:
- Marshmallows
- Paint
- Paper
Steps:
- Dip a marshmallow into paint and press it onto paper.
- Repeat to create patterns or designs.
- Let it dry before displaying your artwork.
Puffy Paint Art
Make puffy, textured art with homemade puffy paint.
Materials Needed:
- Shaving cream
- White glue
- Food coloring
- Paper
Steps:
- Mix shaving cream and glue to make puffy paint.
- Add food coloring for color.
- Use the paint to create textures or designs on your paper.
Tips for Crafting with Different Age Groups
Crafting is a wonderful activity that encourages creativity, fine motor skills, and problem-solving, no matter the age. However, crafting activities should be tailored to the developmental stages of the participants. Here are some tips for crafting with different age groups to make sure the experience is engaging, safe, and fun.
Toddlers (Ages 1-3)
- Sensory Exploration: Focus on sensory-rich crafts to help toddlers engage their senses. Textures like soft fabric, bumpy stickers, and textured paper offer a great tactile experience.
- Simple Materials: Use large, easy-to-handle materials like chunky crayons, washable markers, and large stickers for hands-on fun.
- Safety First: Ensure all craft items are non-toxic and that small parts are kept away from them.
Preschoolers (Ages 3-5)
- Easy Assembly: Use pre-cut shapes or materials that they can easily stick, arrange, or color on their own, fostering independence.
- Guided Activities: Help them follow simple instructions, but let them get creative with the arrangement and decoration of the crafts.
- Focus on Themes: Activities based on favorite animals, holidays, or cartoons can keep them engaged while learning about shapes, colors, and patterns.
Elementary School Kids (Ages 6-10)
- Complex Projects: Introduce more complex crafting projects like paper folding, building with craft kits, or creating intricate sticker art.
- Open-Ended Creation: Encourage independent thinking by providing materials and letting them come up with their own ideas or designs.
- Skill Development: Focus on crafts that allow them to practice fine motor skills, attention to detail, and planning, such as making friendship bracelets, collages, or simple sewing.
The Benefits of Mess-Free Crafts
Crafting is a fun and creative activity, but the mess that comes with it can often feel overwhelming. Fortunately, mess-free crafts offer a way to enjoy the process without the stress of cleaning up afterward. Whether you’re crafting with kids or just looking for a more organized approach, here are the benefits of mess-free crafts:
- Less Cleanup Time
Mess-free crafts reduce the time and energy spent on cleaning up after the activity, allowing you to focus more on enjoying the creative process. - Ideal for Kids
Parents and caregivers love mess-free crafts because they are safer and less stressful for young children. Without the worry of spills or stains, kids can explore their creativity freely. - More Convenient
With minimal materials required and no need for special storage, mess-free crafting is an easy and convenient way to create. This makes it perfect for last-minute projects or busy schedules.
FAQ
What are mess-free crafts for kids?
Mess-free crafts are activities that allow children to create fun and imaginative projects without creating a big mess. These crafts often use materials that are easy to clean up or avoid things like paint or glue that can be hard to manage.
What are some popular mess-free craft ideas for kids?
Some popular ideas include sticker art, tissue paper crafts, no-glue paper folding, washable marker drawings, and using craft kits that include mess-free materials like pre-cut foam shapes or magnetic pieces.
Are mess-free crafts suitable for all age groups?
Yes! Mess-free crafts can be tailored to different age groups. For younger children, you can use simple, easy-to-handle materials like stickers and paper, while older kids might enjoy more detailed crafts like paper mosaics or scratch art.
How can I make sure crafts are truly mess-free?
To make crafts truly mess-free, focus on using tools and materials that are easy to manage. Look for washable markers, colored pencils, pre-cut materials, and self-adhesive pieces. Avoid anything that could drip, stain, or require a lot of cleaning.

Hi, I’m Victoria, an art and craft teacher at Newark City Schools, where I have the joy of working with middle school students to help them explore their creativity and develop their artistic talents. I believe that art is a powerful way for students to express themselves, and I strive to make every lesson a fun, engaging, and inspiring experience.
I created this website to share the art and craft projects, techniques, and resources that I use in my classroom, hoping to inspire both educators and young artists alike. Whether you’re a teacher looking for new ideas or a student eager to try something new, I’m excited to provide creative tools and projects that anyone can enjoy.
When I’m not in the classroom, I love experimenting with different art forms and learning new crafting techniques. My goal is to help others discover the joy of making things with their hands, and I hope my website serves as a space for everyone to explore their creative potential.