I still remember last New Year’s Eve when I was rushing around, trying to make my place look festive without going overboard… and honestly, everything felt too plain. Then I spotted this tiny confetti ball ornament I’d made last minute, and wow — it instantly lifted the whole vibe. Funny how something so small can make a space feel celebratory, right? If you’ve ever felt the same — wanting cute, simple décor that doesn’t take forever — you’re not alone.
That’s exactly why I put together these New Year confetti ball ornament decor ideas. They’re fun, budget-friendly, and honestly? They just make you smile. Whether you’re decorating for a big party or keeping things cozy at home, you’ll find easy little touches that add sparkle without the stress. So grab your confetti (yes, even the leftover bits count!) and let’s create something festive together.
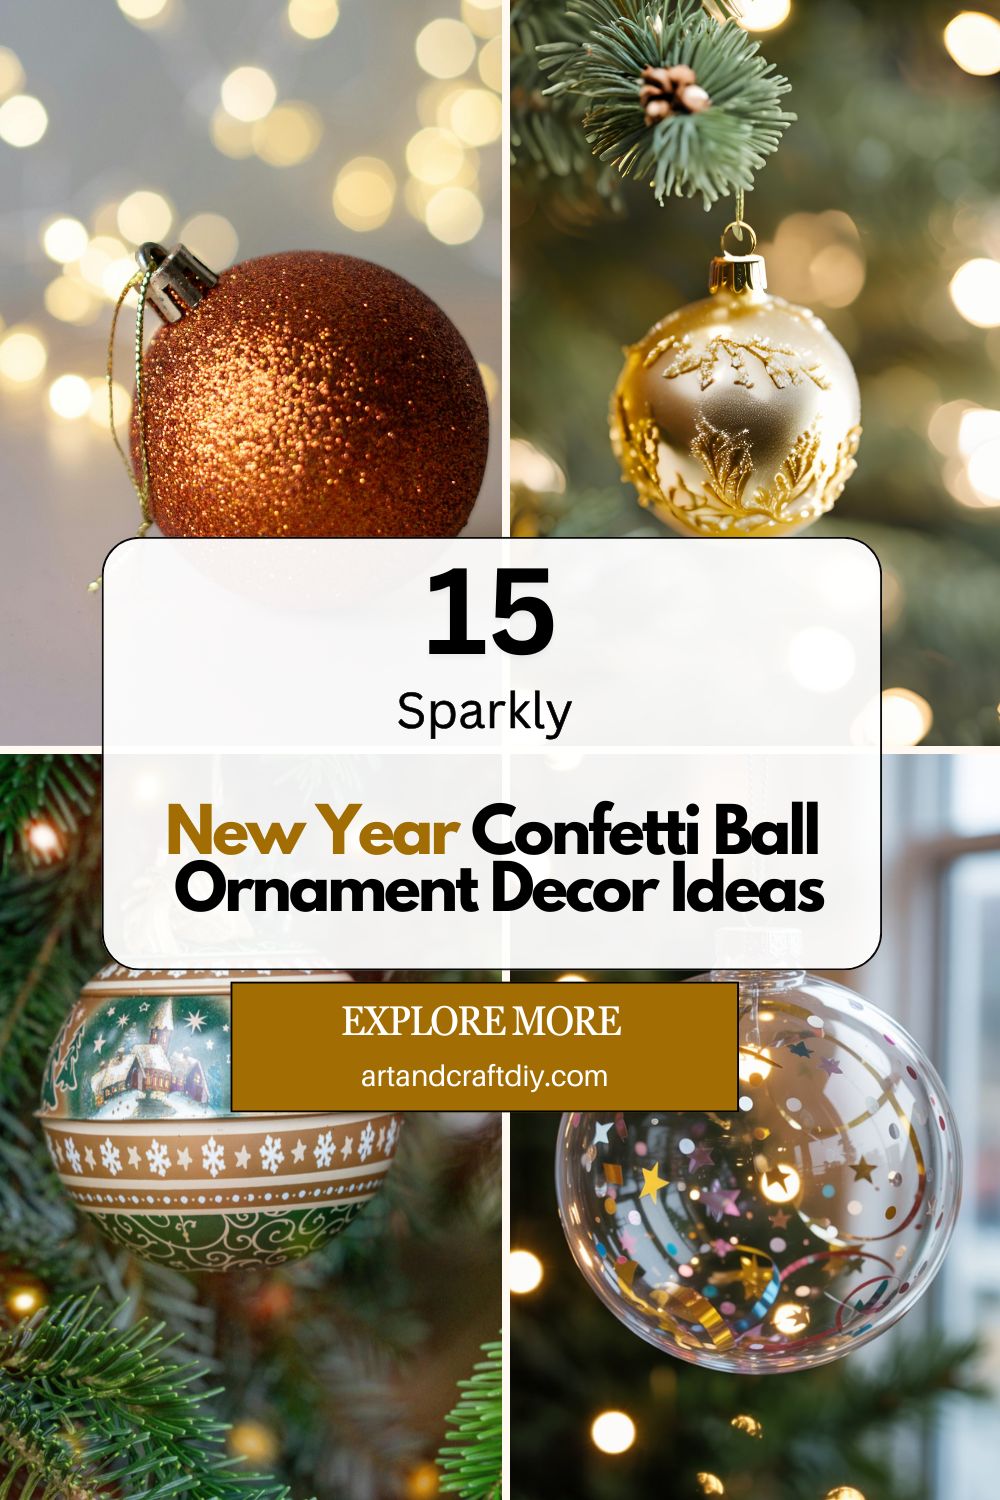
New Year Confetti Ball Ornament Decor Ideas
New Year confetti ball ornaments are a fun, sparkly way to bring instant celebration vibes into your décor. They’re easy to make, budget-friendly, and add the perfect pop of glitter to any party setup.
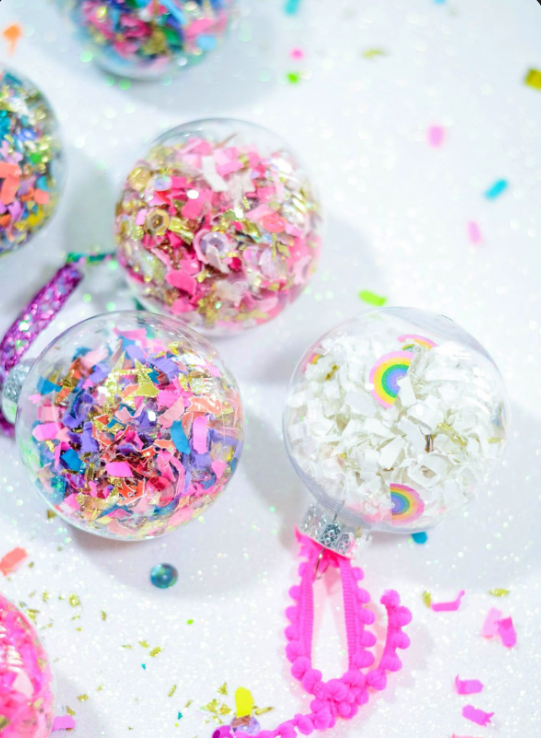
I’ve always had a soft spot for clear ornaments because, honestly, they’re like blank little worlds waiting to be filled. Whenever New Year’s rolls in, I reach for those transparent plastic balls and start stuffing them with confetti like a kid sneaking extra candy. In my opinion, the trick is mixing different shapes—tiny circles, stars, and the odd metallic strip—so the ornament looks lively instead of flat. Sometimes I even sprinkle a bit of loose glitter inside, though to be fair, I usually regret it later when it gets everywhere. But that moment when you snap the ornament shut and hold it up to the lights? Totally worth it.
What I love most is how insanely simple they are. You literally just open, fill, shake, and hang. And if you want them to look extra polished, you can add a little ribbon loop or even write the year using a gold paint pen. I’ve found that these simple details make guests think I spent hours crafting when, really, I made five of them in ten minutes while sipping chai.
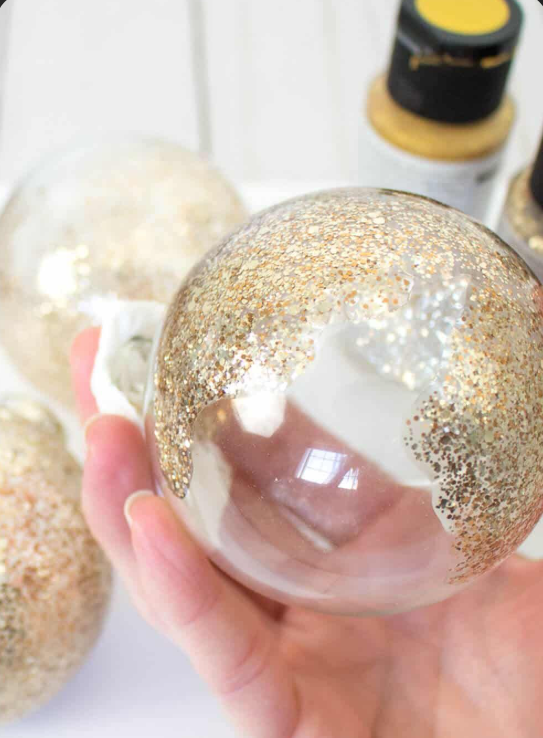
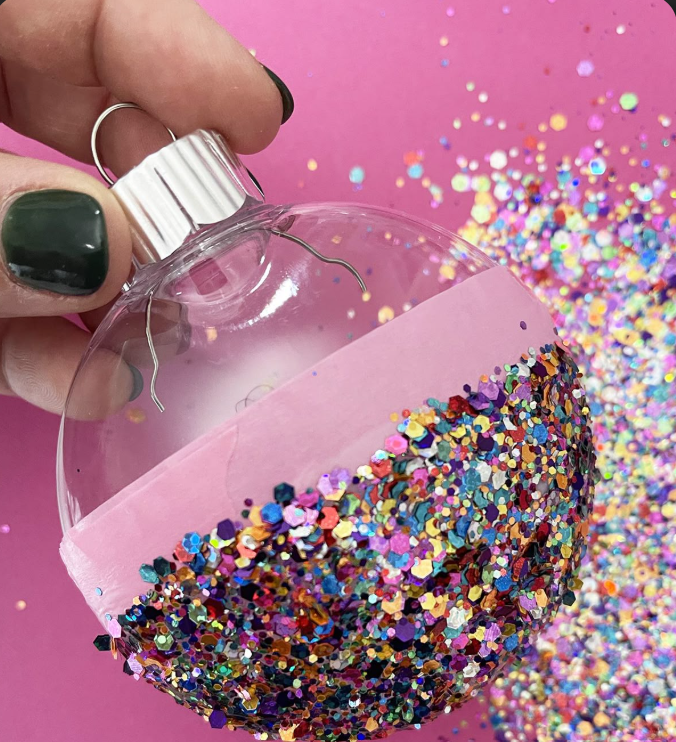
Glitter-dipped confetti balls feel like something you’d see in a fancy store, except you can make them at home for basically nothing. I remember the first time I tried them—I thought the glitter would drip everywhere or clump weirdly. But honestly, dipping the bottom half of the ornament in glue and rolling it through glitter felt strangely therapeutic. It’s like giving the ornament tiny sparkly shoes. The contrast between the clear top filled with confetti and the glittery base makes them look so festive without trying too hard.
To keep the glitter in place, I usually tap off the extra once it dries and seal it with a light spray of clear varnish. And here’s a small story: one year my niece “helped” me by dunking the entire ornament in glitter. It looked like a disco ball and, to be fair, it was kind of cute. These ornaments love mistakes—they always end up looking fun and intentional.
LED-Lit Confetti Ornaments
LED-lit confetti ornaments are my guilty pleasure because they make the tree glow like it’s whispering, “Hey, the party’s over here!” I slide a tiny battery-powered LED inside the ornament before filling it with confetti, and the effect is wild. The light bounces around and turns even plain paper confetti into something magical. In my opinion, these are perfect when you want your décor to feel a little extra, especially for a New Year bash.
I’ve found that warm white LEDs look softer, while cool white makes everything sparkle sharper. You just tuck the light in, hide the switch behind the ornament, and hang it where the glow can peek through. Every year, at least one guest asks, “Where did you buy these?” And I can’t help but smile because it’s literally the simplest hack ever.
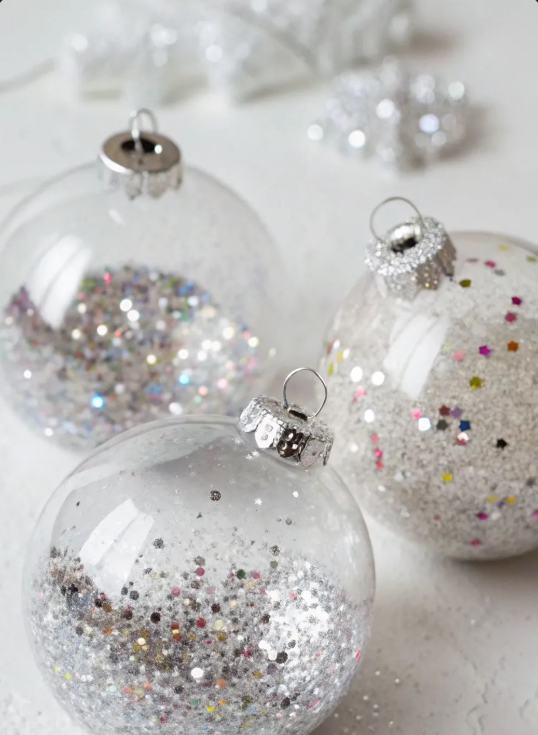
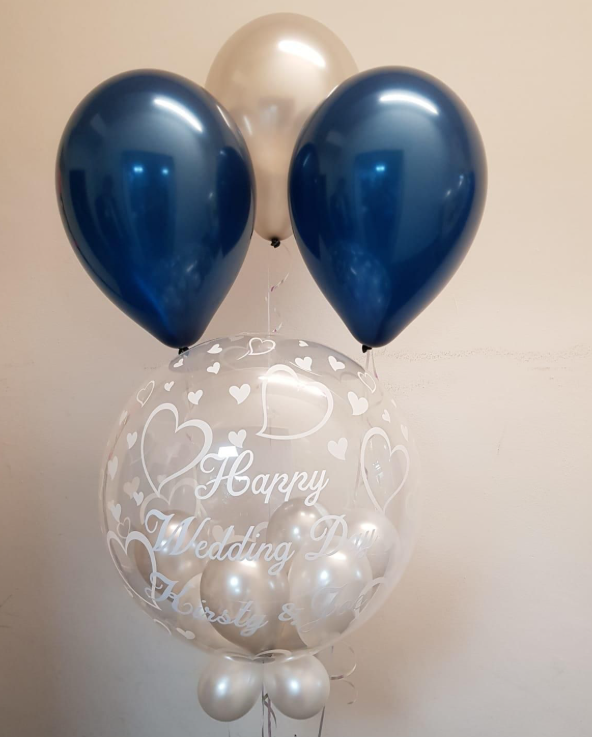
Gold and silver aren’t just colors—they’re New Year classics, practically part of the holiday’s DNA. So when I create gold and silver confetti spheres, it feels like I’m honoring the season. I fill the ornament entirely with metallic confetti, and honestly, seeing it catch light from every angle makes me weirdly happy. It reminds me of the times I’d watch sparkly decorations at family parties and try to touch them even when I wasn’t supposed to.
To make the sphere look fuller, I gently shake the ornament so the confetti spreads evenly. And here’s a little tip from experience: mix different finishes—matte, metallic, and holographic. It gives more depth. I sometimes add a thin gold ribbon on top, just to keep the whole look cohesive. It’s simple, timeless, and to be fair, it’s one of the easiest ways to make your tree look fancy instantly.
Sequin-Filled Confetti Balls
Sequins have this unapologetic shine that always pulls me in. When I fill ornaments with sequins, it instantly reminds me of festive outfits and dance floors. I swear, they click and clink inside the ornament like tiny party guests. In my opinion, round sequins reflect light better, but the star-shaped ones add a cute New Year vibe too. Watching the colors swirl when you shake the ornament is honestly half the fun.
Just a heads-up: sequins can be slippery little creatures. I once spilled an entire box and spent the next week finding them in the weirdest places. But the final look is worth every chaotic moment. And if you want them to look even more dramatic, mix in a tiny bit of tinsel cut into small pieces. It fills the empty spaces and makes the ornament feel more luxurious.
Ribbon-Tied Confetti Ornaments
Ribbon-tied confetti ornaments always give me a soft, classic feeling—like something you’d find on a beautifully styled Pinterest board but still warm and personal. I stuff the ornaments with confetti, then tie a cute ribbon around the top in a neat bow. To be fair, my bows used to look wonky, but with some practice (and a few YouTube tutorials), I finally got the hang of it.
I’ve found that satin ribbons look elegant, while organza gives a very airy, dreamy effect. If you want these ornaments to double as sentimental keepsakes, try writing the year on the ribbon tail. Tiny details like that always make people smile. And honestly, they make your décor look much more thoughtful without requiring much extra effort.
Personalized Name Confetti Balls
Source: Pinterest
Personalized confetti balls always feel extra special because they show you actually thought about the person. I love making these for guests or family members by putting their names directly on the ornament using vinyl, paint pens, or even stickers if I’m feeling lazy. Then I fill the ball with confetti that matches their personality—gold for the glam ones, neon for the fun ones, soft pastels for the quiet souls.
One little story: last year, I made one for my cousin who never reacts to décor. But when she saw her name in gold letters, she actually took the ornament home and kept it on her desk. That’s when I realized personalization hits differently. These ornaments also make adorable place-setting accents if you’re hosting a dinner—practical and pretty, my favorite combination.
Metallic Star Confetti Ornaments
Metallic stars always remind me of childhood craft boxes and sticker sheets. When I use them in ornaments, it’s like rediscovering that same excitement, but with a grown-up twist. I usually mix silver, gold, and rose-gold stars so the ornament feels dynamic instead of one-dimensional. And honestly, when they catch light, they sparkle like tiny fireworks.
Here’s the fun part: shake the ornament lightly so the stars cling to the sides from static. It creates a floating effect that looks so cool up close. I’ve found that these ornaments work beautifully near fairy lights or window areas where natural light can make the stars dance. It’s simple but feels surprisingly magical every single time.
Jumbo Confetti Photo Booth Balls
Jumbo confetti balls are my go-to when I want to make a statement during New Year parties. They’re bigger, bolder, and honestly perfect for photo booths. I fill oversized clear ornaments with big chunky confetti—think oversized circles, holographic strips, even foil curls. They look dramatic even from a distance, which makes them fantastic props.
I once made a whole set for a family gathering, and people kept grabbing them for selfies without me even suggesting it. That’s when I realized these balls naturally bring out everyone’s playful side. If you want them to pop even more, add a fun tag or a ribbon tail at the bottom. They’re essentially décor and entertainment in one.
Hanging Swirl Confetti Balls
Swirl confetti ornaments give such a fun, motion-filled vibe, almost like the confetti is dancing inside. I make the swirls by cutting long, thin strips of metallic paper and curling them around a pencil. Once they go inside the ornament, they naturally twist and float. In my opinion, this is one of the prettiest looks because it feels so dynamic with very little effort.
The first time I made these, I expected the swirls to collapse at the bottom. But surprisingly, they held their shape beautifully. If you pair them with round confetti pieces, the contrast looks amazing. These look especially pretty hanging from the ceiling or clustered in a corner where the movement can shine.
Color-themed confetti ornaments are perfect when you’re sticking to a very specific New Year palette. For example, one year I went all-in on black, gold, and champagne tones, and honestly, it pulled the whole room together in such a satisfying way. You just pick confetti that matches your theme and fill the ornaments accordingly.
I’ve found it fun to make sets—for example, one ornament fully gold, one fully black, one fully mixed. Displaying them together feels cohesive but never boring. And if you’re feeling adventurous, add tiny feathers or mini sequins in the same color family for extra flair.
Confetti Ball Table Centerpieces
These are the easiest conversation starters ever. Instead of hanging the ornaments, I cluster them in bowls, trays, or clear vases to make table centerpieces. It’s low effort but high impact—and to be fair, a total lifesaver when you don’t want to buy expensive floral arrangements. The light bouncing through the confetti looks so elegant, especially for an evening gathering.
I sometimes mix sizes—mini balls, medium ones, and one large ornament in the middle. It creates a really pretty layered look. And here’s a tiny tip: add a string of fairy lights around them. The glow makes the whole setup feel cozy and festive.
Mixed-Texture Confetti Balls
Mixed-texture ornaments are for days when I can’t choose just one look. I layer sequins, paper confetti, metallic strips, and even tiny pom-poms inside one ornament. Sounds chaotic, but honestly, the end result always looks fun and rich. It reminds me of those grab bags we used to get as kids with random surprises inside.
The key is to balance textures—too much of one thing, and it loses dimension. I’ve found that adding just one unexpected texture (like the tiniest pom-poms) makes the ornament stand out instantly. These are great for eclectic décor lovers or anyone who wants a more playful New Year vibe.
Gold Leaf Confetti Ornaments
Gold leaf ornaments always make me feel a bit fancy—like I’m crafting something that belongs in a boutique. Gold leaf is delicate, so I tear it into small pieces and drop them inside the ornament along with minimal confetti. When the pieces cling to the sides, they create this gorgeous crackled effect that feels very high-end.
One time I accidentally added too much gold leaf, and the ornament looked like a shiny gold ball instead of a confetti ornament. To be fair, it wasn’t terrible—it still looked expensive—but I realized less is more. Pairing gold leaf with white or translucent confetti gives a surprisingly beautiful contrast.
Mini Confetti Party Favor Balls
I love making mini confetti ornaments as party favors because they’re cute, inexpensive, and people actually take them home. I fill tiny clear balls with bright confetti and sometimes slip in a tiny “Happy New Year” scroll. Guests always react with that “awww” face, and honestly, it makes me happy every single time.
I usually tie a small ribbon or attach a tag with the year. These minis look adorable on the table and double as décor. And here’s the best part: you can make dozens without feeling overwhelmed. Perfect for big gatherings or last-minute prep.
Safety Tips
When you’re making or decorating with confetti ball ornaments, a few simple precautions can keep your New Year setup safe and worry-free. Here are the key things to keep in mind:
Keep away from small children (choking hazard): Confetti pieces and small ornament parts can be risky for toddlers, so always display them out of reach.
Choose non-flammable confetti: Stick to paper or foil confetti that’s labeled safe so it doesn’t pose a fire risk near candles or lights.
Securely seal ornaments to avoid spills: Make sure the tops are tightly closed or glued so confetti doesn’t fall out during hanging or handling.
Hi, I’m Victoria, an art and craft teacher at Newark City Schools, where I have the joy of working with middle school students to help them explore their creativity and develop their artistic talents. I believe that art is a powerful way for students to express themselves, and I strive to make every lesson a fun, engaging, and inspiring experience.
I created this website to share the art and craft projects, techniques, and resources that I use in my classroom, hoping to inspire both educators and young artists alike. Whether you’re a teacher looking for new ideas or a student eager to try something new, I’m excited to provide creative tools and projects that anyone can enjoy.
When I’m not in the classroom, I love experimenting with different art forms and learning new crafting techniques. My goal is to help others discover the joy of making things with their hands, and I hope my website serves as a space for everyone to explore their creative potential.