
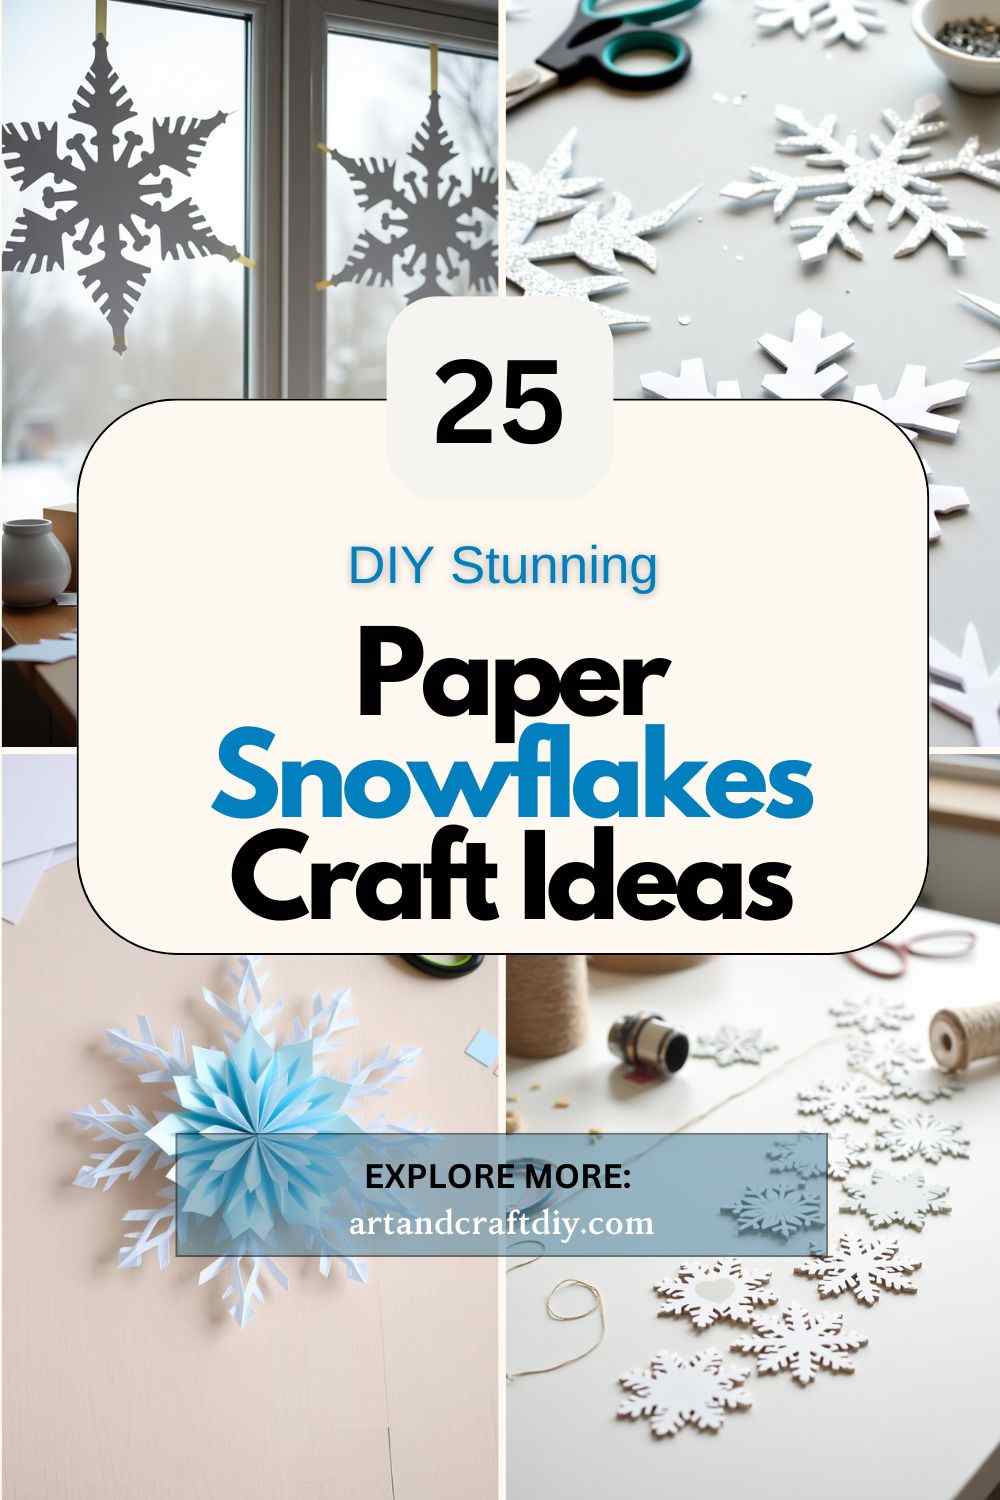
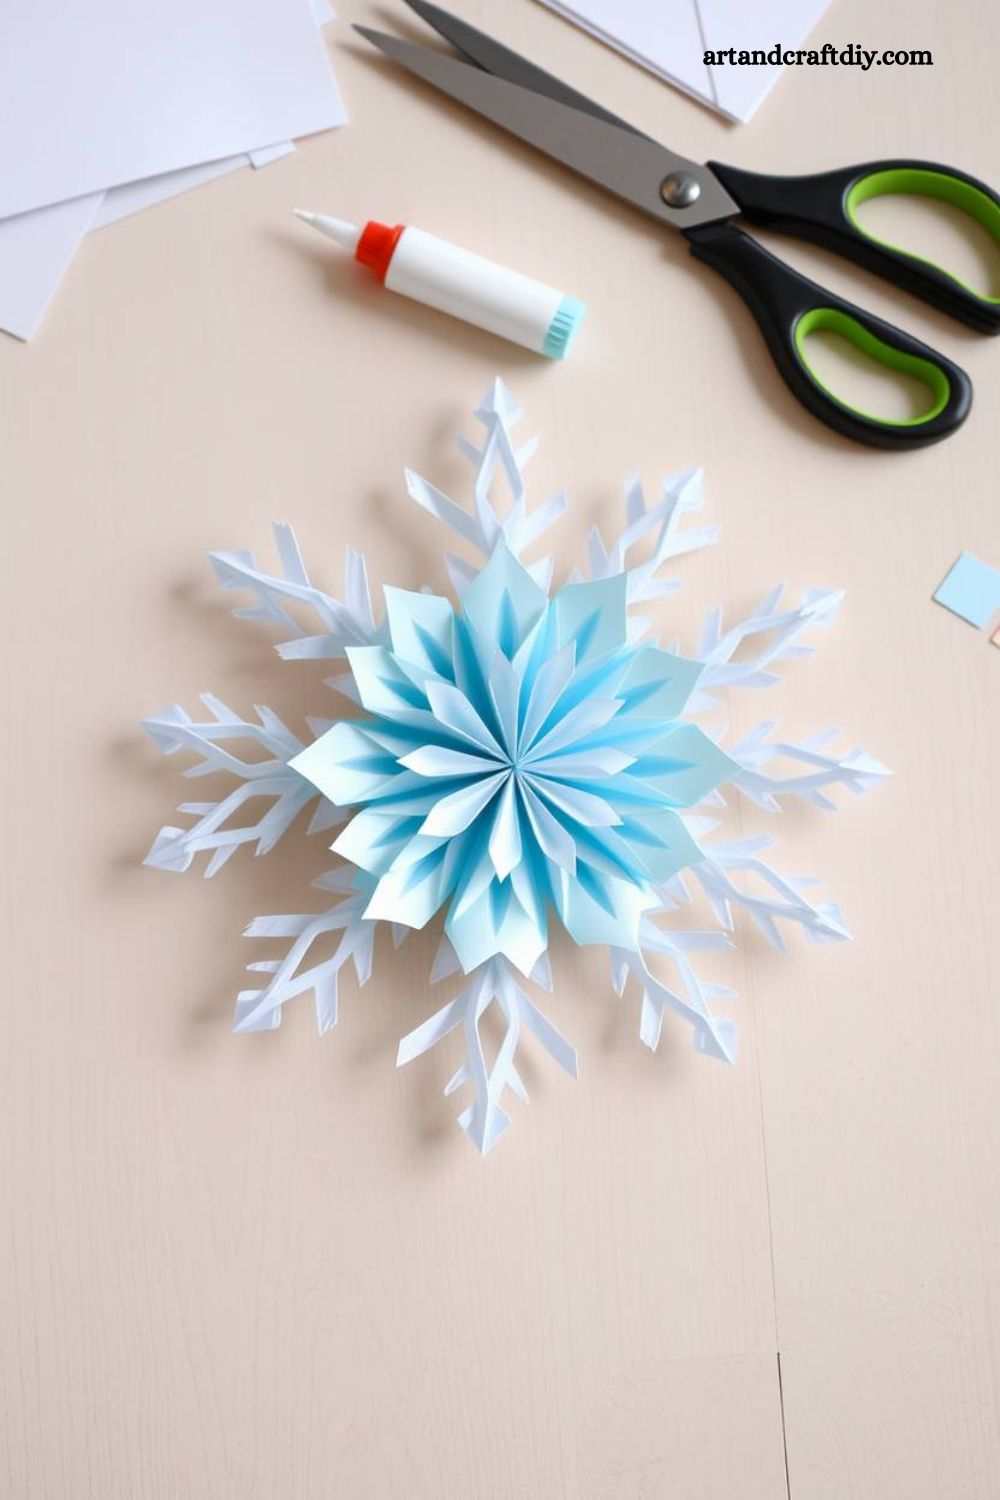
Looking for a simple yet magical winter activity? Paper Snowflakes Craft Ideas are a timeless and budget-friendly way to bring a little extra joy into the season. With just a piece of paper and a pair of scissors, you can create delicate, eye-catching designs that capture the beauty of real snowflakes—no two ever exactly alike. Whether you’re decorating for the holidays, planning fun winter activities, or crafting in the classroom, paper snowflakes are a go-to project that’s as easy as it is enchanting.
Paper Snowflakes Craft Ideas
Paper Snowflakes Craft Ideas are a fun, budget-friendly way to add winter magic to your home or classroom. Perfect for all ages, this timeless craft brings creativity to holiday décor and seasonal activities.
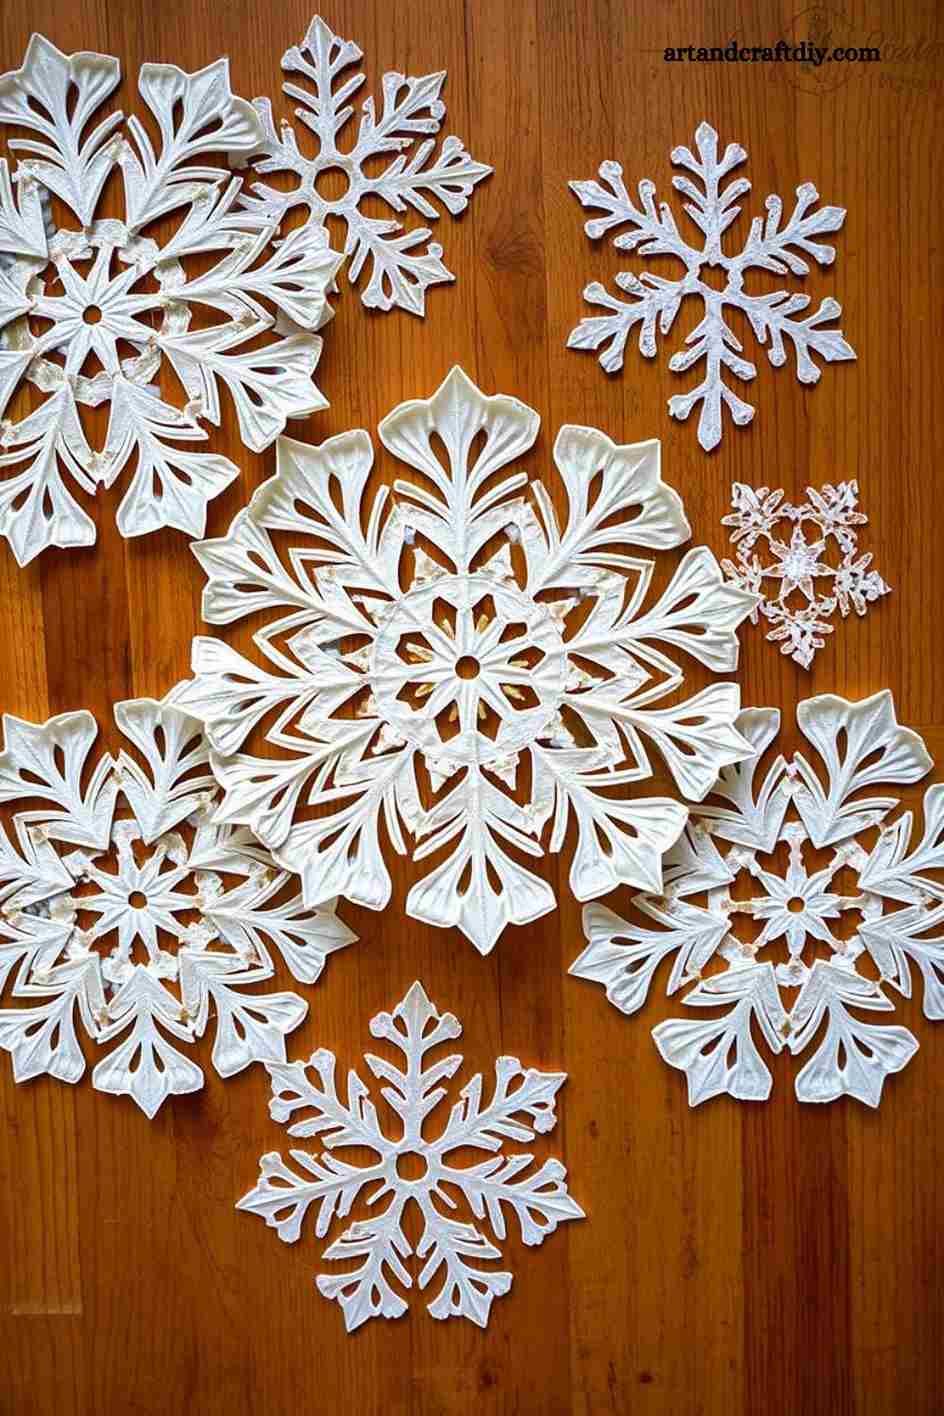
Classic Six-Point Snowflake
This traditional snowflake design is the foundation for most paper snowflake crafts. It’s simple, elegant, and perfect for all ages.

Materials:
-
White paper
-
Scissors
-
Pencil (optional)
Steps:
-
Start with a square piece of paper.
-
Fold it in half diagonally to make a triangle.
-
Fold the triangle in half again to make a smaller triangle.
-
Divide the triangle into thirds by folding the right corner across, then the left.
-
Trim off the top to make a straight edge.
-
Cut small shapes along the edges and unfold to reveal your snowflake.
Colorful Construction Paper Snowflakes
Add a fun twist with bold colors to brighten up your snowflake collection—great for kids’ rooms or classrooms.

Materials:
-
Colored construction paper
-
Scissors
-
Glue (optional for layering)
Steps:
-
Use a square piece of construction paper.
-
Follow the same folding method as the classic design.
-
Cut out creative shapes—hearts, stars, zigzags.
-
Open and flatten. Layer with contrasting colors for extra flair.
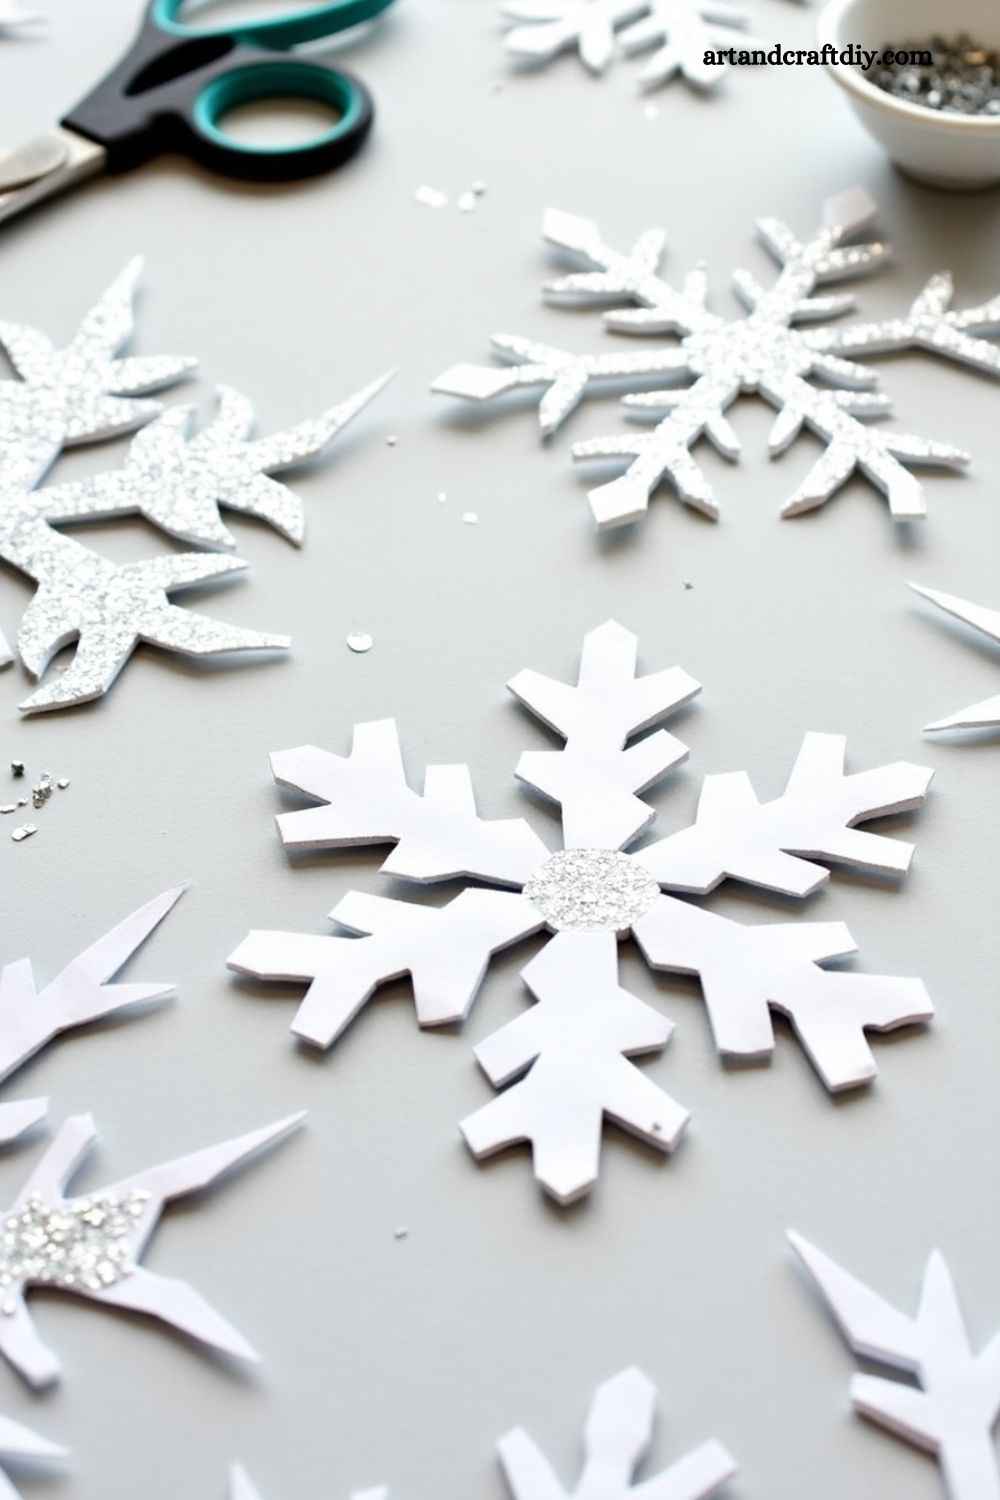
Glittered Snowflakes
Make your snowflakes sparkle with a touch of glitter—perfect for festive holiday décor.
Materials:
-
White or silver paper
-
Scissors
-
Glue
-
Glitter
Steps:
-
Create your snowflake using the classic folding method.
-
Apply glue along the edges or patterns.
-
Sprinkle glitter generously, shake off the excess, and let dry.
Coffee Filter Snowflakes
Delicate and easy to cut, coffee filters are ideal for making soft, intricate designs.
Materials:
-
Coffee filters
-
Scissors
-
Markers (optional)
Steps:
-
Flatten the coffee filter.
-
Fold it into a small wedge like a pie slice.
-
Cut out shapes along the sides.
-
Color with markers for a stained-glass effect and unfold.
Lace Doily Snowflakes
Repurpose paper doilies into beautiful snowflakes that look elegant in any winter setting.

Materials:
-
Paper doilies
-
Scissors
Steps:
-
Fold the doily into halves or thirds.
-
Trim and cut out intricate designs.
-
Carefully unfold and display in windows or on cards.
Giant Window Snowflakes
Make a bold statement with oversized snowflakes—perfect for windows and large spaces.

Materials:
-
Poster board or large paper
-
Scissors
-
Tape
Steps:
-
Cut a large square of paper or board.
-
Fold using the basic six-point snowflake method.
-
Create big, bold cutouts.
-
Unfold and tape to windows or walls.
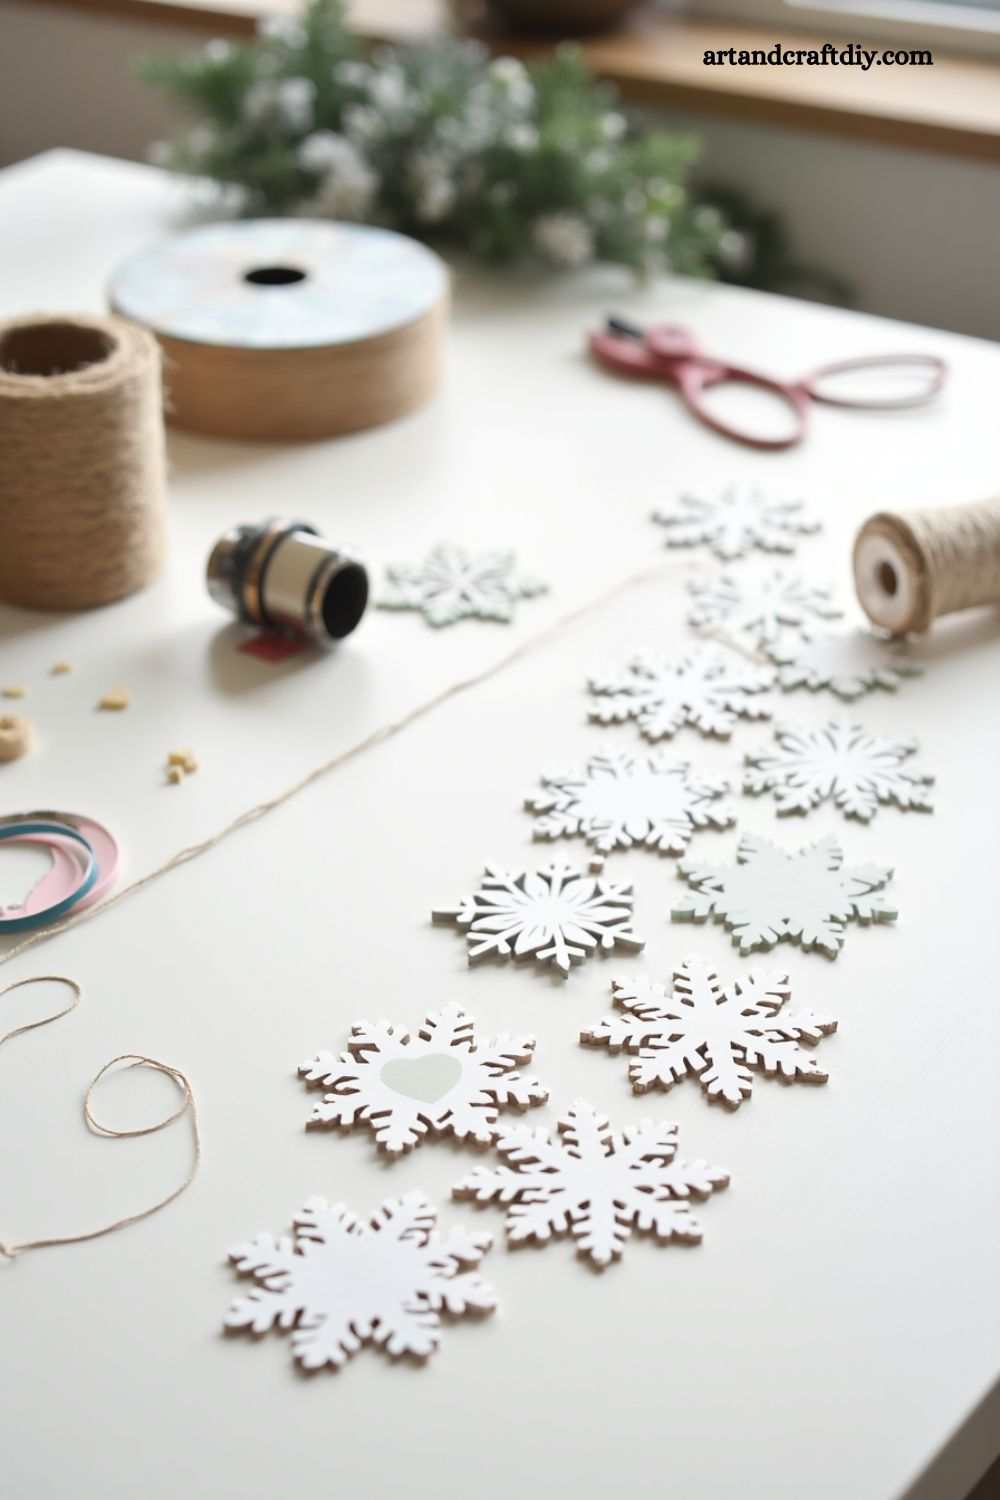
Snowflake Garland
Turn individual snowflakes into a festive garland to decorate mantels or doorways.
Materials:
-
Paper (white or colored)
-
Scissors
-
String or twine
-
Hole punch or glue
Steps:
-
Make several small to medium snowflakes.
-
Punch a small hole in the top or glue to the string.
-
Space them evenly along the twine and hang.
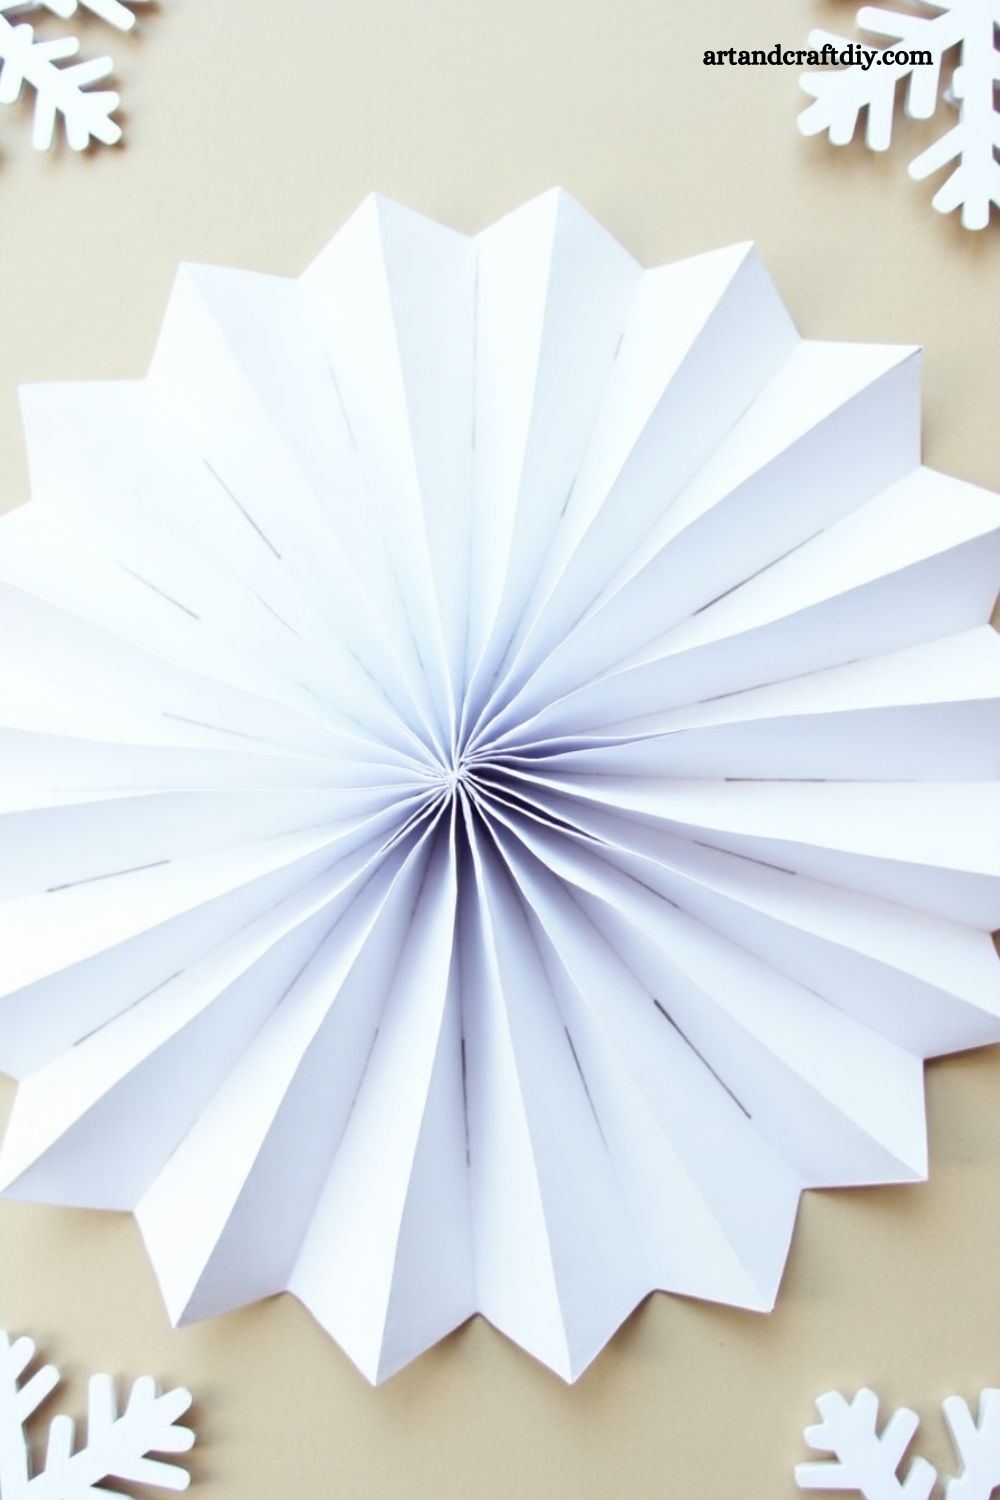
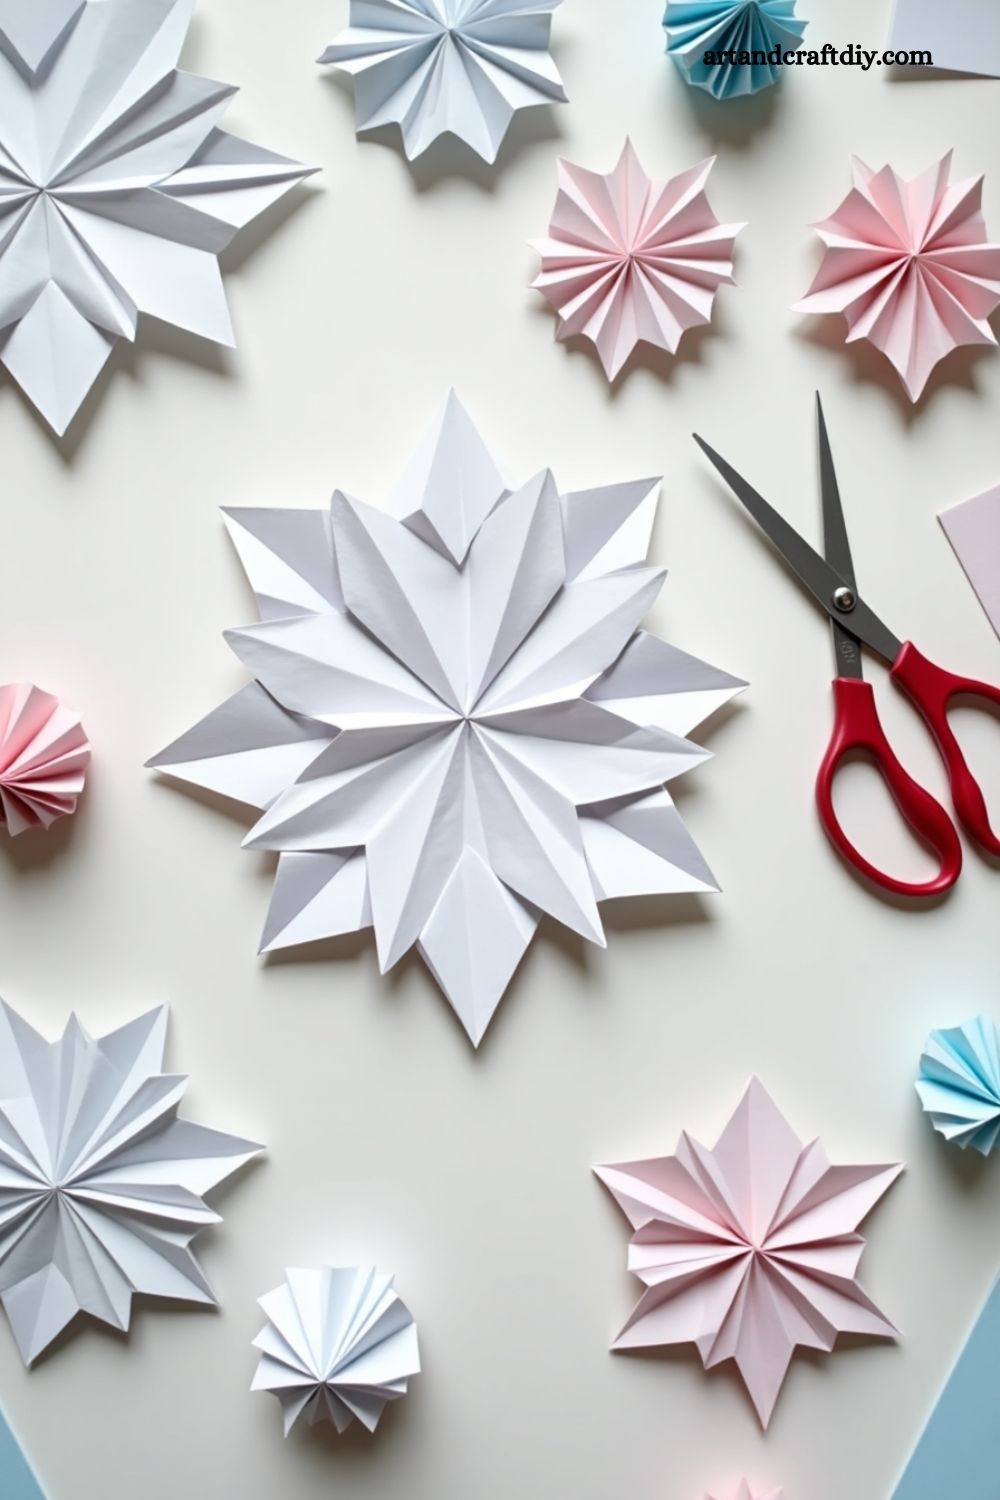
3D Layered Snowflake
Add dimension to your craft by layering multiple snowflakes into a 3D design.
Materials:
-
Paper in various sizes
-
Scissors
-
Glue or double-sided tape
Steps:
-
Create 2–3 snowflakes in different sizes.
-
Stack them with the largest at the back.
-
Offset the layers for a fuller look and glue together in the center.
Accordion-Fold Snowflake Fan
A fun and symmetrical craft that looks like a mix between a snowflake and a fan.
Materials:
-
Paper
-
Scissors
-
Glue or staples
Steps:
-
Accordion fold a rectangular paper.
-
Fold it in half and secure the middle with glue or a staple.
-
Trim the edges into curves or points.
-
Fan it open to form a circle.
Origami Snowflake
This version combines the precision of origami with snowflake creativity.
Materials:
-
Origami paper
-
Scissors
Steps:
-
Fold the square paper into triangles multiple times.
-
Follow an origami snowflake pattern (easily found online).
-
Make small cuts in folded areas for detail.
-
Gently unfold the snowflake.
Paper Strip Snowflake
Use strips of paper to weave or glue a unique 3D snowflake structure.
Materials:
-
Strips of white or colored paper
-
Glue or stapler
-
Scissors
Steps:
-
Cut equal-sized strips of paper.
-
Form loops, curls, or weave the strips together.
-
Arrange in a star-like pattern and glue in place.
Snowflake Window Clings
Make snowflakes that stick to windows with a translucent, frosty look.
Materials:
-
Wax paper
-
White glue
-
Glitter (optional)
-
Template (optional)
Steps:
-
Place a snowflake template under wax paper.
-
Trace with white glue, adding glitter if desired.
-
Let dry completely.
-
Peel off and stick to windows.
Magazine Page Snowflakes
Eco-friendly and colorful, these snowflakes reuse old magazines for a collage effect.
Materials:
-
Magazine pages
-
Scissors
Steps:
-
Cut a square from a colorful page.
-
Fold and cut using traditional snowflake methods.
-
Combine multiple snowflakes for a patchwork look.
Snowflake Lanterns
Create snowflake designs on paper lanterns or bags to light up your winter nights.
Materials:
-
Paper lunch bags or lanterns
-
Craft knife or scissors
-
LED tea lights
Steps:
-
Draw or trace snowflake patterns onto your paper bag.
-
Carefully cut out the designs.
-
Place an LED tea light inside and enjoy the glow.
Button and Paper Snowflakes
Add texture and charm to your snowflakes using craft buttons and layered paper.
Materials:
-
Cardstock or thick paper
-
Buttons
-
Glue
-
Scissors
Steps:
-
Create a basic snowflake with sturdy paper.
-
Decorate the tips or center with colorful buttons.
-
Let dry and display as wall or table décor.
Snowflake Greeting Cards
Turn your snowflake designs into heartfelt holiday or winter greeting cards for friends and family.
Materials:
-
Blank cards or cardstock
-
Paper for snowflakes
-
Glue
-
Markers or pens
Steps:
-
Fold paper into a snowflake using your favorite method.
-
Glue the snowflake to the front of a blank card.
-
Add handwritten messages or embellishments like sequins or stamps.
Snowflake Mobile
Create a floating winter wonderland by hanging delicate snowflakes from a mobile.
Materials:
-
Paper snowflakes
-
Thread or fishing line
-
Embroidery hoop or branch
-
Scissors and tape
Steps:
-
Make various snowflakes in different sizes.
-
Tie thread to each snowflake.
-
Attach the other end to a hoop or branch, varying the lengths.
-
Hang your mobile in a window or above a table.
Snowflake Wreath
Form a beautiful winter wreath using layered snowflakes—perfect for doors or walls.
Materials:
-
Paper snowflakes
-
Cardboard ring (wreath base)
-
Glue or double-sided tape
Steps:
-
Cut a ring shape out of cardboard.
-
Make 10–15 snowflakes in various sizes.
-
Glue them around the ring, overlapping for a full effect.
-
Add a ribbon if you’d like to hang it.
Tissue Paper Snowflakes
Tissue paper adds a soft, translucent texture that looks beautiful on windows or lighted displays.
Materials:
-
Tissue paper
-
Scissors
Steps:
-
Fold a square of tissue paper like a classic snowflake.
-
Cut out delicate shapes carefully—it tears easily.
-
Unfold and flatten gently.
-
Hang in windows for a frosty effect.
Snowflake Poppers (Surprise Inside!)
Hide tiny surprises inside a snowflake for a fun party favor or classroom treat.
Materials:
-
Paper
-
Small candies or notes
-
Tape or glue
-
Ribbon (optional)
Steps:
-
Fold and cut a snowflake from a large square.
-
Place a small treat or folded note in the center.
-
Carefully fold the snowflake around it and secure with tape or ribbon.
-
Give them out as winter-themed surprises!
Safety Tips (Especially for Kids)
Paper snowflake crafting is a fun and creative activity for all ages, but it’s important to keep safety in mind—especially when kids are involved. From scissors to adhesives, using the right tools and proper supervision ensures everyone has a safe and enjoyable experience.
-
Always supervise young children when using scissors or other sharp tools. Even older kids may need guidance with folding or cutting steps.
-
Use child-safe scissors with rounded tips to prevent accidental pokes or cuts. These are widely available and designed specifically for small hands.
-
Keep sharp objects out of reach when not in use. Store scissors, craft knives, and other adult tools safely away from children.
-
Encourage slow and careful cutting. Rushing can lead to mistakes or injury. Teach kids to take their time with each snip.
-
Provide safe adhesives like glue sticks instead of hot glue guns, which can burn fingers if misused.
-
Choose age-appropriate projects. Younger children can work with pre-folded papers or focus on decorating rather than cutting intricate shapes.
-
Demonstrate each step before asking a child to try it themselves. Seeing it first can make the process easier and safer.
With a little planning and patience, paper snowflake crafts can be both safe and magical for everyone involved!
FAQ
What kind of paper is best for making snowflakes?
Reguprinter paper works great for most snowflakes, but you can also use tissue paper, origami paper, coffee filters, or even recycled newspaper for unique textures and patterns.
How do I fold the paper to make a snowflake?
The classic method involves folding a square paper into a triangle 3–4 times. A popular option is the six-point snowflake fold, which involves folding the paper into thirds to get a more traditional snowflake shape.
Are Paper Snowflakes Craft Ideas suitable for young children?
Absolutely! Just be sure to use child-safe scissors and simplify the cutting patterns. Pre-folded or pre-marked designs can help little ones participate easily.
How can I make my snowflakes look more professional?
Use thinner paper for more detailed cuts, keep your folds crisp, and plan your design before cutting. You can also iron the final snowflake (on low heat with a cloth on top) to flatten it neatly.

Hi, I’m Victoria, an art and craft teacher at Newark City Schools, where I have the joy of working with middle school students to help them explore their creativity and develop their artistic talents. I believe that art is a powerful way for students to express themselves, and I strive to make every lesson a fun, engaging, and inspiring experience.
I created this website to share the art and craft projects, techniques, and resources that I use in my classroom, hoping to inspire both educators and young artists alike. Whether you’re a teacher looking for new ideas or a student eager to try something new, I’m excited to provide creative tools and projects that anyone can enjoy.
When I’m not in the classroom, I love experimenting with different art forms and learning new crafting techniques. My goal is to help others discover the joy of making things with their hands, and I hope my website serves as a space for everyone to explore their creative potential.