
Last spring, I remember standing in my backyard with a bunch of random flowers I’d picked during a walk. Nothing fancy—just daisies, a few wildflowers, and some greenery. I tried tying them together into a little bouquet, and honestly, it looked a bit messy at first. But you know what? It made me smile. That’s kind of the magic of spring bouquet crafts—they don’t have to be perfect to be beautiful.
If you’ve ever wanted to make something creative with flowers but didn’t know where to start, you’re definitely not alone. I used to think bouquet crafts were complicated too. Turns out, they’re actually fun, relaxing, and surprisingly simple.
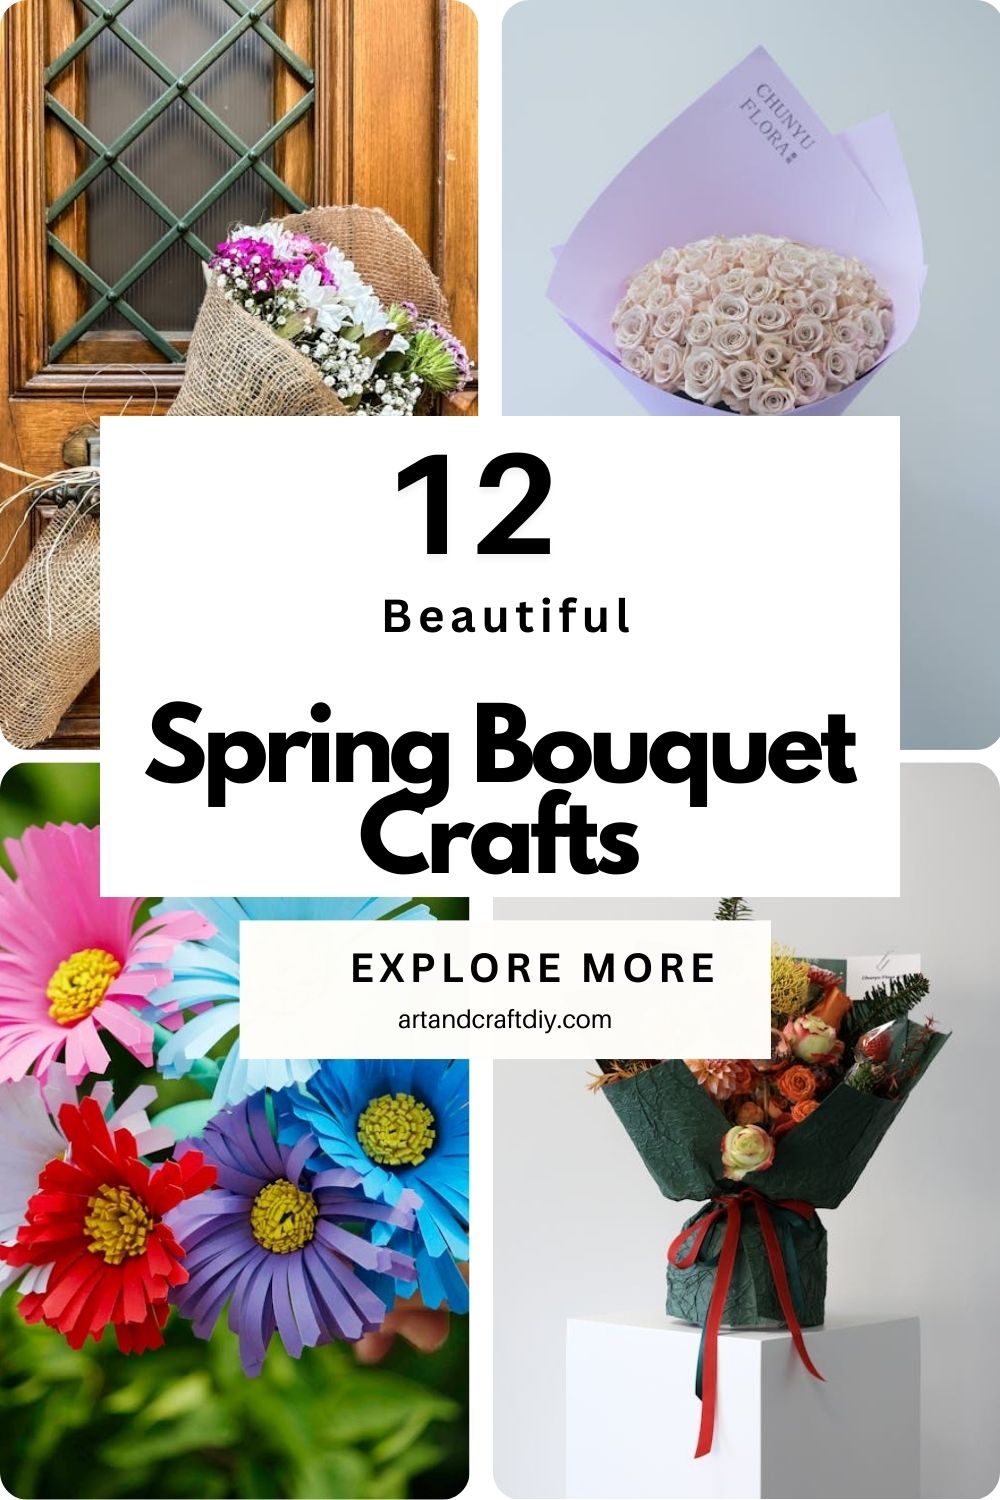
In this article, I’ll share some lovely spring bouquet crafts ideas you can try at home. Whether you’re decorating for spring, making a handmade gift, or just feeling a little crafty, you’ll find easy inspiration here. Trust me, once you start, it’s hard to stop.
Spring Bouquet Crafts
Spring bouquet crafts are a fun and creative way to celebrate the beauty of the season using colorful flowers and simple craft materials. They’re perfect for adding a fresh spring touch to home décor, gifts, or kids’ craft activities.
Paper Flower Spring Bouquet
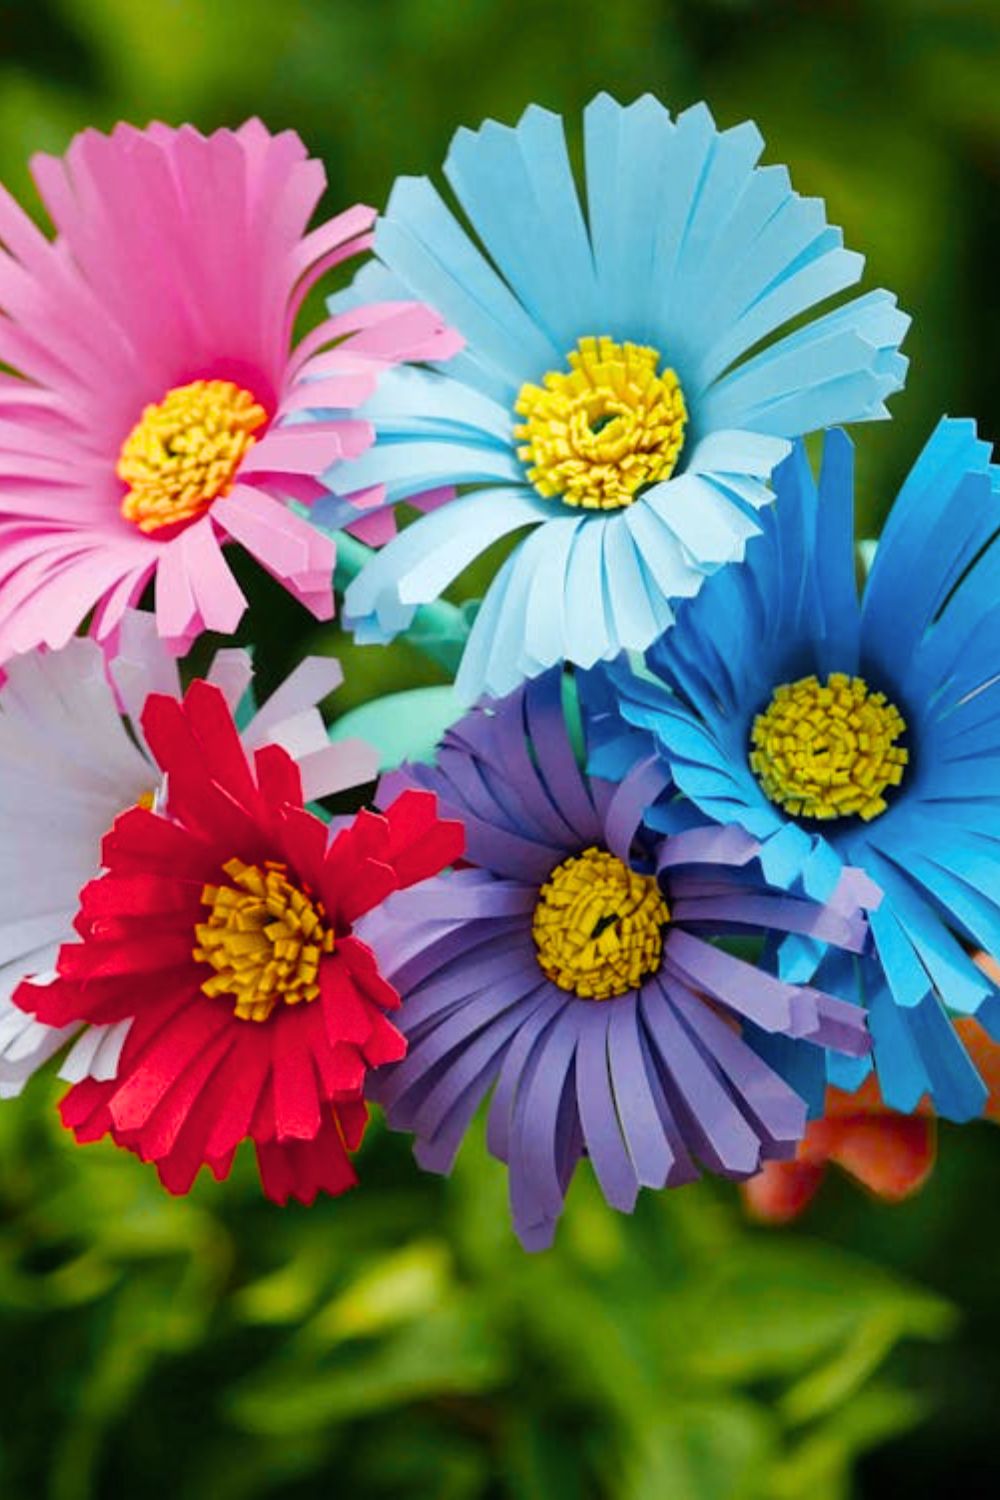
Honestly, paper flowers were the first bouquet craft I ever tried for spring. I remember sitting at my table with a stack of colored paper, scissors, and a cup of tea, thinking it would be quick… but I ended up enjoying the process way more than I expected. There’s something really calming about cutting petals, layering them, and slowly watching a bouquet come together. In my opinion, paper flowers are perfect if you want something bright and cheerful without worrying about real flowers wilting.
What I usually do is pick a few pastel craft papers—pinks, yellows, and soft greens work beautifully for spring. Cut simple petal shapes, layer them, and secure the center with glue or a small bead. Then attach them to wooden skewers or paper straws for stems. I’ve found that gently curling the edges of the petals with a pencil makes the flowers look surprisingly realistic. Bundle a few together with ribbon and suddenly you’ve got a sweet little spring bouquet that lasts forever.
Tissue Paper Flower Bouquet
Tissue paper flowers are honestly one of those crafts that look complicated but are actually super easy. The first time I made them was for a small spring party decoration, and I remember being surprised at how fluffy and pretty they turned out. Tissue paper just has this soft texture that makes the flowers look delicate and almost real.
What I usually do is stack several sheets of tissue paper, fold them accordion-style, and tie the center with floral wire or string. Then I carefully separate each layer and fluff them up into petals. It’s a bit messy at first, but once the layers open up, the flower looks full and beautiful. I’ve found that mixing different colors of tissue paper creates a really nice spring effect. Gather a bunch of these flowers together and wrap them with twine or ribbon, and you’ve got a bright bouquet that instantly feels cheerful.
Felt Flower Bouquet
Felt flowers are honestly one of my favorite bouquet crafts because they look neat and hold their shape so well. The first time I tried making them, I was a little unsure because felt seemed harder to work with than paper. But to be fair, once I started cutting and rolling the felt, it turned out to be surprisingly simple.
I usually cut spiral shapes or simple petal layers from colorful felt sheets. Then I roll the spiral tightly to create a rose-like flower and glue the base to keep it secure. Attach the flower to a wooden stick or floral wire for the stem. What I really love about felt flowers is how sturdy they are. In my opinion, they make great keepsakes or decorations that can sit in a vase for months without getting damaged. Add a few felt leaves, bundle the stems together, and you’ve got a cozy handmade spring bouquet.
Button Flower Bouquet
Button flowers always make me smile because they remind me of old craft boxes and childhood projects. I’ve found that digging through a jar of random buttons is half the fun of this craft. Every button has a different color, shape, or texture, and somehow they all work together in a bouquet.
To make them, I usually stack two or three buttons on top of each other and thread them onto a piece of floral wire. Twist the wire underneath to create a stem. Sometimes I add a small green ribbon or felt leaf to make it look more like a real flower. Honestly, the charm of button bouquets is their quirky look. They’re not meant to be perfect. In my opinion, they work beautifully as a spring decoration on a desk or windowsill, especially when you mix bright pastel buttons together.
Handprint Flower Bouquet for Kids
Handprint flower bouquets are probably one of the sweetest spring crafts you can make, especially with kids. I remember doing this with my niece once, and she was so excited to see her painted hand turn into a “flower.” It’s one of those crafts that feels messy and chaotic at first, but the final result is honestly adorable.
All you really need is some washable paint and paper. Paint the child’s hand, press it onto paper, and let it dry. The handprint becomes the petals of the flower. After that, you can draw or glue on a green stem and leaves. I’ve found that cutting out the handprints and attaching them to craft sticks works well if you want to turn them into a bouquet. Gather a few together and tie them with ribbon. In my opinion, this kind of bouquet is more about the memory than the craft itself.
Recycled Magazine Flower Bouquet
This craft started as a random experiment for me when I had a pile of old magazines lying around. Instead of throwing them away, I thought, why not turn them into flowers? Honestly, the colorful pages make surprisingly beautiful petals.
What I usually do is cut magazine pages into petal shapes or long strips. Roll or layer them to form flowers, then glue them onto paper stems or skewers. The patterns and colors from the magazine pages create a really unique look that you honestly can’t replicate with plain paper. I’ve found that using fashion or travel magazine pages works especially well because they have vibrant colors. Gather several of these flowers together and wrap the stems with twine or ribbon. In my opinion, it’s a creative and eco-friendly way to make a spring bouquet.
Mason Jar Spring Bouquet
Sometimes the simplest idea ends up looking the prettiest, and mason jar bouquets are a perfect example. I remember placing a small handmade bouquet into a mason jar one spring afternoon, and it instantly made the whole table look brighter. There’s something about the rustic jar that just fits the spring vibe.
You can fill the jar with any handmade flowers—paper, felt, or even pom-pom flowers. I like adding a little decorative touch by wrapping twine or pastel ribbon around the neck of the jar. Sometimes I even paint the jar lightly with chalk paint for a soft farmhouse look. I’ve found that adding small pebbles or beads inside the jar helps keep the stems standing nicely. In my opinion, this kind of bouquet is perfect for kitchen tables, shelves, or even as a small handmade gift.
Burlap Wrapped Flower Bouquet
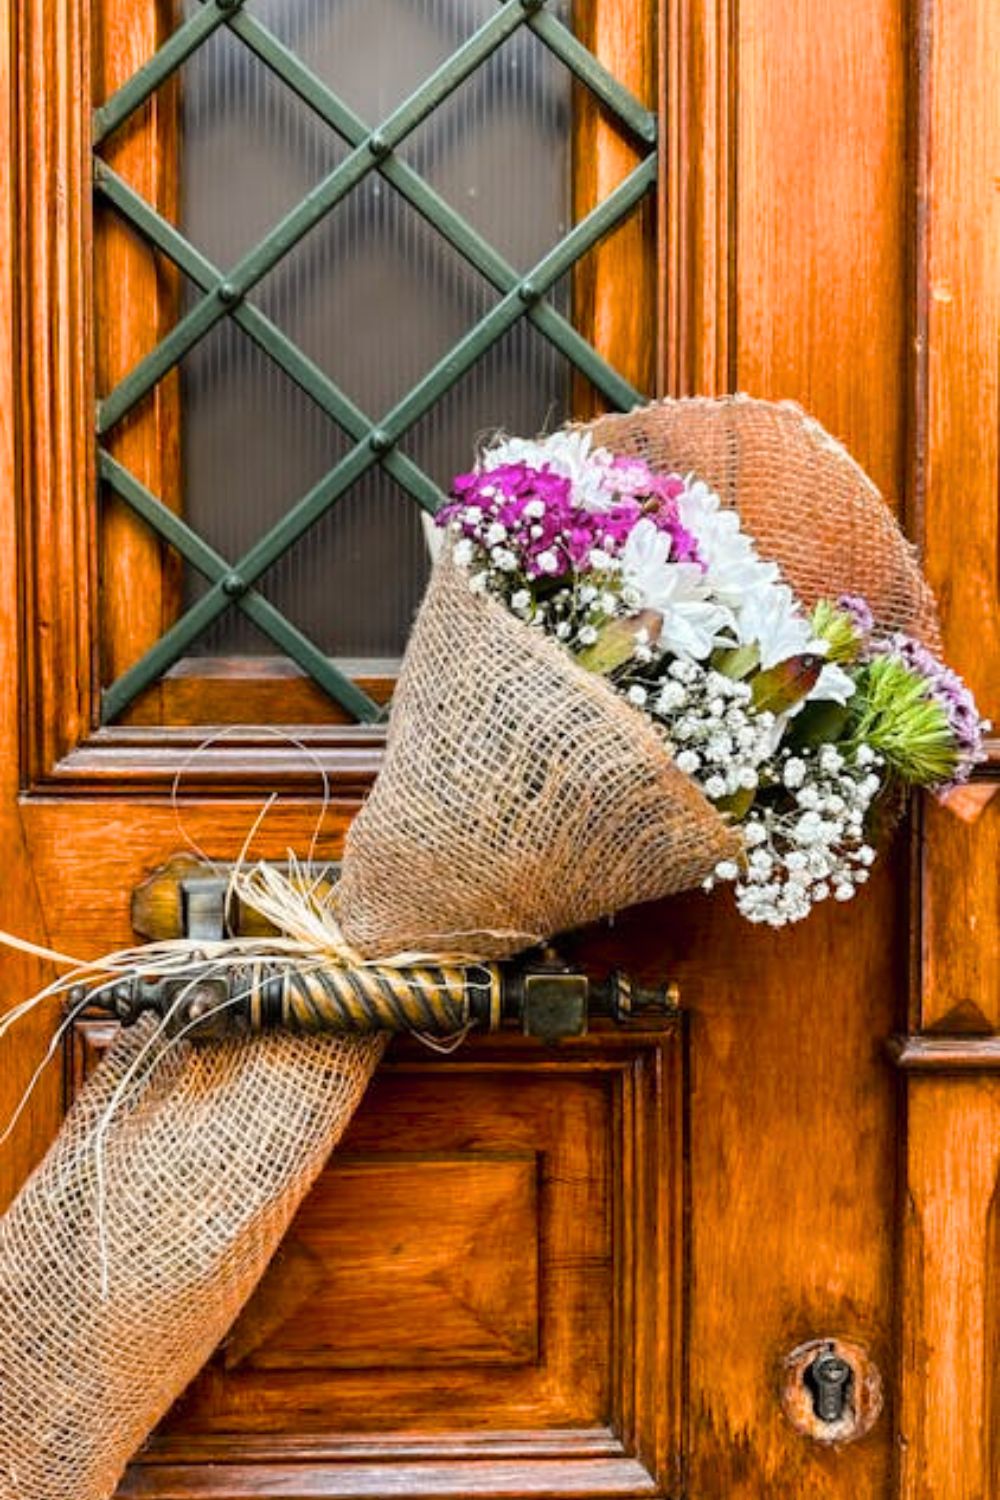
Burlap bouquets have this cozy rustic charm that honestly feels perfect for spring decorations. The first time I tried wrapping a bouquet with burlap, I wasn’t sure if it would look too rough. But to be fair, once the flowers were wrapped inside, the texture actually made the bouquet look even prettier.
What I usually do is gather my handmade flowers first—paper flowers, felt flowers, or even fabric ones. Then I place them together and wrap a small piece of burlap around the stems like you would wrap a gift. Secure it with twine or ribbon. I’ve found that adding a small lace strip or wooden tag makes the bouquet look extra special. In my opinion, burlap wrapping works really well if you’re going for a farmhouse or natural spring theme.
Ribbon Flower Bouquet
Ribbon flowers are honestly one of those crafts that look elegant but are surprisingly easy to make. I tried making them once when I had leftover ribbons from gift wrapping, and the result looked way prettier than I expected.
To create them, I usually fold and twist satin or grosgrain ribbon into petal shapes and secure the base with glue or thread. Attach the flower to a craft stick or floral wire for the stem. The ribbon naturally curves into soft petals, which makes the flowers look delicate. I’ve found that pastel ribbons work best for spring bouquets because they feel light and fresh. Bundle a few ribbon flowers together and wrap them with a thin ribbon bow. In my opinion, these bouquets look especially nice as small decorative pieces or handmade gifts.
Pom-Pom Flower Bouquet
Pom-pom flowers are one of the fluffiest and most playful bouquet crafts you can make. Honestly, the first time I made them I couldn’t stop making more because they’re oddly satisfying to create.
I usually make pom-poms using yarn and a simple cardboard ring or a pom-pom maker. Once the pom-pom is trimmed and shaped, I attach it to a wooden stick or floral wire with glue. Add a small felt leaf if you want to give it a flower-like look. I’ve found that mixing bright yarn colors—like yellow, pink, and lavender—creates a really cheerful spring bouquet. In my opinion, pom-pom flowers are perfect if you want something soft, fun, and a little different from traditional paper flowers.
Cupcake Liner Flower Bouquet
Cupcake liners might sound like an unusual material for flowers, but honestly they work beautifully. I discovered this by accident while baking one day and noticing how much they already looked like flower petals.
To make these flowers, I usually stack two or three cupcake liners together and flatten them slightly. Cut small petal shapes around the edges and poke a hole through the center for the stem. Insert a pipe cleaner or floral wire and secure it with glue. Sometimes I add a small bead or button in the center. I’ve found that patterned cupcake liners make the flowers look extra cute. Gather several together, wrap the stems with ribbon, and you’ve got a charming spring bouquet that’s both simple and creative.
Origami Flower Bouquet
Origami flowers feel a little magical to me because they’re made from just folding paper. The first time I tried making an origami flower, I’ll admit it took a few attempts before I got the folds right. But honestly, once you get the hang of it, it becomes a really relaxing craft.
I usually start with square origami paper in soft spring colors. Follow a simple folding pattern to create petals and then open them up gently so the flower takes shape. Attach the finished flower to a wooden skewer or paper straw for the stem. I’ve found that making several different origami flowers and combining them into one bouquet creates a really interesting look. In my opinion, origami bouquets feel elegant and thoughtful, and they make a lovely handmade decoration for spring.
Tips for Making Beautiful Spring Bouquet Crafts

Hi, I’m Victoria, an art and craft teacher at Newark City Schools, where I have the joy of working with middle school students to help them explore their creativity and develop their artistic talents. I believe that art is a powerful way for students to express themselves, and I strive to make every lesson a fun, engaging, and inspiring experience.
I created this website to share the art and craft projects, techniques, and resources that I use in my classroom, hoping to inspire both educators and young artists alike. Whether you’re a teacher looking for new ideas or a student eager to try something new, I’m excited to provide creative tools and projects that anyone can enjoy.
When I’m not in the classroom, I love experimenting with different art forms and learning new crafting techniques. My goal is to help others discover the joy of making things with their hands, and I hope my website serves as a space for everyone to explore their creative potential.