
Last spring, I remember standing in the middle of a craft store, holding way too many fake flowers and thinking… what am I even making? I just wanted something bright and happy for my room after a long, dull winter. You know that feeling when everything looks a little gray and you just need color? That’s exactly why I fell in love with trying different Spring Flower Crafts Ideas at home.
If you’ve been craving something creative (but not super complicated), you’re not alone. Sometimes we just want an easy project that feels fun, not stressful. Whether it’s paper blooms, painted mason jars, or cute floral wreaths, there are so many simple ways to bring spring indoors. And the best part? You don’t need to be “crafty” to make something beautiful.
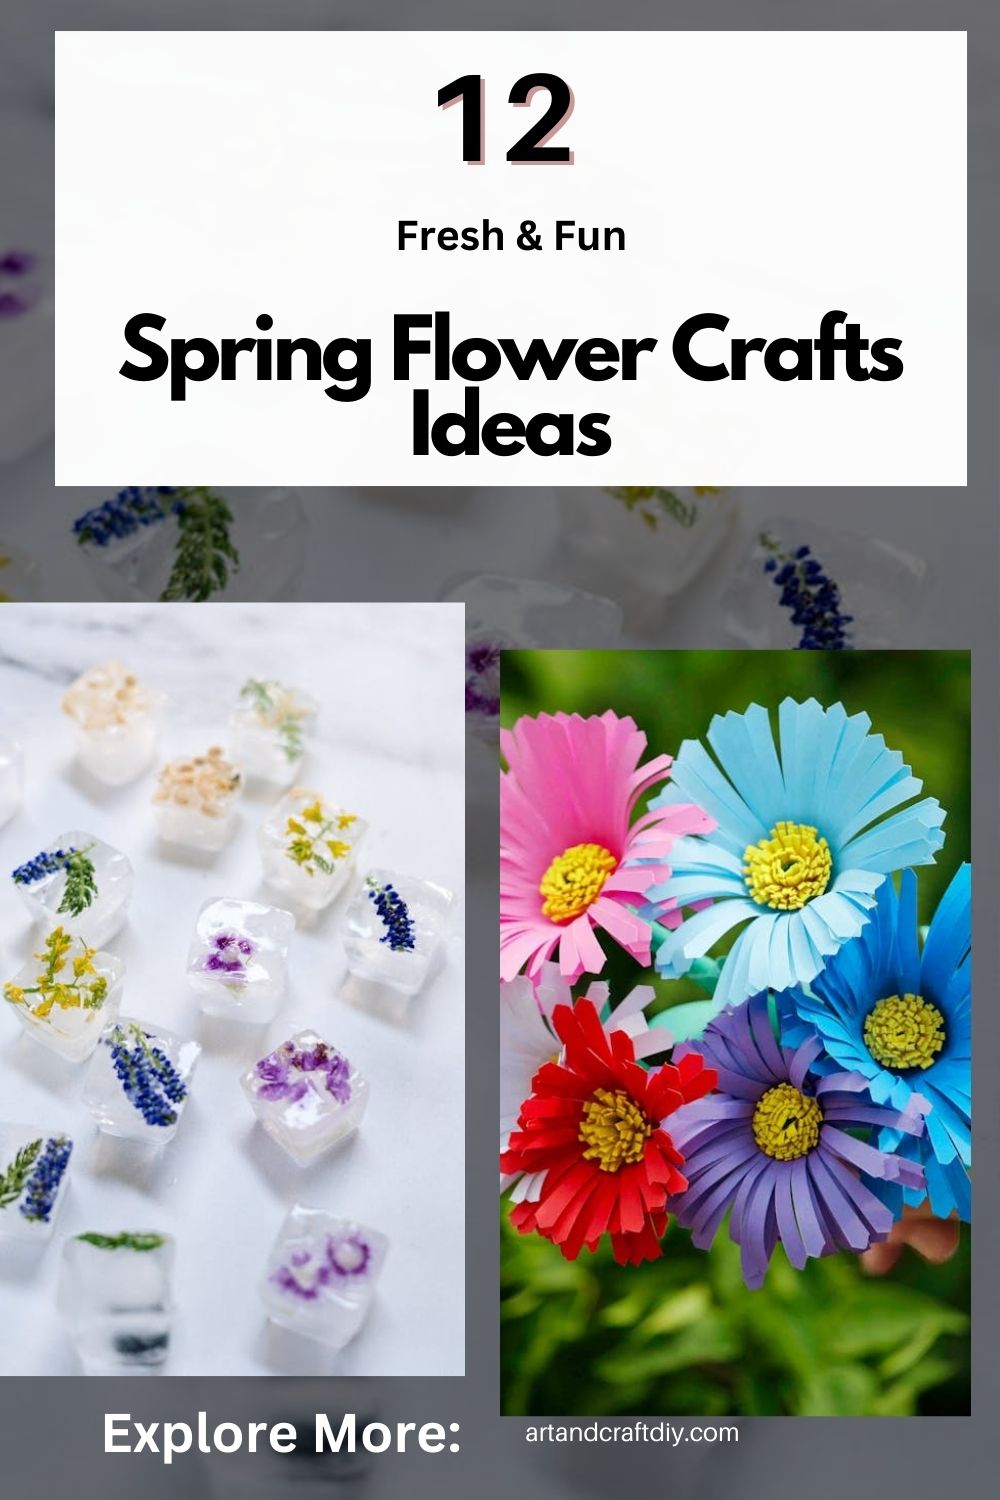
In this article, I’ll share easy, budget-friendly Spring Flower Crafts Ideas that actually feel doable — and honestly, kind of relaxing too.
Spring Flower Crafts Ideas
Spring flower crafts ideas are a fun and creative way to celebrate the beauty of the spring season. These colorful and easy DIY projects are perfect for kids and adults to enjoy at home or school.
Paper Tulip Bouquet
Honestly, paper tulips are my go-to when I want something that looks impressive but doesn’t drain my energy. I’ve made these on random Sunday afternoons with just colored craft paper, glue, and wooden skewers. In my opinion, the trick is folding the petals slightly inward so they don’t look flat and lifeless. I usually roll the paper just a bit with a pencil to give it that soft curve.
To be fair, my first bouquet looked like red paper flames instead of tulips. But once I adjusted the petal shape and wrapped green paper tightly around the stick for stems, it started to look charming. I like arranging them in odd numbers and tying them with jute string. If you’re making these with kids, let them mix wild colors. It doesn’t have to be realistic. The joy is in creating something bright that lasts way longer than real flowers.
Tissue Paper Flowers
Tissue paper flowers are messy, colorful, and honestly one of the most satisfying crafts ever. I’ve found that layering 6–8 sheets of tissue paper gives the best fluff. Fold it accordion-style, tie the center with thread, and then gently pull each layer upward. That “fluffing” part? Weirdly therapeutic.
I once made a giant pink one that completely took over my dining table, and I didn’t even mind. In my opinion, mixing two shades in one flower makes it look fuller and more interesting. Just be gentle while separating layers because tissue tears easily (learned that the hard way). These are perfect for spring parties or just brightening up a dull wall. And honestly, they look way more complicated than they actually are.
Egg Carton Daisies
Egg carton daisies are one of those crafts that make you feel clever for reusing something simple. I cut each egg cup out individually and trim the edges into petal shapes. After painting them white and adding a bright yellow button or pom-pom in the center, they suddenly look adorable.
I’ve found that acrylic paint works better than watercolor because it covers the gray carton texture properly. To be fair, they don’t look perfect, and that’s kind of the charm. I once stuck magnets on the back and turned them into fridge decor. You can glue them onto sticks for mini bouquets too. It’s such a budget-friendly spring craft, and honestly, it feels good turning something destined for the trash into cheerful little daisies.
Handprint Flower Art
Handprint flower art always feels a little sentimental to me. I’ve done this with kids at family gatherings, and every time, someone ends up keeping it forever. You just paint the palm and fingers, press it onto paper, and let it dry. The fingers become petals, and you draw a stem underneath.
In my opinion, it’s more about the memory than perfection. I once framed a slightly smudged one because that tiny imperfection made it more real. Use bright spring colors and maybe add small details like butterflies or grass around it. Honestly, this craft is super simple but emotionally powerful. If you’re doing it with little ones, keep wipes nearby because things get messy fast. But that’s part of the fun, right?
Popsicle Stick Flower Garden
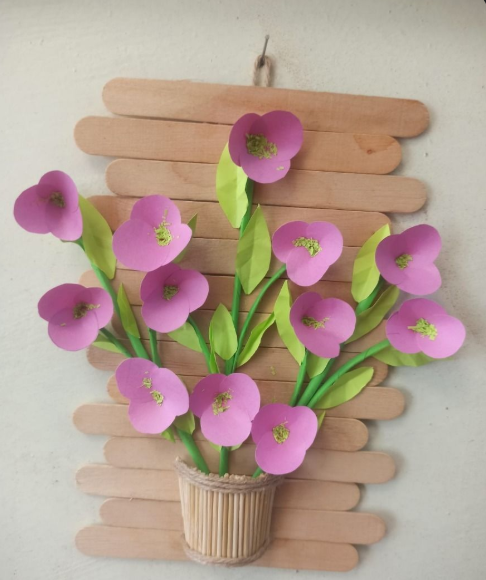
I love popsicle stick crafts because they’re sturdy and easy to work with. For a mini flower garden, I paint the sticks green for stems and glue paper or foam flowers on top. Sometimes I cross two sticks to make a little fence for the “garden” background.
To be fair, this one can look basic if you rush it. I’ve found that adding small details like glitter centers or tiny ladybugs makes it more interesting. Once, I glued the sticks onto a cardboard base and created a whole 3D scene with cotton clouds. It felt oddly satisfying seeing it all come together. This craft is great for spring classroom displays or even just decorating a child’s room. And honestly, it’s hard to mess up.
Pressed Flower Bookmark
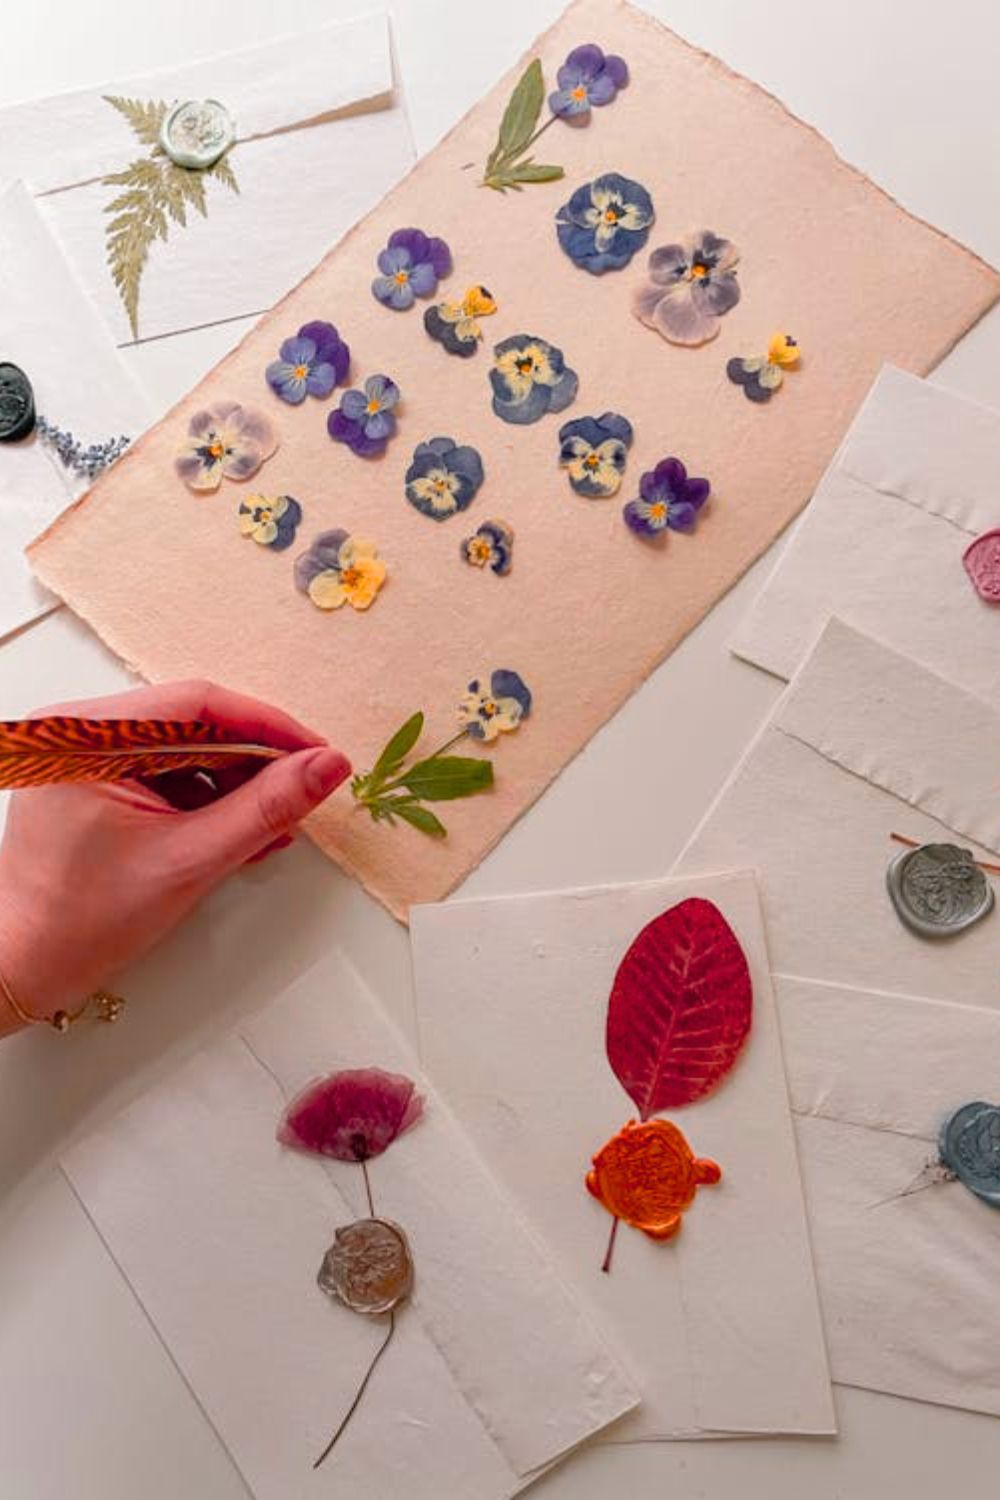
Pressed flower bookmarks feel so delicate and grown-up compared to other crafts. I usually press flowers inside a heavy book for about a week. Once they’re flat and dry, I arrange them on cardstock and seal everything with clear tape or laminate sheets.
I’ve found that smaller flowers and thin petals work best because thick ones don’t press evenly. The first time I tried this, I didn’t wait long enough, and the petals turned brown. Lesson learned. In my opinion, this craft is perfect for book lovers. It feels personal, almost like you’re preserving a tiny piece of spring between pages. Add a ribbon at the top for a finishing touch. It’s simple, but honestly, it feels really special.
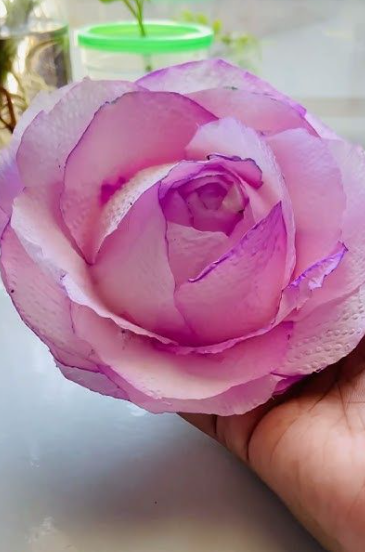
Cupcake Liner Flowers
Cupcake liners are secretly one of the best craft supplies. I flatten them slightly, layer two or three together, and stick a button in the center. The ridged texture automatically gives the petals a cute, dimensional look.
I once made pastel ones for a spring brunch setup, and everyone asked where I bought them. That’s when you know a craft is a win. In my opinion, patterned liners look even better than plain ones. Just glue them onto paper for wall art or attach them to straws for mini stems. I’ve found that hot glue works best so they don’t fall apart. Honestly, this is such an easy and affordable way to create colorful spring decor.
DIY Flower Crown
Okay, flower crowns always make me feel a little extra, but in a good way. I usually start with a flexible wire base and wrap it with floral tape. Then I attach artificial or paper flowers one by one, layering them slightly so it looks full.
To be fair, balancing the size of flowers is important. I once used only big blooms, and it looked overwhelming. I’ve found that mixing small fillers with larger flowers creates a softer look. In my opinion, these are perfect for spring photos or garden parties. Just secure everything tightly because you don’t want petals falling off mid-event. Honestly, when you wear something you made yourself, it feels so much more special.
Mason Jar Flower Decor
Mason jars and flowers are a classic combo for a reason. I like painting the jar lightly in pastel shades or wrapping twine around the neck. Then I fill it with either fresh blooms or handmade paper flowers.
I once added fairy lights inside a jar, and it instantly became the coziest spring corner in my home. I’ve found that even simple wildflowers look beautiful in clear jars. In my opinion, the charm is in keeping it a little rustic and not overly polished. These jars are great for centerpieces or window sills. Honestly, it’s one of those crafts that looks Pinterest-perfect but is surprisingly easy to pull off.
Felt Flower Brooch
Felt flower brooches are small but surprisingly fun to make. I cut felt into petal shapes and layer them in circles, stitching or gluing them together. Adding a small bead in the center gives it a finished look.
The first one I made looked slightly uneven, but honestly, that handmade touch made it cute. I’ve found that thicker felt holds shape better. Attach a brooch pin at the back, and you suddenly have wearable spring art. In my opinion, these make lovely little gifts too. They’re simple, colorful, and personal. And every time I wear one on my jacket or tote bag, someone asks about it, which always makes me smile.
Tips for Making Beautiful Flower Crafts
Making flower crafts in spring is a fun and relaxing activity for all ages. With the right colors and simple techniques, you can create bright and beautiful designs easily.
-
Use bright and pastel spring colors – Choose soft pink, yellow, lavender, mint, and sky blue shades to give your crafts a fresh spring look.
-
Mix different textures and materials – Combine paper, fabric, felt, ribbons, and recycled items to add depth and make your flowers more attractive.
-
Keep designs simple for beginners – Start with easy shapes and basic patterns so the craft looks neat and is enjoyable to make.
-
Let children explore creativity – Encourage kids to try different colors and styles without worrying about perfection. Creativity makes each craft special.
-
Protect finished crafts with sealant if needed – Use a clear glue coat or craft sealant to make your flower crafts last longer and stay fresh.

Hi, I’m Victoria, an art and craft teacher at Newark City Schools, where I have the joy of working with middle school students to help them explore their creativity and develop their artistic talents. I believe that art is a powerful way for students to express themselves, and I strive to make every lesson a fun, engaging, and inspiring experience.
I created this website to share the art and craft projects, techniques, and resources that I use in my classroom, hoping to inspire both educators and young artists alike. Whether you’re a teacher looking for new ideas or a student eager to try something new, I’m excited to provide creative tools and projects that anyone can enjoy.
When I’m not in the classroom, I love experimenting with different art forms and learning new crafting techniques. My goal is to help others discover the joy of making things with their hands, and I hope my website serves as a space for everyone to explore their creative potential.