
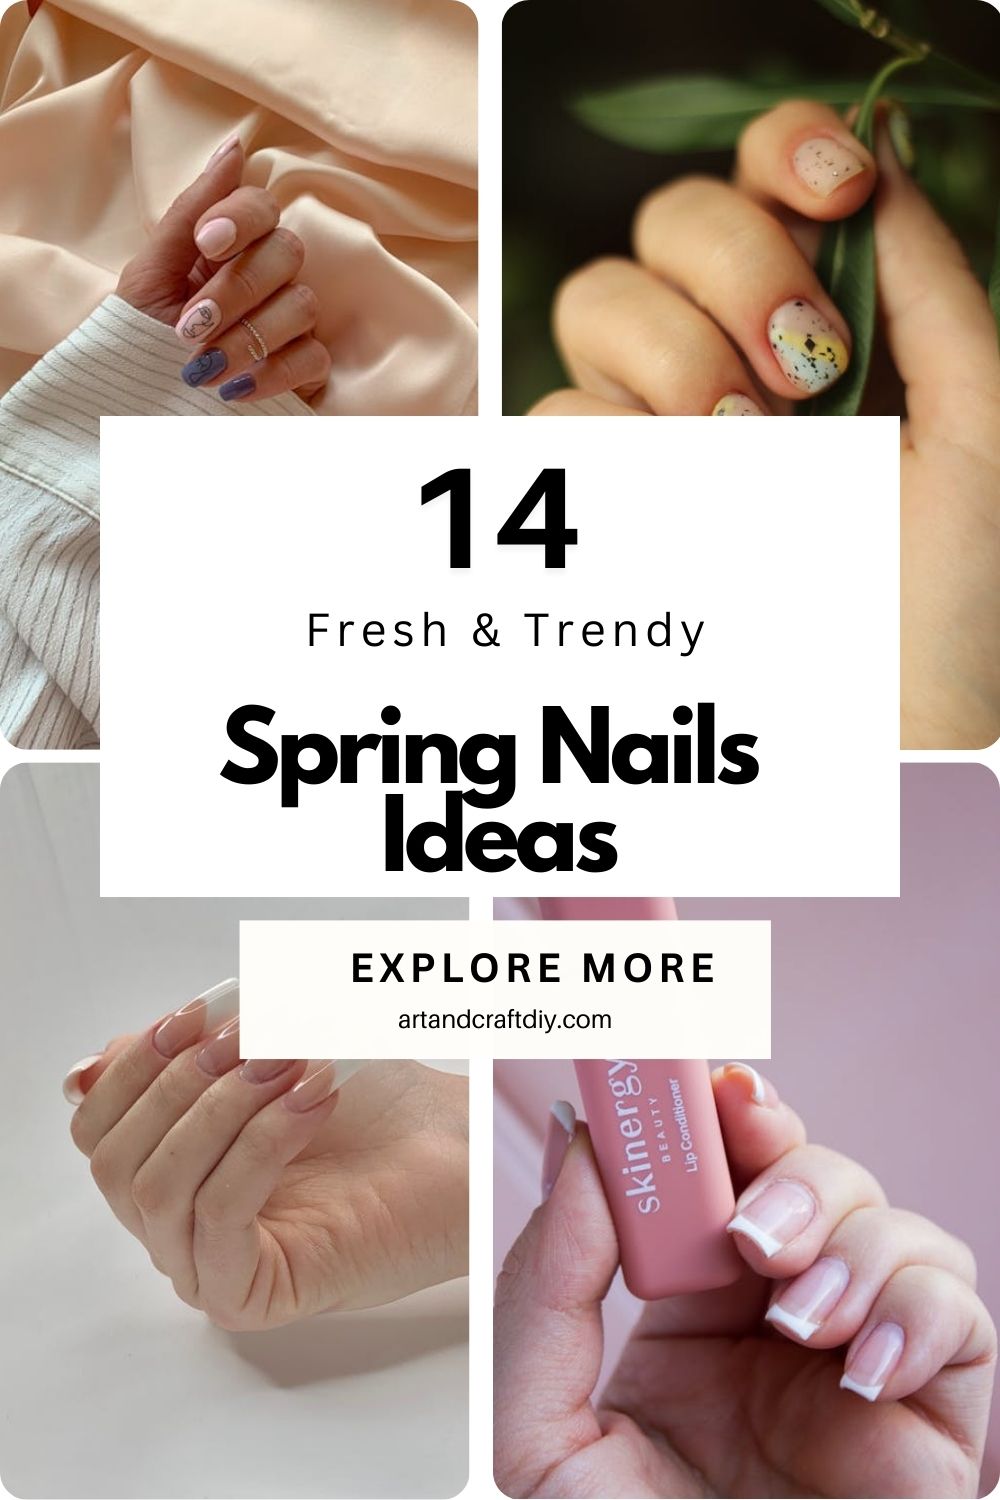
Last spring, I remember standing in the nail salon totally blank on what to choose. Winter shades felt too dark, but I wasn’t quite ready for neon summer vibes either. Ever been there? That awkward in-between moment where you just want something fresh, soft, and a little happy? That’s exactly why I started saving my favorite Spring Nails Ideas.
There’s just something about spring nail designs — the pastel nail colors, tiny floral nail art details, soft pinks, mint greens, and those dreamy French tip nails with a twist. They instantly make you feel put together, even if the rest of your life is… well, slightly chaotic (same here). Whether you love simple spring manicure looks or bold acrylic spring nails, there’s honestly something for everyone.
So if you’re staring at your nails wondering what to try next, don’t worry. I’ve got you. Let’s find a look that feels like sunshine at your fingertips.
Spring Nails Ideas
Spring nails ideas are all about soft colors, fresh flowers, and bright, happy designs. They are perfect for adding a light and beautiful touch to your look this season.
Pastel French Tips
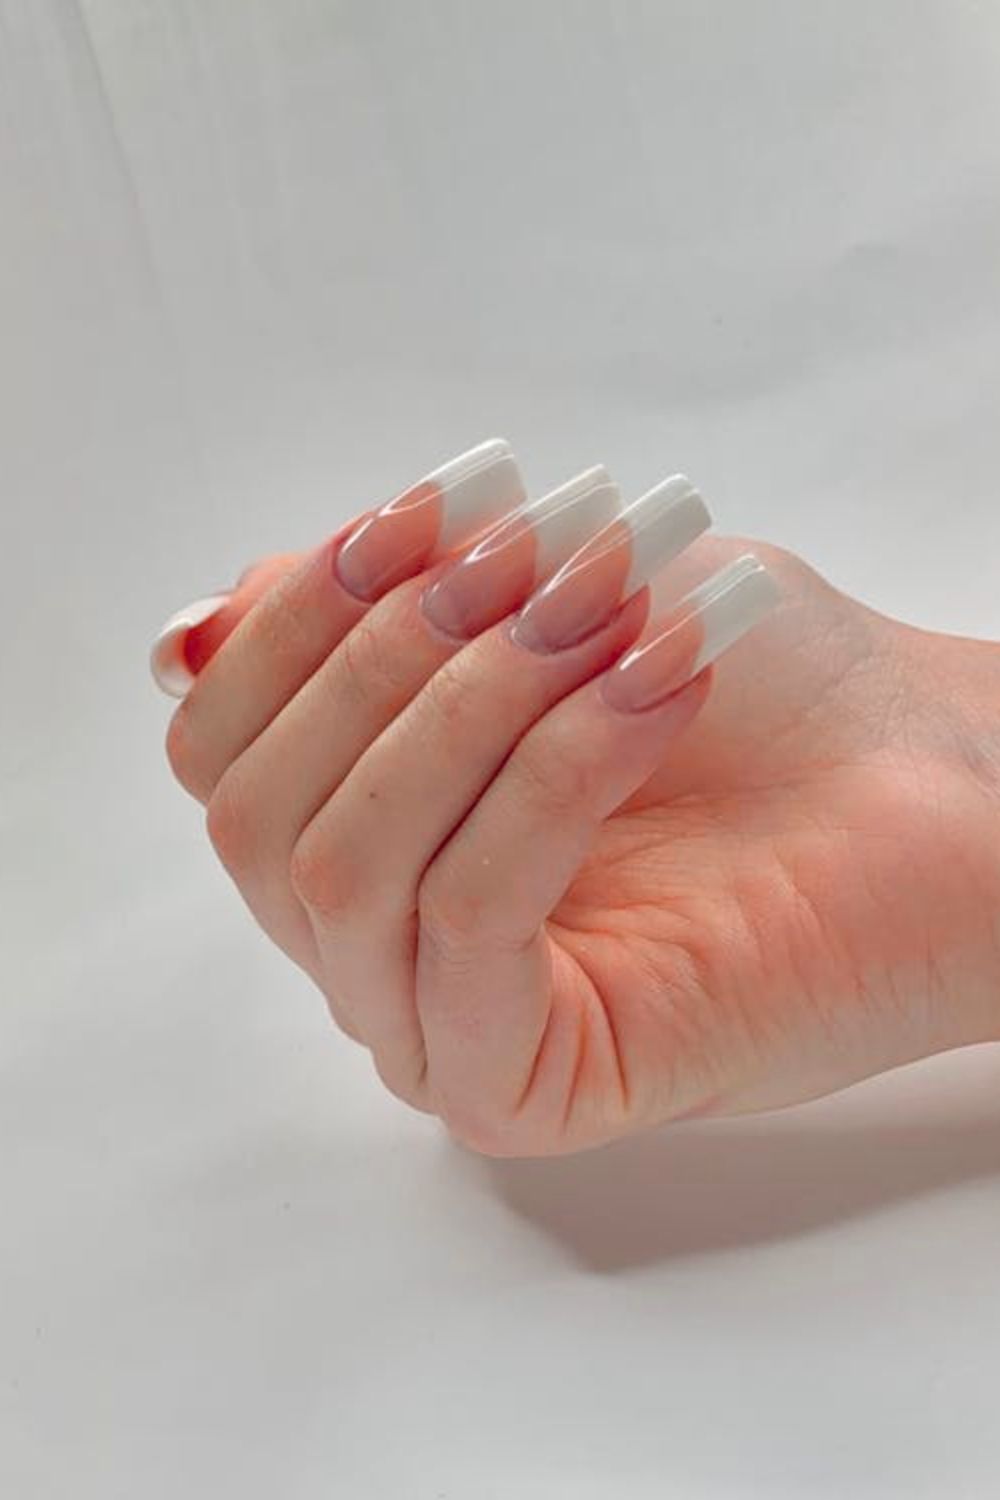
Honestly, I used to think French tips were a bit boring… until I tried them in soft spring pastels. Game changer. Instead of the classic white tip, I go for baby pink, lilac, mint, or even butter yellow. It instantly feels lighter and more playful. In my opinion, this is the easiest way to dip your toes into spring nails without doing anything too dramatic. I’ve worn these to brunch, to weddings, even just casually, and they always look fresh.
If you’re doing them at home, I’ve found that using nail guides or even a steady hand with a thin brush works best. Don’t stress if the line isn’t perfect — slightly imperfect pastel tips actually look cute and soft. I usually apply a sheer nude base first so the colors pop more. And please, seal it with a glossy top coat. That shine makes everything look professionally done, even if you did it at your bedroom desk.
Daisy Flower Nails
Daisy nails just scream spring to me. The first time I tried them, I couldn’t stop staring at my hands — they felt so cheerful. I usually keep the base simple, like soft pink or milky white, and then add tiny white daisies with yellow dots in the center. It’s sweet without trying too hard. Honestly, they remind me of sunny afternoons and flowy dresses.
You don’t need to be an artist for this. I use a dotting tool (sometimes even a toothpick, to be fair) to create the petals. Five little dots in a circle and one yellow dot in the middle — that’s it. I like keeping the flowers on just one or two accent nails so it doesn’t look overcrowded. If you’re nervous, practice on paper first. It’s surprisingly calming, and once you get the hang of it, you’ll want daisies on everything.
Cherry Blossom Nail Art
Cherry blossom nails feel a little more delicate and artistic. I tried them last spring and honestly felt like I had mini paintings on my fingertips. I usually go for a sheer pink or nude base, then add thin brown branches with tiny pink blossoms scattered across. It’s subtle but so pretty in natural light. In my opinion, this design looks especially beautiful on almond or oval-shaped nails.
When I do this at home, I use a super thin nail art brush for the branches. Don’t overthink the placement — blossoms look better when they’re random. I’ve found that mixing light and slightly darker pink dots makes the flowers look more realistic. Finish with a glossy top coat so everything blends nicely. It does take patience, but honestly, it’s worth the extra time when someone grabs your hand and says, “Wait, your nails are so cute!”
Mint Green Ombre Nails
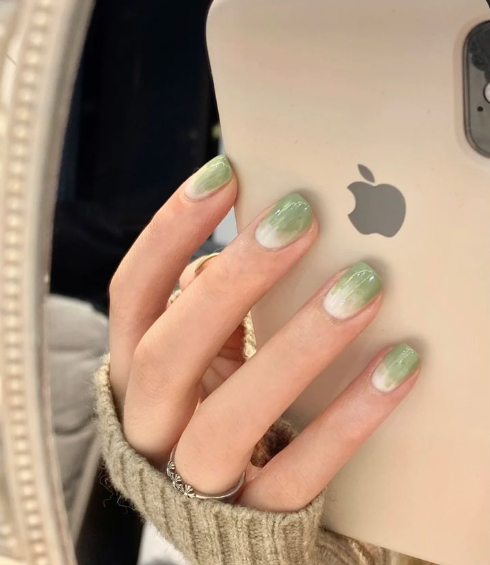
Mint green just feels fresh. Every time I wear it, I get compliments, especially during spring. I like doing a soft ombre that fades from a nude base into mint at the tips. It looks clean and modern, but still playful. To be fair, I was intimidated by ombre at first — it looks complicated — but it’s actually easier than it seems.
I usually use a makeup sponge to dab the mint polish onto the tips. Light tapping motions work best, and don’t worry if it looks messy at first. A couple of layers and it blends beautifully. I always clean up the edges with a small brush dipped in remover. In my experience, mint pairs so nicely with gold rings — it just gives that effortless spring vibe. Honestly, if you want something simple but not basic, this is it.
Butterfly Accent Nails
Butterflies are such a spring cliché, but I love them anyway. There’s something about a tiny butterfly on one nail that feels so soft and feminine. I’ve done this look with pastel bases, sheer pinks, even light blue. Personally, I prefer keeping butterflies as an accent on just one or two nails so it doesn’t get too busy.
If you’re not confident in hand-painting them, nail stickers are completely fine. I’ve used them many times and no one could tell. Just press them onto slightly tacky polish and seal with two layers of top coat. If you are painting them, use a thin brush and start with simple wing shapes. Honestly, the tiny details aren’t as important as the overall vibe. Even slightly imperfect butterflies look artistic, not messy.
Soft Pink Glitter Nails
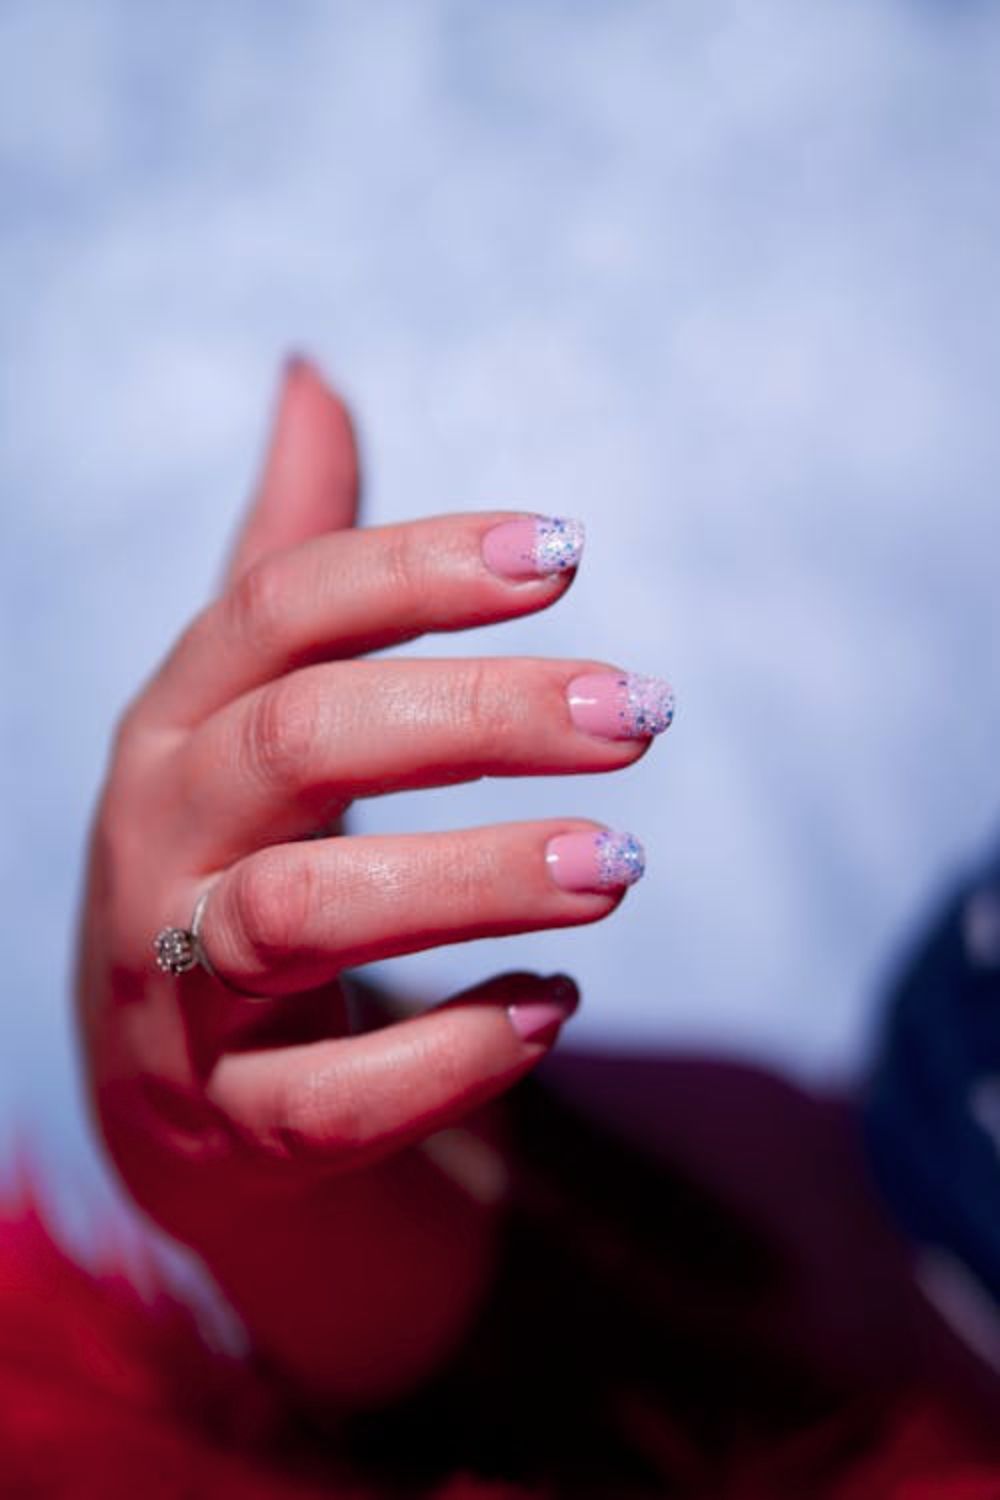
Soft pink glitter nails are my go-to when I want something easy but still eye-catching. I’ve found that a sheer pink base with fine glitter layered on top gives that fairy-like glow without looking over the top. Honestly, in certain lighting, it almost looks magical. I wore this once to a spring evening event and my nails literally sparkled under the lights.
When applying glitter, I like to dab it on instead of brushing it — it gives more control and better coverage. You can keep it subtle or build it up for more shine. In my opinion, this design works on any nail length, even short nails. Just make sure you use a good top coat to smooth out the glitter texture. Trust me, that extra layer makes all the difference in how polished it looks.
Lavender Swirl Nails
Lavender is such an underrated spring shade. It’s soft but still interesting. I love pairing it with white or a slightly darker purple to create swirl designs. The first time I did swirls, I thought they’d look messy, but honestly, that’s kind of the charm. They’re supposed to be fluid and imperfect.
To create the swirls, I use a thin brush and gently drag the polish in curved motions before it fully dries. Don’t overthink it — just let your hand move naturally. I’ve found that less is more with swirls. Too many lines can look chaotic. A glossy finish really makes the lavender pop, but sometimes I try a matte top coat for a softer look. In my opinion, lavender swirls feel artsy but still wearable for everyday.
Nude Floral Nails
Nude floral nails are perfect if you want something elegant but still spring-inspired. I personally love a warm nude base with tiny floral details in soft pink or white. It looks clean and minimal, yet there’s still personality there. Honestly, this is one of those designs that works for literally any occasion.
When I do floral details, I keep them small and scattered. A dotting tool makes life easier, especially for creating little petals. I’ve found that adding a tiny green leaf next to a flower makes the whole design feel more complete. Don’t overload every nail — leaving some plain keeps it balanced. In my opinion, nude florals are classy without being boring, which is honestly a hard balance to strike.
Baby Blue Chrome Nails
Baby blue chrome nails are such a fun twist on classic spring shades. The chrome finish gives this subtle metallic shine that shifts in the light, and honestly, it looks way more expensive than it actually is. I tried it on a whim and ended up obsessed. It’s soft, but there’s still that “wow” factor.
To get the chrome effect, you’ll need chrome powder and a gel top coat. I gently rub the powder over a cured no-wipe top coat until it turns shiny. It’s oddly satisfying. Then seal everything with another top coat. In my experience, chrome looks best on smooth, well-shaped nails, so take your time with prep. Baby blue chrome feels modern, fresh, and slightly futuristic — perfect for standing out this spring.
Peachy Spring Gradient Nails 🌸
Peach tones just feel warm and happy to me. I love blending peach into soft coral or light pink for a smooth gradient effect. It gives that sunset vibe but in a really soft, spring-friendly way. Honestly, every time I wear peach shades, my hands look more glowy.
I usually create the gradient using a sponge, gently dabbing two colors where they meet so they blend naturally. It can look messy at first — mine definitely did — but layering helps smooth everything out. Clean up the edges and add a glossy top coat to bring it all together. In my opinion, peach gradients are perfect if you want something colorful but not too loud. They just feel joyful, and that’s exactly the energy I want my spring nails to have.
Cute & Simple Spring Nail Ideas

Hi, I’m Victoria, an art and craft teacher at Newark City Schools, where I have the joy of working with middle school students to help them explore their creativity and develop their artistic talents. I believe that art is a powerful way for students to express themselves, and I strive to make every lesson a fun, engaging, and inspiring experience.
I created this website to share the art and craft projects, techniques, and resources that I use in my classroom, hoping to inspire both educators and young artists alike. Whether you’re a teacher looking for new ideas or a student eager to try something new, I’m excited to provide creative tools and projects that anyone can enjoy.
When I’m not in the classroom, I love experimenting with different art forms and learning new crafting techniques. My goal is to help others discover the joy of making things with their hands, and I hope my website serves as a space for everyone to explore their creative potential.