Last summer, I remember sitting at my table with a lump of clay and absolutely no idea what to make. It was too hot to go outside, my phone battery was dying, and I just needed something fun and creative to do. Ever been there? That restless summer feeling where you want to try something new but don’t know where to start? That’s exactly how I stumbled into making simple, colorful summer clay crafts.
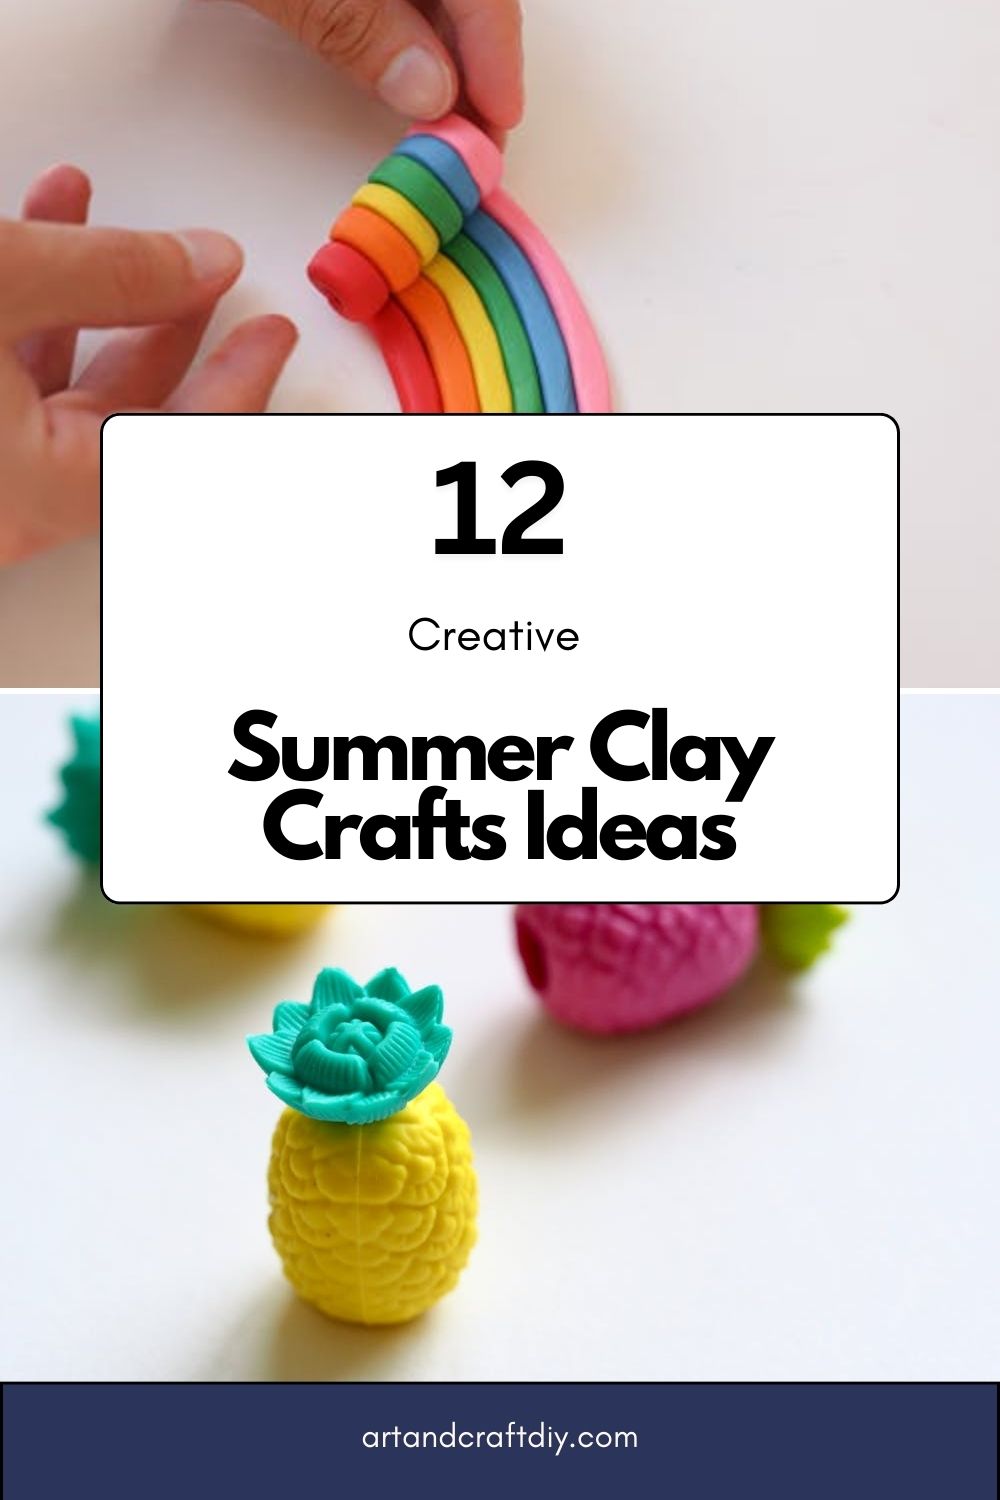
If you’ve been craving easy, hands-on summer clay crafts ideas that don’t feel complicated or overwhelming, you’re in the right place. Whether you’re crafting alone, with kids, or planning a chill weekend project, clay is honestly such a relaxing escape. In this article, I’ll share creative, beginner-friendly summer clay crafts ideas that are fun, affordable, and totally doable — even if you don’t think you’re “artistic.” Trust me, you’ll surprise yourself.
Summer Clay Crafts Ideas
Every summer, when the days feel long and a little lazy, I love pulling out some clay and just creating without overthinking it. Summer Clay Crafts Ideas are perfect for relaxing, getting creative, and making something cute with your own hands.
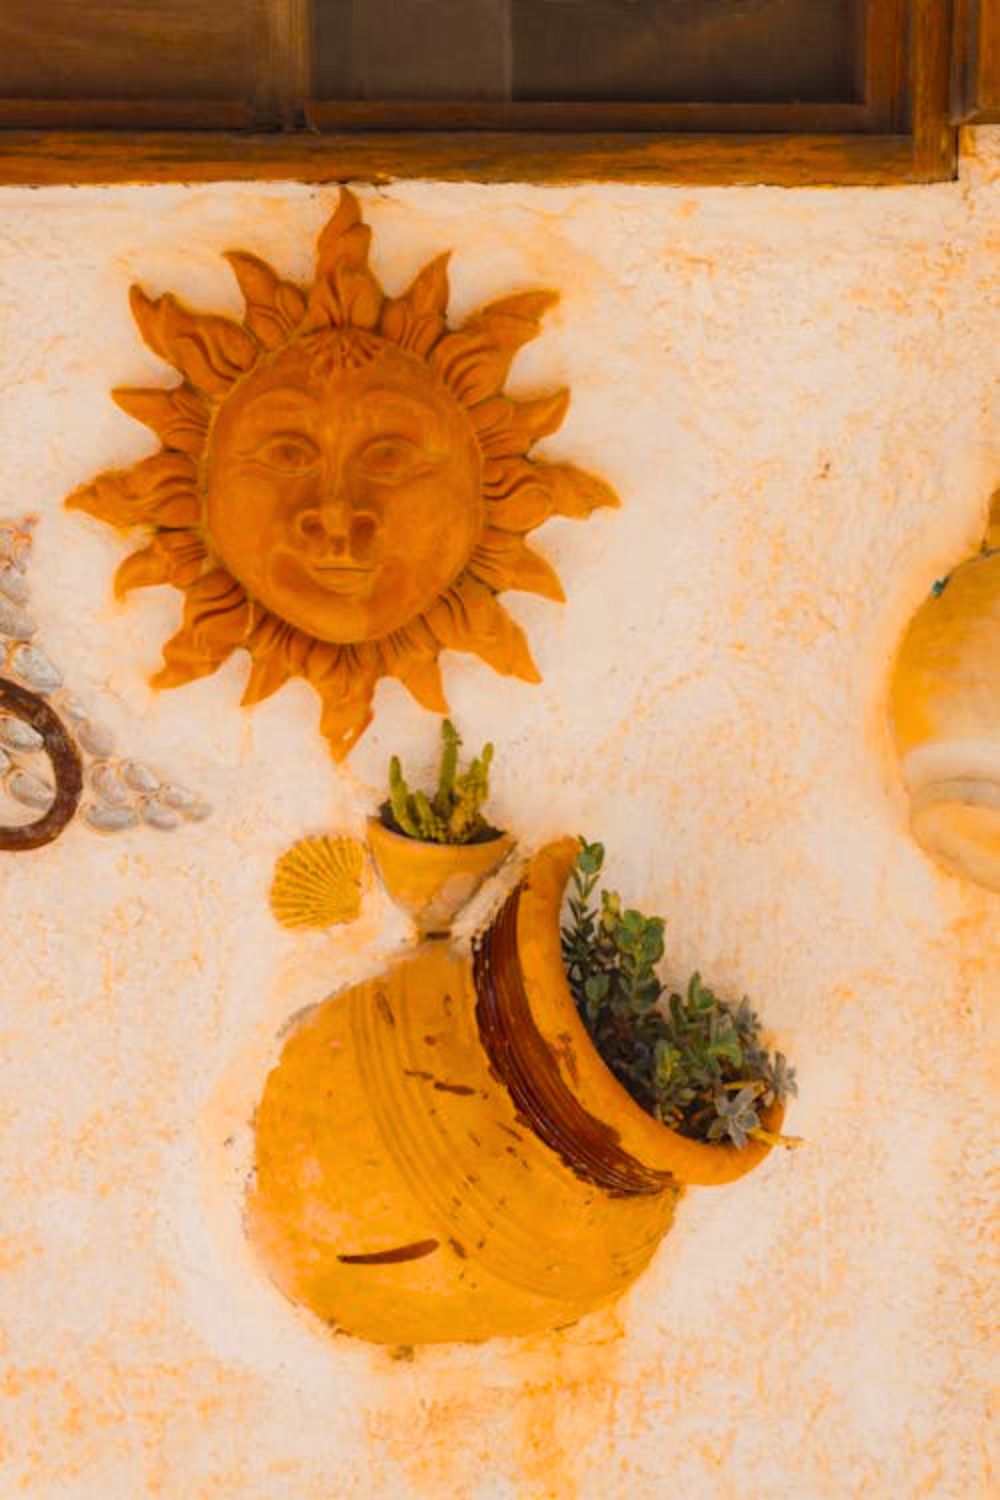
Clay Sun Wall Hanging
Every summer, I somehow end up making at least one sun-themed craft. I don’t plan it — it just happens. There’s something about shaping clay into a bright, smiling sun that instantly lifts my mood. I usually roll out air-dry clay, cut a rough circle (perfection is overrated, honestly), and then pinch out little rays with my fingers. Sometimes I add texture using a fork or toothpick, just to give it that handmade charm.
Once it dries, I paint it in bold yellows and oranges. In my opinion, layering two shades makes it look less flat and more “alive.” Don’t forget to poke a hole at the top before drying so you can thread twine through it. I’ve hung mine near my window, and every time sunlight hits it, it feels like summer decided to stay a little longer.
Mini Clay Cactus Pots
I started making mini clay cactus pots after killing a real cactus — which, to be fair, I didn’t even think was possible. So I made the “zero maintenance” version. These are tiny, cute, and honestly addictive to create. I shape small pots first, let them dry a bit, and then sculpt the cactus separately so I can add those little spikes with a needle tool.
Painting is where the magic happens. I mix greens instead of using just one flat shade because it looks more realistic. You can even glue tiny pebbles on top for a finished look. I’ve gifted these to friends who claim they’re “bad with plants,” and they love them. If you’re hosting a summer craft party, these are such easy crowd-pleasers.
Seashell Imprint Trinket Dishes
This one feels extra special to me because I usually collect seashells during beach trips and then forget about them in a drawer. Pressing those shells into rolled-out clay gives them a second life. I flatten a small circle of clay, gently press the shell into it for texture, and slightly curve the edges upward to form a shallow dish.
After drying, I paint it in soft coastal shades — whites, sandy beige, sometimes even a light turquoise. A thin coat of gloss varnish makes it look almost ceramic. I’ve found these dishes perfect for holding rings or tiny earrings. And every time I use one, I remember that beach day. It’s simple, but honestly, it feels meaningful.
Ice Cream Cone Clay Magnets
I’ll admit, I made these just because they looked cute on my fridge. Tiny clay ice cream cones scream summer. I shape a small cone first, adding crosshatch lines with a toothpick, then roll little scoops of “ice cream” on top. Slightly squishing the scoop gives it that melting effect.
Once painted — pastel pinks, mint greens, chocolate browns — I glue a small magnet at the back. It’s such an easy project, especially for kids at summer workshops. I’ve noticed people get really creative with “flavors,” adding sprinkles with tiny paint dots. Honestly, they’re so cheerful that opening the fridge doesn’t feel boring anymore.
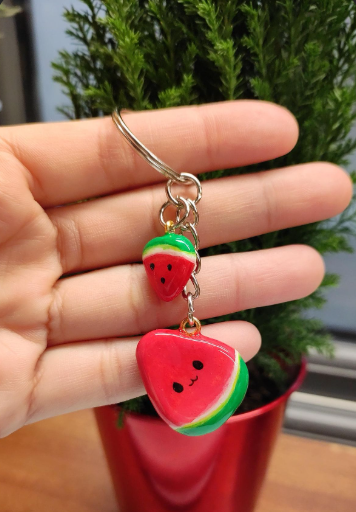
Watermelon crafts just feel like summer in solid form. I roll clay into a thick triangle shape and slightly round the edges. Then I carve a little line to separate the rind from the fruit. It’s simple but satisfying. Before drying, I insert a small eye pin at the top for the keychain ring.
Painting is the fun part — bright red, deep green, and tiny black seed dots. I’ve found that adding a glossy finish makes it look juicy. I actually made a batch for a summer fair, and they sold out faster than I expected. They’re lightweight, colorful, and in my opinion, perfect little handmade accessories.
Tropical Leaf Clay Coasters
I’ve always loved tropical decor, so making leaf-shaped clay coasters felt natural. I roll the clay a bit thicker than usual so it’s sturdy. Then I place a real leaf on top and gently roll over it to transfer the veins. Peeling it off is oddly satisfying.
After drying, I usually paint them in deep greens or even metallic gold if I’m feeling bold. To be fair, sealing them properly is important so they actually work as coasters. I’ve used mine during summer brunches, and guests always ask where I bought them. That’s the best feeling — saying, “I made them.”
Clay Flamingo Figurines
Flamingos are dramatic in the best way, and I love that about them. Sculpting one is slightly more detailed, but honestly, it’s worth it. I shape the body first, then carefully add a curved neck and thin legs using wire inside for support.
Painting brings them to life — soft pink with a darker beak tip. I’ve learned to let each section dry slightly before adding details so it doesn’t collapse. These look adorable as shelf decor or party table centerpieces. In my opinion, they instantly add that tropical vacation vibe to any room.
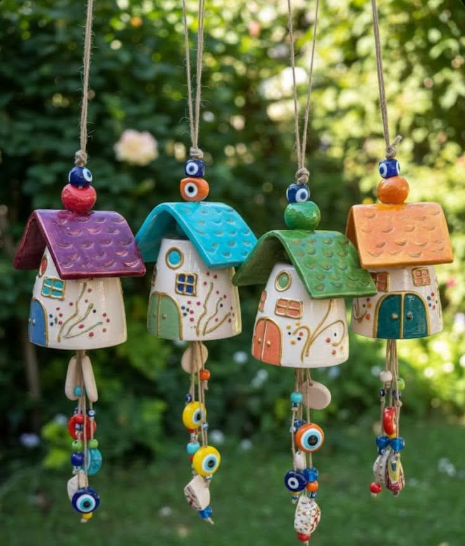
I once made clay charms for a wind chime after breaking the original pieces, and it turned out better than I expected. I cut out small summer shapes — stars, suns, leaves — and poke holes at the top before drying.
After painting them in bright shades, I string them onto twine or fishing line and attach them to a wooden ring. The sound is soft and subtle, but honestly, I love how handmade it feels. Sitting outside in the evening and hearing that gentle clink? It’s peaceful in a way store-bought decor rarely is.
Pineapple Clay Jewelry Holders
Pineapples just scream summer fun. I shape a small dish first, then sculpt a pineapple body at the center, adding texture with tiny cross lines. The leafy top gives it height and personality.
I usually paint it in bright yellow with green leaves, sometimes adding gold accents for a glam look. I’ve found this design works beautifully as a jewelry holder on a dresser. It’s playful but practical. And honestly, it makes organizing earrings feel less like a chore.
Beach-Themed Clay Photo Frames
I love making photo frames because they hold actual memories. I create a simple rectangular clay frame and press tiny shells or star shapes around the edges for texture. It’s not perfectly symmetrical — and that’s okay.
After painting in sandy tones, I sometimes dry-brush white paint lightly to create a weathered look. Sliding a summer photo inside makes it extra special. I’ve gifted these after beach trips, and people genuinely get emotional. It’s not just decor — it’s a memory you can touch.
Clay Butterfly Hair Clips
Butterflies always remind me of warm afternoons. I roll out clay, cut small butterfly shapes, and gently carve wing details before drying. Once dry, I glue them onto simple metal hair clips.
Painting them in bright summer shades makes them pop. I’ve made matching sets for summer parties, and honestly, they look adorable in photos. They’re lightweight and easy to wear. In my opinion, handmade hair accessories feel way more special than store-bought ones.
Handmade Clay Name Tags for Summer Parties
If you’re hosting a summer party, these name tags are such a thoughtful detail. I roll small clay rectangles or fun shapes like popsicles or fruits. Before drying, I carve each guest’s name carefully.
After painting and sealing, I attach a pin or string at the back. I’ve used these at craft parties, and guests actually kept them as souvenirs. It’s such a small touch, but honestly, it makes people feel seen. And that’s what summer gatherings are all about — connection, creativity, and a little handmade magic.
Tips for Successful Summer Clay Crafting
Summer is such a fun time to work with clay, but the heat can sometimes make things a little tricky. I’ve learned that a few simple habits can make your crafting time smoother and way more enjoyable. Here are some easy tips that really help during summer clay projects:
Work in a cool, shaded space Try to set up your craft area away from direct sunlight. Too much heat can dry the clay too quickly and cause cracks. A cool room or shaded balcony works perfectly.
Store clay properly to prevent drying Always keep unused clay in an airtight container or tightly wrapped in plastic. This keeps it soft and ready for your next project.
Use lightweight designs for quicker drying During summer, lighter and thinner designs dry faster and more evenly. Avoid making very thick pieces unless needed, as they may crack in heat.
Keep tools clean for neat results Clean your tools and hands often while working. This prevents dust, dried clay bits, and color mixing, helping your final piece look smooth and polished.
With these small tips, your summer clay crafting sessions will feel easier, cleaner, and much more fun!
Hi, I’m Victoria, an art and craft teacher at Newark City Schools, where I have the joy of working with middle school students to help them explore their creativity and develop their artistic talents. I believe that art is a powerful way for students to express themselves, and I strive to make every lesson a fun, engaging, and inspiring experience.
I created this website to share the art and craft projects, techniques, and resources that I use in my classroom, hoping to inspire both educators and young artists alike. Whether you’re a teacher looking for new ideas or a student eager to try something new, I’m excited to provide creative tools and projects that anyone can enjoy.
When I’m not in the classroom, I love experimenting with different art forms and learning new crafting techniques. My goal is to help others discover the joy of making things with their hands, and I hope my website serves as a space for everyone to explore their creative potential.