
Last summer, my little niece came over for a few days, and let me tell you… keeping a toddler busy in the heat is not easy. After about ten minutes of running around, she looked at me with those big bored eyes like, “What now?” I realized quickly that toys alone weren’t going to save the day. That’s when we started trying simple summer crafts for toddlers using things we already had at home — paper plates, crayons, a little glue, and lots of giggles.
Honestly, it turned into one of the best parts of our afternoons. Toddlers love creating things with their hands, even if it gets a bit messy (okay… sometimes very messy).
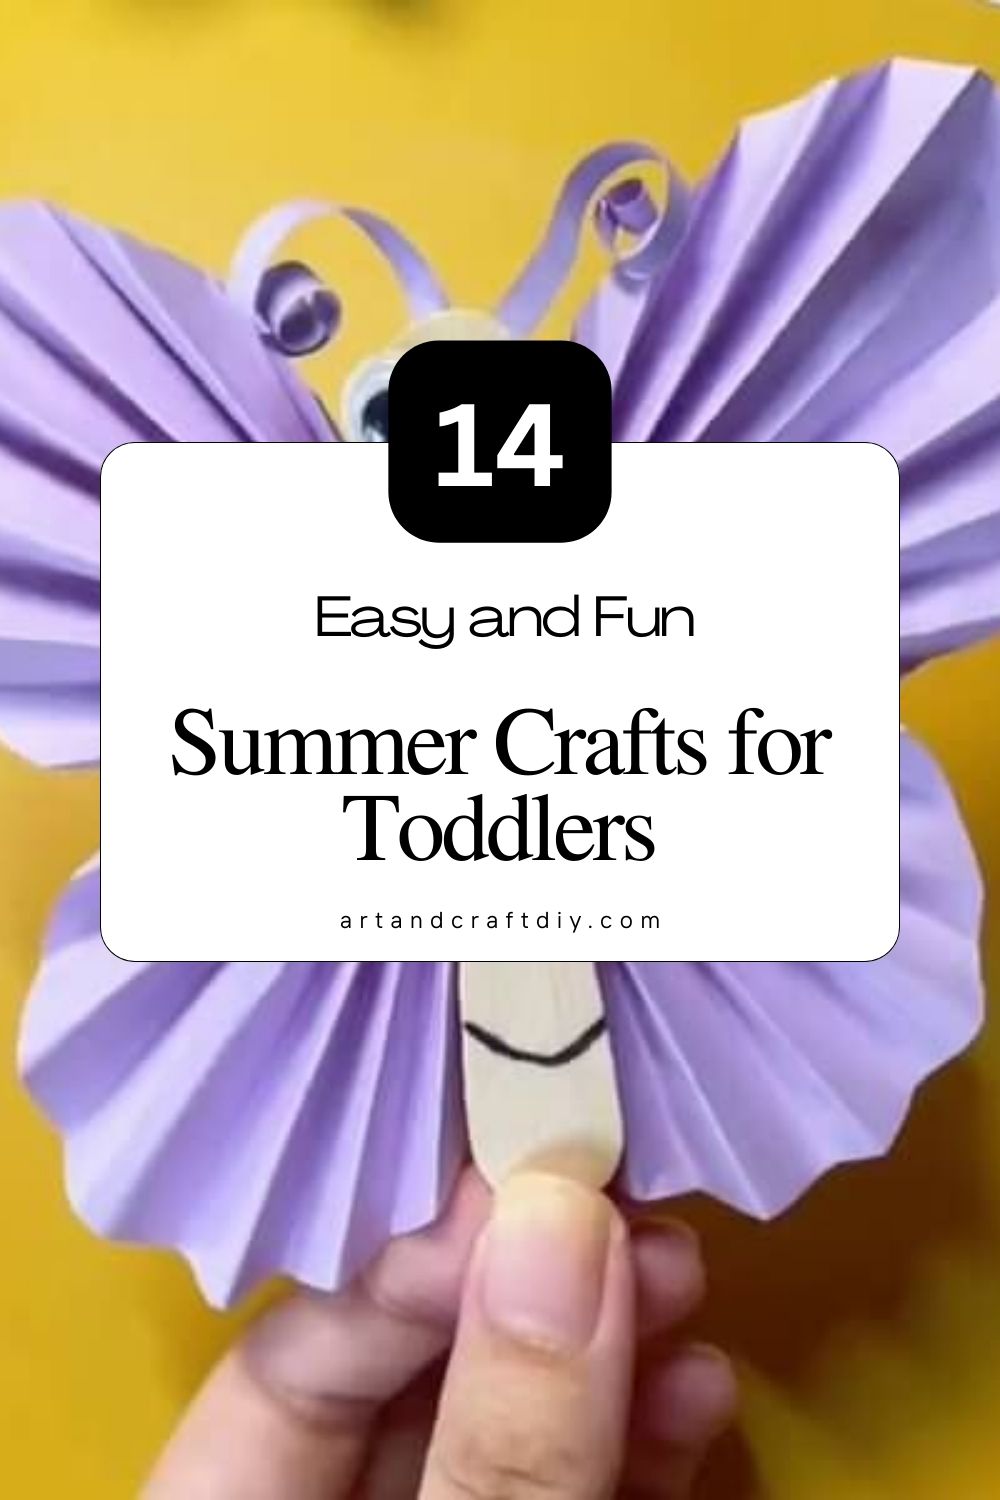
If you’ve ever wondered how to keep your little one busy during long summer days, you’re in the right place. I’m sharing fun, easy summer crafts for toddlers that spark creativity, build small skills, and keep those tiny hands happily busy. Trust me, these ideas really help.
Summer Crafts for Toddlers
Summer is the perfect time to let little ones explore colors, textures, and creativity through fun summer crafts for toddlers. These simple activities keep tiny hands busy while helping them learn, play, and enjoy the sunny days at home.
Paper Plate Sun Craft

Honestly, this one is always my go-to when I want something bright and cheerful for spring decor. I remember the first time we tried the paper plate sun craft during a rainy afternoon. The kids were bored, and I just grabbed a stack of paper plates, yellow paint, and some colored paper scraps. Before I knew it, the table was covered in glitter, paint fingerprints, and lots of giggles. In my opinion, crafts like this work best when you don’t worry too much about perfection.
To make it, I usually paint the whole plate bright yellow and let it dry. Then I cut out simple triangle rays from orange or yellow paper and glue them around the edges. Sometimes we add googly eyes or a big smile in the center. I’ve found that letting kids decorate the sun however they want makes the final piece feel more special. Once finished, I like hanging them near windows or on a spring craft wall.
Handprint Ice Cream Craft
To be fair, anything involving handprints instantly becomes a favorite with kids. The handprint ice cream craft is one of those little projects that ends up looking adorable without requiring fancy supplies. I first tried it during a small spring craft session at home, and honestly I didn’t expect it to turn out as cute as it did. Seeing those tiny painted hands turn into colorful scoops of ice cream is just the sweetest thing.
I usually start by painting the child’s hand in soft pastel colors like pink, mint green, or light purple. Then we press the handprint onto paper above a simple cone shape made from brown construction paper. Once it dries, I like adding tiny sprinkles with markers or glitter glue. In my opinion, these crafts double as keepsakes. Years later, you can look back at those little handprints and instantly remember that messy, joyful afternoon.
Popsicle Stick Butterfly Craft

I’ve always loved popsicle stick crafts because they’re simple but surprisingly creative. The popsicle stick butterfly craft is something I’ve made many times for spring decorating. Honestly, the first time I tried it, I wasn’t even planning a full craft session. I just had some leftover sticks and colorful paper lying around.
What I usually do is glue two popsicle sticks together in a cross shape to form the butterfly’s body. Then we cut out big, bright wings from craft paper or even patterned scrapbook paper. Sometimes we decorate the wings with markers, stickers, or glitter. I’ve found that pipe cleaners work perfectly for the antennae, and kids love twisting them into funny shapes. Once finished, these butterflies look really cute taped to walls, pinned to cork boards, or even hanging from strings.
Finger Painting Rainbow Craft
Finger painting can get messy, I won’t lie about that. But honestly, that’s part of the fun. The finger painting rainbow craft is one of those projects that feels playful and free, which is exactly the vibe I like for spring crafts. I remember trying this with a group of kids once, and the moment the paint came out, everyone’s eyes lit up.
To make it, I usually draw a faint rainbow outline on thick paper first. Then kids dip their fingers into different paint colors and fill in each arc with little dots or smudges. I’ve found that letting them blend colors a bit actually makes the rainbow look even more magical. Sometimes we add cotton balls at the ends for fluffy clouds. In my opinion, this craft is less about the final result and more about the experience of playing with color.
Sponge Painted Watermelon Craft
The sponge painted watermelon craft honestly surprised me the first time I tried it. I expected a simple painting activity, but the sponge texture made it look really cool. It actually became one of my favorite spring crafts because it’s so easy yet looks impressive when finished.
I usually cut a watermelon slice shape from thick paper first. Then I dip a small sponge into red or pink paint and dab it across the fruit area. The sponge creates a slightly uneven texture that looks surprisingly realistic. After the paint dries, we paint a green rind along the bottom and add tiny black seeds with a marker. I’ve found that kids enjoy the dabbing motion with the sponge more than regular painting. Once finished, these watermelon slices look adorable on a spring craft board or kitchen wall.
Tissue Paper Flower Craft
Spring and flowers just go together, so tissue paper flower crafts always feel like the perfect fit for seasonal decor. Honestly, the first time I made these was for a simple spring display, and I ended up loving how light and delicate they looked.
I usually stack several sheets of tissue paper, fold them accordion-style, and tie the center with a pipe cleaner. Then comes the fun part—gently pulling each layer apart to form fluffy petals. I’ve found that soft colors like pink, yellow, and lavender look especially pretty for spring themes. Sometimes we attach them to craft sticks so they look like little bouquets. In my opinion, these flowers are great because they instantly brighten a room without needing real plants.
Paper Cup Jellyfish Craft
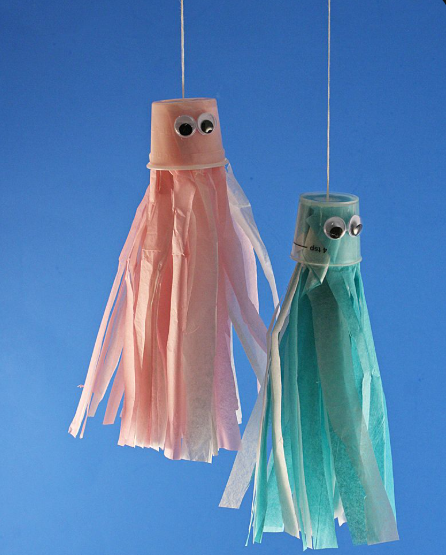
This craft always makes me smile because it looks so playful once it’s done. The paper cup jellyfish craft is something I discovered by accident while cleaning out craft supplies. I had a stack of paper cups and some leftover ribbon, and honestly I just started experimenting.
To make it, I flip a paper cup upside down and decorate it with paint or markers. Sometimes we glue on googly eyes to give the jellyfish a funny face. Then we tape or glue strips of ribbon, yarn, or crepe paper underneath the cup to create the tentacles. I’ve found that mixing different colors makes the jellyfish look extra fun. If you hang them from the ceiling with string, they sway slightly when the air moves, which in my opinion makes them look almost alive.
Seashell Art Craft
Seashell crafts always remind me of beach trips and sunny afternoons. Even if you don’t live near the ocean, honestly you can still make this craft with store-bought shells. I’ve tried this craft both with kids and adults, and everyone seems to enjoy arranging the shells into little designs.
What I usually do is give everyone a small canvas or sturdy cardboard base. Then we glue seashells into shapes like flowers, hearts, or simple patterns. Sometimes we paint the shells first for extra color. I’ve found that adding a little sand or tiny pebbles around the design makes it look even more beachy. Once the glue dries, these pieces actually look like cute decorative art. In my opinion, they’re perfect for a relaxed spring craft day.
Popsicle Stick Photo Frame Craft
This craft has a special place in my heart because it turns a simple activity into something meaningful. The popsicle stick photo frame craft is something I’ve made many times, especially when I want a craft that people can keep afterward.
I usually glue four popsicle sticks into a square frame shape. Once it’s dry, we decorate it with paint, stickers, buttons, or tiny gems. Honestly, this is where creativity really takes over because everyone decorates differently. After that, I slide a small photo behind the frame and secure it with cardboard. I’ve found that these frames make adorable gifts or spring decorations for desks and shelves. Seeing a favorite photo inside something you made yourself just feels special.
Handprint Sunshine Craft
Handprint crafts are always a little emotional for me, because they capture a moment in time. The handprint sunshine craft is especially sweet for spring decor. I remember making one with a child who kept giggling every time the paintbrush touched their hand.
To start, I paint the child’s palm and fingers with yellow paint and press it onto paper. The fingers naturally form sun rays, which honestly looks perfect without much effort. After it dries, we usually draw a happy sun face in the center. Sometimes we add glitter around the rays for extra sparkle. I’ve found that parents love saving these crafts because they become memories. In my opinion, it’s one of those crafts that feels simple but meaningful.
Paper Plate Watermelon Craft
This craft is another easy favorite in my spring craft collection. The paper plate watermelon craft is great because it uses basic supplies but still looks bright and fun. Honestly, I first tried it during a quick afternoon activity, and it turned out way cuter than I expected.
I usually cut a paper plate in half to create the watermelon slice shape. Then we paint the inside red or pink and the outer edge green for the rind. After the paint dries, I add black seeds with a marker or small pieces of black paper. I’ve found that kids enjoy pretending the slices are real fruit once the craft is done. Hanging a bunch of them together actually makes a really cheerful spring decoration.
Bubble Wrap Painting Craft
This one is always a huge hit because it’s so different from normal painting. The bubble wrap painting craft started as a random experiment for me. I had leftover packaging bubble wrap and thought, why not try painting with it?
What I usually do is cut a small piece of bubble wrap and dip it lightly into paint. Then we press it onto paper to create dotted textures and patterns. Honestly, the popping sound while painting makes kids laugh every time. I’ve found that bright spring colors like yellow, green, and blue work really well for this craft. Sometimes we even layer different colors for a fun effect. In my opinion, it’s one of those crafts where the process is just as exciting as the final artwork.
Tips for Doing Crafts with Toddlers
Doing crafts with toddlers can be a fun and special way to spend time together. At this age, children love to explore colors, textures, and simple activities with their hands. Craft time should feel like play, not like a strict task. Keeping things simple and relaxed helps toddlers enjoy the process while also learning new skills.
If you keep the activity safe, short, and creative, toddlers will stay happy and engaged. These small tips can make craft time smoother and more enjoyable for both parents and little ones.
Choose simple and safe materials
Always pick materials that are safe and easy for toddlers to use. Washable paints, large crayons, paper plates, and glue sticks are great choices. Avoid small items or sharp tools that could be dangerous for little kids.
Let toddlers explore and be creative
Toddlers don’t need perfect results. Let them paint, stick, and decorate in their own way. When children explore freely, it helps build creativity and confidence.
Keep craft time short and fun
Toddlers have short attention spans, so craft activities should not be too long. Simple crafts that take around 10–15 minutes work best. The goal is to keep them excited and happy.
Always supervise activities
Even simple crafts need adult supervision. Stay nearby to guide them, help with tricky parts, and make sure they use materials safely. This also turns craft time into a fun bonding moment.

Hi, I’m Victoria, an art and craft teacher at Newark City Schools, where I have the joy of working with middle school students to help them explore their creativity and develop their artistic talents. I believe that art is a powerful way for students to express themselves, and I strive to make every lesson a fun, engaging, and inspiring experience.
I created this website to share the art and craft projects, techniques, and resources that I use in my classroom, hoping to inspire both educators and young artists alike. Whether you’re a teacher looking for new ideas or a student eager to try something new, I’m excited to provide creative tools and projects that anyone can enjoy.
When I’m not in the classroom, I love experimenting with different art forms and learning new crafting techniques. My goal is to help others discover the joy of making things with their hands, and I hope my website serves as a space for everyone to explore their creative potential.