
Last Thanksgiving, I remember sitting at the table thinking, wow, this feels a little… bare. Don’t get me wrong, the food was amazing (because, hello, mashed potatoes and pie), but something about the space felt like it was missing that warm, cozy magic we all picture when we think of Thanksgiving. Maybe you’ve felt that too? Like you want your home to feel festive, but you don’t exactly want to spend a fortune on store-bought decorations. That’s where Thanksgiving decor crafts come in—and honestly, they’re a total game-changer. Not only do they make your space look beautiful, but they’re also fun little projects that bring a sense of togetherness. Plus, there’s something about handmade touches—like a DIY centerpiece or cozy pumpkin accents—that just feels more meaningful. Stick around, because I’m going to share simple, creative ideas that’ll make your Thanksgiving table feel warm, inviting, and oh-so-special.
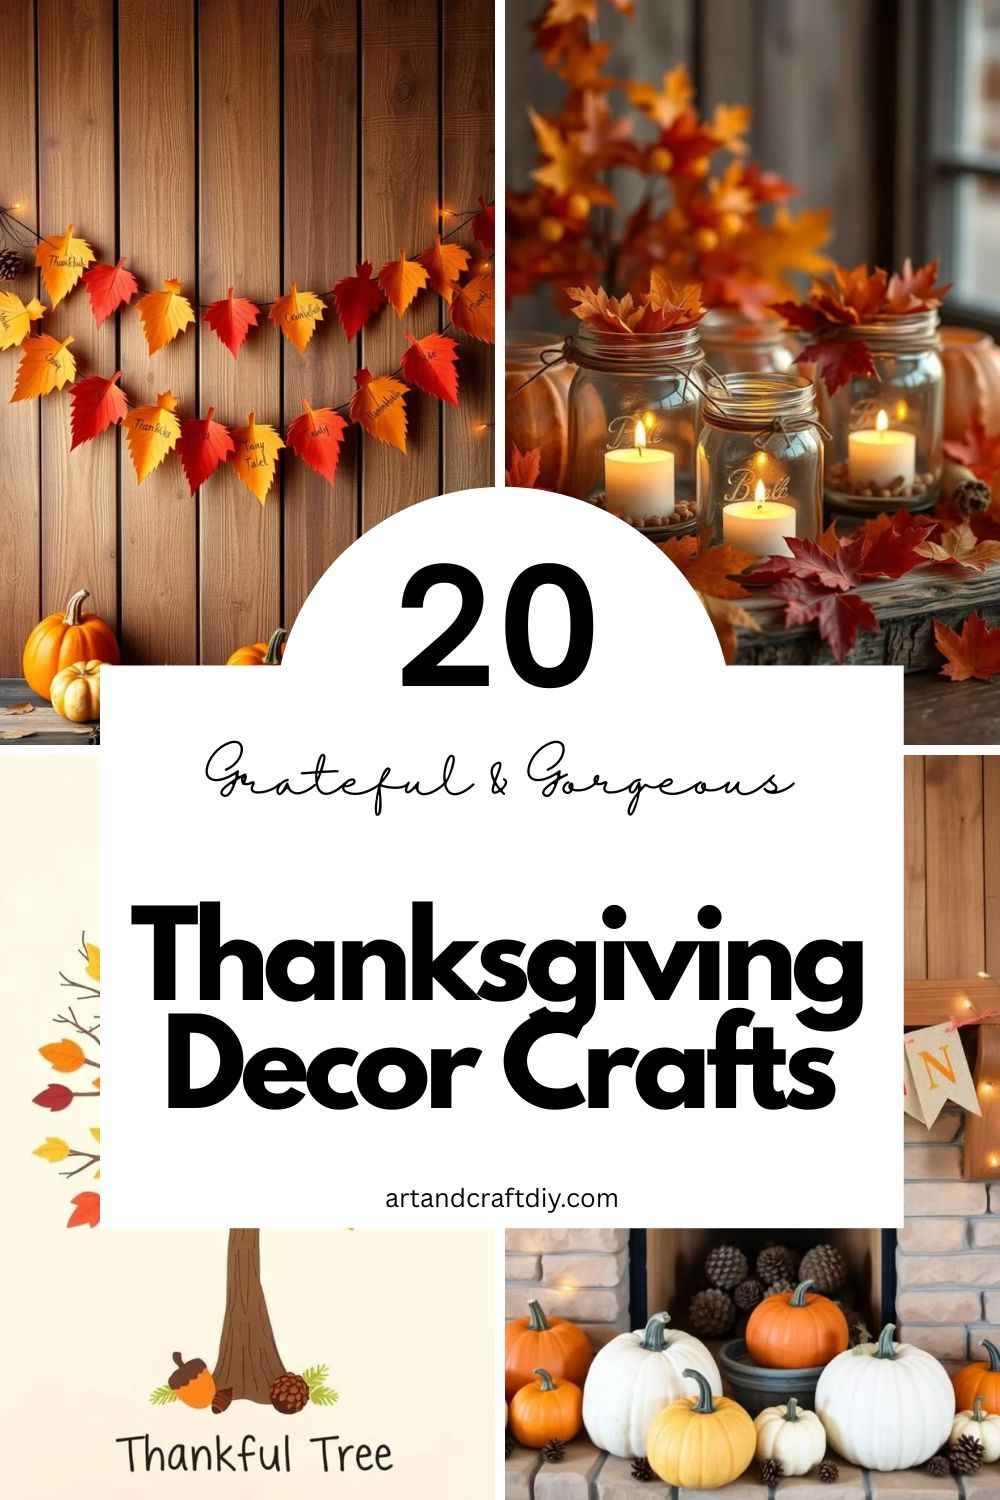
Thanksgiving Decor Crafts
Thanksgiving Decor Crafts add a warm, personal touch to your holiday celebrations. These DIY decorations are fun, budget-friendly, and perfect for bringing the spirit of gratitude into your home.
Leaf Garland
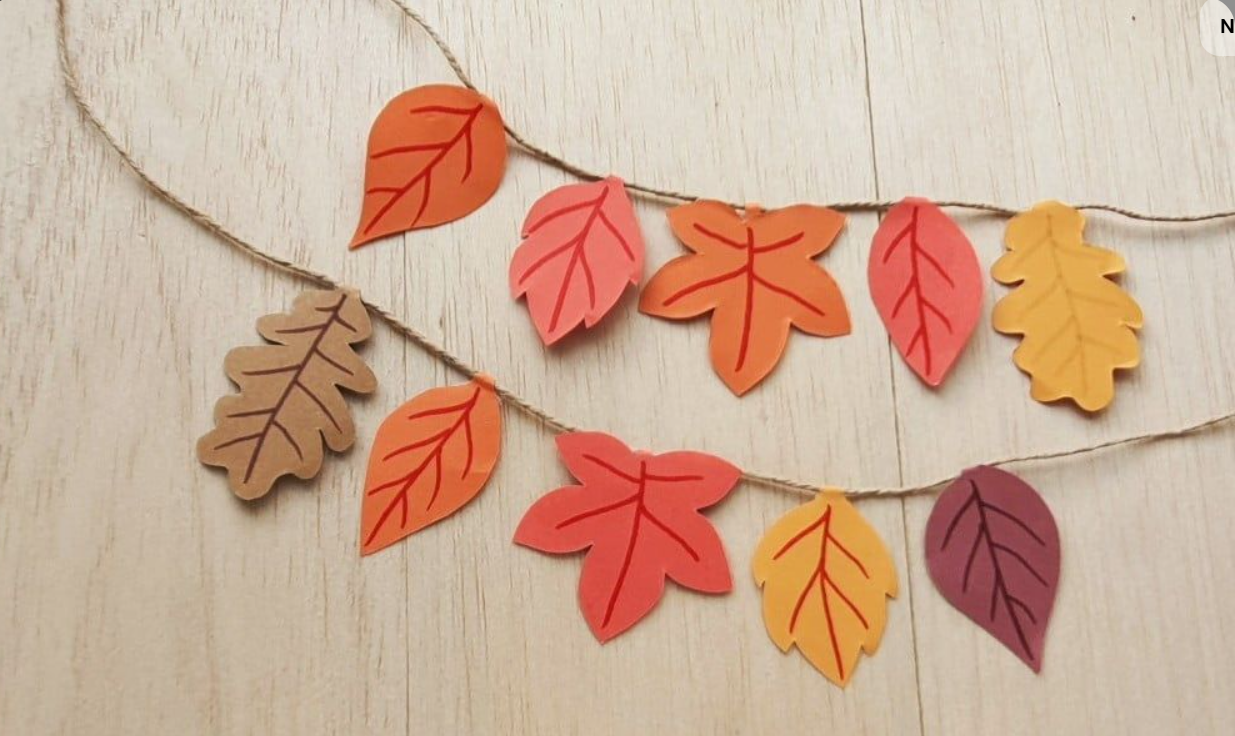
Honestly, I’ve always been obsessed with fall leaves—the colors just get me every single time. One year, I decided to make a leaf garland for my fireplace, and I have to say, it turned out way better than I expected. I just collected some leaves from my backyard, pressed them overnight between heavy books, and then used a little glue and twine to string them together. It’s simple, but the effect? Gorgeous. I hung it across my mantel, and every time I walked by, I felt that cozy, fall vibe instantly.
To be fair, not every leaf survives the pressing perfectly, but that’s part of the charm. Some curl up, some have little holes—it gives it character. I’ve found mixing in a few fake leaves helps keep the garland full without worrying about them wilting. Honestly, making this garland felt like a mini autumn meditation.
Mason Jar Candle Holders
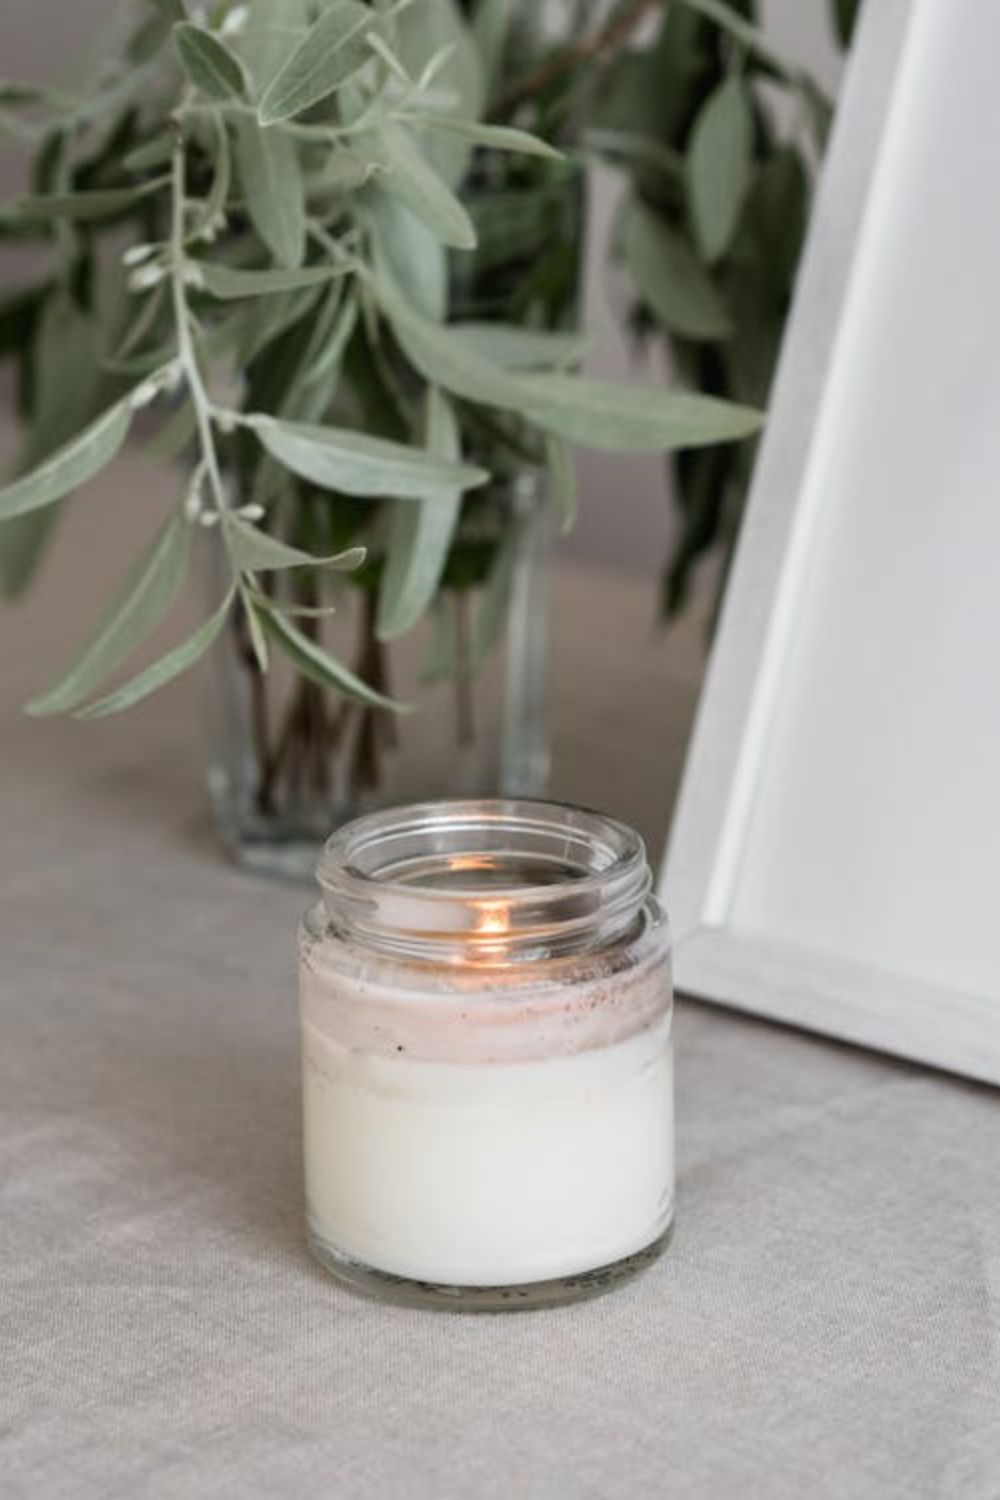
I have a soft spot for candles, and during Thanksgiving, they feel extra magical. One afternoon, I grabbed a bunch of mason jars I had lying around and thought, “Why not make some candle holders?” I honestly wasn’t sure how they’d turn out, but layering in some rice, dried corn, or even a few acorns at the bottom before popping in a small candle gave the jars a really warm, homey look.
What I love most is how customizable they are. I tried a few different heights, painted some lightly with gold acrylic, and even tied some burlap around a couple. Lighting them all together in the evening—it’s kind of hard to explain, but the glow is seriously comforting. Guests kept commenting on them, and honestly, I just smiled and said, “Yep, I made those!” It’s easy, fun, and it really makes the table feel like Thanksgiving.
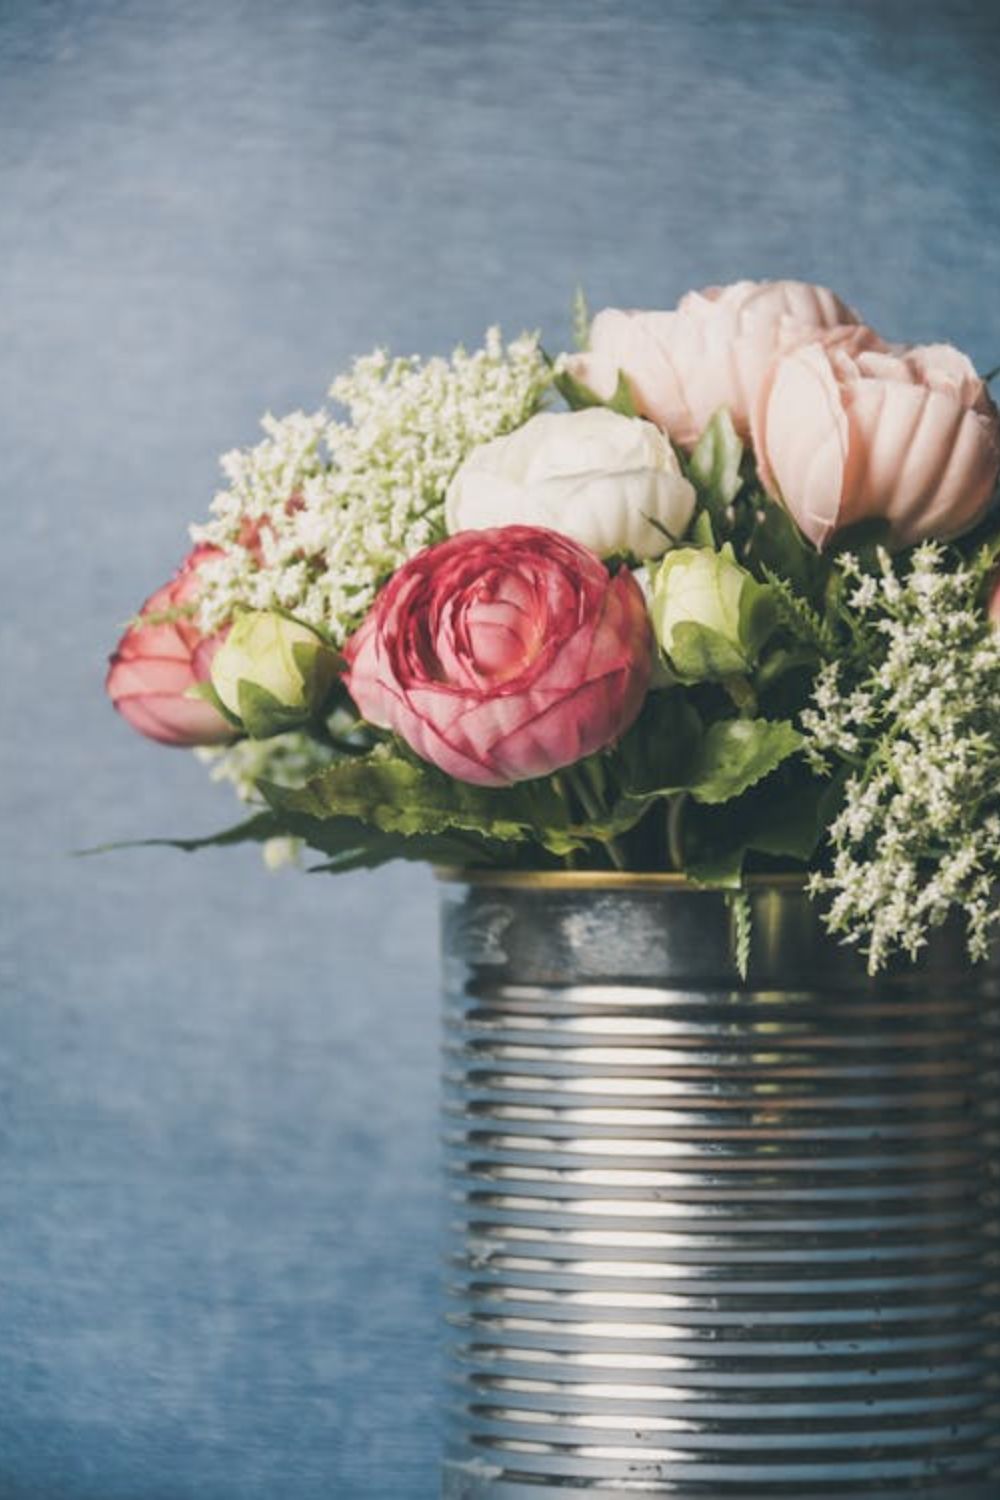
Tin Can Vases
Turn recycled tin cans into beautiful vases or utensil holders for Thanksgiving. These crafts are both eco-friendly and stylish. Decorate the cans to match your theme and fill them with flowers or cutlery. They’re easy to make and highly versatile.
-
Clean and dry tin cans thoroughly before decorating.
-
Wrap with burlap, ribbon, or scrapbook paper.
-
Use hot glue to attach embellishments like leaves or lace.
-
Add dried or faux flowers in fall colors.
-
Group several together for a centerpiece or buffet display.
Thankful Tree
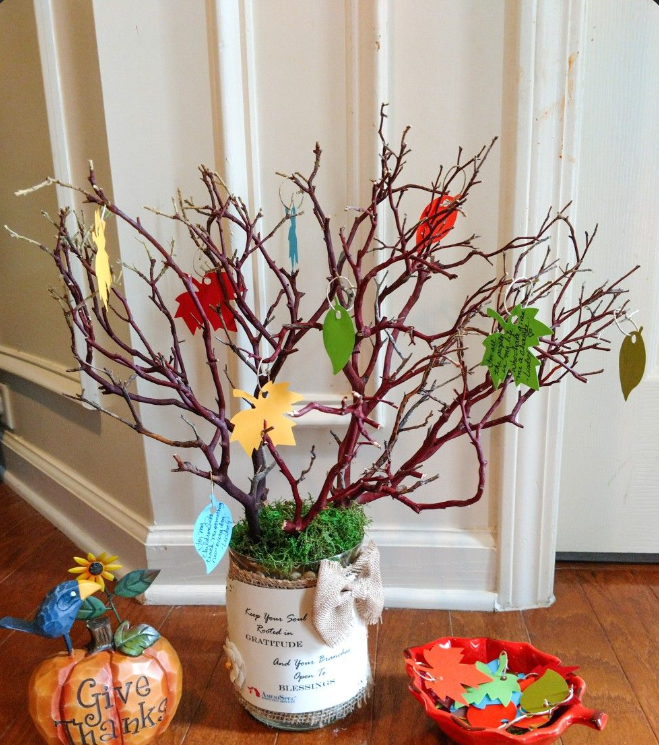
I’ve always loved the idea of a thankful tree, but honestly, I didn’t try it until last year. I grabbed a small branch, put it in a vase, and then cut out little leaves from cardstock. I set out a bunch of pens and encouraged everyone to write something they were thankful for and hang it on the tree. At first, people were a bit shy, but by the end of dinner, that tree was bursting with notes, and honestly, my heart just melted seeing it.
To be fair, some notes were hilarious, some were super sweet, and a few made me tear up a bit. I’ve found that placing the tree somewhere central, like the dining table or a sideboard, really invites people to participate. In my opinion, the thankful tree isn’t just decor—it’s like a little time capsule of gratitude. Every year I look forward to adding new leaves and reading the old ones.
Pumpkin Place Cards
These adorable mini pumpkin place cards are a charming way to welcome guests to the table. They’re easy to create and instantly add a festive look. You can make them elegant or playful based on your theme. Guests will love seeing their names on these cute crafts.
-
Use mini real pumpkins or faux pumpkins from the craft store.
-
Stick a toothpick or small sign with the guest’s name into the stem.
-
Add a little glitter or paint for extra decoration.
-
Tie a tag around the stem with twine for a rustic feel.
-
Group with fall leaves or acorns for added texture.
Burlap Banner
Burlap banners with festive messages like “Give Thanks” bring rustic charm to your home. Hang them over fireplaces, walls, or entryways to welcome guests. They’re easy to make and customize. Use stencils, paint, or markers to add your own style.
View this post on Instagram
-
Cut burlap into triangle or rectangle flags.
-
Use stencils or letter stamps for neat lettering.
-
String them on twine or ribbon with hot glue or clips.
-
Add mini leaves, pumpkins, or lace for extra decor.
-
Iron the burlap beforehand to flatten and smooth it.
Corn Husk Wreath
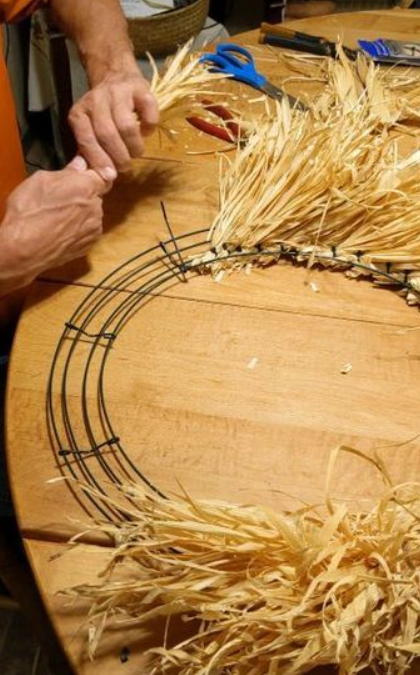
A corn husk wreath adds a touch of harvest beauty to your front door or wall. Made from dried corn husks, it gives a natural and traditional look. It’s easy to build and can be accented to match your theme. A great weekend DIY project for autumn lovers.
-
Soak corn husks in water for 10 minutes to make them flexible.
-
Attach them in layers around a foam or wire wreath form.
-
Let it dry completely before hanging.
-
Add ribbon, faux berries, or small sunflowers to dress it up.
-
Use hot glue to secure everything tightly.
Gratitude Pumpkin
A Gratitude Pumpkin is both a decorative and thoughtful piece. Write things you’re thankful for directly onto a pumpkin using markers or paint pens. It makes a beautiful centerpiece with heartfelt meaning. Each family member can add their own notes throughout the season.
-
Use a real or faux pumpkin with a smooth surface.
-
Choose permanent markers or metallic pens for visibility.
-
Write one word or phrase per section of the pumpkin.
-
Add leaves or twine around the stem for decoration.
-
Use year after year by choosing a faux pumpkin.
Paper Leaf Wall Art
Paper leaf wall art is a fun and colorful craft that doubles as a fall-themed statement piece. You can form leaves into shapes like hearts, circles, or trees. It’s ideal for kids and adults and fits in any room. Choose your favorite autumn colors and get crafting!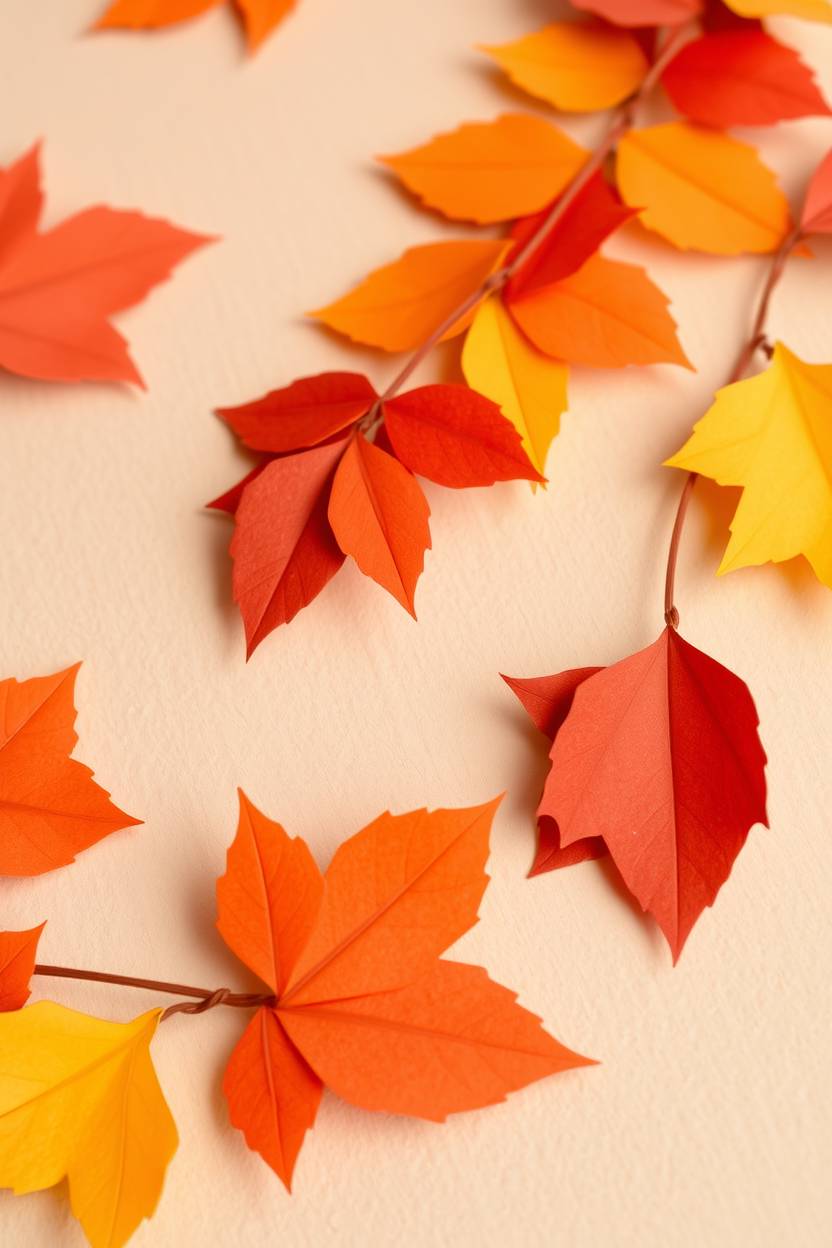
-
Cut out leaf shapes from colored or patterned paper.
-
Arrange the leaves on poster board or canvas.
-
Use glue dots or a glue stick for easy application.
-
Create a pattern, like a swirling wind or a tree.
-
Frame it or hang directly with double-sided tape.
Wine Cork Pumpkins
Wine cork pumpkins are cute, compact crafts that work well as table or shelf decor. They’re made by gluing corks together in a pumpkin shape. Paint them orange and add a stick for a stem. A great way to reuse corks and get festive at the same time.
-
Arrange corks in a 4–3–2–1 triangle, or an oval shape.
-
Paint cork ends orange or use natural cork colors.
-
Hot glue corks together and let them dry fully.
-
Add a cinnamon stick or small twig for a stem.
-
Tie raffia or a bow around the top for flair.
Handprint Turkey Wall Hanging
This classic craft turns your child’s handprint into a festive turkey. It’s fun, colorful, and full of personality. Make one each year as a keepsake. Display them as a cheerful wall hanging in the kitchen or playroom.
-
Trace and cut out handprints from colorful construction paper.
-
Use googly eyes, a paper beak, and feathers for the face.
-
Glue onto a larger paper background or canvas.
-
Write the child’s name and year to mark the memory.
-
Hang using string or tape for easy display.
DIY Thanksgiving Signs
Custom signs with Thanksgiving messages add charm to any room. Whether wooden, canvas, or cardboard, they’re easy to make and decorate. Paint quotes like “Grateful, Thankful, Blessed” or “Give Thanks”. Use fall colors and patterns to complete the look.
-
Use pre-cut wooden signs or poster board.
-
Sketch your message in pencil before painting or writing.
-
Add faux leaves, glitter, or acorns as accents.
-
Use stencils if you’re not confident in freehand lettering.
-
Hang with ribbon or prop up on mantels and shelves.
Paper Plate Turkeys
Paper plate turkeys are a playful and easy craft for kids. They double as fun table decor or a way to keep kids busy. Each child can personalize their turkey with different colors and faces. They’re cute, simple, and affordable.
-
Use brown paint or colored paper to cover the plate.
-
Add construction paper feathers in fall colors.
-
Glue on googly eyes and a beak for personality.
-
Use pipe cleaners or markers for legs and wings.
-
Display on the table or hang with string.
Cardboard Leaf Mobile
This hanging mobile made of cardboard leaves creates a gentle, floating fall effect. Hang it in front of a window or above a table for soft movement. It’s a creative way to reuse cardboard and add seasonal flair. Great for minimalist or earthy decor styles.
-
Cut out leaf shapes from thin cardboard or cereal boxes.
-
Paint or color with markers in fall tones.
-
Punch holes and tie string through each leaf.
-
Attach to a stick, hoop, or hanger to hang them from.
-
Stagger the lengths for a dynamic look.
Acorn Napkin Rings
Make your own napkin rings using acorns and twine for a woodland feel. These tiny details add elegance and a handmade touch to your Thanksgiving table. It’s a quick and beautiful craft that ties your whole setting together.
-
Collect clean, dry acorns or buy faux ones.
-
Wrap twine into loops that fit around a napkin.
-
Hot glue an acorn (or two) onto each loop.
-
Add tiny leaves, burlap, or ribbon for texture.
-
Coordinate with your table runner or placemats.
Tips for Crafting Success
Creating Thanksgiving Decor Crafts is not just about decorating your home—it’s about enjoying the process, making memories, and expressing gratitude through creativity. To make your crafting smooth, fun, and stress-free, here are some simple tips to help you succeed and fully enjoy the experience.
-
Plan ahead and gather materials early
Don’t wait until the last minute—decide on your crafts in advance. Make a checklist of needed supplies and buy or collect them early. This helps avoid the holiday rush and lets you craft at a relaxed pace. -
Involve the whole family to create memories
Crafting is a great opportunity to bond with family, especially kids. Assign small tasks to everyone, take photos, and enjoy making something together. These moments often become as special as the decorations themselves. -
Mix store-bought and handmade decor for a balanced look
Combine your DIY crafts with a few store-bought items for a polished and cozy setup. This saves time while still giving your home a personalized and warm feeling. -
Use fall colors: orange, brown, red, gold, yellow
Stick to traditional fall tones to keep your theme consistent and festive. These colors create a cozy, seasonal vibe and make your crafts pop with autumn spirit.
FAQ
What are Thanksgiving Decor Crafts?
Thanksgiving Decor Crafts are do-it-yourself projects made to decorate your home for the Thanksgiving holiday. They often include fall-themed items like pumpkins, leaves, turkeys, and warm colors that reflect the season and the spirit of gratitude.
Can kids participate in Thanksgiving crafts?
Yes! Many Thanksgiving crafts are simple and perfect for kids. Involving children makes the process fun and helps create lasting family memories. Just choose age-appropriate projects and use safe materials like paper, glue, and child-friendly scissors.
Do I need expensive supplies for these crafts?
Not at all. Most crafts can be made with items you already have at home or inexpensive supplies from a local store or dollar shop. You can also recycle materials like jars, paper bags, or old fabric for budget-friendly ideas.
How early should I start making Thanksgiving crafts?
It’s a good idea to start 2–3 weeks before Thanksgiving. This gives you plenty of time to plan, gather materials, and enjoy crafting without stress. It also allows for a nice display of your decorations during the entire fall season.

Hi, I’m Victoria, an art and craft teacher at Newark City Schools, where I have the joy of working with middle school students to help them explore their creativity and develop their artistic talents. I believe that art is a powerful way for students to express themselves, and I strive to make every lesson a fun, engaging, and inspiring experience.
I created this website to share the art and craft projects, techniques, and resources that I use in my classroom, hoping to inspire both educators and young artists alike. Whether you’re a teacher looking for new ideas or a student eager to try something new, I’m excited to provide creative tools and projects that anyone can enjoy.
When I’m not in the classroom, I love experimenting with different art forms and learning new crafting techniques. My goal is to help others discover the joy of making things with their hands, and I hope my website serves as a space for everyone to explore their creative potential.