
You know, last Halloween I thought it’d be adorable to do a little craft session with my niece. I grabbed some paints, a few pumpkins, and let her tiny hands go wild. The end result? Well… let’s just say the pumpkin looked more like it had been in a paint fight than decorated for spooky season. But honestly, it was perfect. Messy, colorful, and full of giggles—that’s what baby Halloween painting ideas are all about. If you’ve ever tried keeping a baby entertained while also wanting something “Pinterest-worthy,” you know the struggle. Paint everywhere, short attention spans, and the occasional taste test of supplies (why do they do that?). But don’t worry, I’ve got you. In this article, I’m sharing super simple, fun, and totally baby-friendly Halloween painting projects that won’t stress you out. Think keepsakes you’ll actually want to keep—and memories that’ll make you smile for years.
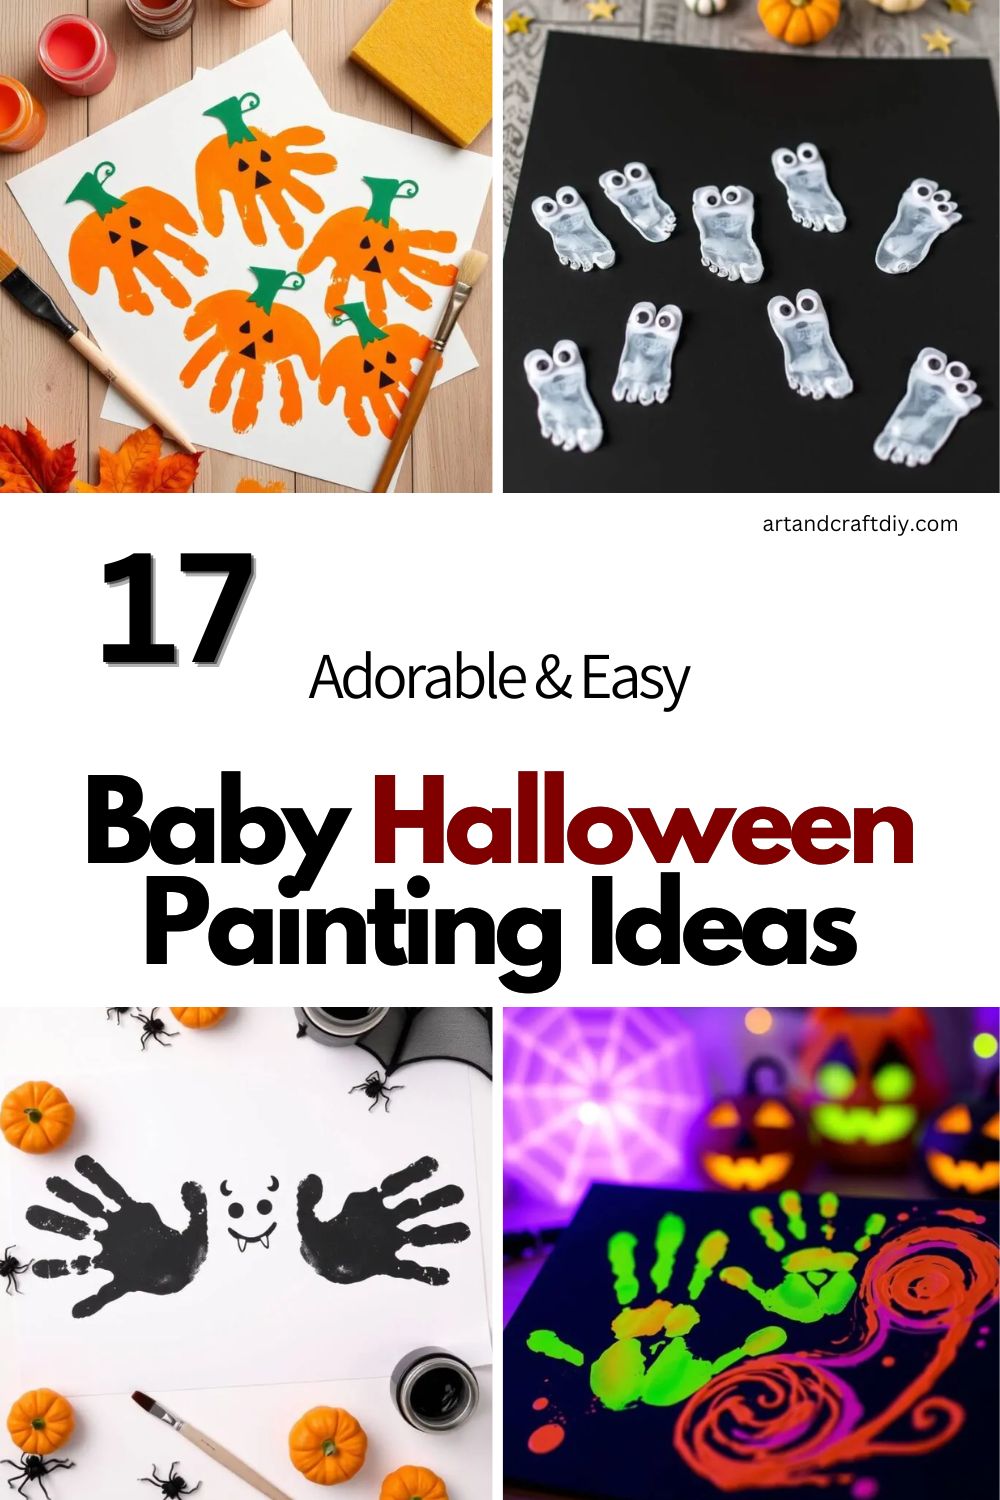
Baby Halloween Painting Ideas
Celebrate your little one’s first spooky season with fun and creative Baby Halloween Painting Ideas. These simple, safe activities are perfect for sensory play and capturing sweet Halloween memories.
Pumpkin Handprint Art
Honestly, this one is a total classic and such a cute keepsake. I remember doing this when my little one was barely sitting up on her own. We used a big sheet of paper and some washable orange paint, and I gently pressed her chubby little hand onto the paper. It looked more like a blob than a pumpkin at first, but once I added a green stem and a smiley jack-o’-lantern face, it came together.
What I love most is how those tiny handprints freeze time. Every Halloween, I pull it out and compare it to her current hand size. You can even make a little pumpkin patch out of multiple handprints. Just be sure to have wipes handy—it gets messy fast! Oh, and if your baby’s squirmy like mine was, try doing it during nap wind-down when they’re calmer. Trust me, it makes a difference.
Footprint Ghosts
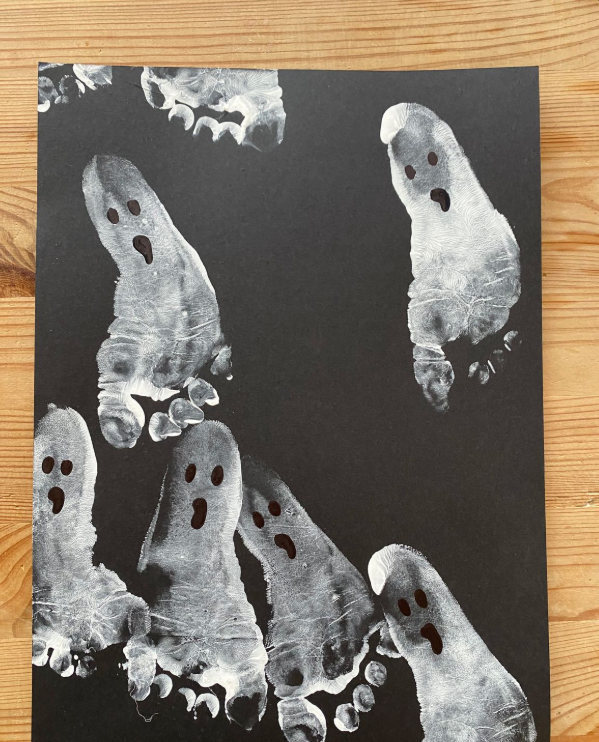
Okay, these might be my absolute favorite. There’s something so spooky-cute about tiny ghost footprints. I painted the bottom of my baby’s foot with white paint (ticklish warning!) and pressed it onto black paper. When it dried, I used a marker to add big, googly eyes and an “OooOOoo” mouth. Boom—baby ghost.
It’s such a sweet project because you barely have to do anything fancy, but the result is super adorable. I even made a little ghost family with both feet—one turned left, the other right. It looked like they were having a little ghosty chat. And hey, don’t worry if the prints aren’t perfect. That smudged heel or smeared toe makes it all the more real. I’ve kept them all, even the messy ones!
Candy Corn Color Stamping
This one started as a total experiment when I had a few extra sponges lying around. I cut them into triangle shapes and thought, hmm… candy corn! I set up a paint tray with orange, yellow, and white and showed my toddler how to press each corner into a different color.
To be fair, it turned into more of a wild color mix than actual candy corn, but we had the best time laughing about it. If your baby’s still in that bang-and-slap paint phase, try helping them dip just one side of the sponge. Or use potatoes cut into triangles for a sturdier grip. This is a great way to introduce color recognition too—I’d ask, “Where’s the yellow? Let’s find the orange!” It’s chaotic but so worth it.
Baby Bat Handprints
This one takes a little imagination, but it’s so cool when it comes together. I painted both of my baby’s hands black (which is somehow even messier than it sounds) and stamped them side by side with thumbs touching in the middle.
Once dry, I drew in the bat body where the thumbs met, added little fangs and eyes, and voilà—baby bat wings! I love how every print turns out different. Some bats look fierce, some look confused—it totally depends on the angle of the handprints. My daughter thought they were butterflies at first, and honestly, I kind of saw it too. But that’s the fun part, right? You get to create your own version of spooky.
Frankenstein Footprint Art
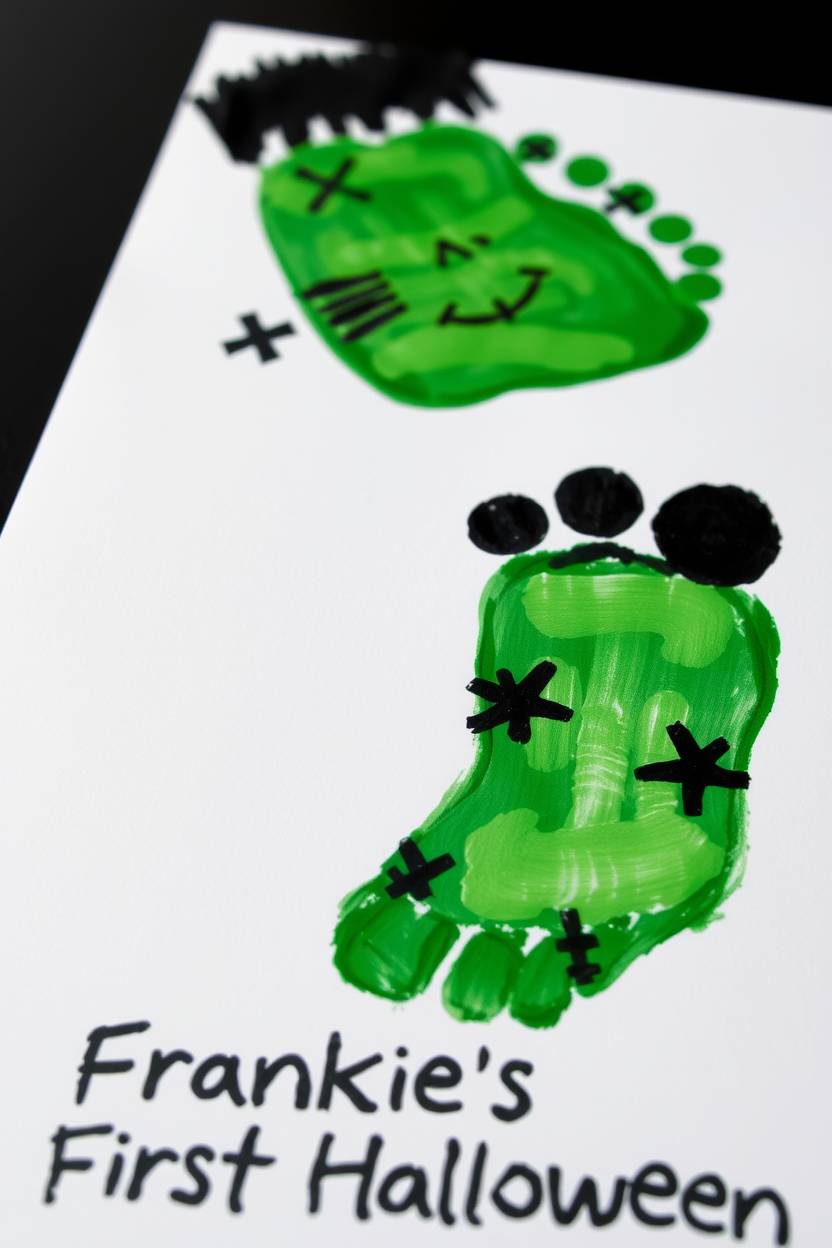
Green paint + baby feet = hilarious Frankenstein monsters. I remember the first time I tried this, I didn’t even tell my husband. He came home to find four green footprints drying on the table and looked mildly horrified. Once I added the bolts, stitches, and a mop of black hair on top, he was sold.
The trick is using a slightly darker green so the black marker details stand out more. I think I ended up using my eyeliner that year because I couldn’t find the sharpie—no regrets. These turn out SO funny, especially if the toes wiggle and smudge a bit. I like to write “Frankie’s First Halloween” underneath to make it feel special.
Painted Mini Pumpkins
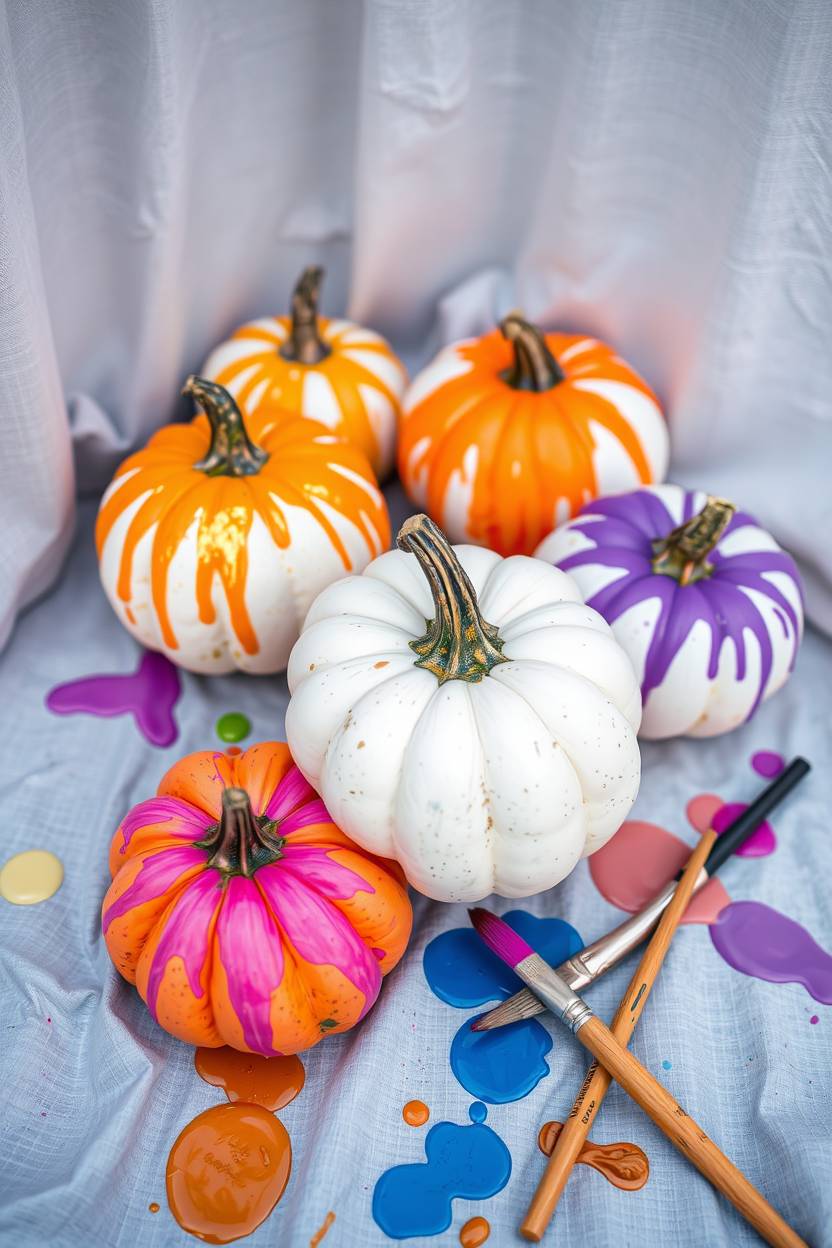
You don’t need a whole patch to have pumpkin fun. I grabbed a few mini pumpkins from the store (the kind that fit in your palm) and let my baby go wild with brushes and finger paints. We used orange, gold, white, even purple—who says Halloween has to be traditional?
This is more of a free play art idea. There’s no pressure to make it look a certain way, and I think that’s why we loved it so much. I laid out an old shower curtain on the floor, plopped down the pumpkins, and just let her explore. She mostly ended up painting her own arms, but hey, the pumpkins got some love too. Definitely a good one for outdoor play.
Spooky Splatter Paintings
This one’s for the brave. I watered down some Halloween-y colors like purple, black, and orange and gave my toddler a toothbrush. Then we splattered away on black construction paper. Did we get it on the walls? Maybe. Did it look awesome? Absolutely.
To keep it baby-safe, I dipped the brush myself and let her flick it by running fingers across the bristles. You can tape a spider stencil down before splattering and peel it off after—it leaves behind a cool silhouette! It’s a little more abstract and chaotic, but it captured the wild energy of Halloween perfectly.
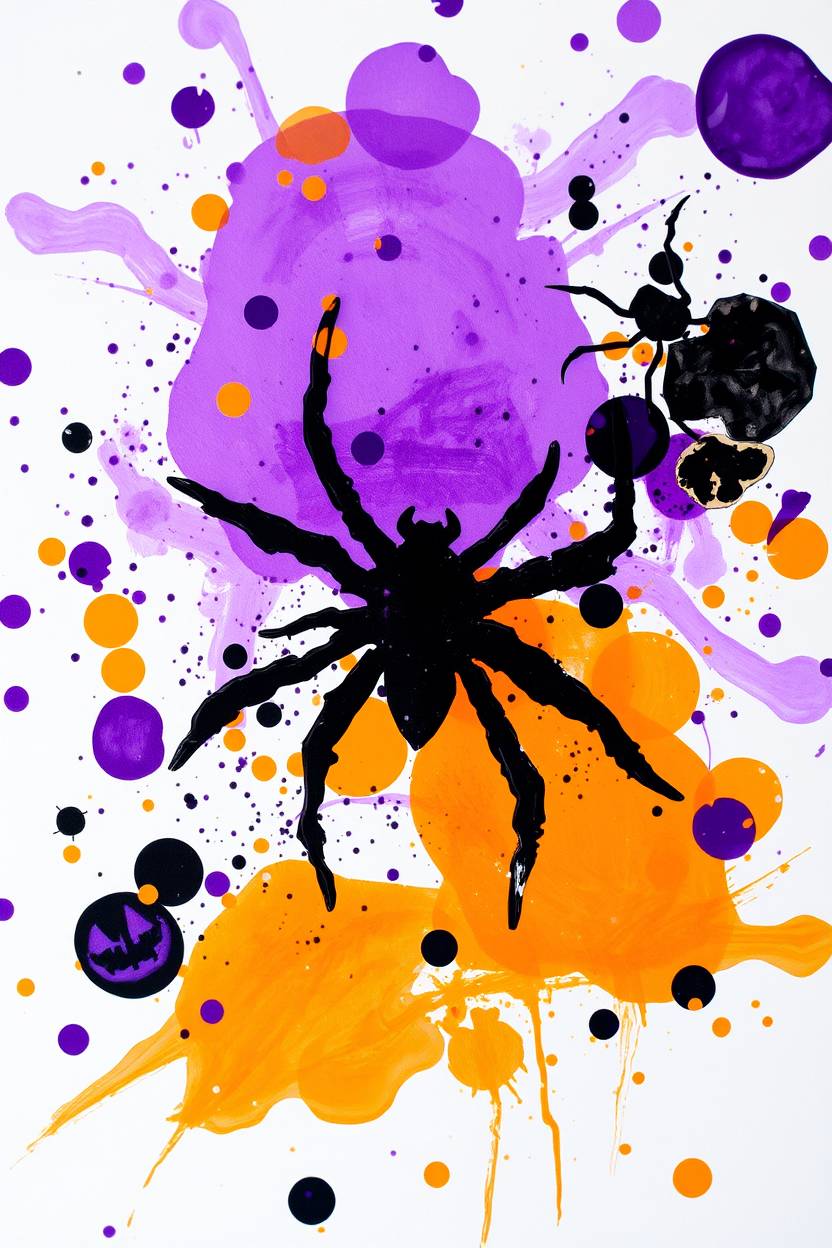
Spider Fingerprint Webs
This was a super fun discovery. I drew a simple spider web with white crayon on black paper and then helped my baby stamp her fingers all around it with black paint. Each print became a little spider body once I added legs and eyes.
She was so fascinated watching me turn her dots into spiders! We even gave them names—Charlotte, Spidey, Legs McGee. It’s silly, simple, and a little creepy (in the best way). The only challenge was keeping her from smearing the whole thing, but sometimes the smears actually made it cooler.
Glow-in-the-Dark Baby Art
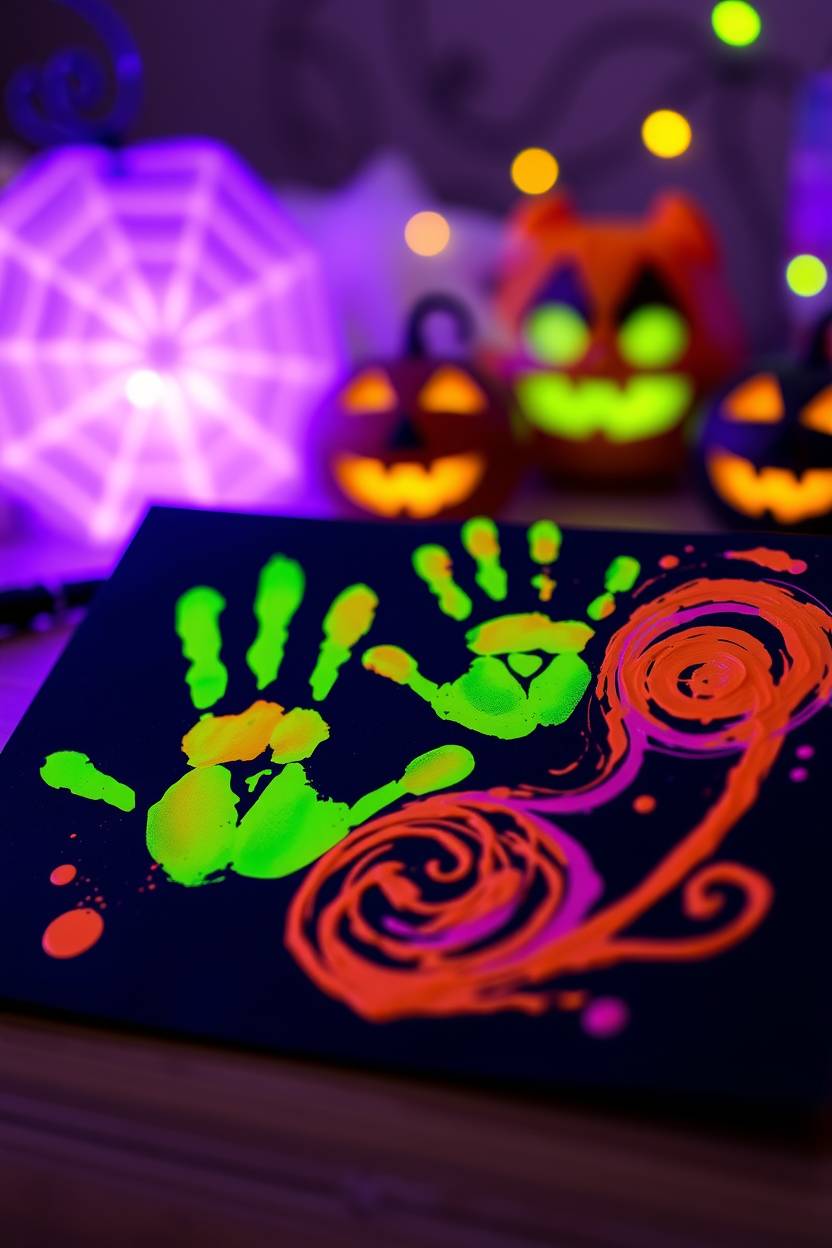
This felt like magic the first time we tried it. I bought some baby-safe glow-in-the-dark paint and used it on dark cardstock. We did a mix of handprints and random swirls, and then I turned off the lights… total giggle fest.
She kept pointing and clapping at the glowing spots. It wasn’t the neatest painting in the world, but man, it was fun. I’ve found it’s best to do one color at a time so it doesn’t become a murky glow blob. And a blacklight makes it even cooler. We hung it in the hallway for trick-or-treat night and it was a hit!
Witch Hat Footprints
I don’t know why, but baby feet make the cutest witch hats. We stamped a purple footprint upside down, then I painted on a brim and a little buckle to turn it into a hat.
The toes become the tip of the hat, which is just adorable. This one’s a bit more artsy—I had to fill in gaps and sharpen the shape with a brush—but the end result was frame-worthy. If your baby’s ticklish, like mine, brace yourself for the squirming. Still totally worth it. I gave one to Grandma and she keeps it on the fridge every October.
Monster Mash Abstract Painting
For this, we didn’t aim for anything specific—just let loose with bold colors like green, purple, orange, and black. I gave her a sponge, a brush, and even a cotton ball and let her go wild.
After it dried, I added googly eyes and monster mouths all over it. Suddenly, our paint chaos became a monster party! I think it’s important to remind yourself that not every art piece needs to be neat or obvious. Sometimes it’s about the fun of doing it. And this one? Full of messy joy and monster giggles.
Thumbprint Pumpkin Patch
This one made me feel like I was creating a tiny storybook scene. We used orange paint for little thumbprints and stamped them all over green paper. I added curly green vines, stems, and smiley faces to turn them into a mini pumpkin patch.
It’s so satisfying to see it come together, even if all the pumpkins are wonky. I like adding names and dates next to each thumbprint—kind of like marking milestones. This would be cute to do each year and see how their thumbs grow!
Footprint Black Cats
These are a bit spooky, a bit silly. I painted my daughter’s foot black (yep, again) and pressed it onto paper heel-side down. Once it dried, I added ears, whiskers, and big yellow eyes to create a black cat.
The tail can be drawn or made with a string glued on—super cute! Mine looked more like a confused raccoon, but it made us laugh so much. That’s the charm, right? It doesn’t have to be perfect. Halloween’s supposed to be quirky.
Mummy Wrap Painting
This idea started from trying to keep my baby occupied with some white paint. I drew a simple oval shape for the mummy’s head and body and then we used brushes and even cotton swabs to “wrap” the mummy with white streaks.
We added big googly eyes peeking through the wraps, and it turned out way cuter than I expected. It’s kind of a paint-and-draw combo, which makes it more flexible if your little one’s not into stamping that day.
Halloween Color Swirl Art
This is basically paint play heaven. I picked orange, black, purple, and neon green paints and let my baby swirl them with fingers, spoons, even a toothbrush.
It created this psychedelic, tie-dye effect that looked SO Halloween. Once it dried, I cut it into bat shapes or jack-o’-lanterns for decorations. This one’s for those chaotic days when you just want to let the mess happen and enjoy the sensory fun. It’s also great for color mixing practice!
Cleanup Tips & Safety Reminders
Baby Halloween Painting Ideas is tons of fun, but it can get messy fast! A little preparation goes a long way in keeping things safe and stress-free for both you and your little artist. Here are some helpful cleanup tips and safety reminders to make your Baby Halloween Painting session smooth and enjoyable:
-
Bath time right after painting = smart!
Skip the extra cleanup stress and head straight to the tub once your little one is done painting. It’s the easiest way to get rid of all that colorful mess. -
Use waterproof mats or outdoor spaces
Protect your floors and furniture with waterproof play mats or take the painting fun outside for easy hose-off cleanup. -
Never leave baby unattended with paint or small materials
Always supervise your baby during painting to ensure they don’t put paint, brushes, or other small items in their mouth. -
Keep wipes and towels handy
Have baby wipes, old towels, or wet cloths nearby to clean hands and faces quickly before paint gets everywhere. -
Dress baby in a painting smock or old clothes
Expect mess and dress for it! A smock, oversized T-shirt, or old onesie works great to protect clothing. -
Use baby-safe, non-toxic paints only
Always choose paints labeled non-toxic and suitable for infants to ensure safe play.
With these tips in mind, you can focus on the fun and let your baby enjoy the Halloween magic through art!
FAQ
What age is safe to start Baby Halloween Painting Ideas?
Babies can start simple Baby Halloween Painting Ideas around 6 months old, as long as they can sit up with support and you’re using baby-safe, non-toxic materials.
What kind of paint is safe for babies?
Always use non-toxic, washable, and baby-safe paints. You can also make your own using edible ingredients like yogurt and food coloring for extra safety.
How do I keep my baby from eating the paint?
Supervise closely at all times, use edible or taste-safe paint recipes, and try to redirect their focus with fun textures or stamps to keep their hands busy.
What’s the best surface for baby painting?
Use large sheets of paper, cardboard, or even a highchair tray lined with paper. Waterproof mats or outdoor areas also make cleanup easier.

Hi, I’m Victoria, an art and craft teacher at Newark City Schools, where I have the joy of working with middle school students to help them explore their creativity and develop their artistic talents. I believe that art is a powerful way for students to express themselves, and I strive to make every lesson a fun, engaging, and inspiring experience.
I created this website to share the art and craft projects, techniques, and resources that I use in my classroom, hoping to inspire both educators and young artists alike. Whether you’re a teacher looking for new ideas or a student eager to try something new, I’m excited to provide creative tools and projects that anyone can enjoy.
When I’m not in the classroom, I love experimenting with different art forms and learning new crafting techniques. My goal is to help others discover the joy of making things with their hands, and I hope my website serves as a space for everyone to explore their creative potential.