
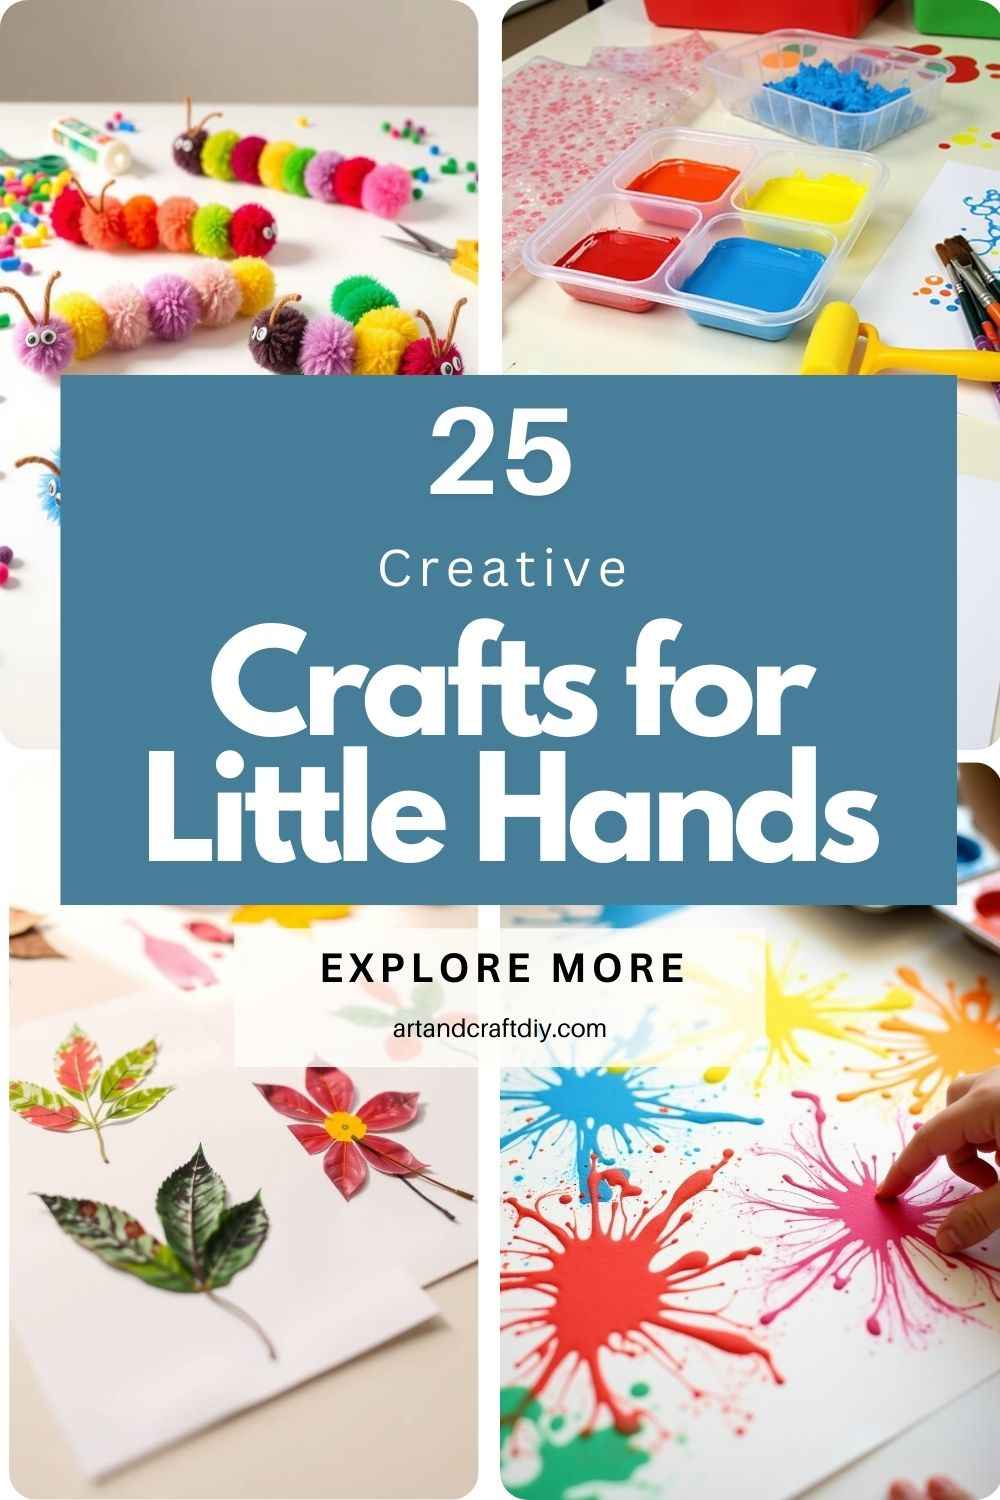
The other day, I was sipping cold coffee (because let’s be real, moms rarely get to finish a hot one) when my little one came running over with glitter stuck in her hair and a crayon masterpiece on the wall. Yep… toddler life in all its glory. If you’re anything like me, you probably find yourself torn between wanting to encourage your child’s creativity and wondering how many more walls you’ll have to scrub this week. That’s where creative crafts for toddlers really come to the rescue. They’re messy, sure, but they’re also magical. Crafts give those busy little hands something to do, and—bonus—you’ll actually get a few quiet minutes while they’re completely absorbed. Sound dreamy? It can be. In this article, I’ll share simple, fun, and surprisingly low-stress craft ideas that don’t require a trip to the fancy art store. Because let’s face it, you already have enough on your plate.
Crafts for Toddlers
Crafts for toddlers are a fun and creative way to support early development. These activities help improve motor skills, spark imagination, and strengthen bonds with caregivers.
Paper Plate Animal Masks
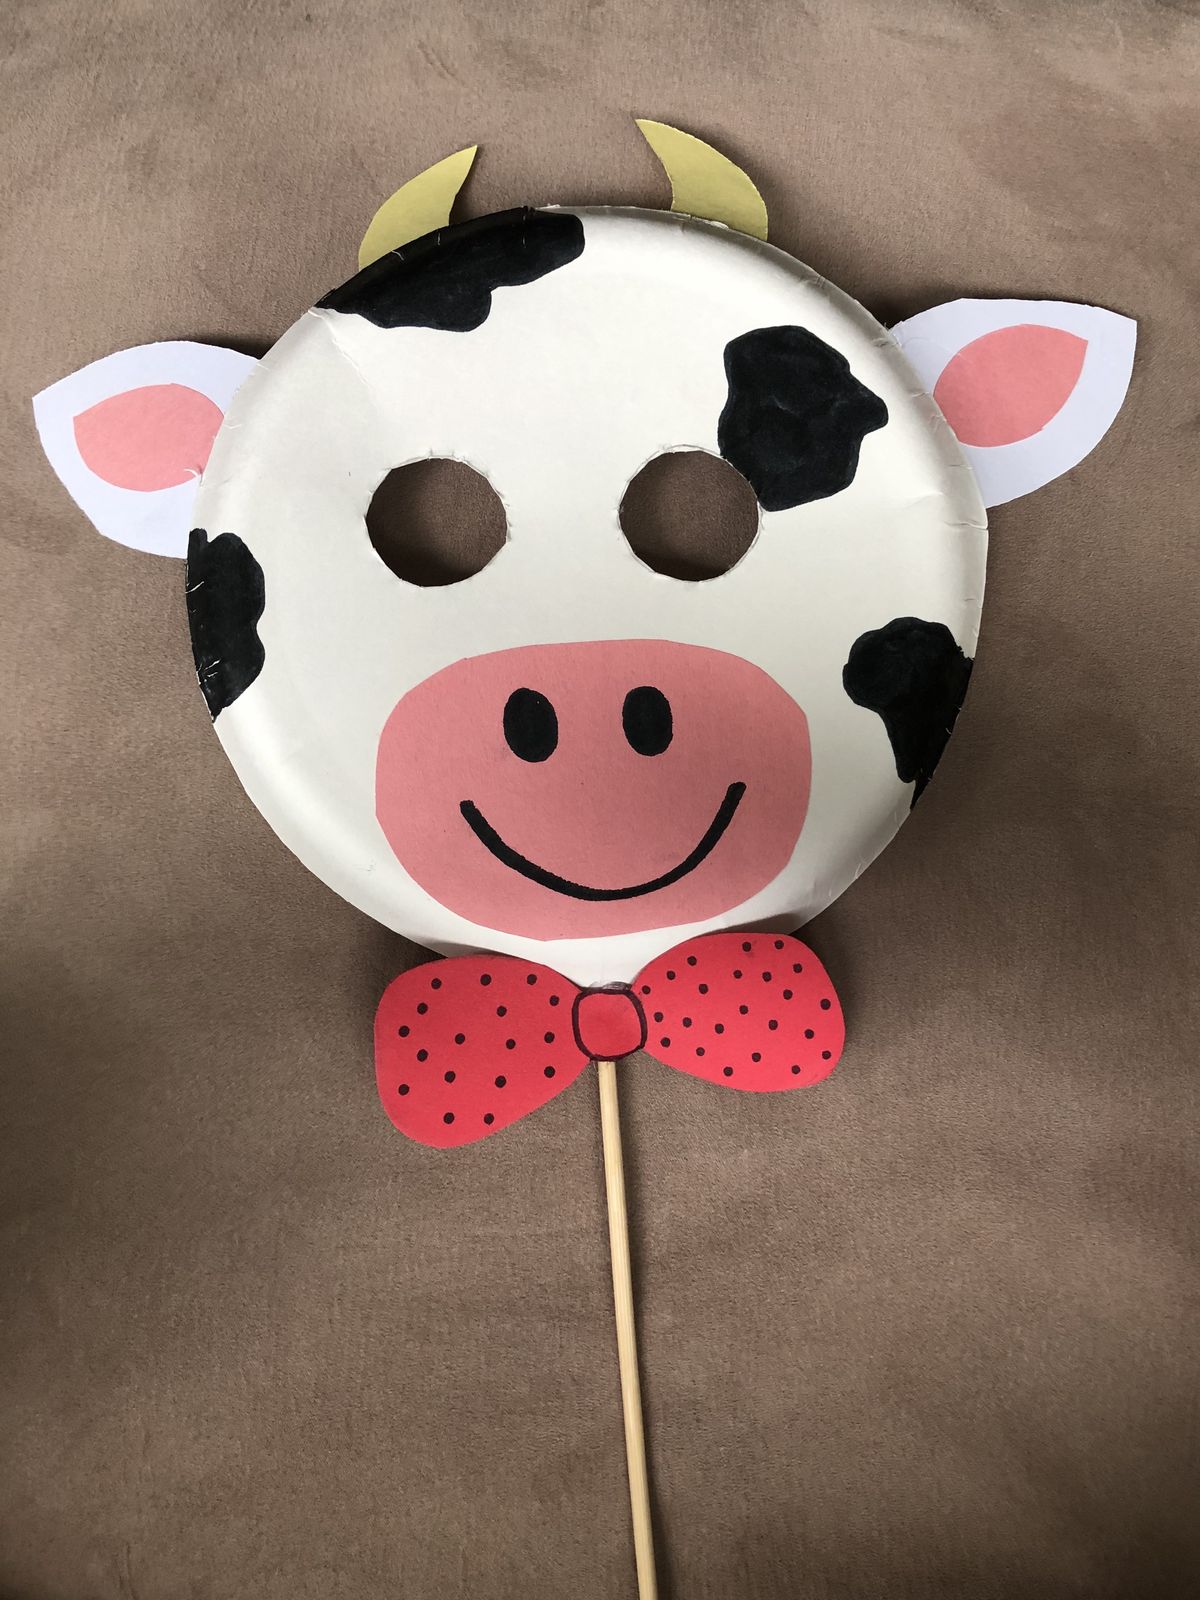
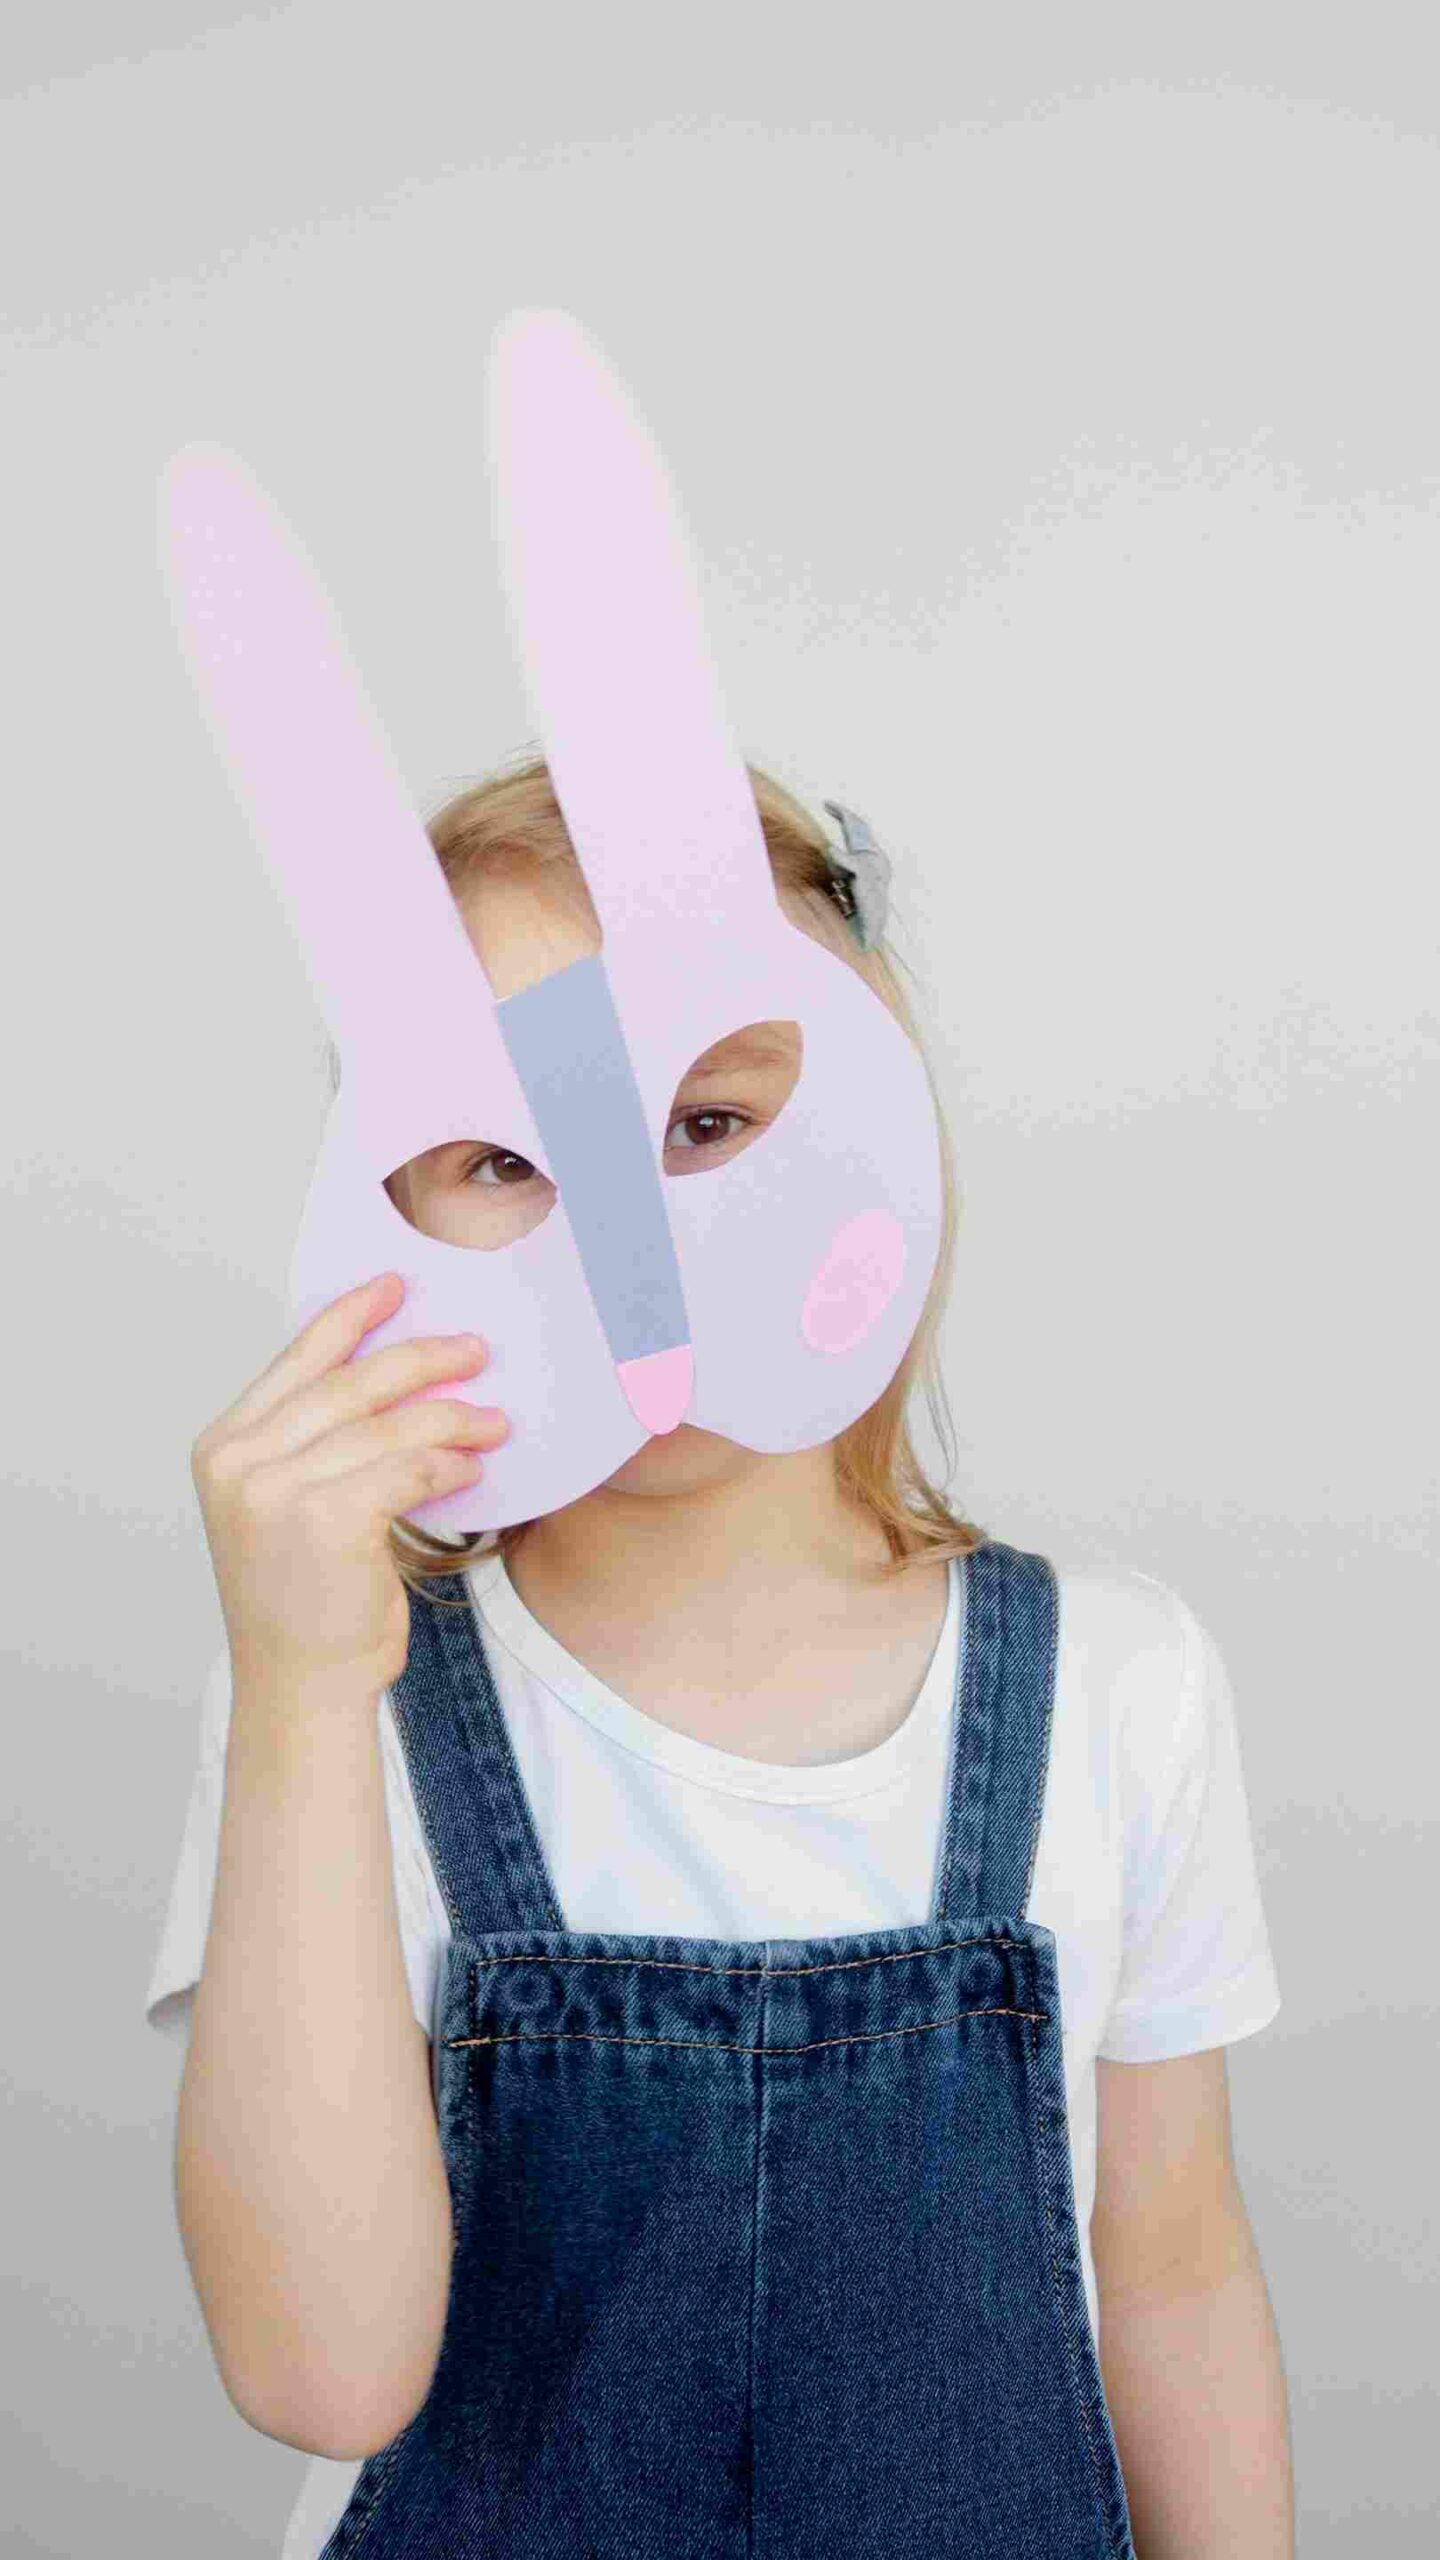
I swear, paper plate masks have saved me on more rainy afternoons than I can count. Toddlers love them because, honestly, who doesn’t want to be a lion or a bunny for a few hours? I just cut out the eye holes, set out markers, paints, or even scraps of colored paper, and let them go wild. The first time we did this, my little one insisted on making a “rainbow tiger,” and I still laugh thinking about it.
The best part is you don’t need fancy supplies. Just paper plates, scissors, glue, and whatever bits you’ve got lying around. Feathers, buttons, even pasta shapes if that’s all you’ve got. And don’t stress about it looking perfect. In my opinion, the sillier the mask, the better the giggles. We usually end the day with a “mask parade” around the house—toddlers in costume, me clapping like they’re on a Broadway stage.
-
Use non-toxic paints or markers for decorating.
-
Cut eye holes for a comfortable fit.
-
Add cotton balls for texture or yarn for hair.
-
Encourage toddlers to act out animal movements after creating their masks.
-
This activity can also be tied to learning animal names or sounds.
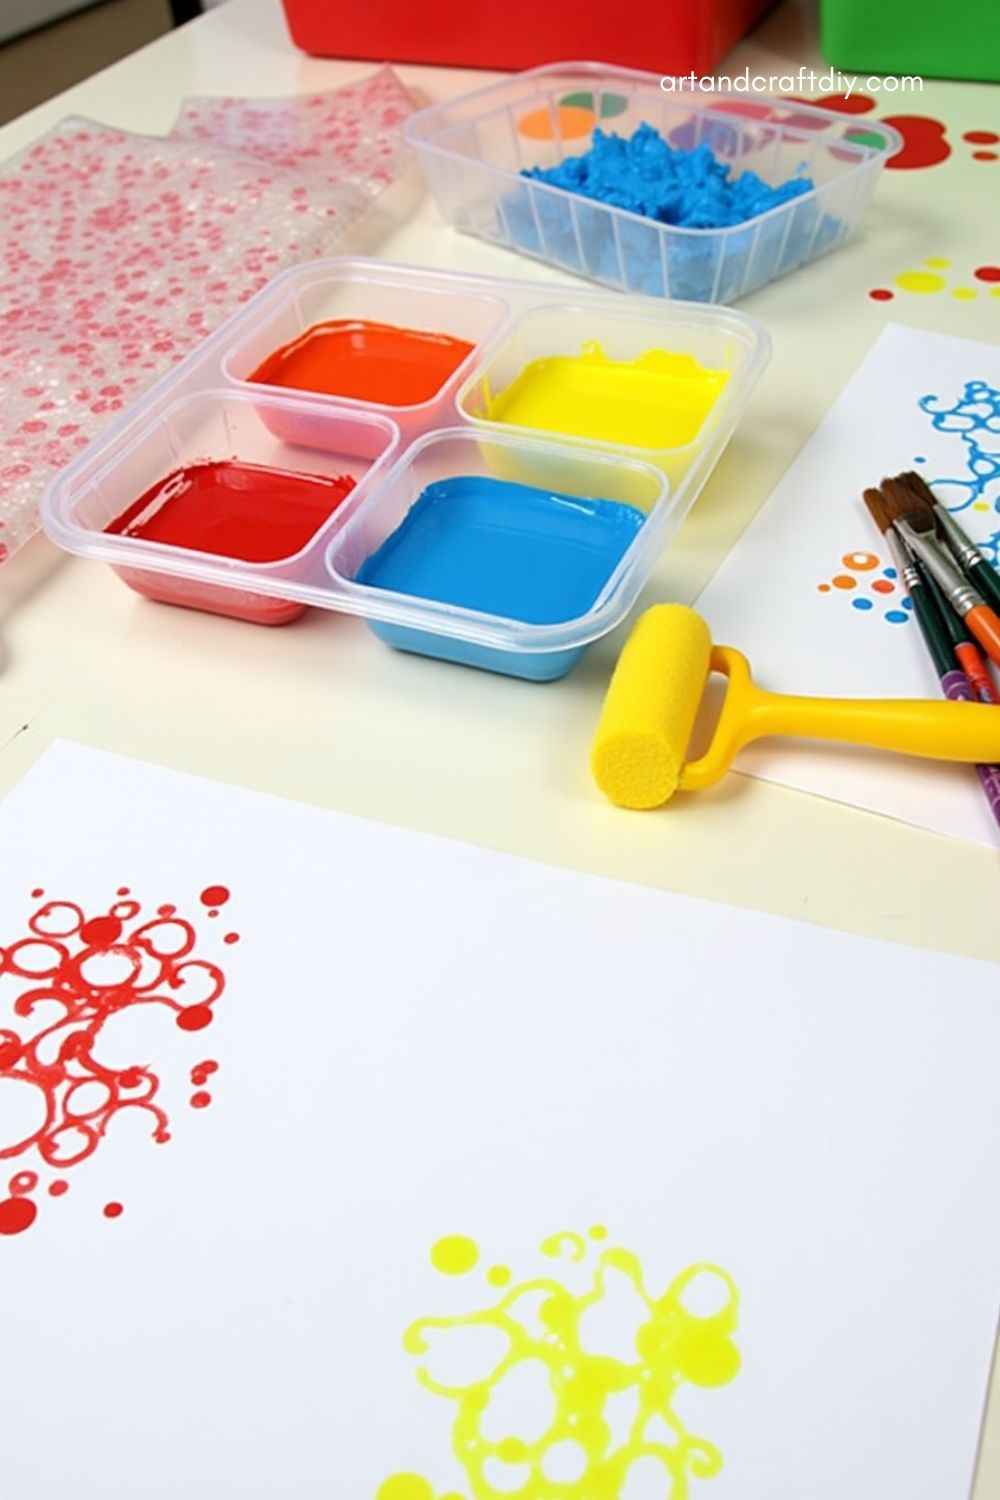
Finger Painting
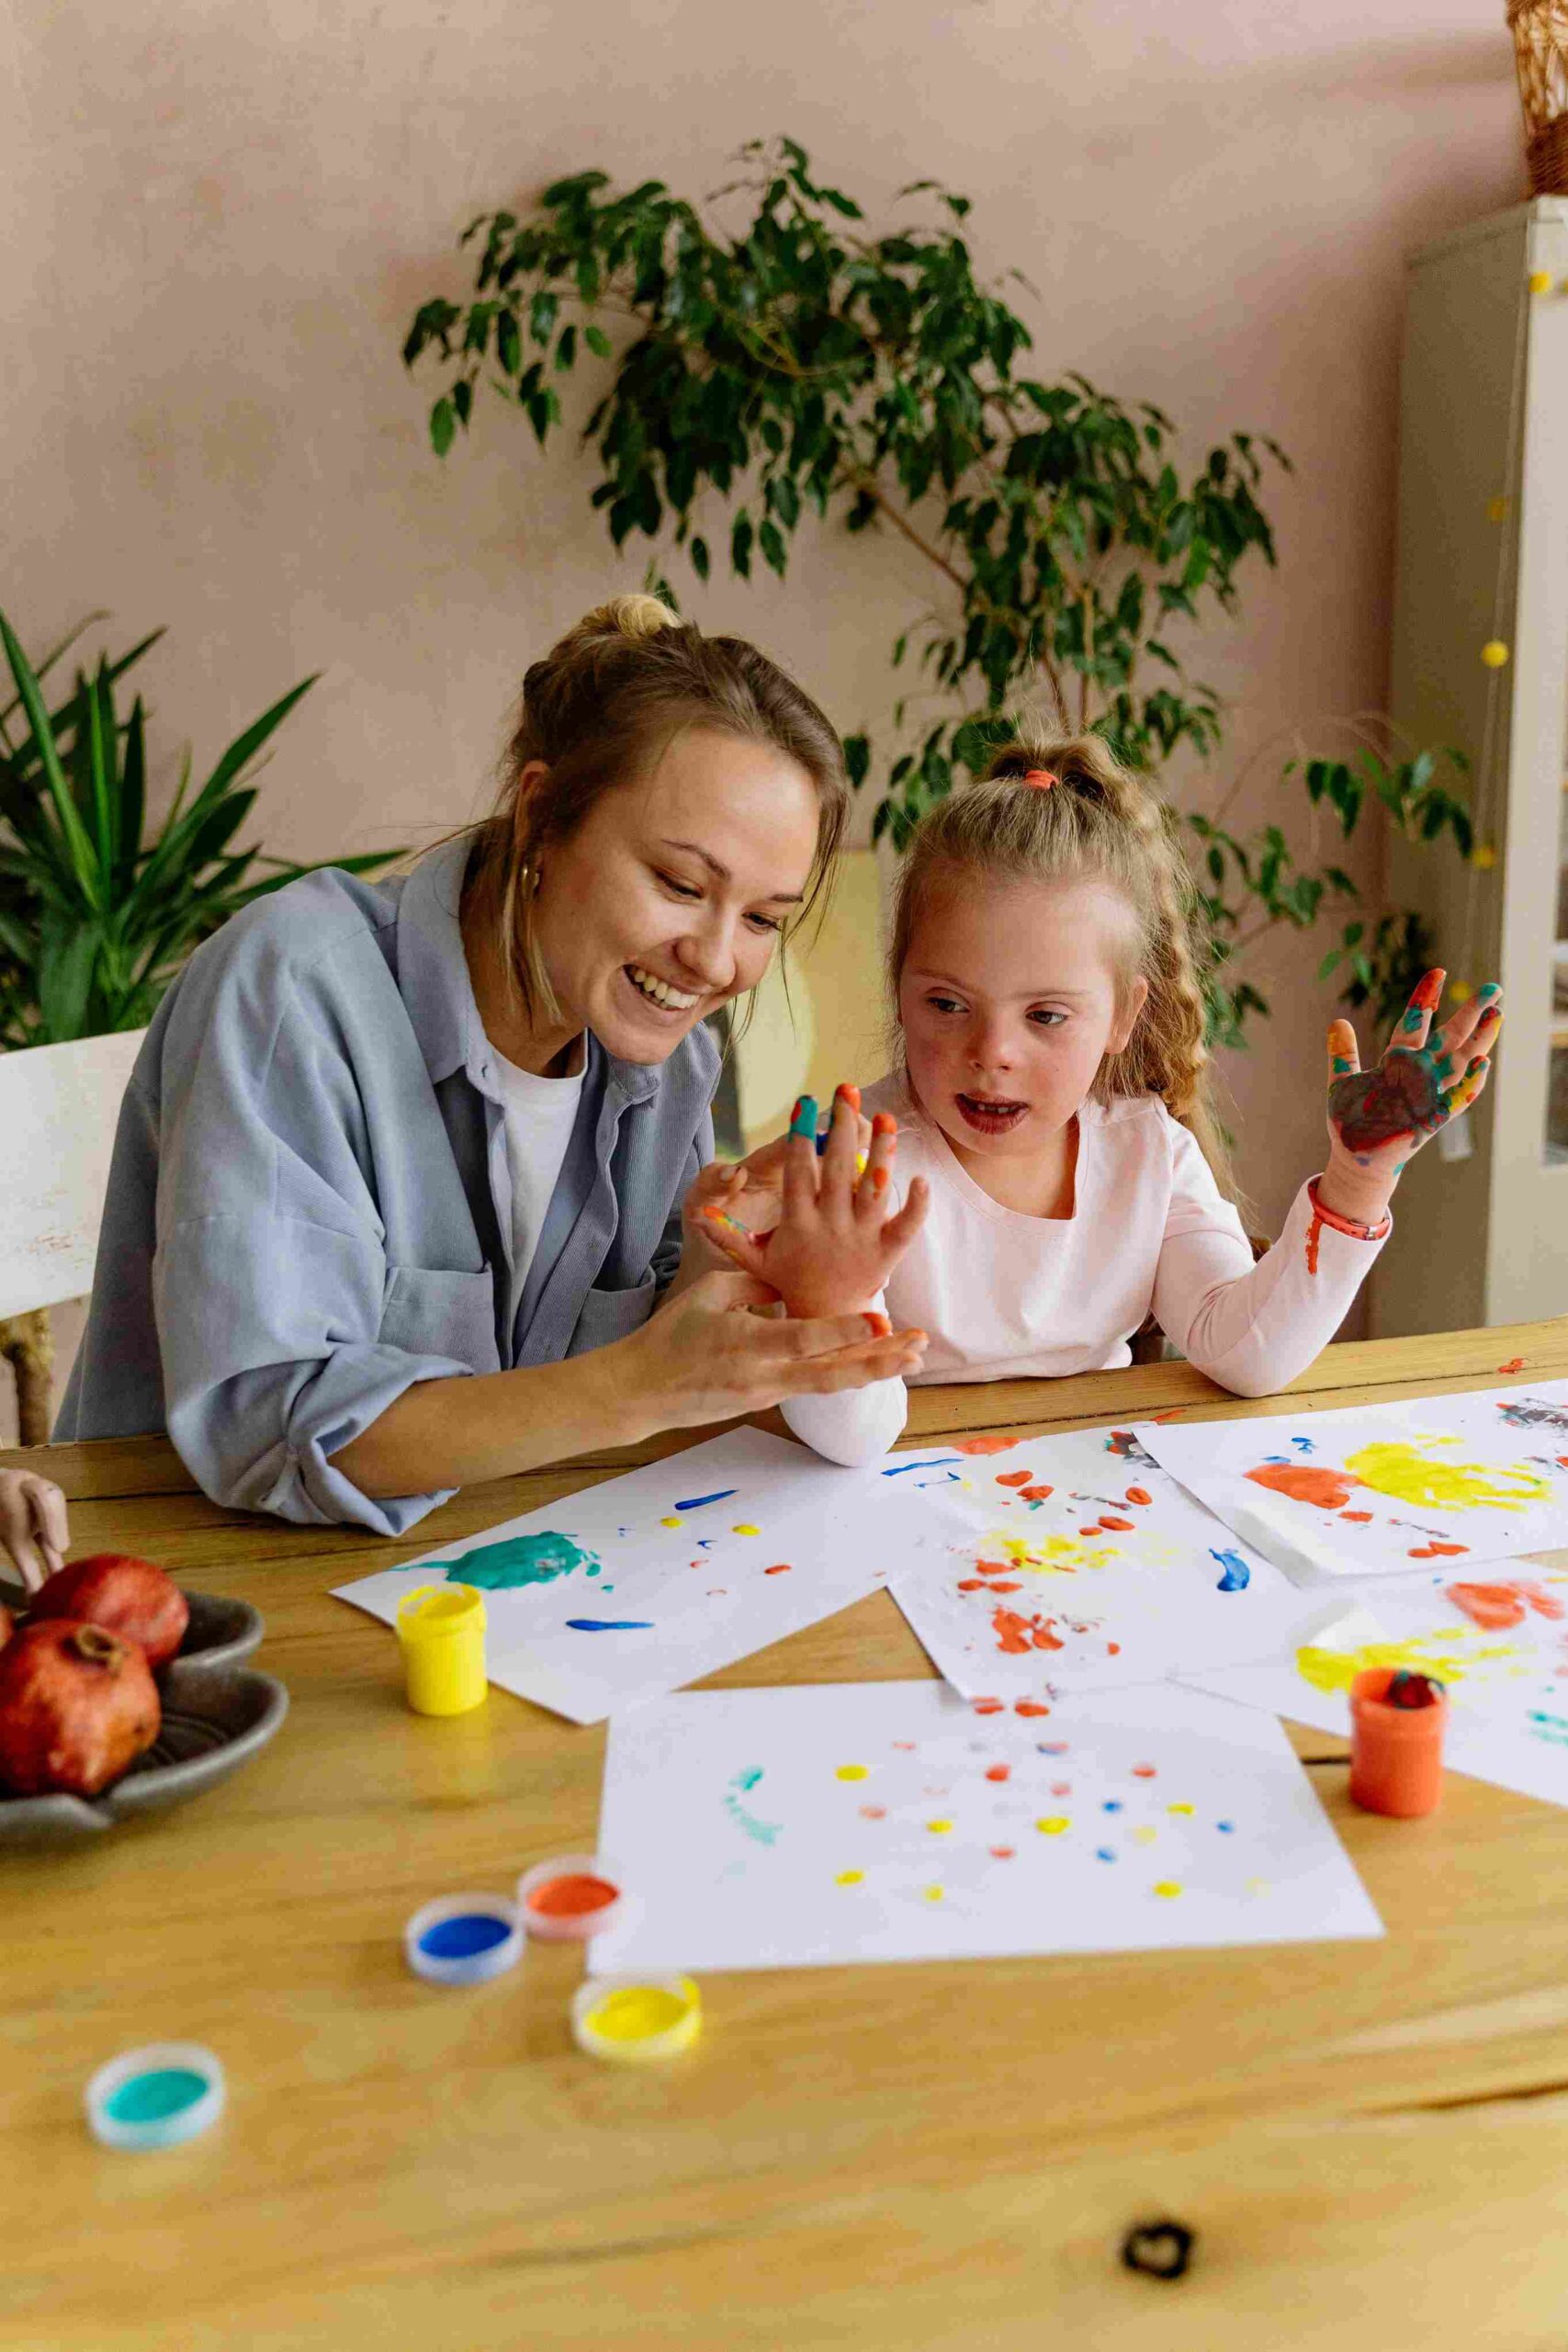
Finger painting is one of those things that always starts out neat and quickly spirals into “how did the paint get on the dog?” But, to be fair, that’s half the fun. I usually roll out a big sheet of butcher paper or even tape some old newspaper together, and then I just plop blobs of washable paint right onto the surface. The kids dive in like it’s pudding.
What I’ve found is that it’s not really about the end product—it’s about the squishy, slippery, colorful mess of it all. My toddler once smeared so much blue paint that she declared it was “the ocean,” then threw in a couple of handprints for fish. Honestly, it was more convincing than some art I’ve seen in galleries. And yes, it takes forever to clean up, but watching their little faces light up makes the mess worth every second.
-
Set up a clean, covered area for easy cleanup.
-
Use washable paints for easy washing.
-
Let toddlers experiment with different colors and patterns.
-
Try using different surfaces like paper, cardboard, or even fabric.
-
Encourage them to mix colors and create new shades.
Playdough Creations
If there’s one craft supply I never run out of, it’s playdough. It’s like the holy grail of toddler entertainment. I’ll sit down with them, roll out a few snakes, maybe a pancake or two, and then let their imaginations take over. Once, my toddler proudly handed me a lumpy “birthday cake” complete with crayon sticks for candles. It was adorable… until I pretended to blow them out and she screamed, “Noooo, it’s still hot!”
You can buy playdough, but I’ve found making it at home is ridiculously easy (flour, salt, water, food coloring). The texture is softer, and kids love picking their own colors. I usually set out cookie cutters, plastic spoons, and whatever random kitchen tools I don’t mind getting messy. It keeps them busy for ages, and in my opinion, it’s the kind of quiet, creative play every parent secretly dreams about.

-
Make your own playdough using simple ingredients like flour, salt, and water.
-
Offer small rolling pins and cookie cutters for added fun.
-
Let toddlers explore different textures and colors.
-
Create simple shape-learning activities with the playdough.
-
Supervise to ensure they don’t put small pieces in their mouths.
Paper Collages
Paper collages feel like organized chaos, and toddlers thrive on that. I usually grab a stack of old magazines, colored paper scraps, or even last week’s junk mail, hand over a pair of safety scissors, and watch as the floor slowly disappears under tiny cut-outs. At first, it’s random snips everywhere, but eventually, you see little masterpieces forming.
One time, my daughter glued a pizza flyer onto her collage and proudly announced it was “dinner art.” To be honest, I kind of loved it. Glue sticks are easier and less messy than liquid glue (learned that the hard way), but even so, expect sticky fingers. What I love most about collages is that there’s no right or wrong. Every piece—crooked, torn, upside down—adds to the charm. It’s messy, sure, but in the end, you’ve got fridge-worthy art that feels so personal.
-
Use magazine cutouts, tissue paper, fabric scraps, and buttons.
-
Provide different gluing tools like brushes or simple glue sticks.
-
Help toddlers tear paper for a fun texture experience.
-
Talk about the materials and colors they are using.
-
Allow toddlers to make abstract or themed collages, such as a nature collage with leaves and flowers.
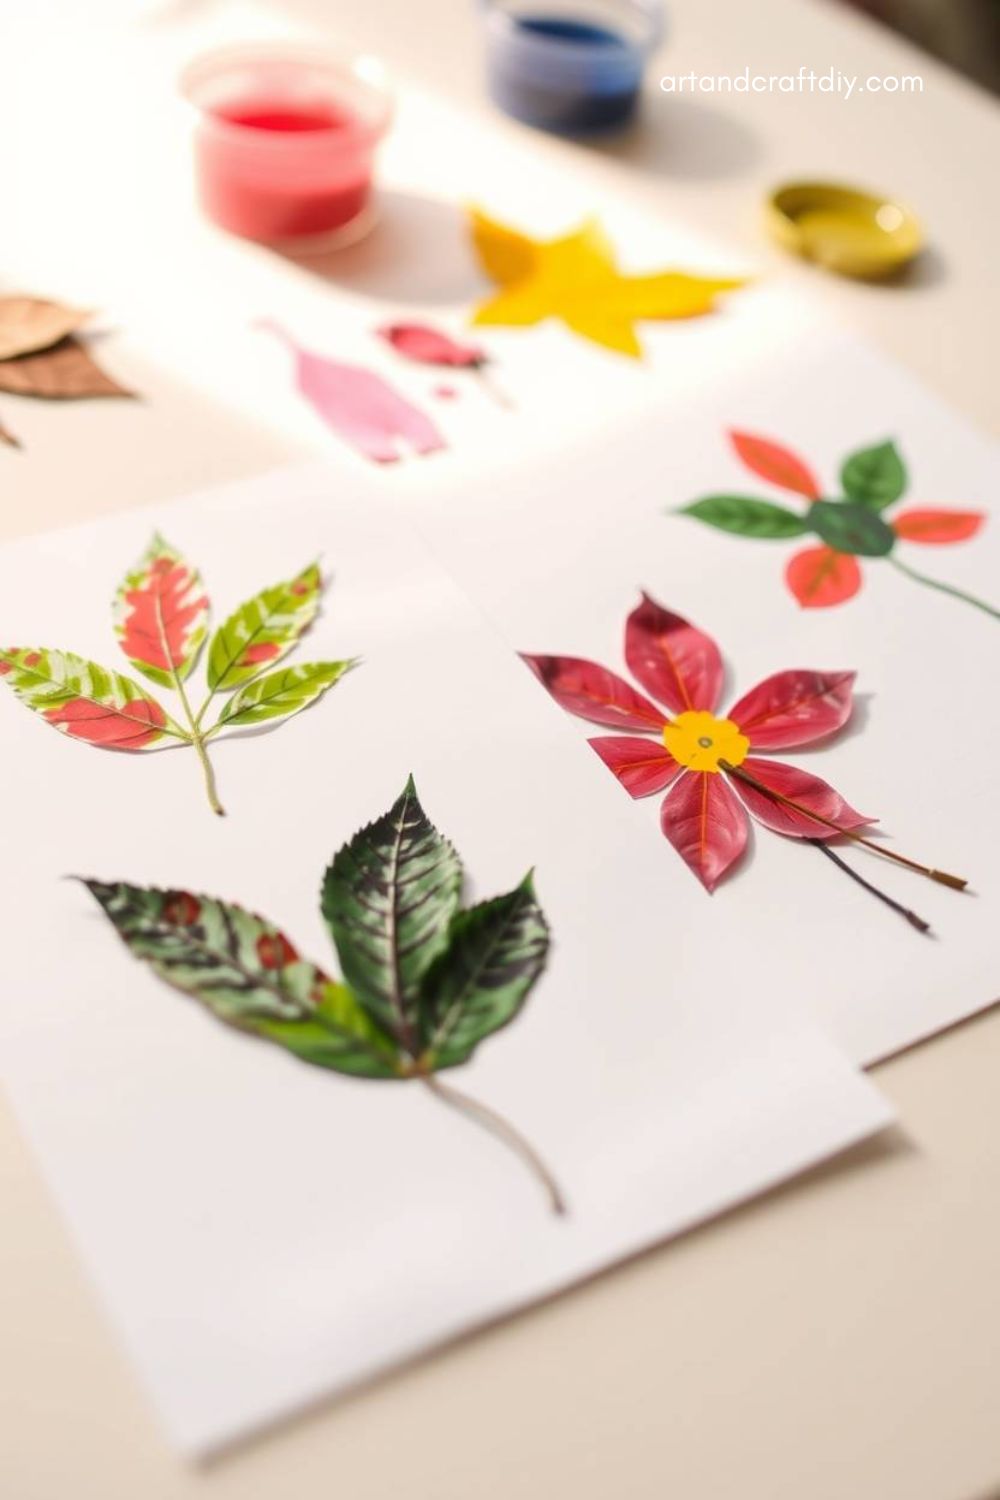
Nature Prints
Nature prints are a craft and a mini adventure rolled into one. I usually take the kids for a little walk to collect leaves, flowers, or even interesting twigs. Honestly, they get more excited about picking up random rocks than the actual craft. But once we’re home, I pull out some paint, brushes, and paper, and we press the leaves down like stamps.
The results are never the same twice. A fern leaf dipped in green paint looks delicate and detailed, while a chunky maple leaf comes out bold and dramatic. My toddler once smeared paint across her entire arm, pressed it on the paper, and proudly called it “tree hug art.” To be fair, it was kind of genius. What I like about this activity is it connects them to the outdoors while keeping them busy inside. Plus, you end up with some surprisingly pretty prints.
-
Collect leaves, flowers, or other small natural items during a walk.
-
Dip the items in paint and press them onto paper to make prints.
-
Talk about the different shapes and textures of the items they’re printing.
-
Encourage toddlers to experiment with colors and patterns.
-
Use this craft to introduce simple nature-related vocabulary.
Salt Dough Handprints
Salt dough handprints are one of those crafts that feels like a rite of passage for parents. It’s ridiculously simple—flour, salt, and water—but the results last forever. The first time I did it, I was shocked by how tiny those little hands looked once baked. Now, it’s like a time capsule sitting on my shelf.
I usually roll the dough out thick, press their hands (or feet, if they’ll let me), and then let it dry. You can bake it low and slow or just air-dry, though baking is faster if your toddler is impatient—which, let’s be honest, they usually are. Once it’s hard, the real fun begins: painting. My kid went full glitter one year, and now that sparkly handprint is a holiday ornament we hang up every December. Messy? Sure. But the keepsake factor makes it totally worth it.
-
Mix salt, flour, and water to create the dough.
-
Roll out the dough and press toddler hands into it to make prints.
-
Bake the handprints in the oven until firm.
-
Decorate with non-toxic paints once cooled.
-
This can be a lovely keepsake or gift for family members.
Tissue Paper Stained Glass
Tissue paper stained glass is one of those crafts that looks way fancier than it really is. I cut out shapes (hearts, stars, random squiggles) from black construction paper and then let the kids fill them with squares of tissue paper. We use a bit of glue or contact paper, and suddenly it looks like something you’d hang in a real window.
The first time we did this, my toddler made a butterfly with mismatched wings—one was all pink, the other was all green. She held it up to the sunlight and gasped like she’d discovered magic. Honestly, it kind of did look magical. The nice part is it doubles as a little home decoration, so it feels like their art has a place beyond the fridge. In my opinion, this one’s a winner for days when you want minimal mess but maximum “wow.”

-
Cut black construction paper into simple shapes, like windows or frames.
-
Have toddlers glue tissue paper pieces onto the shapes to fill in the gaps.
-
Use wax paper or clear plastic as the background for the stained glass effect.
-
Display the finished projects in windows for light to shine through.
-
Talk about colors and light as the finished product catches the sun.
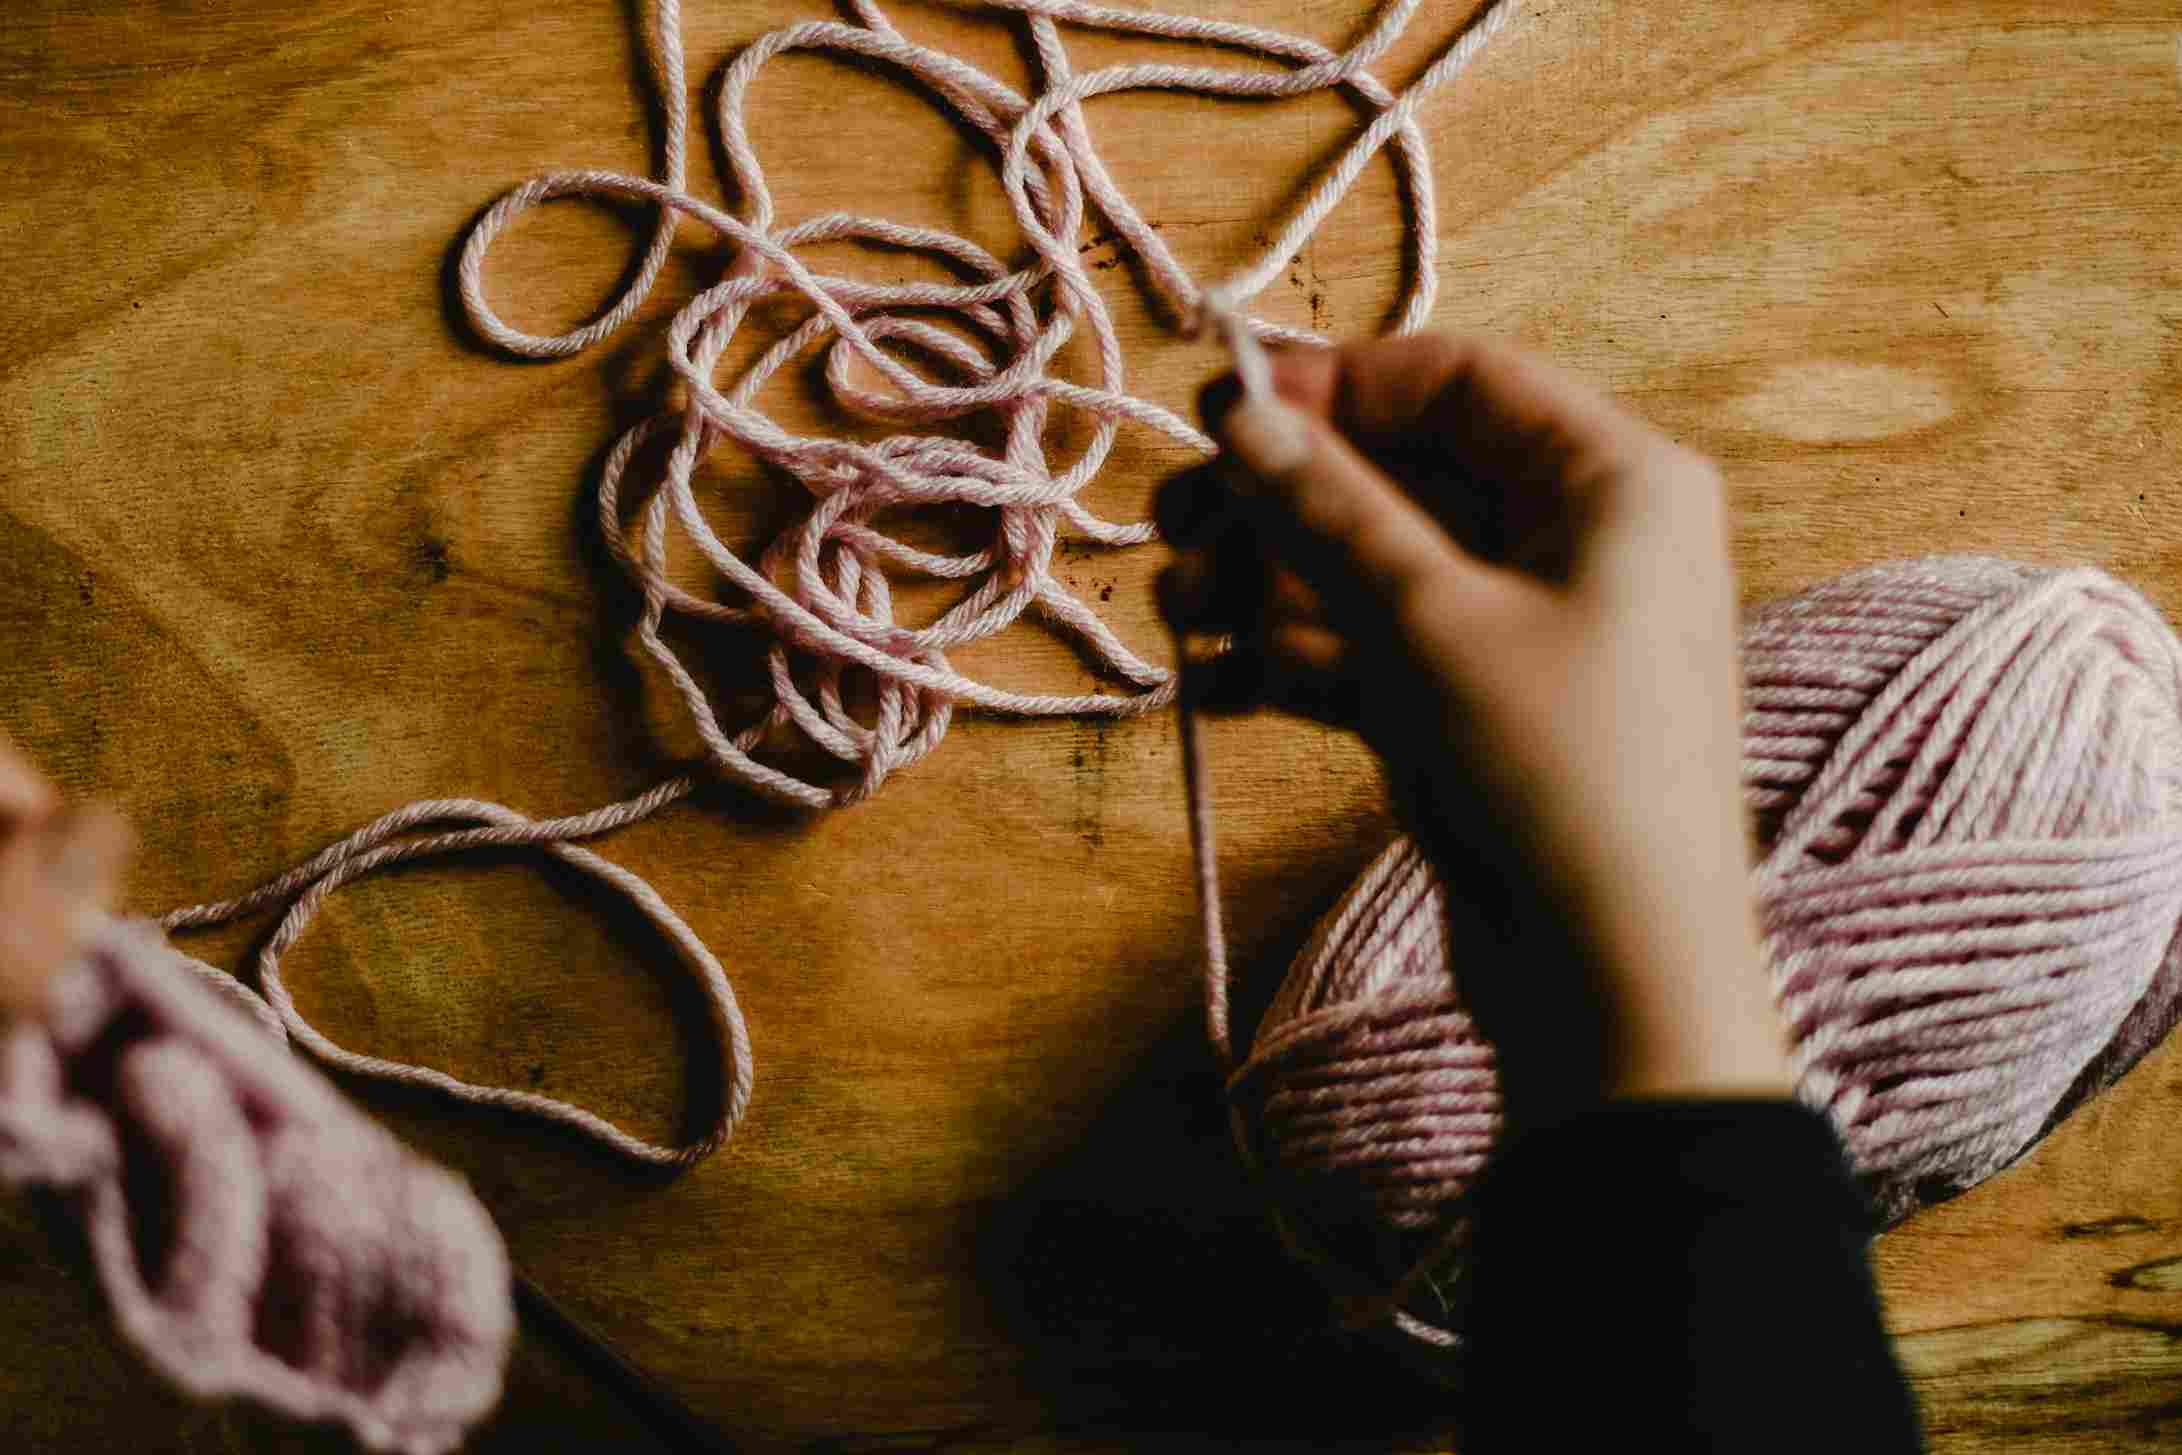
Yarn Art
Yarn art sounds complicated, but it’s basically giving kids colorful strings and glue and seeing what happens. I tape down a piece of cardboard, squirt a bit of glue, and hand over the yarn. At first, it’s tangles everywhere (and, yes, sometimes in their hair), but eventually, you get swirls, patterns, or just joyful chaos.
My son once created what he swore was “a rainbow snail,” though honestly, it looked more like spaghetti. Still, he was so proud I couldn’t stop smiling. I’ve found it’s easier to pre-cut shorter pieces of yarn so they don’t end up dragging the whole skein around the house. And if you don’t have cardboard, paper plates work too. It’s messy, it’s stringy, but it keeps little hands busy—and in my book, that’s a solid win.
-
Use a piece of cardboard or a paper plate as a base.
-
Help toddlers wrap colorful yarn around shapes or forms.
-
Introduce them to different types of yarn with varying textures.
-
Allow them to make patterns or designs with the yarn.
-
You can also make simple necklaces by threading yarn through pasta or buttons.
Bubble Wrap Printing
I don’t know a toddler who can resist bubble wrap. Half the time, the craft doesn’t even happen because they’re too busy popping it. But if you manage to save a sheet, bubble wrap printing is pure fun. I dab paint onto the bubble side, press paper down on top, and voilà—a textured print that looks cooler than anything I could draw.
One of our best creations was a bubble-wrap “underwater scene.” Blue paint for the bubbles, little fish doodled afterward, and suddenly it looked like something out of a picture book. Honestly, I get as much joy from this one as the kids do. The cleanup isn’t terrible, and if you’re lucky, you’ll still have a few unpopped bubbles left for post-craft entertainment. To be fair, it’s less about the art and more about the popping soundtrack that follows.
-
Cut bubble wrap into small squares.
-
Let toddlers paint the bubble wrap with different colors.
-
Press the painted bubble wrap onto paper to create textured prints.
-
Talk about the fun popping sounds as they press the bubble wrap.
-
Encourage toddlers to experiment with multiple colors and overlapping prints.
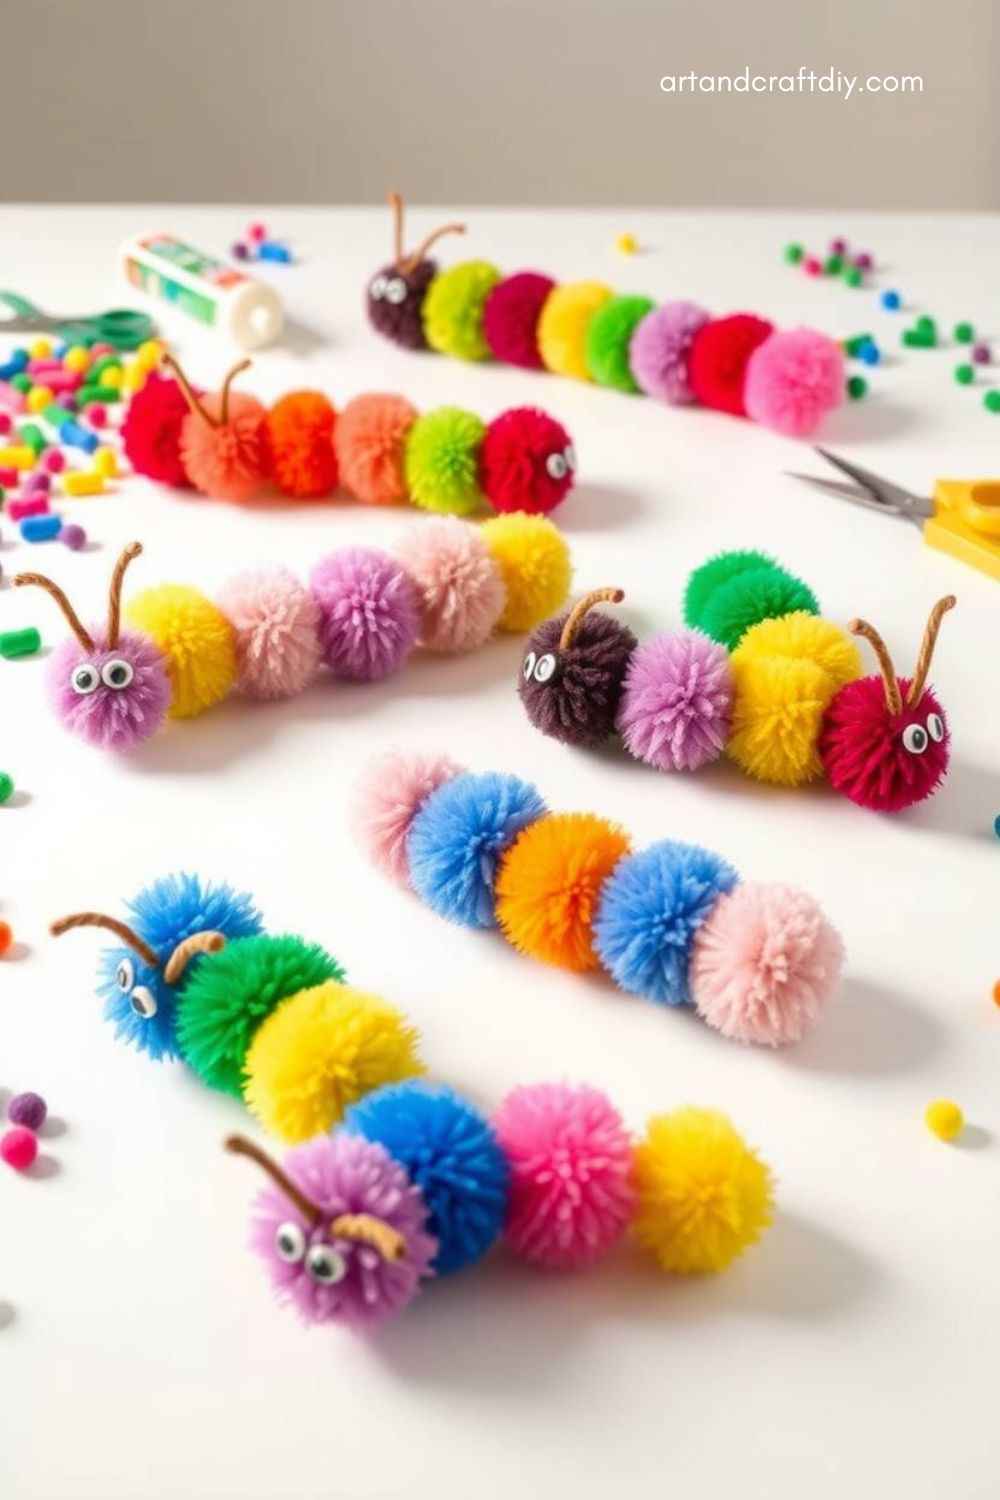
Pom-Pom Caterpillars
Pom-pom caterpillars are just… adorable. I line up a row of pom-poms on a strip of paper, add googly eyes, and suddenly we’ve got a little fuzzy buddy. The kids always want to make families of them, which means my shelves slowly get covered in rainbow caterpillars.
One time, my daughter insisted hers needed “shoes,” so we glued tiny beads to the bottom. In my opinion, it was ridiculously cute, even if half the beads fell off later. I recommend using a hot glue gun if you want them to stay put, but honestly, toddlers don’t care—they just love watching the caterpillars come to life. It’s such a quick craft, but it gives them that satisfying sense of “I made something.” Plus, the googly eyes make everything better. Always.
-
Provide pom-poms in different sizes and colors.
-
Help toddlers glue the pom-poms onto a paper strip to form a caterpillar shape.
-
Use googly eyes to add a fun detail.
-
Encourage them to count the pom-poms as they glue them in place.
-
Add antennas and legs using pipe cleaners for extra detail.
Paper Bag Puppets
Pom-pom caterpillars are just… adorable. I line up a row of pom-poms on a strip of paper, add googly eyes, and suddenly we’ve got a little fuzzy buddy. The kids always want to make families of them, which means my shelves slowly get covered in rainbow caterpillars.
One time, my daughter insisted hers needed “shoes,” so we glued tiny beads to the bottom. In my opinion, it was ridiculously cute, even if half the beads fell off later. I recommend using a hot glue gun if you want them to stay put, but honestly, toddlers don’t care—they just love watching the caterpillars come to life. It’s such a quick craft, but it gives them that satisfying sense of “I made something.” Plus, the googly eyes make everything better. Always.

-
Use plain paper bags as the base for the puppet.
-
Decorate the bags with markers, fabric, yarn, and googly eyes.
-
Help toddlers draw or glue on features like noses, mouths, and ears.
-
Once finished, encourage them to put on a puppet show.
-
This activity promotes language development and social interaction.
Straw Printing
Straw printing sounds fancy, but it’s literally just straws and paint. I dip one end of the straw in paint and press it onto paper, and suddenly you’ve got these cool little circles. Sometimes we cut the ends into different shapes, so the prints come out funky. The first time we tried it, my toddler yelled, “Polka dot party!” and ran around showing everyone.
To be fair, it does get a little messy—paint has a way of finding its way up the straw if kids get curious about blowing into it. But that’s part of the fun. What I like most is how versatile it is. We’ve used it to make flowers, fireworks, even pretend “bubble” art for an underwater theme. It’s one of those crafts where the process is way more fun than the result, and that’s exactly what toddlers need.
-
Dip the end of a straw into a paint container.
-
Let toddlers blow through the straw onto the paper to create splatters and patterns.
-
Offer multiple colors of paint for a fun, abstract effect.
-
Encourage them to blow with different amounts of force for varying patterns.
-
Talk about the shapes and patterns created with the straw.
Egg Carton Flowers
Transform egg cartons into beautiful flowers with a little paint and imagination. This craft helps toddlers work on their fine motor skills and creativity.
-
Cut individual cups from an egg carton and paint them in bright colors.
-
Attach the cups to a long piece of paper or cardboard to form a flower shape.
-
Add pipe cleaner stems or green construction paper leaves.
-
Let toddlers use stickers or buttons to decorate the center of each flower.
-
This craft can be adapted for different seasons, such as spring or summer.
Painted Rock Animals
Turn small rocks into fun animals with just a bit of paint. This project is perfect for toddlers who enjoy painting and exploring textures.
-
Gather small, smooth rocks for painting.
-
Help toddlers paint the rocks to create animals like ladybugs, cats, or turtles.
-
Use googly eyes and pipe cleaners for added detail.
-
Encourage toddlers to name the animals they create.
-
Once painted and dried, the rocks can be displayed around the house or used in outdoor games.
Sponge Stamps
Sponge stamps are a simple, mess-free way for toddlers to create textured patterns on paper. This activity is great for building hand-eye coordination.
-
Cut sponges into fun shapes like stars, hearts, or animals.
-
Dip the sponges into paint and stamp onto paper.
-
Encourage toddlers to experiment with overlapping stamps for interesting patterns.
-
Talk about the shapes and colors being used.
-
You can also use sponges to create prints on fabric, like t-shirts or aprons.
Cotton Ball Snowmen
Creating snowmen out of cotton balls is a fun winter craft that toddlers can easily do. This simple craft promotes hand-eye coordination and creativity.
-
Provide cotton balls, construction paper, and glue.
-
Help toddlers arrange the cotton balls into snowman shapes.
-
Add buttons, googly eyes, and a small paper hat or scarf for detail.
-
Discuss the winter season and snow while crafting.
-
Let toddlers color in the background with snowflakes or a winter scene.
These crafts offer a fun, educational experience for toddlers while improving fine motor skills, creativity, and cognitive development. Whether you are looking for a simple afternoon activity or a creative project, these crafts are perfect for toddlers of all ages!
Clean-Up Tips
Crafting with toddlers can be a messy but enjoyable activity, and while it’s important to let them explore, it’s equally important to teach them how to clean up afterward. Creating a habit of cleaning up helps toddlers develop responsibility and keeps your crafting area tidy. With a few easy tips, you can make the clean-up process fun and engaging, turning it into another opportunity for learning and bonding.
Keeping the Crafting Area Tidy
-
Prepare in advance: Lay down newspaper, plastic tablecloths, or craft mats to catch spills and messes.
-
Designate a specific area: Keep all crafting materials within a set area to minimize mess spread.
-
Use washable materials: Opt for washable paints, markers, and glues that are easier to clean up.
-
Organize supplies: Store materials in containers or drawers that are easy for toddlers to access and put away.
Teaching Toddlers to Clean Up After Crafting
-
Start early: Introduce clean-up time as part of the crafting routine. The more consistently toddlers are encouraged to clean, the more natural it will feel.
-
Make it a game: Toddlers love games, so turn clean-up into a fun challenge, like “Who can pick up the most pom-poms?”
-
Use simple steps: Break the process down into small, easy tasks, such as “First, let’s put the glue back in the box” or “Now, let’s pick up the markers.”
-
Praise their efforts: Offer positive reinforcement when toddlers help clean, no matter how small their contribution.
Fun Ways to Involve Them in the Process
-
Sing clean-up songs: Turn the clean-up time into a musical experience with fun songs that make the process enjoyable.
-
Color-coded bins: Use different bins or containers for different materials (e.g., one for crayons, one for glue), and ask toddlers to match items to their corresponding bins.
-
Let them wipe: Give toddlers a small cloth or wet wipe to help wipe down surfaces. They’ll feel like they’re really helping!
-
Make it social: If other children are involved, turn it into a group effort, making clean-up a social and interactive activity.
Cleaning up after crafting may seem like a chore, but when made into a fun, positive experience, toddlers can learn the value of tidying up while enjoying the process!
FAQ
What are the benefits of Crafts for toddlers ?
Crafting for toddlers helps improve fine motor skills, creativity, and cognitive development. It also encourages sensory exploration, hand-eye coordination, and problem-solving. Additionally, crafting is a great way to bond with your toddler and introduce new concepts like colors, shapes, and textures.
What materials are safe for Crafts for toddlers ?
Always choose non-toxic, washable materials in Crafts for toddlers such as markers, crayons, paint, glue, and playdough that are labeled as safe for young children. Avoid small items that could be a choking hazard and ensure that all supplies are age-appropriate.
How can I keep the mess to a minimum while crafting with toddlers?
To minimize the mess, use a designated crafting area covered with a plastic tablecloth or newspaper. Choose washable materials, and organize supplies in containers. You can also limit the number of materials used during each project to reduce clutter.
How do I teach my toddler to clean up after crafting?
Introduce clean-up time as part of the crafting routine. Make it fun by turning it into a game, such as “Who can put the most pom-poms in the basket?” Use simple tasks, and praise your toddler for helping. Using color-coded bins for materials can also make clean-up easier.

Hi, I’m Victoria, an art and craft teacher at Newark City Schools, where I have the joy of working with middle school students to help them explore their creativity and develop their artistic talents. I believe that art is a powerful way for students to express themselves, and I strive to make every lesson a fun, engaging, and inspiring experience.
I created this website to share the art and craft projects, techniques, and resources that I use in my classroom, hoping to inspire both educators and young artists alike. Whether you’re a teacher looking for new ideas or a student eager to try something new, I’m excited to provide creative tools and projects that anyone can enjoy.
When I’m not in the classroom, I love experimenting with different art forms and learning new crafting techniques. My goal is to help others discover the joy of making things with their hands, and I hope my website serves as a space for everyone to explore their creative potential.