
Looking for a squishy, gooey, giggle-worthy project? You’ve come to the right place! This DIY Slime Recipe for Kids is not only super fun to make but also a total favorite among little ones everywhere. Slime has taken over playtime—and for good reason! It’s the perfect hands-on activity that keeps kids entertained, encourages creativity, and gives them a break from screens. Plus, it’s an awesome sensory experience that’s stretchy, colorful, and endlessly fun to squish. Let’s dive into the slime-making magic!
DIY Slime Recipe for Kids
DIY Slime Recipe for Kids is a fun, hands-on activity that kids absolutely love. It boosts creativity, offers sensory play, and keeps little hands happily busy without screens!
Fluffy Slime

I still remember the first time I made fluffy slime with my niece—we ended up with shaving cream all over the table and in our hair, but wow, it was worth it. This one is a total favorite because it’s just so light and airy, almost like playing with marshmallow clouds. The trick, honestly, is in not skimping on the shaving cream. The more you add, the fluffier it gets.
To be fair, I was skeptical about whether it would turn out right. But once you mix the glue, shaving cream, a little baking soda, and some contact lens solution (yep, sounds weird, but it works), the texture is magic. I usually add a few drops of pastel food coloring—my go-to is mint green. It gives off total calming vibes. And don’t be afraid to get messy. That’s half the fun anyway!
Glitter Slime

Glitter slime is where things get sparkly and a little bit extra—and I am 100% here for it. My younger cousin calls this her “fairy goo” because, well, it looks like something out of a magical forest. You basically start with clear glue if you want the glitter to shine through, then stir in your glitter of choice. I like to mix chunky glitter with fine glitter for that layered sparkle.
In my opinion, silver and blue glitter combo gives it a frozen, wintery look that never fails to impress. I remember we made a batch last Christmas and gave them away in tiny jars as DIY gifts—everyone was obsessed. Just a heads-up: glitter will end up everywhere. And I mean everywhere. But it’s kind of a rite of passage, right?
Glow-in-the-Dark Slime

Okay, so this one is hands-down the coolest slime to show off at sleepovers or during power outages (yes, that actually happened). The glow effect totally blew my nephew’s mind the first time we turned off the lights and it lit up like alien goo.
You can buy glow-in-the-dark paint or powder and mix it into your regular slime base. I prefer using clear glue for maximum glow, and sometimes I charge the slime under a lamp before showing it off. One night we hid it in jars around the room for a mini scavenger hunt—so much giggling and a little bit of chaos. Totally worth it.
Rainbow Slime

Rainbow slime always feels like you’re crafting a masterpiece. It’s not just slime, it’s an art project. I usually make separate batches of different colors (red, orange, yellow, green, blue, purple) and then gently swirl them together—not mix, just swirl. If you mix too much, you get brown… not cute.
My trick? Lay out your colors on a baking tray and press them side by side. Then stretch it slowly. It looks like unicorn taffy. I made this for my daughter’s birthday party once and let each kid build their own rainbow blob—complete hit. It takes a bit of patience, but the end result is so pretty you almost don’t want to touch it. Almost.
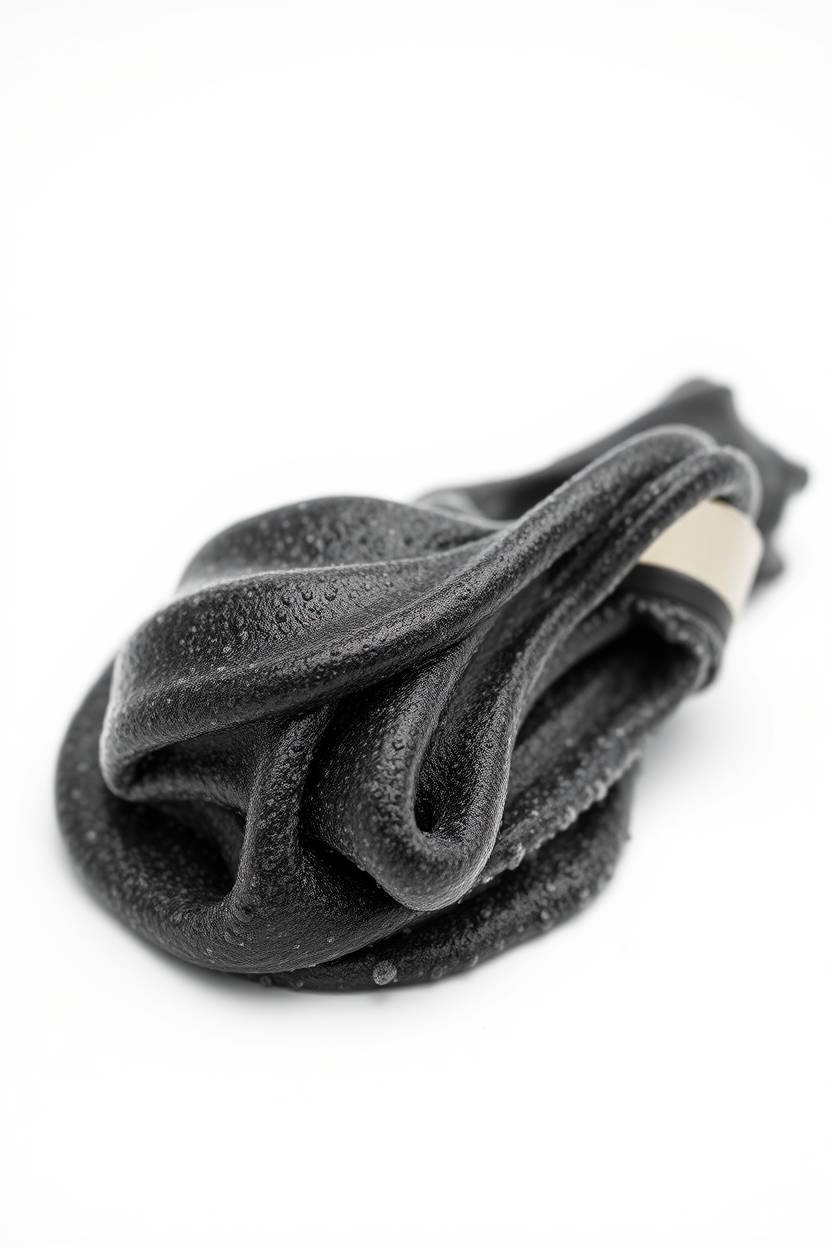
Galaxy Slime

This one is straight-up hypnotic. Galaxy slime is deep, dramatic, and sparkly—like looking into a nebula. I start with a black or navy blue slime base, then add streaks of purple and silver, maybe a touch of teal. Swirl it just enough to get that cosmic vibe without losing the contrast.
And oh, glitter is a must here. I go heavy with the star-shaped confetti—it’s dramatic in the best way. I made this with my teen neighbor once, and we both just stared at it for ages, squishing and stretching and watching it shimmer. Honestly, it’s like slime therapy.
Butter Slime

Butter slime is suuuper smooth and spreadable—it honestly feels like playing with soft clay. The first time I tried it, I was confused about why it was different, and then I added the secret ingredient: clay! Specifically, soft air-dry modeling clay. That stuff is magical.
You just add the clay into your basic slime mix and knead it in until the texture changes. I always go for yellow food coloring to match the buttery theme. Once, my cousin tried making it blue and it looked like toothpaste—not exactly appetizing, but still fun. It’s not stretchy like classic slime, but I swear the texture is addicting.
Clear Slime

Clear slime looks deceptively simple, but it takes patience to get it right. And I learned that the hard way. My first few tries were cloudy and sad, but if you let the slime sit for a few days after making it, the bubbles rise and it becomes crystal clear.
This one’s great for adding in fun stuff—glitter, sequins, even little toys. I once added tiny fake bugs and gave it to my prank-loving brother. His reaction? Priceless. Just don’t over-stir it, and use clear PVA glue for best results. I always store it in an airtight container to keep that glassy finish.
Crunchy Slime

If you love texture, crunchy slime is your jam. It makes the most satisfying sound when you squish it—like ASMR heaven. I use foam beads, and the trick is to find the right amount. Too many and it’s just chaos. Too few and you miss the crunch.
We made this during a rainy-day craft marathon and couldn’t stop playing with it. You can even mix different-sized beads for added dimension. I’ve found that kids really love this one because of the sound effects. It’s kind of like slime with built-in entertainment.
Magnetic Slime
This one feels like science class disguised as fun. I made magnetic slime with my nephew for his school project, and let me tell you—it’s super cool. You add iron oxide powder into the slime, and then use a strong magnet to move it around.
It feels alive, like some alien creature reacting to your every move. Just be careful—the powder can get messy, and definitely wear gloves. I keep a neodymium magnet around just for this. We even tried shaping it into little monsters and “waking them up” with the magnet. Total science-nerd joy.
Scented Slime

Scented slime is a treat for the nose. I usually use essential oils or candy flavorings. My personal favorite is cotton candy—it smells like a fairground. You can also go seasonal. Last fall I made pumpkin spice slime, and my kitchen smelled like a latte for hours.
Just a couple of drops go a long way, and make sure you’re using safe, skin-friendly options. I also color the slime to match the scent—pink for strawberry, green for mint. My little cousin once sniffed the strawberry one and asked if she could eat it. (She didn’t, don’t worry!)
Cloud Slime
Cloud slime has this dreamy, drizzly texture that’s hard to describe until you feel it. The secret ingredient here is instant snow powder—just add water, fluff it up, and mix it in. It feels kind of like stretching cotton candy.
It took me a couple of tries to get the snow-to-slime ratio right, but once you nail it, the result is magical. I usually go with light blue and a touch of glitter for that sky vibe. We made this at a sleepover and the kids were obsessed. Bonus: it makes that satisfying tear-apart sound too!
Unicorn Slime
This one’s all about the aesthetics. Think pastel pinks, purples, blues, and sparkles—so. many. sparkles. I like to layer the colors in a jar and swirl them at the very end. It reminds me of cotton candy and Lisa Frank stickers.
To be fair, it can get a bit messy if you over-mix. The goal is that pretty marbled look, not a full blend. My niece loves naming each batch after imaginary unicorns. One was called “Princess Sugarbubble.”
Edible Slime
Not gonna lie—I was hesitant to try this one. But with little kids around, it’s nice to have a totally safe, edible version. Marshmallows and cornstarch work surprisingly well. Melt the mallows, stir in a bit of oil and cornstarch, and bam, stretchy and safe.
It smells sweet and feels just like the real thing. We made chocolate slime once and it legit looked like pudding. Still, I wouldn’t recommend eating more than a teeny bit—texture over taste here. But it’s perfect for toddlers who want to join in on the slime fun.
Halloween Slime
This one is spooky fun. I go for dark purple or green slime, add plastic eyeballs, spiders, and glitter. We call it “witch goo.” I made it for a Halloween party last year and set it out in a big cauldron. Instant crowd-pleaser.
You can even add glow-in-the-dark paint or scented oils like cinnamon to make it extra festive. Just watching kids squish their hands into it was hilarious. It’s messy, yes, but come on—Halloween is all about messy fun.
Color-Changing Slime
This one feels like wizardry. There are two ways I’ve done it: thermochromic pigment that changes color with heat, or UV pigment that shifts in sunlight. Either way, it’s mesmerizing. You can make it go from blue to pink just by holding it.
We brought a batch to the park once and watched it change under the sun. The kids thought it was straight-up magic. It takes a bit of effort to find the right pigments, but the result? Totally worth the hunt
Slime Storage Tips
Once your slime masterpiece is ready, you’ll want to keep it fresh and stretchy for as long as possible! Proper slime storage helps prevent it from drying out, getting sticky, or collecting dirt. Here are some simple tips to make your slime last longer and stay fun to play with:
-
Store in an airtight container: Use plastic containers with tight-fitting lids or reusable ziplock bags to keep air out and moisture in.
-
Label your containers: Write the date you made the slime so you know how old it is.
-
Keep it in a cool, dry place: Avoid storing slime in direct sunlight or near heat sources, as this can change its texture.
-
Clean hands before playing: Always wash hands before and after playing to prevent dirt or bacteria from getting into the slime.
-
Know when to toss it: Slime usually lasts 1–2 weeks if stored properly. If it starts smelling bad, growing mold, or feeling too sticky or hard to fix, it’s time to throw it away and make a fresh batch!
FAQ
Is slime safe for kids to play with?
Yes, most DIY Slime Recipe for Kids use safe, non-toxic ingredients. However, adult supervision is recommended, especially for younger kids, and hands should always be washed after play.
What age is appropriate for making DIY Slime Recipe for Kids?
Slime is great for kids aged 4 and up, with adult help. Older kids (7+) can usually make it on their own with some guidance.
Can I make slime without borax?
Absolutely! Many recipes use alternatives like baking soda and contact lens solution, making them gentler and kid-friendly.
How long does homemade slime last?
Homemade slime can last 1–2 weeks when stored in an airtight container and kept clean.

Hi, I’m Victoria, an art and craft teacher at Newark City Schools, where I have the joy of working with middle school students to help them explore their creativity and develop their artistic talents. I believe that art is a powerful way for students to express themselves, and I strive to make every lesson a fun, engaging, and inspiring experience.
I created this website to share the art and craft projects, techniques, and resources that I use in my classroom, hoping to inspire both educators and young artists alike. Whether you’re a teacher looking for new ideas or a student eager to try something new, I’m excited to provide creative tools and projects that anyone can enjoy.
When I’m not in the classroom, I love experimenting with different art forms and learning new crafting techniques. My goal is to help others discover the joy of making things with their hands, and I hope my website serves as a space for everyone to explore their creative potential.