
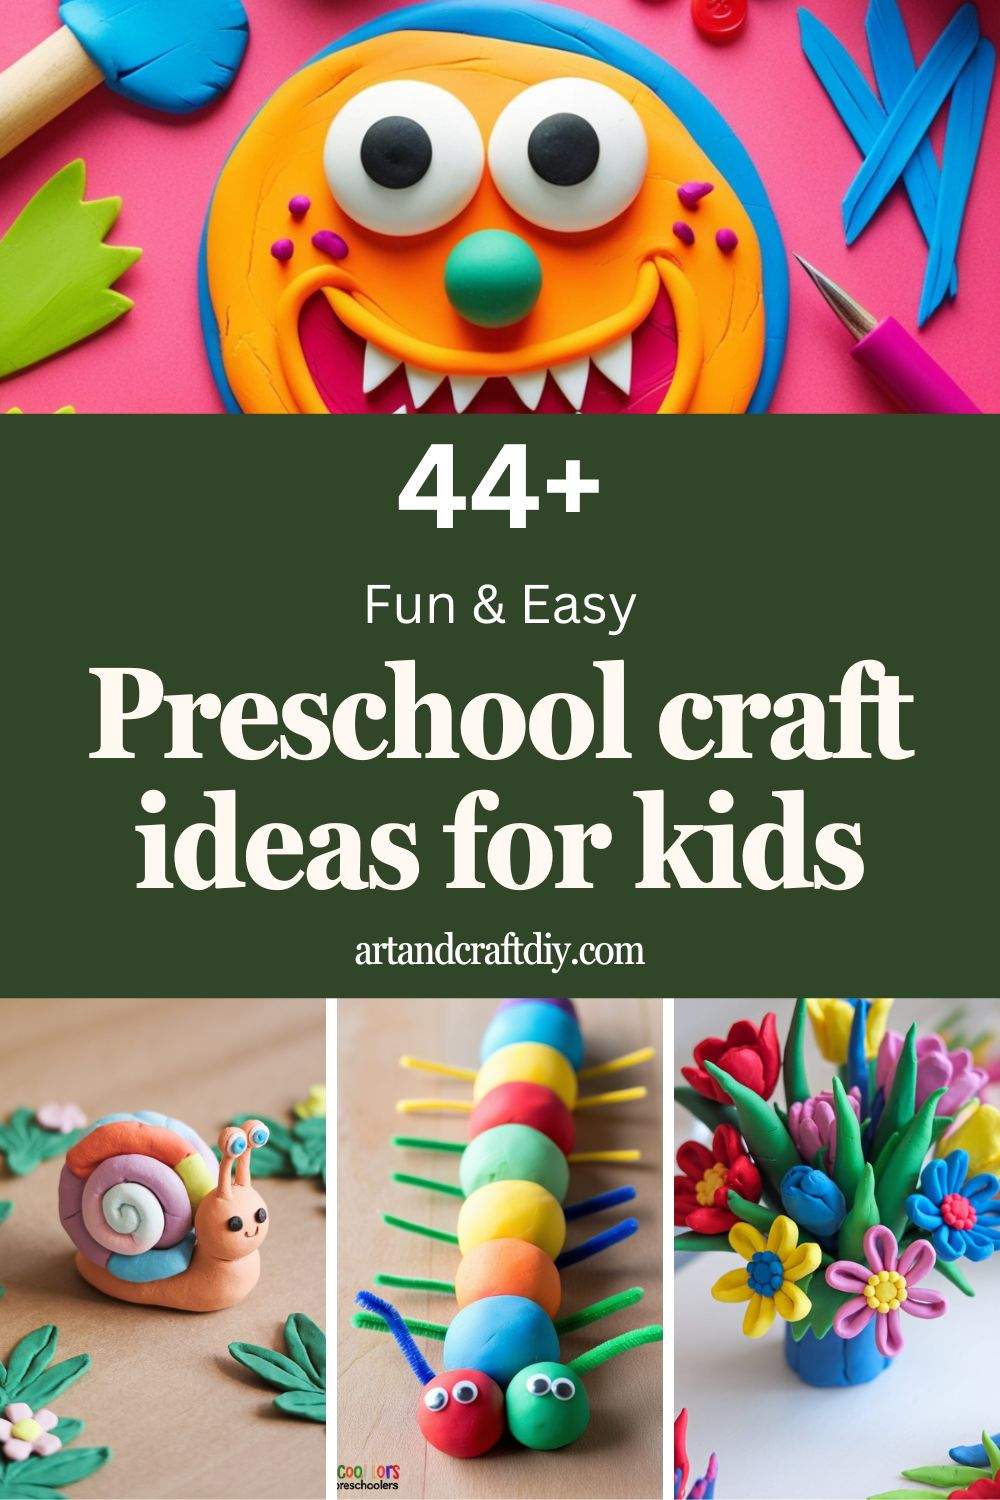
I still remember the first time I tried to keep a group of preschoolers busy on a rainy afternoon. Total chaos. Markers rolling off the table, glue everywhere, and little voices asking “what do we do next?” every two minutes. If you’ve ever been there, you know how tough it is to keep little hands and minds engaged. That’s exactly why I started collecting fun and easy preschool craft ideas for kids—because sometimes, you just need a quick activity that doesn’t require a shopping trip or hours of prep.
Here’s the good news: crafts don’t have to be perfect to be special. Kids aren’t worried about straight edges or perfect paint strokes—they just want to play, explore, and make something they can proudly show off. And honestly? That’s the magic of it. In this article, I’ll share creative yet simple projects that are mess-friendly, budget-friendly, and guaranteed to bring smiles.
Preschool craft ideas for kids
Preschool craft ideas for kids are not just enjoyable but are also deeply enriching activities that contribute significantly to a child’s early growth and development.
Clay Animal Figurines
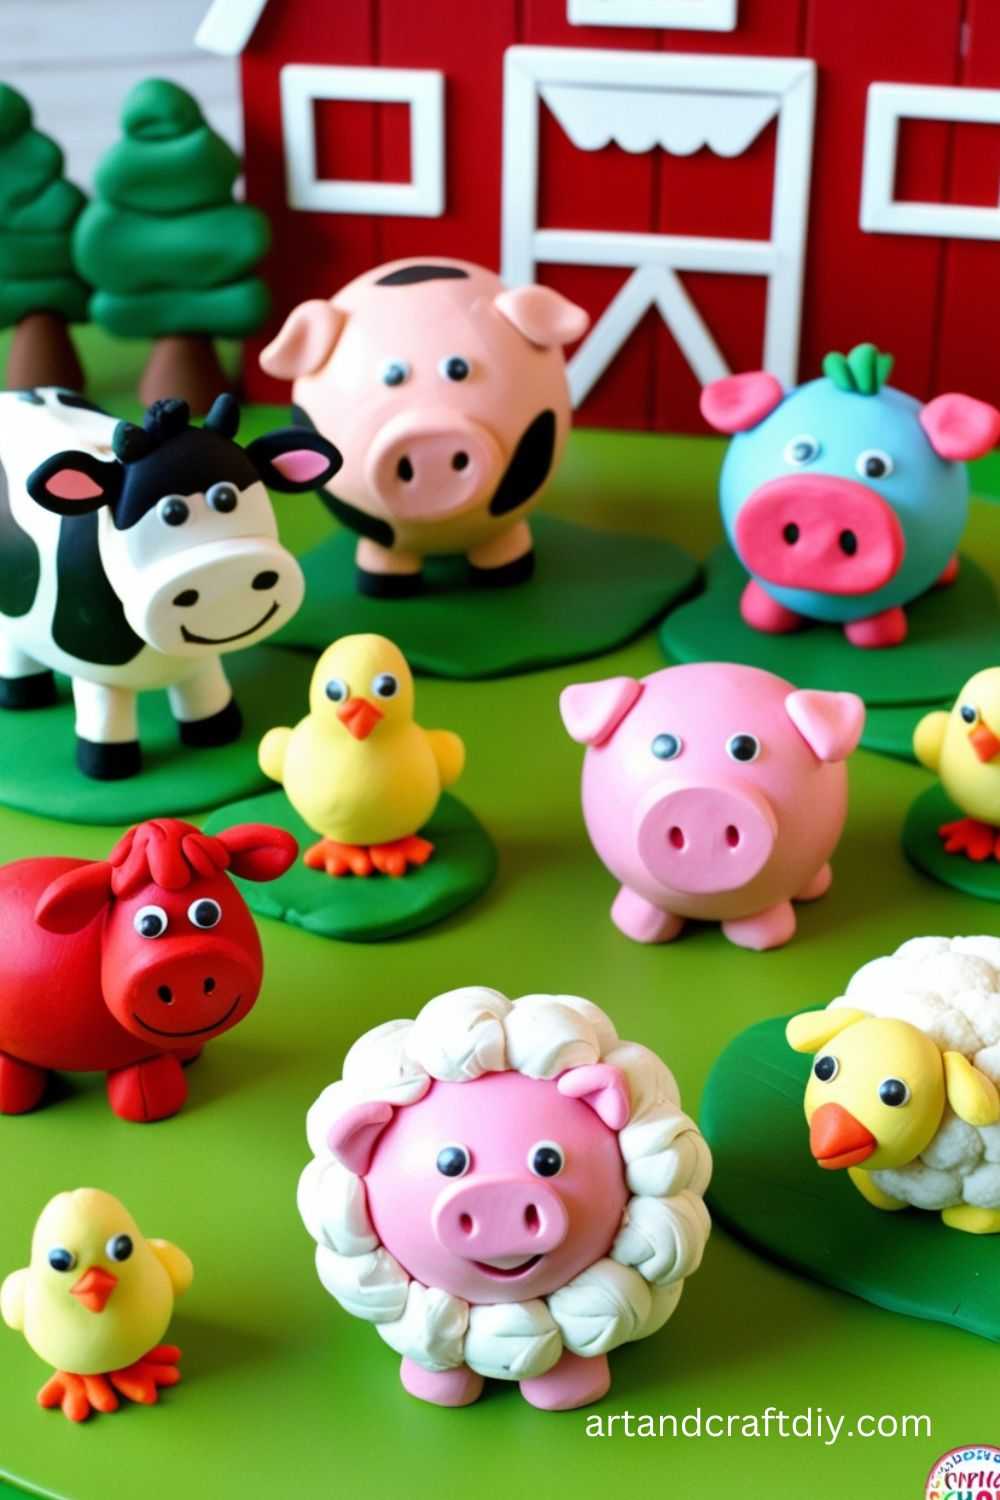
One of the first clay projects I ever tried with kids was making little animals, and honestly, it was a total hit. There’s just something magical about watching kids roll, pinch, and shape a ball of clay into something that actually looks like a turtle, or a rabbit, or even a funny little dog. To be fair, they don’t all look like the animal they were meant to be, but that’s part of the charm. I’ve found that giving kids simple ideas, like a round body and small ears for a bear, works better than expecting perfect details.
What I love most about clay animals is how each child’s personality shines through their work. One kid might make a cat with enormous ears, another might stick ten legs on a spider just for fun. The giggles when they add googly eyes are priceless. If you ask me, clay animal figurines are the perfect way to start because they’re fun, flexible, and forgiving.
Clay Flower Pot
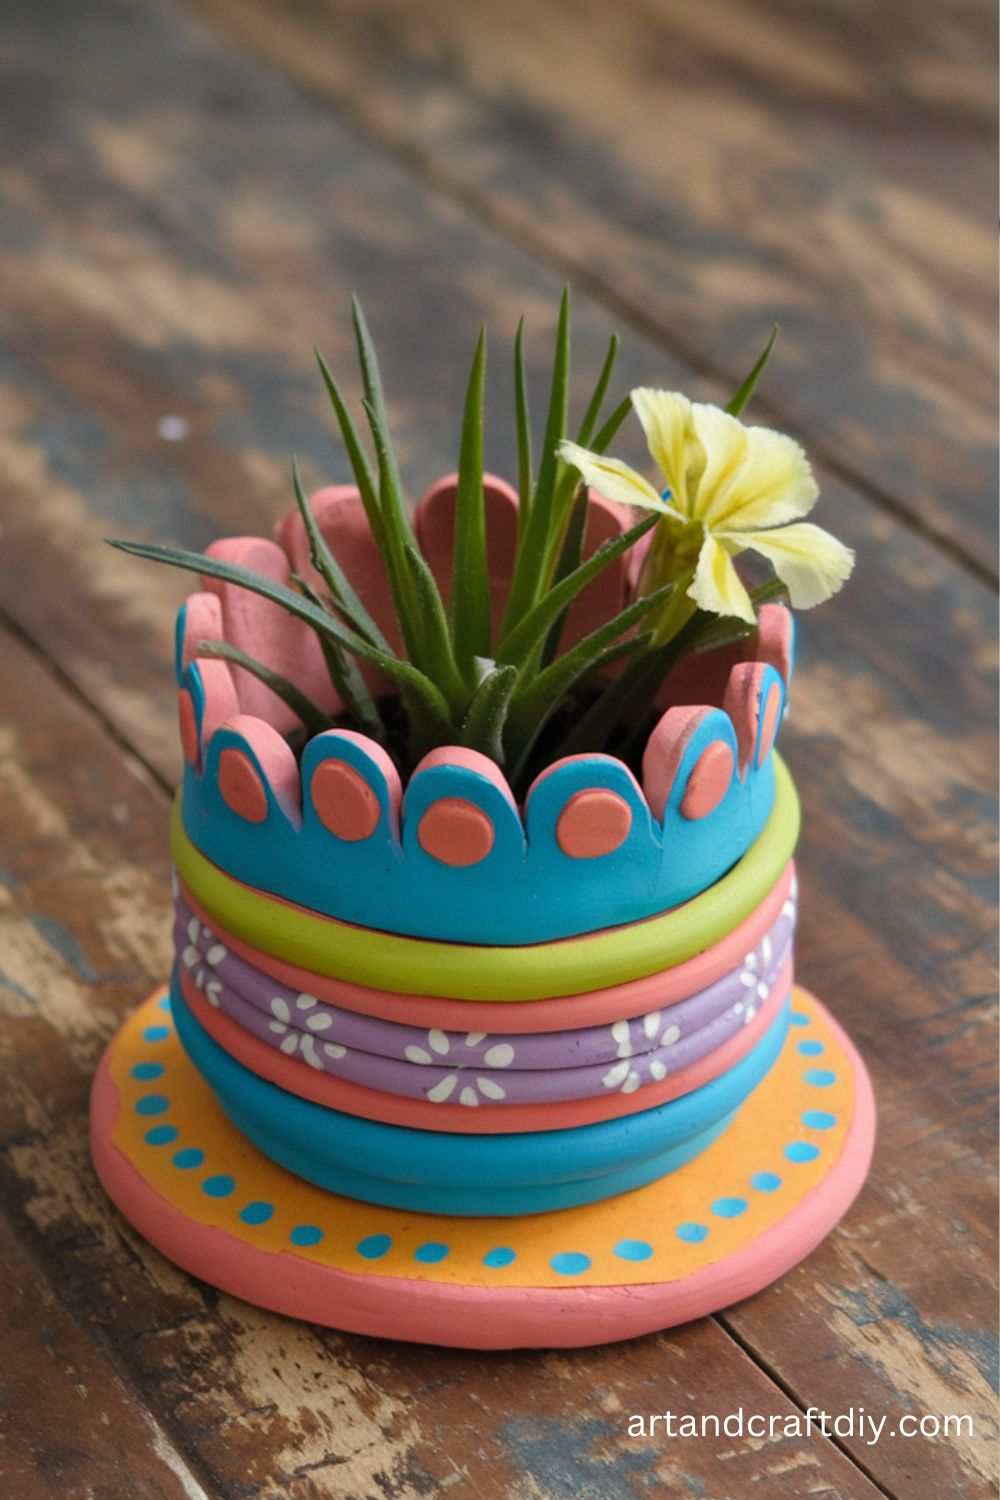
Clay flower pots are one of those projects that always surprise me with how creative kids can get. The first time I did this, I expected them to just roll clay into a boring cylinder, but nope—they added patterns, poked holes, and even pressed leaves into the clay for texture. Honestly, I was blown away. There’s something about giving kids a little freedom that makes the outcome so much better than anything I could plan.
In my opinion, the joy here isn’t in the final “pot” but in the process. Some kids make tiny pots just big enough for a pebble, while others try to create something you could actually plant in. Once dry, letting them paint their pots takes it to the next level. And you know what? Even if the pots aren’t perfect, they make lovely keepsakes for parents.
Clay Flower Bouquet
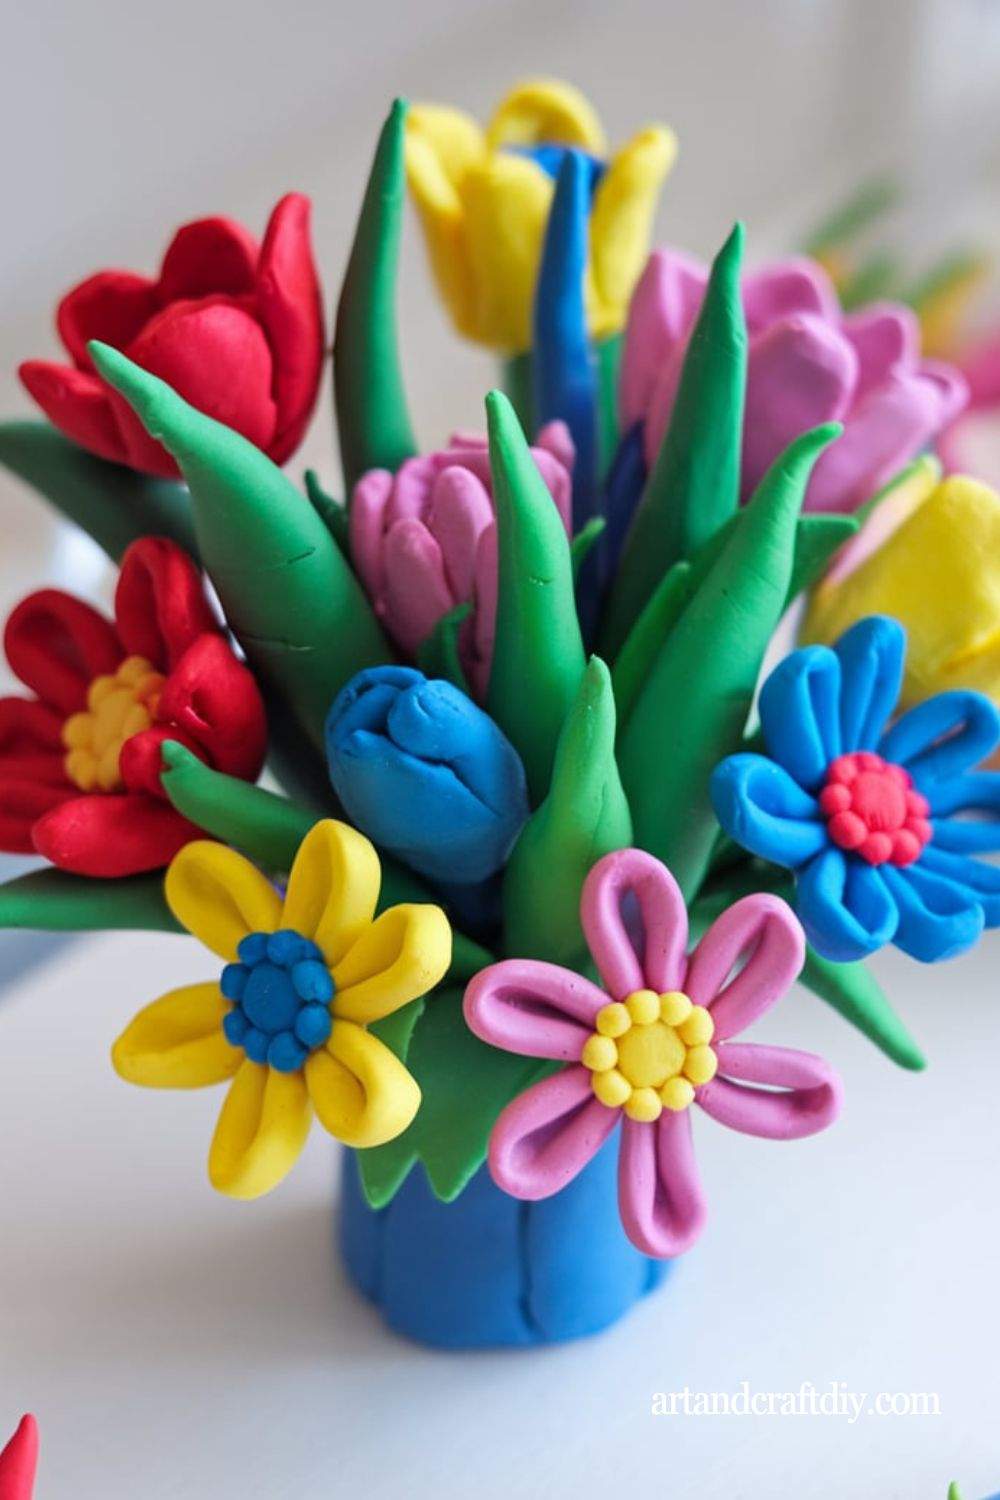
I’ve always thought real flowers are great, but a clay flower bouquet has a charm of its own. The first time I tried this with preschoolers, I gave them sticks for stems and simple clay petals to attach. To be fair, some flowers looked like they’d been through a storm, but the kids were so proud of them you couldn’t help but smile. It’s a messy project, but a very cheerful one.
What I like about this craft is how it introduces kids to the idea of arranging. They don’t just make one flower; they make a bunch and suddenly they’re deciding which goes in the “middle” and which colors look nice together. It’s kind of sweet to watch them plan, even if the end result is lopsided. In my opinion, clay bouquets are the kind of project that brighten up any preschool craft session.
Clay Caterpillar
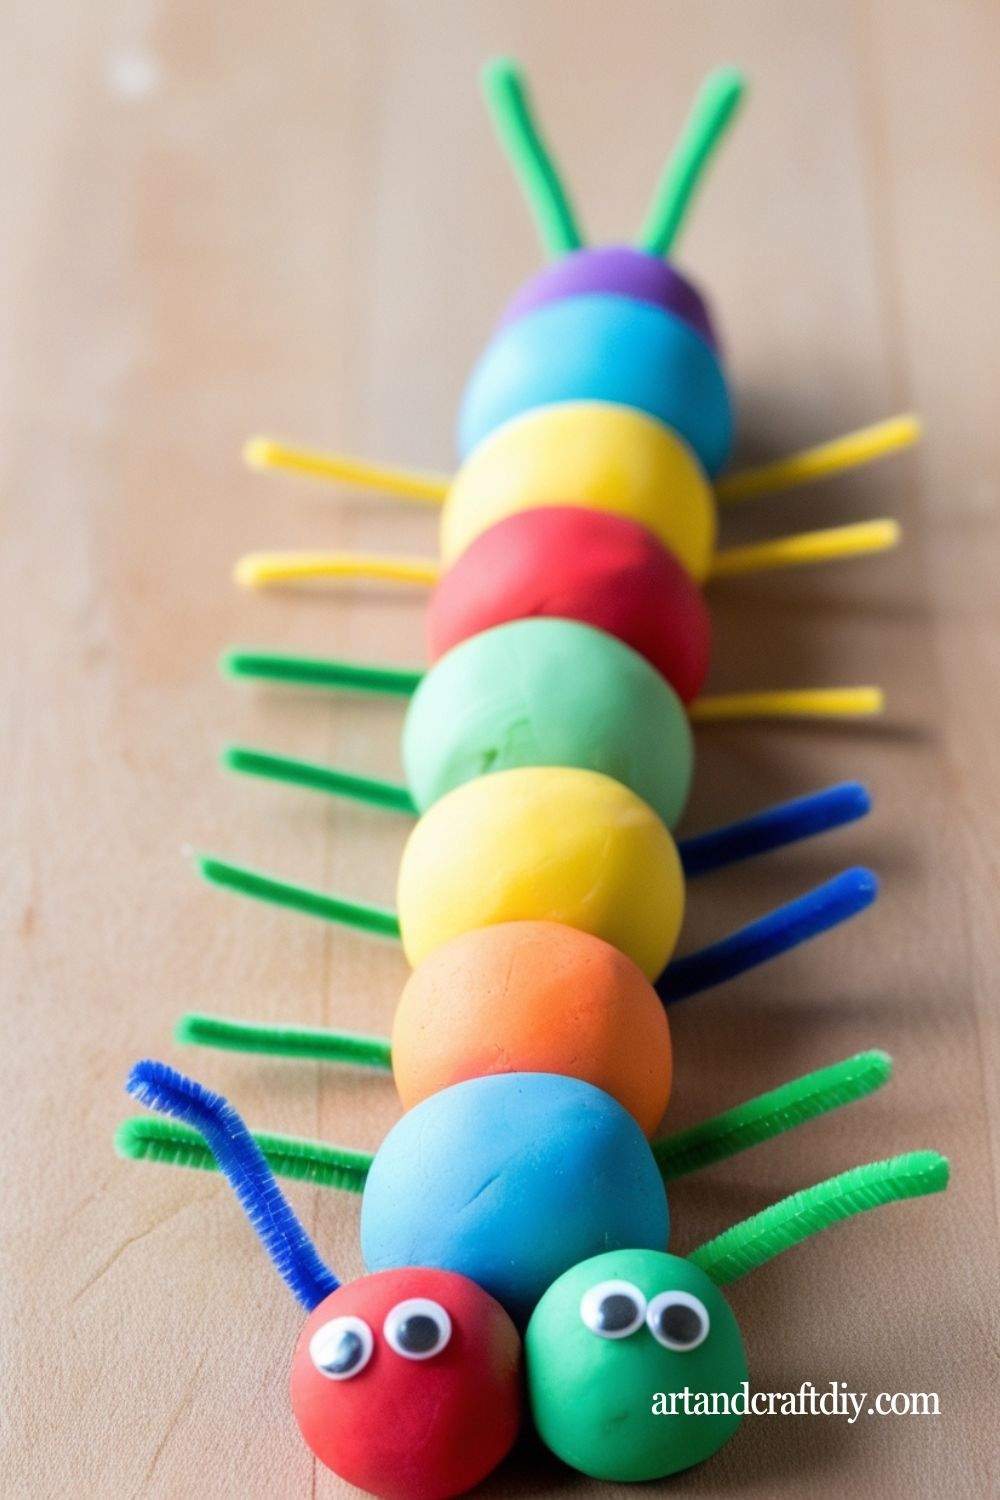
Clay caterpillars are ridiculously fun and surprisingly easy. All you really need are little clay balls lined up in a row. I remember one little boy making his caterpillar as long as his desk, and honestly, it was hilarious watching him balance it. The fun part is choosing colors—rainbow caterpillars always seem to win hearts.
In my experience, this project gets kids really excited because it’s so simple but looks impressive. They can add tiny antennae, eyes, and even spots. Some even squish theirs down and say it’s a “sleeping” caterpillar. The flexibility makes it perfect for preschoolers. To be fair, they won’t look like the real insect, but that’s the charm of it. In my opinion, this is one of the easiest crafts to set up and the one kids love showing off the most.
Clay Pizza
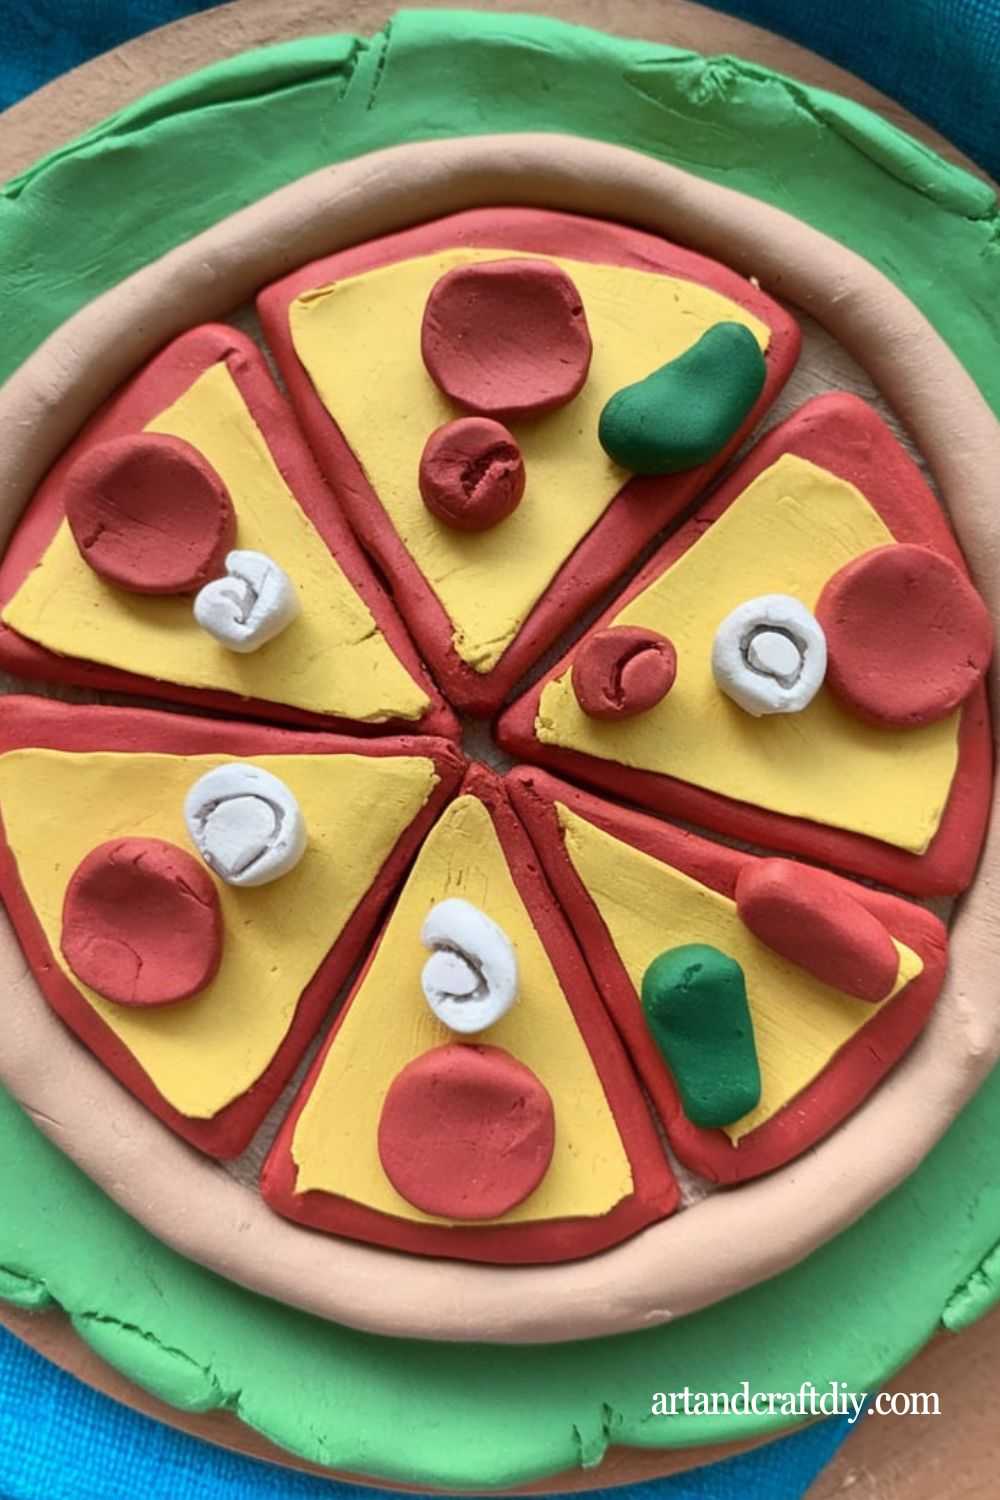
Clay pizza might just be the messiest pretend food I’ve ever made with kids, but oh, it’s so much fun. They start with a flat circle for the base, and before you know it, they’re rolling tiny clay pepperonis, mushrooms, and even olives. I remember one child proudly telling me, “Mine has pineapple because I love it!” and honestly, I laughed for a good minute.
What I’ve noticed is how much kids love pretending to “cook” with clay. The pizzas end up loaded with toppings—sometimes way more than you’d ever eat in real life. But that’s the joy of it, right? There’s no limit. To be fair, the pieces don’t always stick together perfectly, but it doesn’t matter because the kids always walk away with giant smiles. In my opinion, clay pizza is like combining art with play kitchen fun.
Clay Cupcake
Clay cupcakes are just adorable. I remember setting this up one rainy afternoon, and the kids instantly treated it like a bakery. They’d roll little bases, add swirls of clay “frosting,” and top them with beads or sequins as sprinkles. Honestly, some of them looked so real I almost reached for one!
The fun part is seeing the creativity explode—one kid might go with a classic chocolate cupcake, while another builds something that looks like a unicorn’s dream. In my opinion, this craft is all about imagination more than realism. To be fair, the “icing” tends to fall off if they get carried away, but I’ve found that kids don’t mind. They’re too busy “selling” their cupcakes to their friends.
Clay Ice Cream Cone
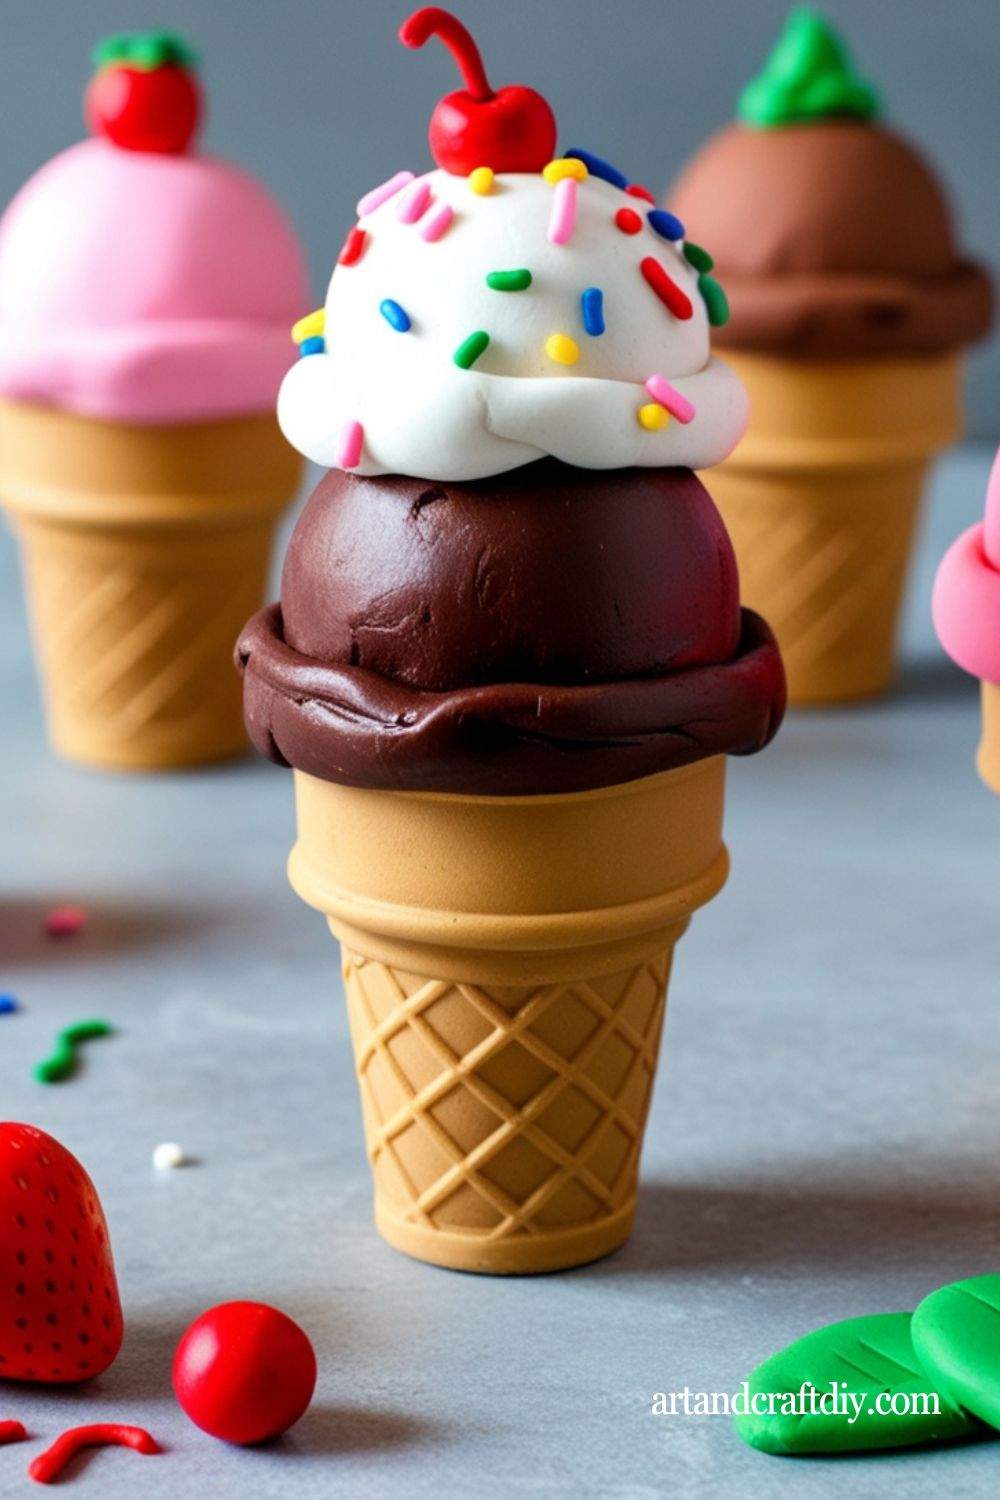
Clay ice cream cones are a guaranteed win with preschoolers because who doesn’t love ice cream? The kids roll little cones and pile scoops on top—sometimes three, sometimes ten. I once saw a child make a “tower” of scoops that toppled over, and honestly, everyone burst out laughing. It’s silly fun at its best.
What I like most is how easy it is to let them play with colors. Green scoop? It’s mint. Pink? Strawberry. Blue? Cotton candy. To be fair, the cones don’t always hold their shape, but that almost makes it cuter. In my opinion, clay ice cream cones are one of those projects that feel less like a craft and more like playtime, which makes them perfect for younger kids.
Clay Snail

Clay snails are a favorite of mine because they’re quirky but simple. You just roll a spiral for the shell and stick it onto a body, and voilà—you’ve got a snail. I remember one child making his snail so huge it looked more like a monster, but honestly, it was hilarious and wonderful at the same time.
What makes this project fun is the decorating part. Kids love making colorful shells, adding dots, and giving their snails silly faces. To be fair, not every snail looks “snail-like,” but who cares? I’ve found that kids love naming their snails afterward—“Speedy” and “Rainbow” were two I’ll never forget. In my opinion, clay snails are the kind of craft that feels quick, satisfying, and always brings a smile.
Clay Monster Faces
Clay monster faces are wild, unpredictable, and, to be honest, one of my personal favorites. I remember spreading out clay and telling the kids to “make the silliest monster you can.” The results were everything from three-eyed creatures to squishy blobs with giant mouths. I couldn’t stop laughing.
What I love about this activity is that there’s no wrong way to do it. The more bizarre, the better. Some kids add horns, others stick on ten teeth or use buttons for eyes. To be fair, they can get a little messy with all the poking and pressing, but in my opinion, that’s when they’re having the most fun. Clay monster faces are all about letting creativity go wild.
Clay Fish
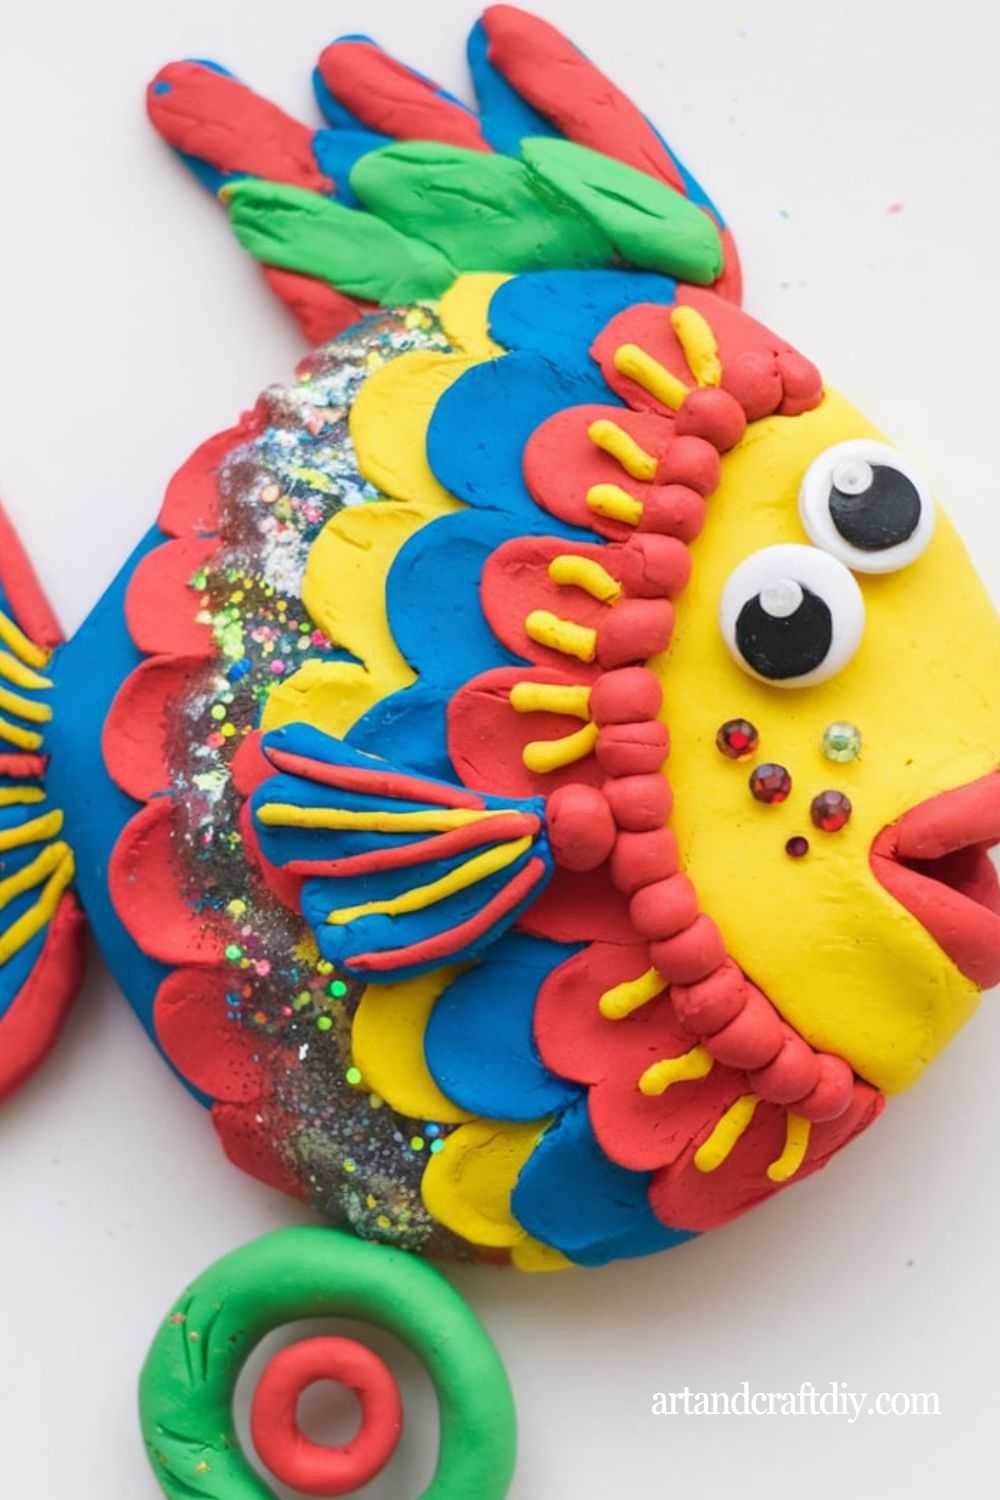
Clay fish are simple but so much fun to make. I’ve found that kids enjoy shaping a little oval body and then pinching a tail. They go crazy with decorating—adding scales, fins, and of course, big googly eyes. Honestly, the fish don’t always look realistic, but they always look cheerful.
In my opinion, the real fun comes when you make a whole “aquarium” of fish together. Each kid’s fish looks different—bright purple, spotted, striped, you name it. To be fair, some tails fall off if they’re too thin, but the kids just laugh and stick them back on. I love how this project turns into storytelling, with kids pretending their fish are swimming together. It’s simple, but it’s magical.
Clay Fruit Basket
Teach kids about fruits while creating a vibrant basket.
Materials Used: Clay in various colors.
Steps:
- Shape brown clay into a small bowl or basket.
- Roll small balls or ovals for fruits like apples, bananas, and grapes.
- Place the fruits in the basket.
- Add a green clay leaf on top for decoration.
Clay Car
Build a tiny toy car that kids can pretend-play with.
Materials Used: Clay in different colors, toothpick.
Steps:
- Shape a rectangular block for the car body.
- Roll four small black clay wheels and attach them.
- Add tiny clay pieces for windows and headlights.
- Use a toothpick to etch door lines or decorations.
Clay Butterfly
Make colorful butterflies to brighten up craft time.
Materials Used: Various colors of clay, plastic tools.
Steps:
- Shape a thin oval for the butterfly’s body.
- Create two large wings and two small wings using different colors.
- Attach the wings to the body.
- Roll tiny clay pieces for antennae.
- Use a toothpick to add patterns on the wings.
Clay Tree
Create a simple and vibrant tree to teach kids about nature.
Materials Used: Green and brown clay, plastic tools.
Steps:
- Roll brown clay into a cylinder for the tree trunk.
- Flatten green clay into a wide circular shape for the treetop.
- Attach the treetop to the trunk.
- Add small clay details like tiny fruits or leaves for extra flair.
Clay Dinosaur
Craft a prehistoric dinosaur for fun imaginative play.
Materials Used: Green, brown, or blue clay, toothpick.
Steps:
- Roll a large oval for the dinosaur’s body.
- Shape a smaller oval for the head and attach it to the body.
- Create four legs and attach them beneath the body.
- Add a long tail and tiny spikes or frills along the back.
- Use a toothpick to make small details like nostrils or scales.
Clay Pencil Topper
Personalize pencils with fun and creative clay toppers.
Materials Used: Clay in various colors, pencils.
Steps:
- Roll a ball of clay and shape it into a character or object, such as a flower or an animal.
- Press the clay creation onto the pencil’s eraser area to secure it.
- Smooth and shape the base to fit the pencil.
- Add details like eyes, patterns, or decorations.
- Let it dry slightly before use.
Clay Heart Decorations
Make adorable heart decorations for gifts or room decor.
Materials Used: Red, pink, and white clay.
Steps:
- Roll out red clay and cut it into a heart shape using a plastic knife.
- Create smaller hearts using pink and white clay.
- Layer the smaller hearts onto the big one for a 3D effect.
- Optionally, add a hole at the top for hanging using a toothpick.
Clay Owl
Craft a cute owl that’s easy for kids to make.
Materials Used: Brown, white, and yellow clay, googly eyes (optional).
Steps:
- Roll a ball of brown clay for the owl’s body and flatten it slightly.
- Shape wings and attach them to the sides of the body.
- Use white clay for the face and yellow clay for the beak and feet.
- Add clay or googly eyes to complete the look.
Clay Sun and Clouds
A fun weather-themed craft for kids to learn about nature.
Materials Used: Yellow, white, and blue clay.
Steps:
- Roll yellow clay into a circle for the sun.
- Create small yellow strips and attach them around the circle as sun rays.
- Roll white clay into fluffy cloud shapes.
- Arrange the sun and clouds together on a blue clay background.
Clay Snake
A quick and easy project to make a slithering snake.
Materials Used: Green clay, red clay, googly eyes.
Steps:
- Roll green clay into a long, thin coil for the snake’s body.
- Shape the head slightly larger at one end.
- Use red clay to create a forked tongue and attach it to the head.
- Add googly eyes or tiny clay balls for the eyes.
- Curl the snake’s body into a coiled position.
Clay Starry Night
Recreate a starry sky scene with clay.
Materials Used: Black clay, yellow clay, white clay.
Steps:
- Flatten black clay to make the night sky background.
- Roll small balls of yellow clay for stars and press them onto the background.
- Shape a crescent moon using white clay and attach it.
- Add tiny dots of white clay for additional stars.
Clay Turtle
Craft a cheerful little turtle.
Materials Used: Green clay, brown clay, plastic tools.
Steps:
- Roll green clay into a ball for the turtle’s body.
- Shape brown clay into a shell and attach it to the body.
- Add small green clay balls for the legs and head.
- Use a toothpick to create patterns on the shell.
- Add clay or googly eyes to complete the turtle.
Clay Train
Build a toy train with colorful clay parts.
Materials Used: Various colors of clay, toothpick.
Steps:
- Roll rectangular shapes for train carriages.
- Add wheels, windows, and connectors using small clay pieces.
- Use a different color for the engine and attach a chimney.
- Assemble the train and let the kids play pretend.
Clay Penguin
Make an adorable penguin for winter-themed crafts.
Materials Used: Black, white, and orange clay.
Steps:
- Shape a black oval for the penguin’s body.
- Add a smaller white oval for the belly.
- Attach orange clay feet and a beak.
- Add small black and white clay pieces for eyes.
Clay Garden Scene
Create a miniature garden with flowers, grass, and insects.
Materials Used: Green, brown, and various colors of clay.
Steps:
- Roll green clay flat for grass.
- Shape brown clay into a small mound for soil.
- Add clay flowers, bugs, or a tiny clay bench.
Clay Rocket
Blast off with a handmade clay rocket.
Materials Used: Red, white, and blue clay.
Steps:
- Shape white clay into a rocket body.
- Add red clay fins and a pointed tip.
- Decorate with blue clay windows or stripes.
- Create flame details using red and yellow clay at the base.
Clay Bunny
A sweet bunny that’s perfect for spring.
Materials Used: White clay, pink clay.
Steps:
- Roll white clay into a ball for the body and a smaller one for the head.
- Add two long ears using white clay with pink centers.
- Attach tiny balls for eyes and a nose.
- Shape a small tail and secure it to the back.
Clay Dragon
Spark kids’ imaginations with a mythical dragon craft.
Materials Used: Green clay, yellow clay, plastic tools.
Steps:
- Roll green clay into a long body and add legs and a tail.
- Shape wings using thin clay sheets.
- Add yellow clay spikes along the back and tail.
- Use a toothpick to carve details like scales or flames.
Tips for Crafting with Preschoolers
Preschool Craft Ideas For Kids is a wonderful way to nurture their creativity, build fine motor skills, and spend quality time together. Here are some helpful tips to make the experience enjoyable and stress-free for both you and your little ones:
1. Choosing Safe, Non-Toxic Materials
Safety is a top priority when crafting with preschoolers. Always opt for child-friendly, non-toxic supplies. Look for items labeled as “washable” or “non-toxic,” such as:
- Washable markers, crayons, and paint.
- Glue sticks or school glue (non-toxic).
- Blunt-tipped safety scissors.
- Craft items like pom-poms, pipe cleaners, and paper that don’t pose choking hazards.
Pro Tip: Keep a close eye on small items like beads and sequins if they’re part of the project, and consider their age-appropriateness.
2. Encouraging Creativity Rather Than Perfection
Preschool Craft Ideas For Kids is all about exploration and imagination. Focus on the process rather than the outcome.
- Let kids experiment with colors, shapes, and textures.
- Praise their effort and ideas, not just the final product.
- Avoid “fixing” their work or giving too many instructions—allow their creativity to shine.
By embracing their unique vision, you build their confidence and problem-solving skills.
3. Incorporating Storytelling Into Craft Time
Make crafting a multi-sensory experience by weaving stories into the activity.
- Create characters, animals, or scenes that tie into a tale.
- Use the craft as a prop for storytelling (e.g., making puppets for a puppet show).
- Encourage kids to narrate what they’re making or invent their own adventures.
Storytelling adds a rich layer of engagement and inspires imaginative play.
4. Managing Mess with Easy Cleanup Tips
Crafting can get messy, but with a few strategies, cleanup becomes manageable:
- Use washable mats or newspaper to cover the crafting area.
- Keep a stash of baby wipes, paper towels, and a small trash bag nearby.
- Have kids wear aprons or old T-shirts as smocks.
- Designate a cleanup song or game to make tidying up part of the fun!
Pro Tip: Encourage kids to help with cleanup—it teaches responsibility and keeps the activity light-hearted.
Educational Value of Crafts
Crafts are more than just a creative outlet; they provide valuable educational benefits for children and adults alike. Engaging in craft activities fosters various cognitive, physical, and social skills. Below are the key educational benefits of crafts:
- Enhancing Fine Motor Skills and Hand-Eye Coordination
Craft activities such as cutting, drawing, stitching, or assembling materials require precise hand movements. These actions help children develop fine motor skills, which are essential for tasks like writing, buttoning shirts, or tying shoes. Additionally, crafts improve hand-eye coordination as participants learn to control their movements and interact with materials. - Introducing Colors, Shapes, and Textures
Crafts often involve various colors, shapes, and textures, giving children the opportunity to explore and understand these concepts in a hands-on way. Through selecting and combining materials, they learn about color theory, geometric shapes, and the tactile properties of different textures, enhancing their sensory development. - Building Patience and Focus
Crafting encourages children and adults to slow down and concentrate on completing a task. Whether it’s assembling a model or carefully painting a design, crafts require patience, which teaches persistence and the value of completing a project. This helps in building attention span and focus, which can also translate to academic performance. - Social Skills Development Through Group Crafting Activities
Crafting in groups allows children to collaborate, share materials, and communicate ideas. This fosters teamwork and strengthens social skills like turn-taking, conflict resolution, and active listening. Working on group projects also promotes a sense of community, helping children understand cooperation and the importance of working together to achieve a common goal.
FAQ
What are some easy Preschool Craft Ideas For Kids?
There are many simple and fun craft ideas for preschoolers, such as:
- Paper plate masks: Have kids decorate paper plates with markers, stickers, or paint to create fun animal or character masks.
- Handprint art: Use non-toxic paint to make handprint art, like trees, animals, or flowers.
- Paper roll crafts: Empty toilet paper rolls can be turned into animals, binoculars, or pencil holders.
What supplies do I need for Preschool Craft Ideas For Kids?
Common craft supplies for preschoolers include:
- Construction paper
- Safety scissors
- Crayons, markers, and paints
- Glue sticks or white glue
- Stickers and stamps
- Child-safe scissors
- Fabric scraps or yarn
- Googly eyes
How can I make Preschool Craft Ideas For Kids educational ?
You can integrate learning into crafts by:
- Using shapes and colors to teach basic concepts.
- Doing a craft that aligns with a theme (e.g., nature, seasons, numbers, or letters).
- Encouraging children to count, sort, or match items used in the craft.
How do I make a sensory Preschool Craft Ideas For Kids?
Sensory crafts engage multiple senses, and you can make them by:
- Texture collage: Use materials like cotton balls, fabric, or sandpaper to create tactile experiences.
- Sensory jars: Fill jars with water, glitter, and small objects to shake and explore.
- Playdough sculptures: Encourage children to create shapes, animals, and objects with playdough.
Can I do craft activities with limited space?
Yes, many crafts can be done in a small space! Some options include:
- Using a small table with an easy-to-clean surface.
- Opting for crafts like paper folding, cutting, or sticker placement that require little space.
- Setting up an easy-to-clean floor area for messier crafts like painting or clay play.

Hi, I’m Victoria, an art and craft teacher at Newark City Schools, where I have the joy of working with middle school students to help them explore their creativity and develop their artistic talents. I believe that art is a powerful way for students to express themselves, and I strive to make every lesson a fun, engaging, and inspiring experience.
I created this website to share the art and craft projects, techniques, and resources that I use in my classroom, hoping to inspire both educators and young artists alike. Whether you’re a teacher looking for new ideas or a student eager to try something new, I’m excited to provide creative tools and projects that anyone can enjoy.
When I’m not in the classroom, I love experimenting with different art forms and learning new crafting techniques. My goal is to help others discover the joy of making things with their hands, and I hope my website serves as a space for everyone to explore their creative potential.