
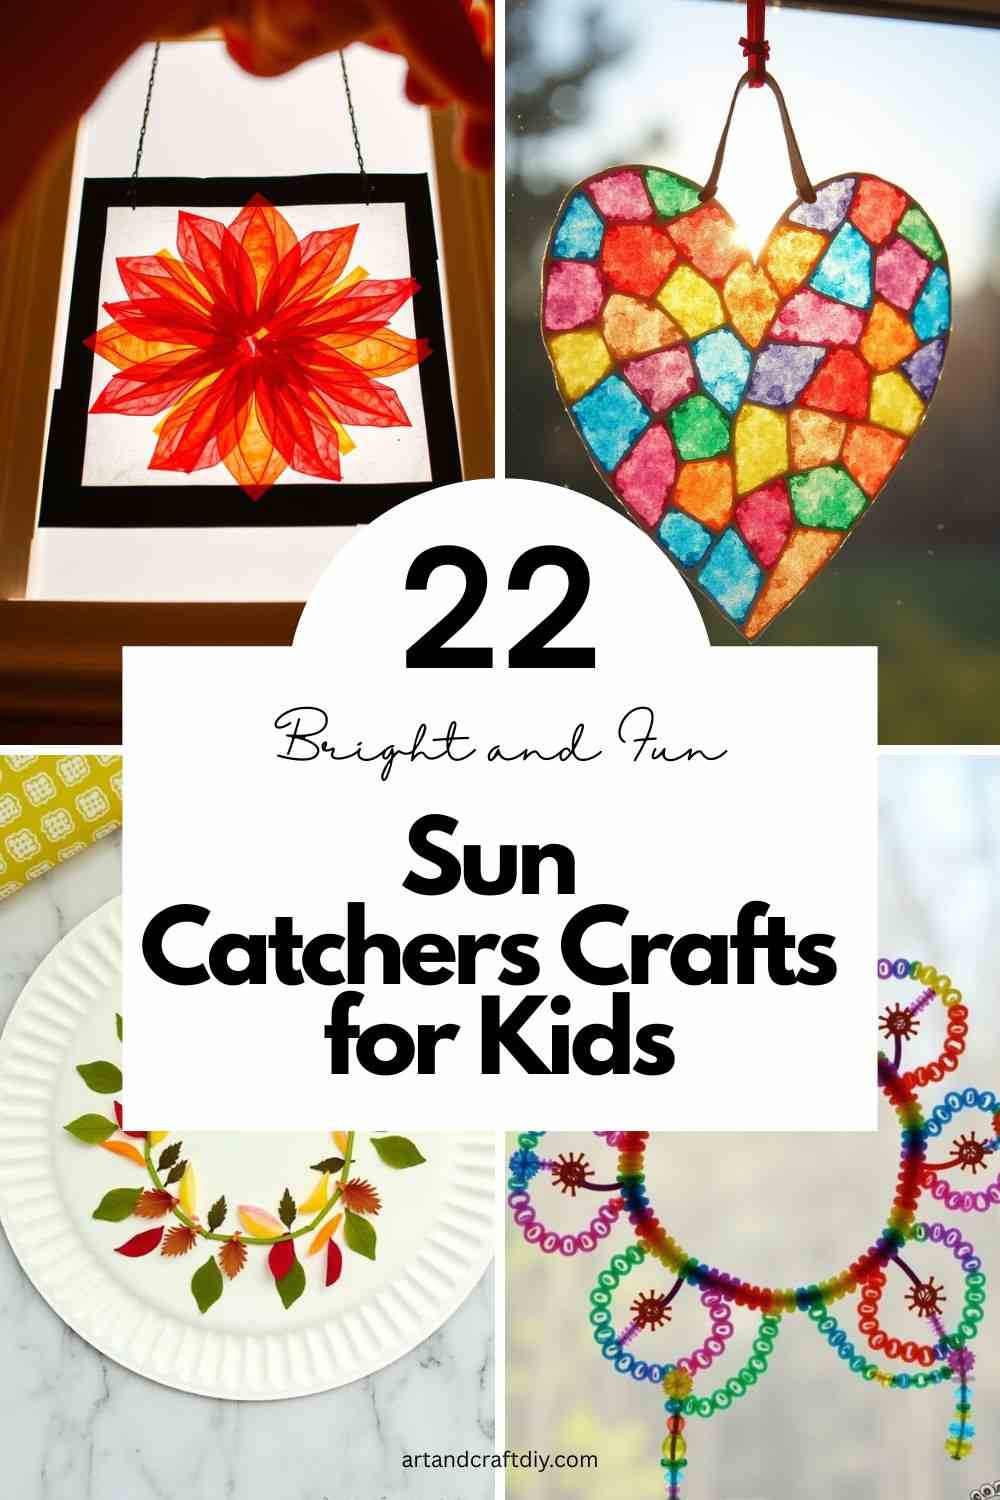
Sun Catchers Crafts for Kids are a delightful way to blend creativity with hands-on fun, allowing children to make something that shines and sparkles when placed in sunlight. A sun catcher is a decorative piece—often made with transparent or translucent materials—that catches and reflects sunlight, casting beautiful colors and patterns. These crafts are not only visually engaging but also simple enough for kids to make using everyday supplies.
Sun Catchers Crafts for Kids
Sun Catchers Crafts for Kids are fun, colorful projects that let children create dazzling decorations that shine in sunlight. These easy and educational crafts encourage creativity while using simple, kid-friendly materials.
Contact Paper and Tissue Paper Sun Catcher
Create a colorful mosaic using contact paper and bits of tissue paper that sparkle in the sunlight.
Materials: Clear contact paper, tissue paper (various colors), scissors, hole punch, ribbon or string.
Steps:
- Cut a piece of contact paper into a desired shape.
- Peel off the backing and stick it to a flat surface (sticky side up).
- Let kids place torn pieces of tissue paper all over the sticky side.
- Cover with another piece of contact paper to seal.
- Punch a hole at the top and tie with string to hang.
Crayon Shaving Sun Catcher
Recycle old crayons into a stunning melted art piece.

Materials: Wax paper, crayon shavings, parchment paper, iron (adult supervision required), scissors, string.
Steps:
- Sprinkle crayon shavings onto a piece of wax paper.
- Cover with another piece of wax paper.
- Place parchment paper over the top and gently press with a warm iron to melt the crayons.
- Cut into shapes once cooled.
- Add string and hang in a sunny window.
Beaded Sun Catcher
A beautiful way to let kids practice fine motor skills and color patterning.

Materials: Plastic pony beads, pipe cleaners or thin wire, suction cups or hooks.
Steps:
- Thread beads onto pipe cleaners in any pattern.
- Shape into circles, hearts, or spirals.
- Twist ends to secure.
- Attach to a window using a suction cup or hook.
Nature Sun Catcher
Combine art and nature with leaves and flowers.
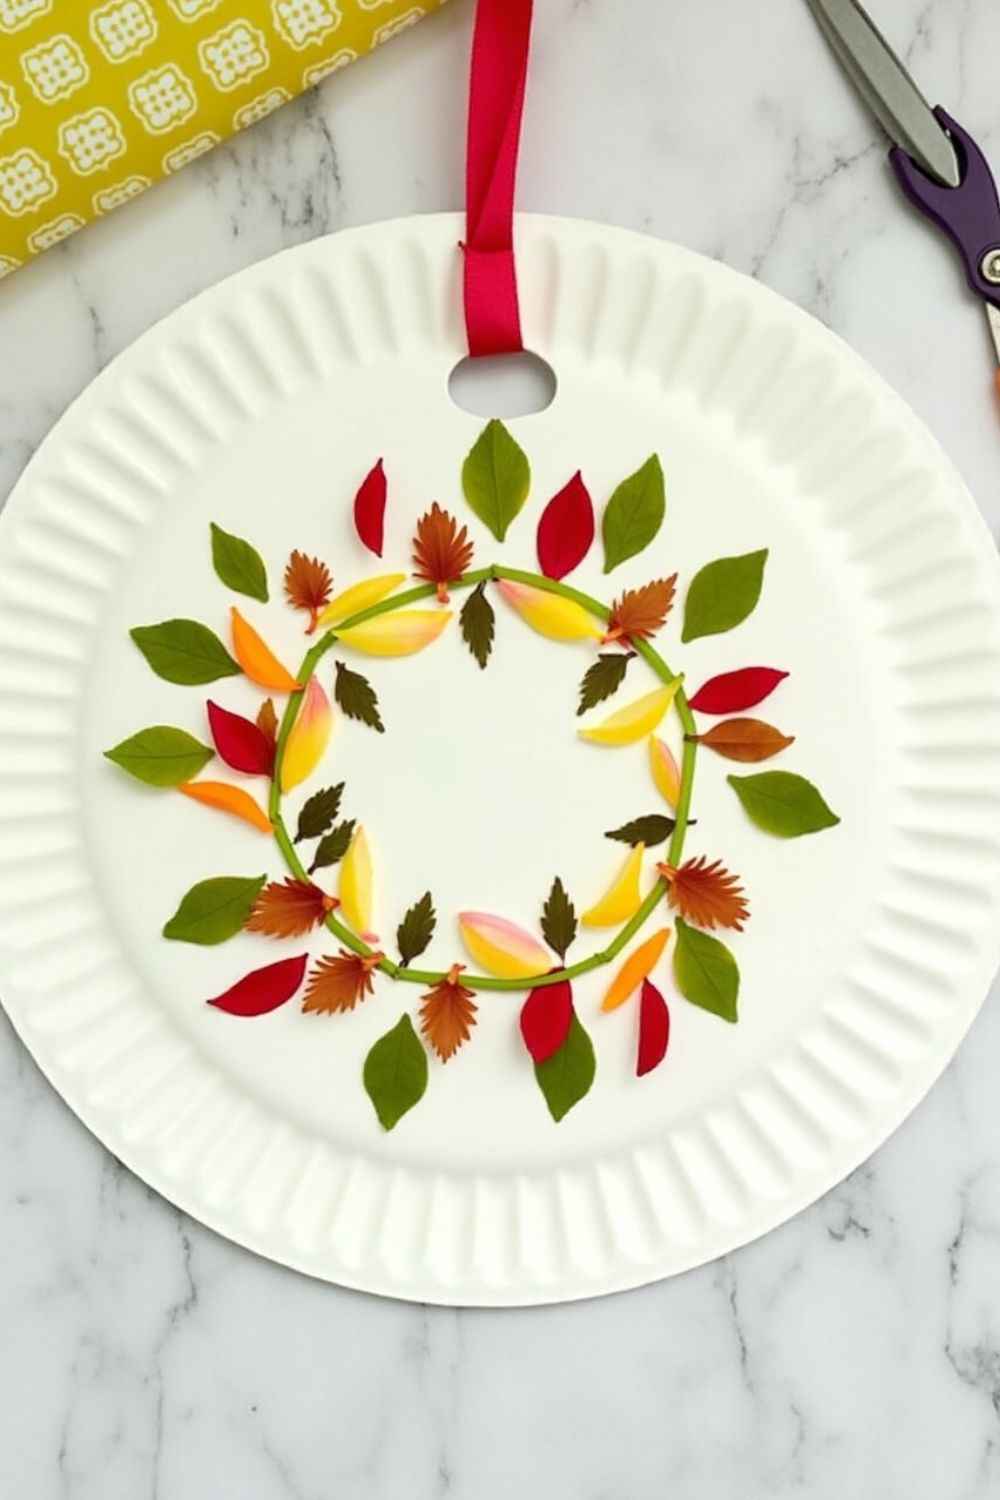
Materials: Contact paper, flowers, leaves, paper plates, scissors, ribbon.
Steps:
- Cut the center out of a paper plate to create a frame.
- Stick contact paper to the back (sticky side facing up).
- Let kids press leaves and petals onto the contact paper.
- Seal with another piece of contact paper.
- Add a ribbon to hang.
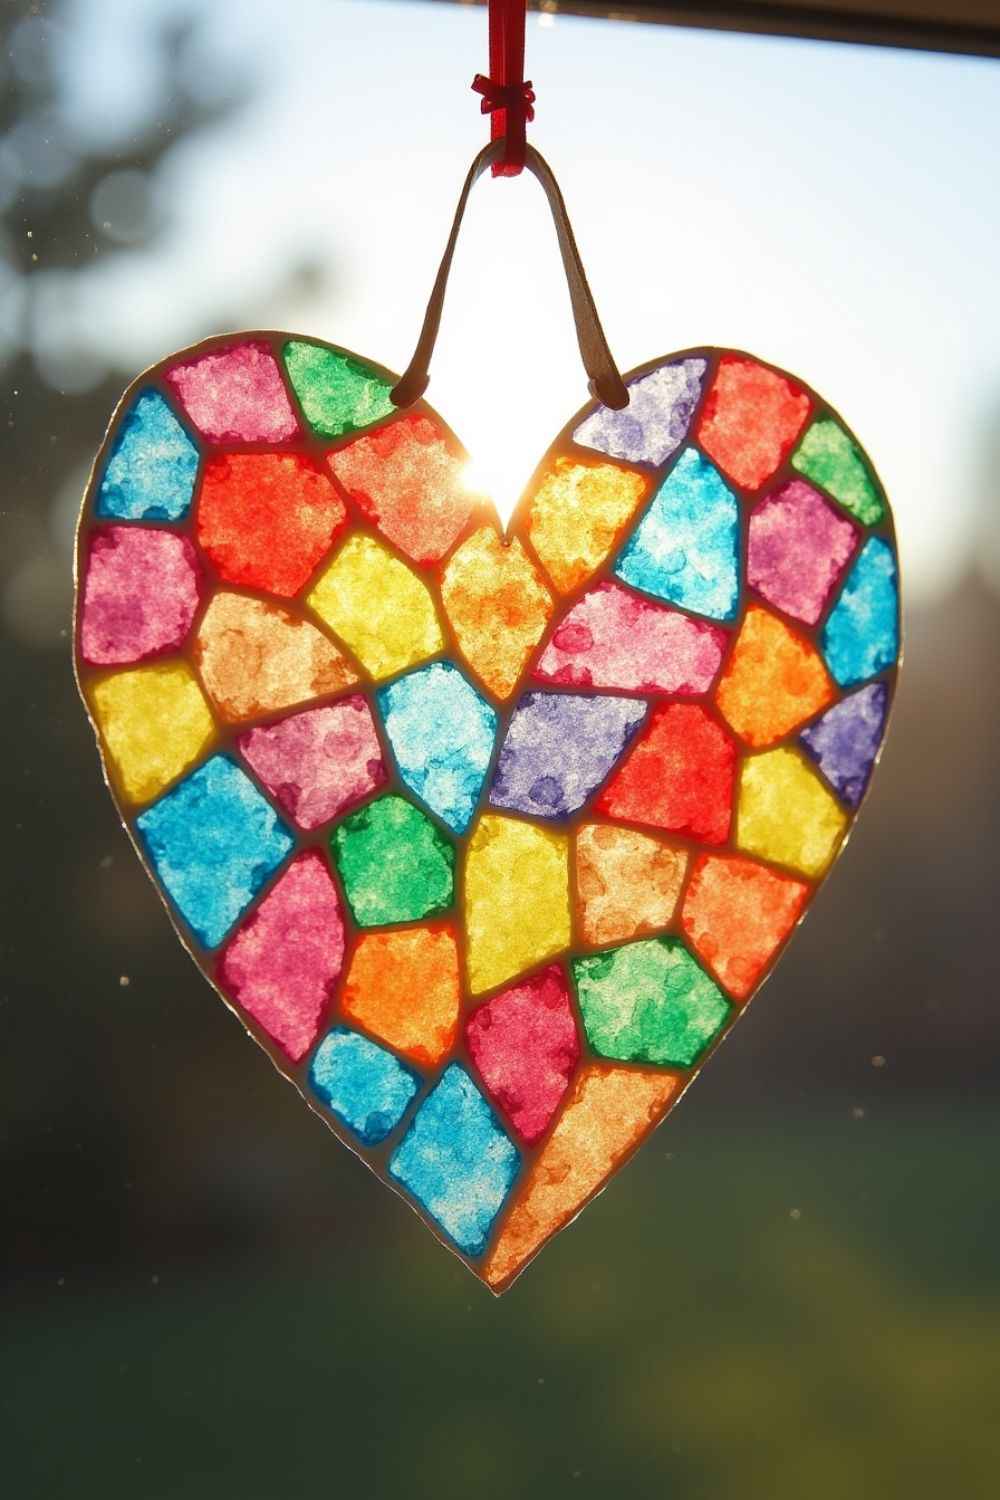
Stained Glass Glue Sun Catcher
Mimic the look of stained glass with glue and paint.
Materials: White glue, food coloring or watercolor paint, plastic lids, toothpicks.
Steps:
- Mix glue with a few drops of color.
- Pour into plastic lids.
- Use toothpicks to swirl and design.
- Let dry completely.
- Peel out and hang with string.
Plastic Lid Sun Catcher
An upcycled craft that’s simple and satisfying.

Materials: Clear plastic lids, permanent markers, string, hole punch.
Steps:
- Draw colorful patterns on the lid using markers.
- Punch a hole at the top.
- Add a string and hang in a sunny spot.
Tissue Paper Collage Sun Catcher
Create layered color effects with this easy collage.
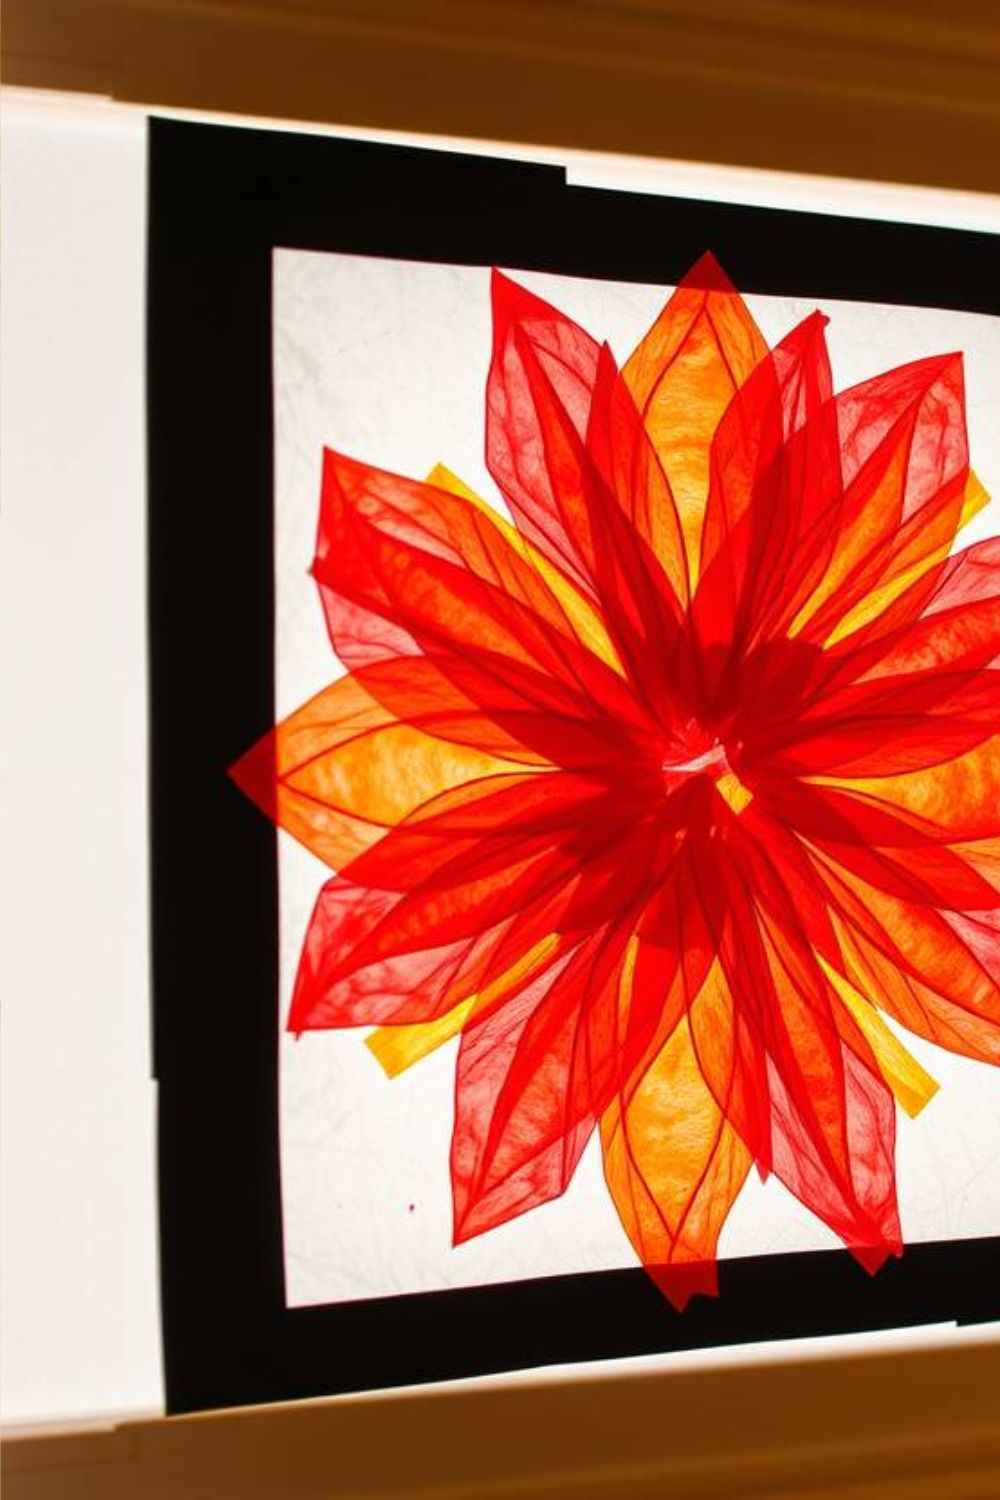
Materials: Contact paper, colored tissue paper, scissors, black construction paper.
Steps:
- Cut a shape frame out of black paper.
- Stick contact paper behind it.
- Fill the inside with torn or cut tissue pieces.
- Seal with another piece of contact paper.
- Hang using tape or string.
Gelatin Window Art Sun Catcher
A unique, squishy-textured window display.
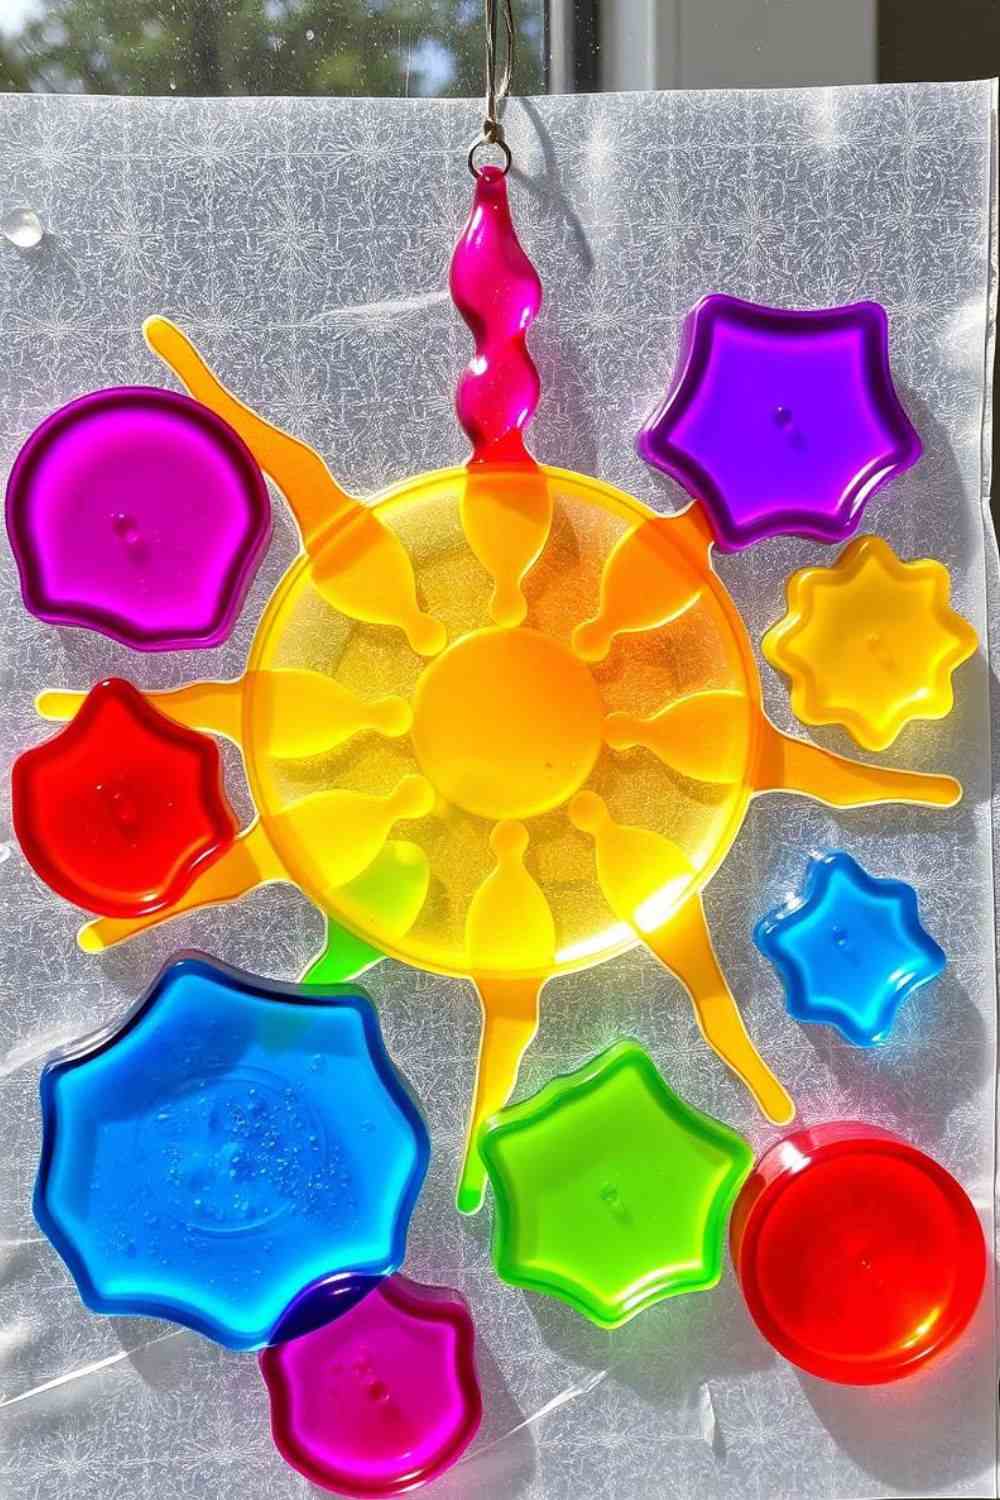
Materials: Gelatin, food coloring, small containers, plastic sheets.
Steps:
- Mix gelatin with hot water and color it.
- Pour into shallow molds.
- Let set and peel onto plastic sheet.
- Cut into shapes and stick to windows.
Faux Stained Glass with Black Glue
Kids can design like real artists with this trick.
Materials: School glue, black paint, plastic sheet, paint or markers.
Steps:
- Mix black paint into glue to make “lead lines.”
- Draw outlines on plastic sheets.
- Once dry, fill in with colored glue or markers.
- Let dry and tape to a window.
Recycled CD Sun Catcher
Turn old CDs into shimmering art.
Materials: CDs, glue, gems or tissue paper, ribbon.
Steps:
- Decorate shiny side with glued gems or tissue shapes.
- Add string through the center hole.
- Hang in the window.
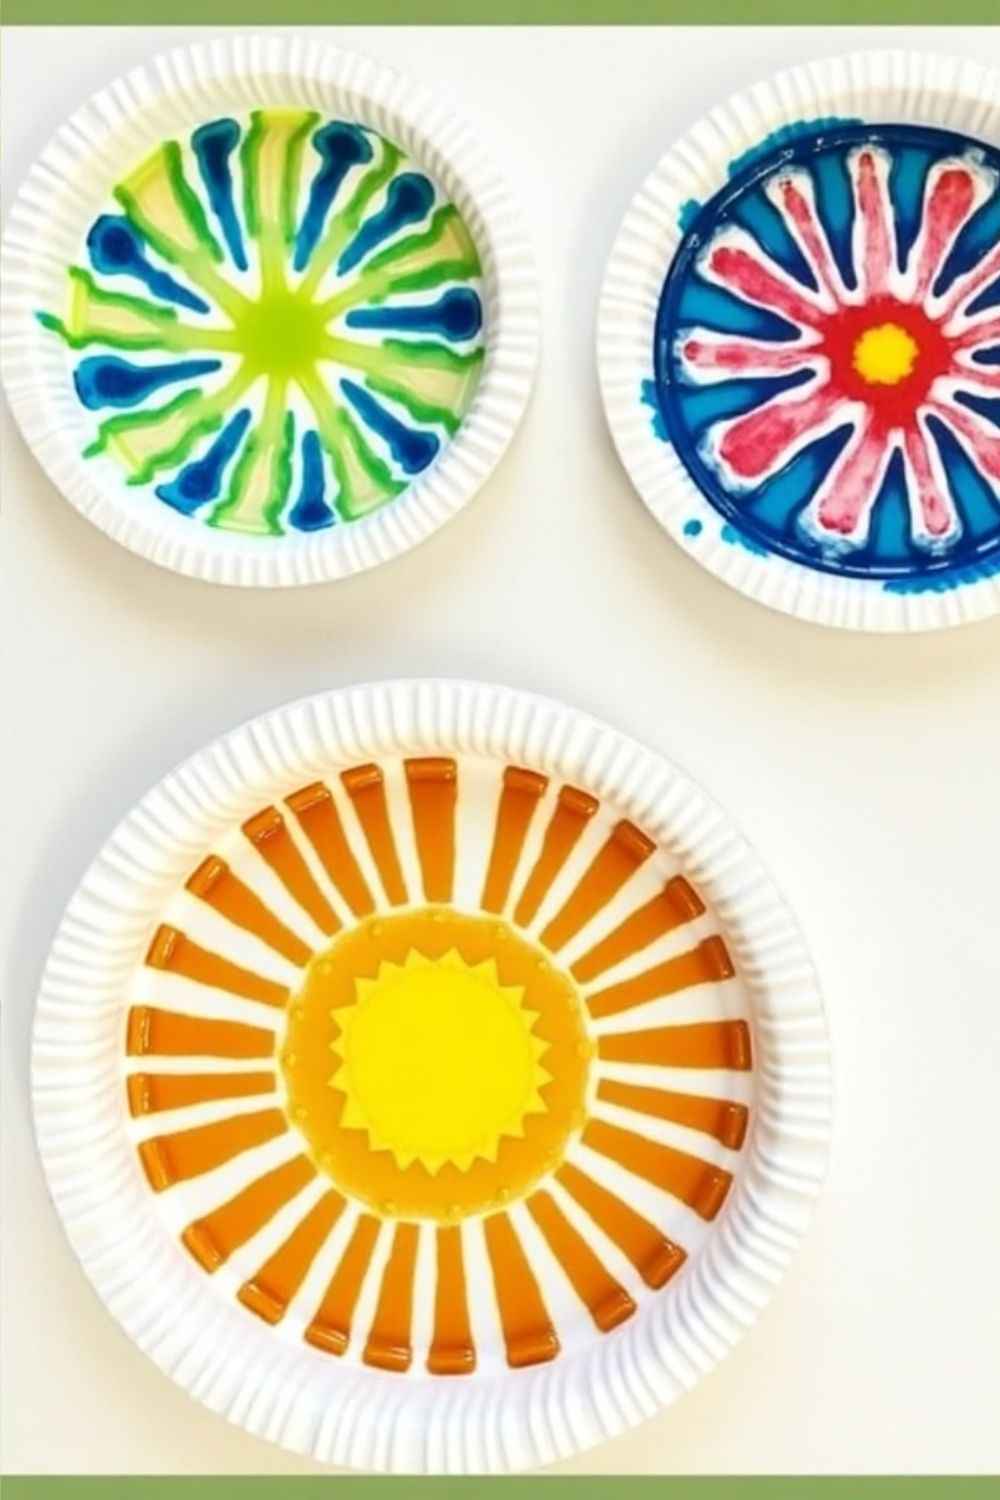
Watercolor Coffee Filter Sun Catcher
Soft blends of color create dreamy effects.
Materials: Coffee filters, watercolor paint or markers, water spray bottle.
Steps:
- Color coffee filters with watercolors or markers.
- Lightly spray with water to blend.
- Let dry, cut into shapes.
- Tape or hang in windows.
Shrink Plastic Sun Catcher
Create detailed designs that shrink to shine.
Materials: Shrink plastic sheets, permanent markers, scissors, oven.
Steps:
- Draw colorful designs on shrink plastic.
- Cut out shapes.
- Bake per instructions until shrunk.
- Cool and hang with string.
Mason Jar Lid Sun Catcher
Rustic and charming for any window.
Materials: Mason jar lids, contact paper, tissue paper, string.
Steps:
- Cut contact paper to fit lid ring.
- Fill with tissue paper pieces.
- Seal with another layer.
- Add string and hang.
Glitter Glue Sun Catcher
Sparkly and satisfying for glitter-loving kids.
Materials: Glitter glue, plastic sheet or lid, toothpicks.
Steps:
- Squeeze glitter glue into designs.
- Swirl patterns with toothpick.
- Let dry fully.
- Peel off and attach string to hang.
Button Sun Catcher
A colorful button collage that catches the light.
Materials: Clear plastic lids, buttons, clear-drying glue, string.
Steps:
- Glue buttons onto lid.
- Let dry.
- Punch a hole and tie string to hang.
- Display where light can shine through the gaps.
Tips for Success
Creating Sun Catchers Crafts for Kids can be a joyful and stress-free experience with a few thoughtful strategies. Whether you’re crafting at home, in a classroom, or during a group activity, these tips will help ensure safety, minimize mess, and preserve your child’s beautiful creations.
-
Use Age-Appropriate Tools:
Always choose tools that suit your child’s age and abilities. For younger kids, provide blunt-tip safety scissors, washable glue, and non-toxic markers or paints. Older children can handle more precise materials like permanent markers or mini glue guns with supervision. -
Keep Mess to a Minimum:
Set up your workspace with easy clean-up in mind. Use trays, plastic tablecloths, or disposable placemats to contain materials. Have smocks or old T-shirts ready to protect clothing, especially when working with paints, glue, or glitter. -
Preserve or Frame Finished Sun Catchers:
To make your child’s art last longer, consider sealing finished pieces with clear contact paper or laminating them. You can also frame sun catchers using craft sticks, embroidery hoops, or mason jar lids. Hang them with clear fishing line or suction cups in sunny windows to show off their brilliance.
With these simple tips, your sun catcher sessions will stay safe, organized, and full of creativity!
FAQ
What age is appropriate for making sun catcher crafts?
Sun catcher crafts can be adapted for all ages! Toddlers can enjoy simple tissue paper and contact paper versions, while older kids can try more advanced techniques like faux stained glass or shrink plastic designs. Always supervise young children, especially when using scissors, hot tools, or small items.
What’s the best way to hang a sun catcher?
Most sun catchers can be hung using string, ribbon, or clear fishing line. Use suction cups with hooks for windows, or tape lightweight versions directly to glass. For heavier sun catchers, make sure to use strong string and secure hanging points.
Can sun catchers be displayed outdoors?
Some sun catchers can be used outside, but many are best kept indoors. Materials like tissue paper, glue, and plastic can fade or warp in the elements. If you want to display them outside, choose weather-resistant materials like beads, CDs, or plastic lids and seal your artwork with clear spray sealant.
How do I prevent messes when working with kids?
Use trays to contain materials, smocks or old shirts to protect clothing, and washable supplies whenever possible. Have baby wipes or damp cloths nearby for quick clean-ups, and cover work areas with disposable tablecloths or newspapers.

Hi, I’m Victoria, an art and craft teacher at Newark City Schools, where I have the joy of working with middle school students to help them explore their creativity and develop their artistic talents. I believe that art is a powerful way for students to express themselves, and I strive to make every lesson a fun, engaging, and inspiring experience.
I created this website to share the art and craft projects, techniques, and resources that I use in my classroom, hoping to inspire both educators and young artists alike. Whether you’re a teacher looking for new ideas or a student eager to try something new, I’m excited to provide creative tools and projects that anyone can enjoy.
When I’m not in the classroom, I love experimenting with different art forms and learning new crafting techniques. My goal is to help others discover the joy of making things with their hands, and I hope my website serves as a space for everyone to explore their creative potential.